Tenebris Somnia · Combat achievements
Plan Wrench Queen, Bad Puppy and the boss-specific achievements
On this page
Keep Wrench Queen separate from Exhaust Pipe. The latter requires killing Fumus with the Pipe and therefore conflicts with a Wrench-only run. For Bad Puppy, let beast-form Sanguis destroy every mannequin before you lure him onto the giant knife.
PC full release · Research checked October 22, 2026 · Boss mechanics and finale-enemy spoilers
Wrench Queen: avoid testing other weapons on the active run
Renka’s achievement record describes Wrench Queen as completing the game using only the Wrench, with other weapons’ aiming, shooting and attacking treated as uses to avoid. There is no verified safe exception here for “just aiming.” If you want to test a firearm achievement, keep a separate save and reload the earlier branch afterwards.
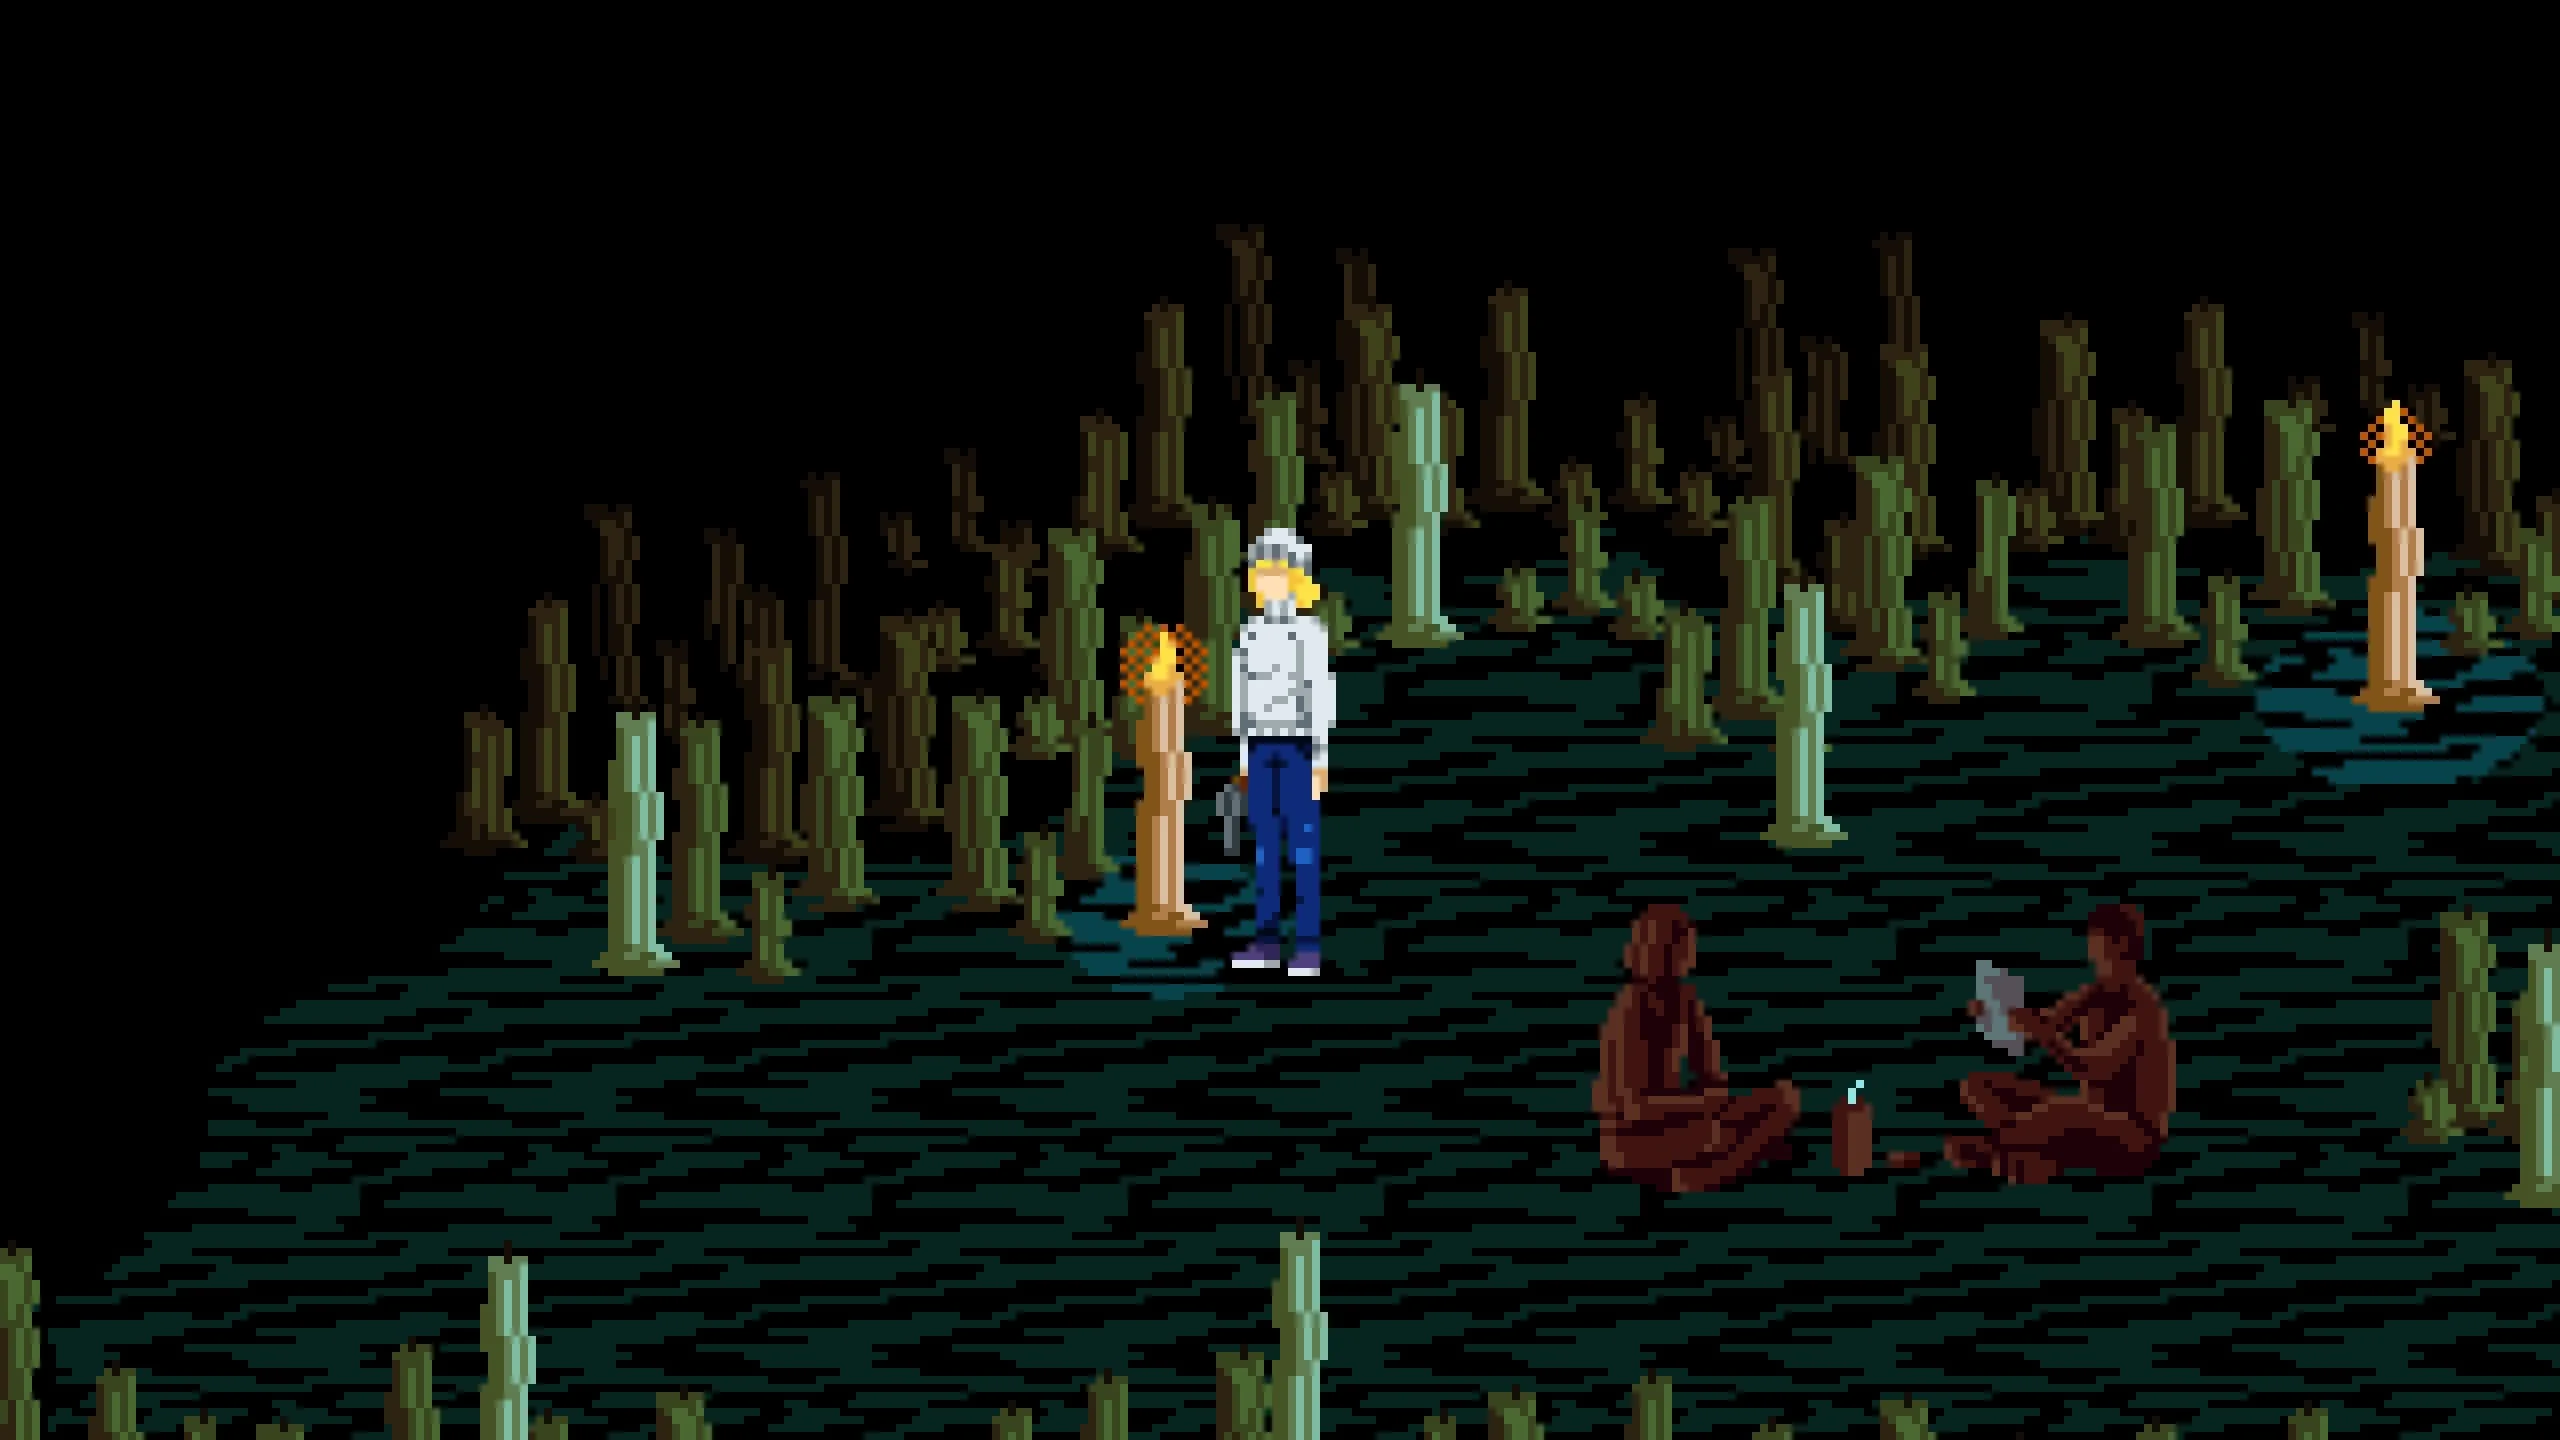
Iron and wax fits this route: defeat Obscuratus using only the Wrench. At the candle arena, extinguish every lit candle by interacting with it to reveal the otherwise invisible boss. Repeat the reveal cycle as needed, dealing damage with the Wrench when he is visible.
Exhaust Pipe: make a separate Fumus attempt
Bring the Iron Pipe obtained with the Screwdriver in the bar bathroom. Save before Fumus and defeat him with the Pipe for Exhaust Pipe. If you also want Wrench Queen, reload the save from before using the Pipe rather than continuing that mixed-weapon attempt.
His red circles punish the weapon you are holding. A loaded firearm causes a fatal self-shot; a melee weapon causes self-damage. An empty firearm still produces a long animation. The puzzle guide’s documented clearance method is to unequip everything, then step into the circles to remove them. Re-equip the Pipe only when you are ready to attack.
Bad Puppy: do not end the mannequin phase too soon
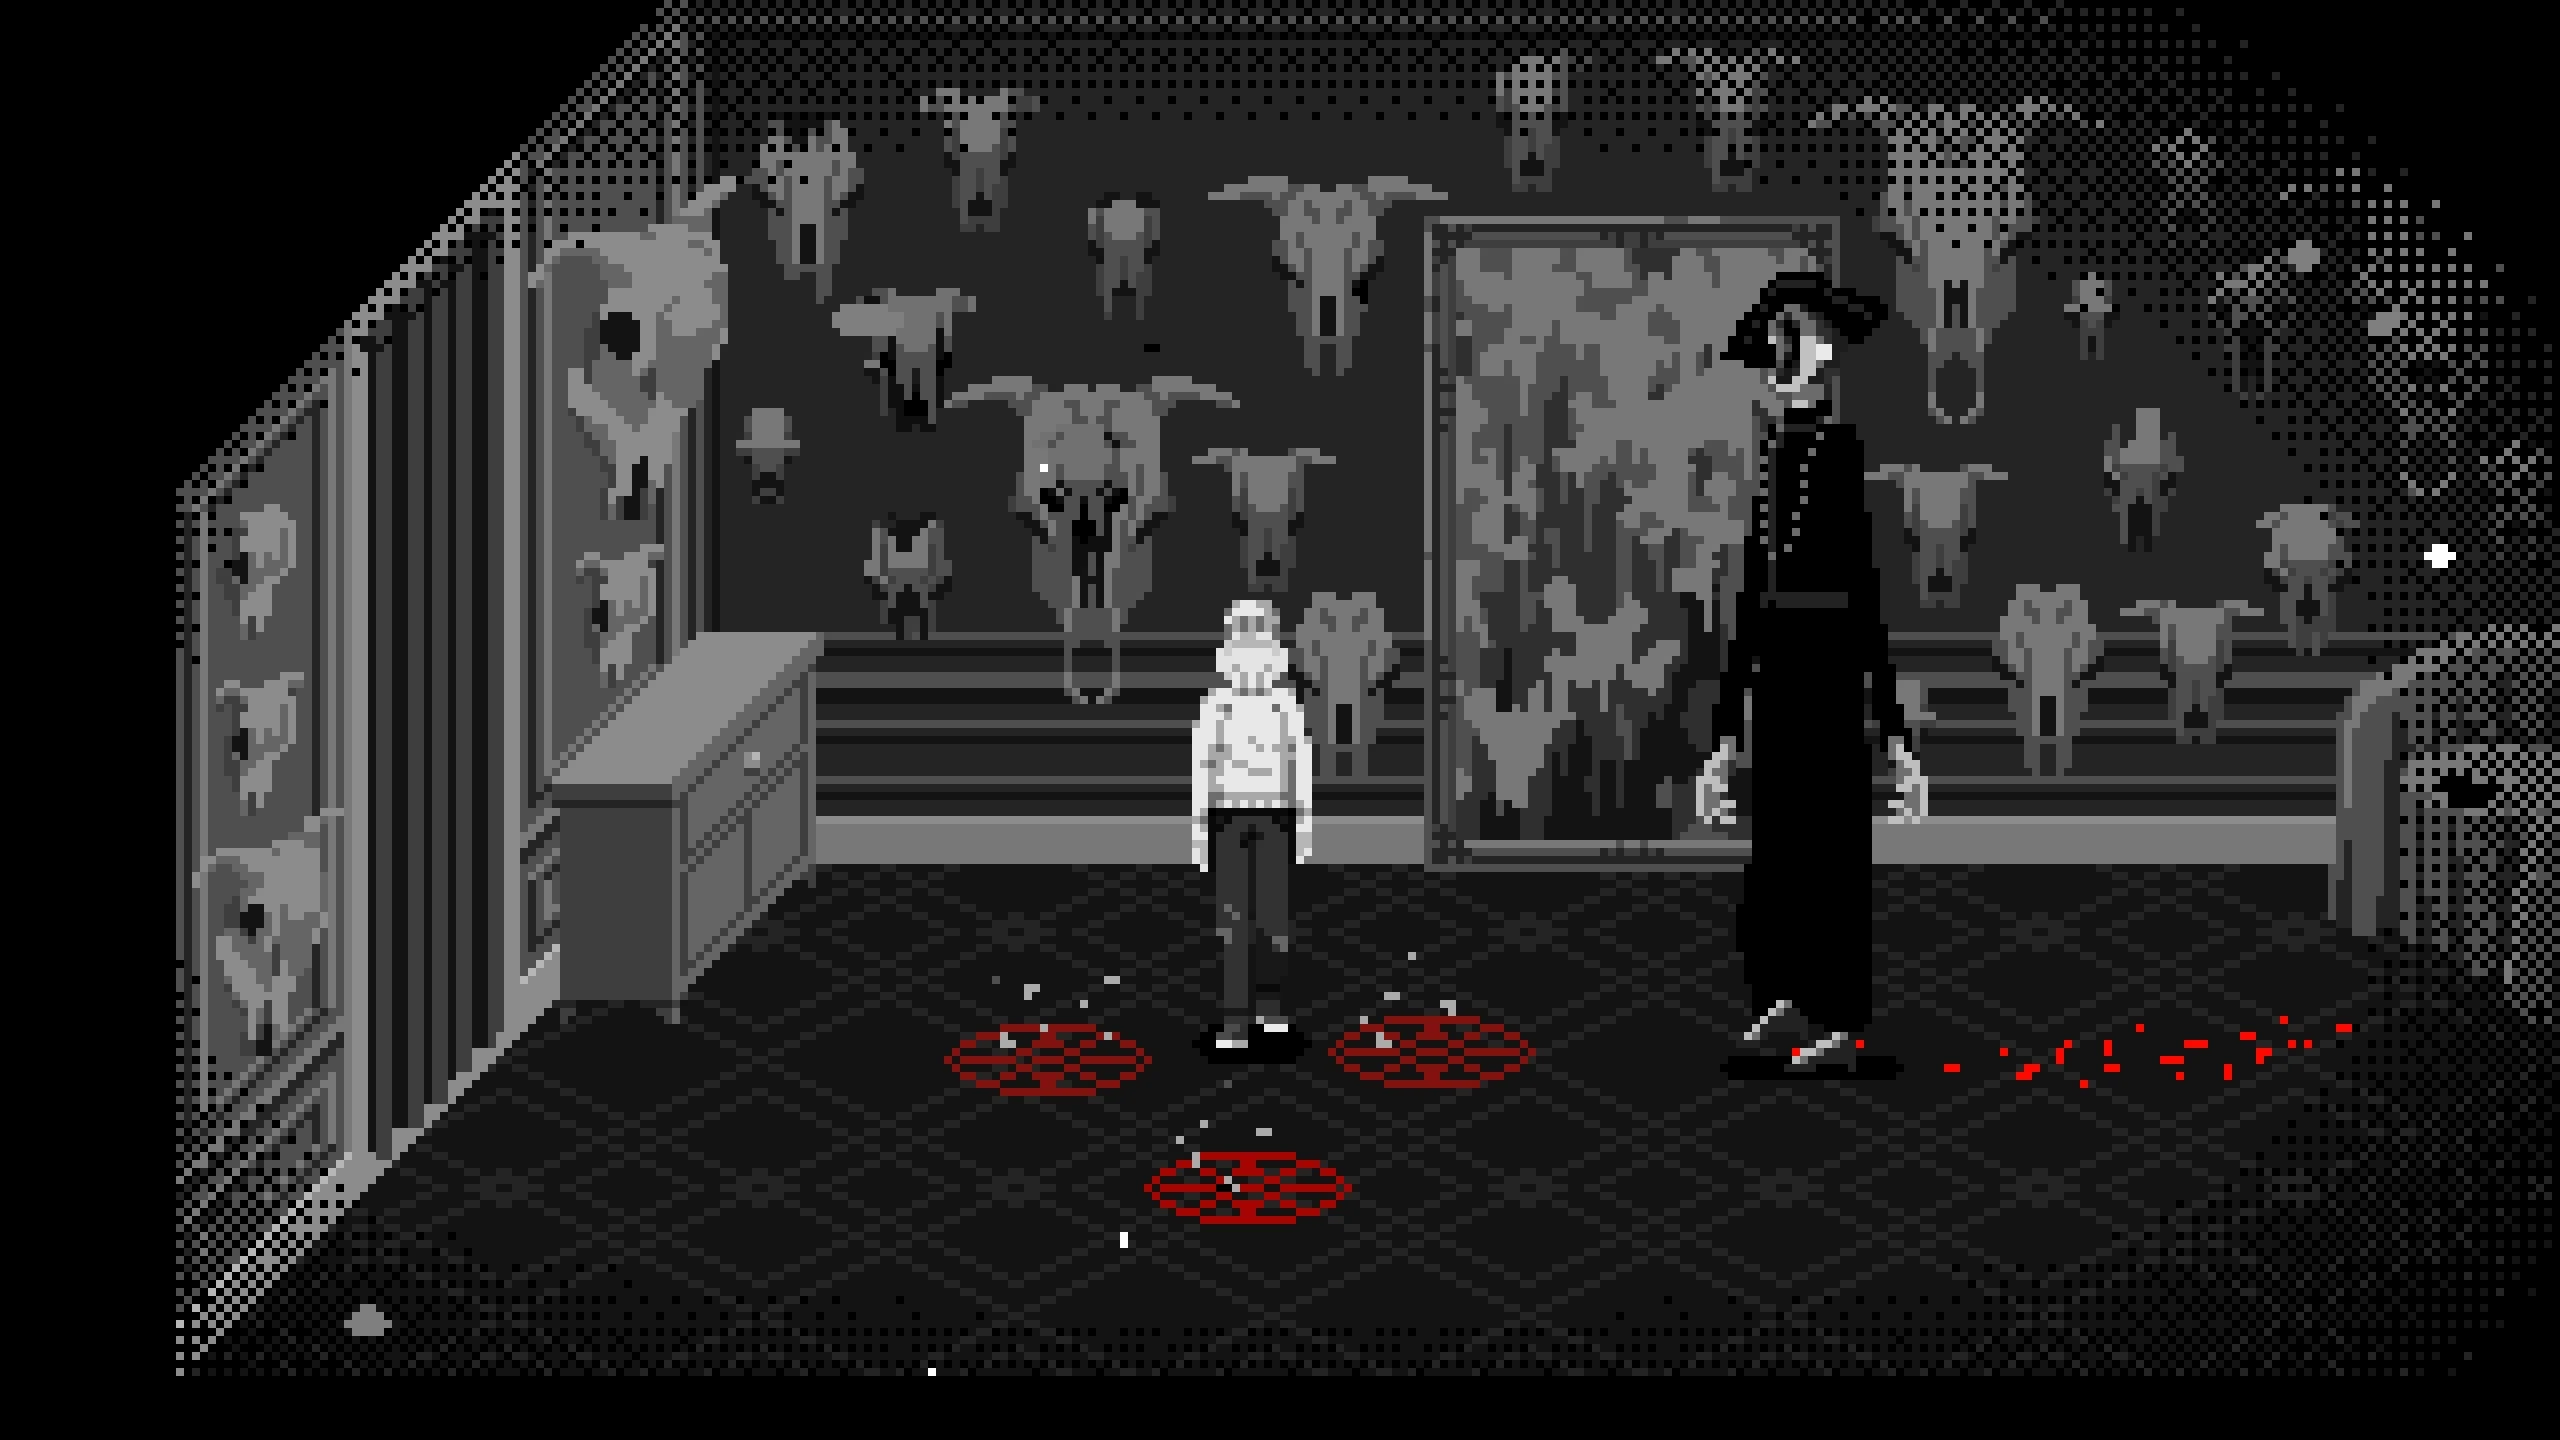
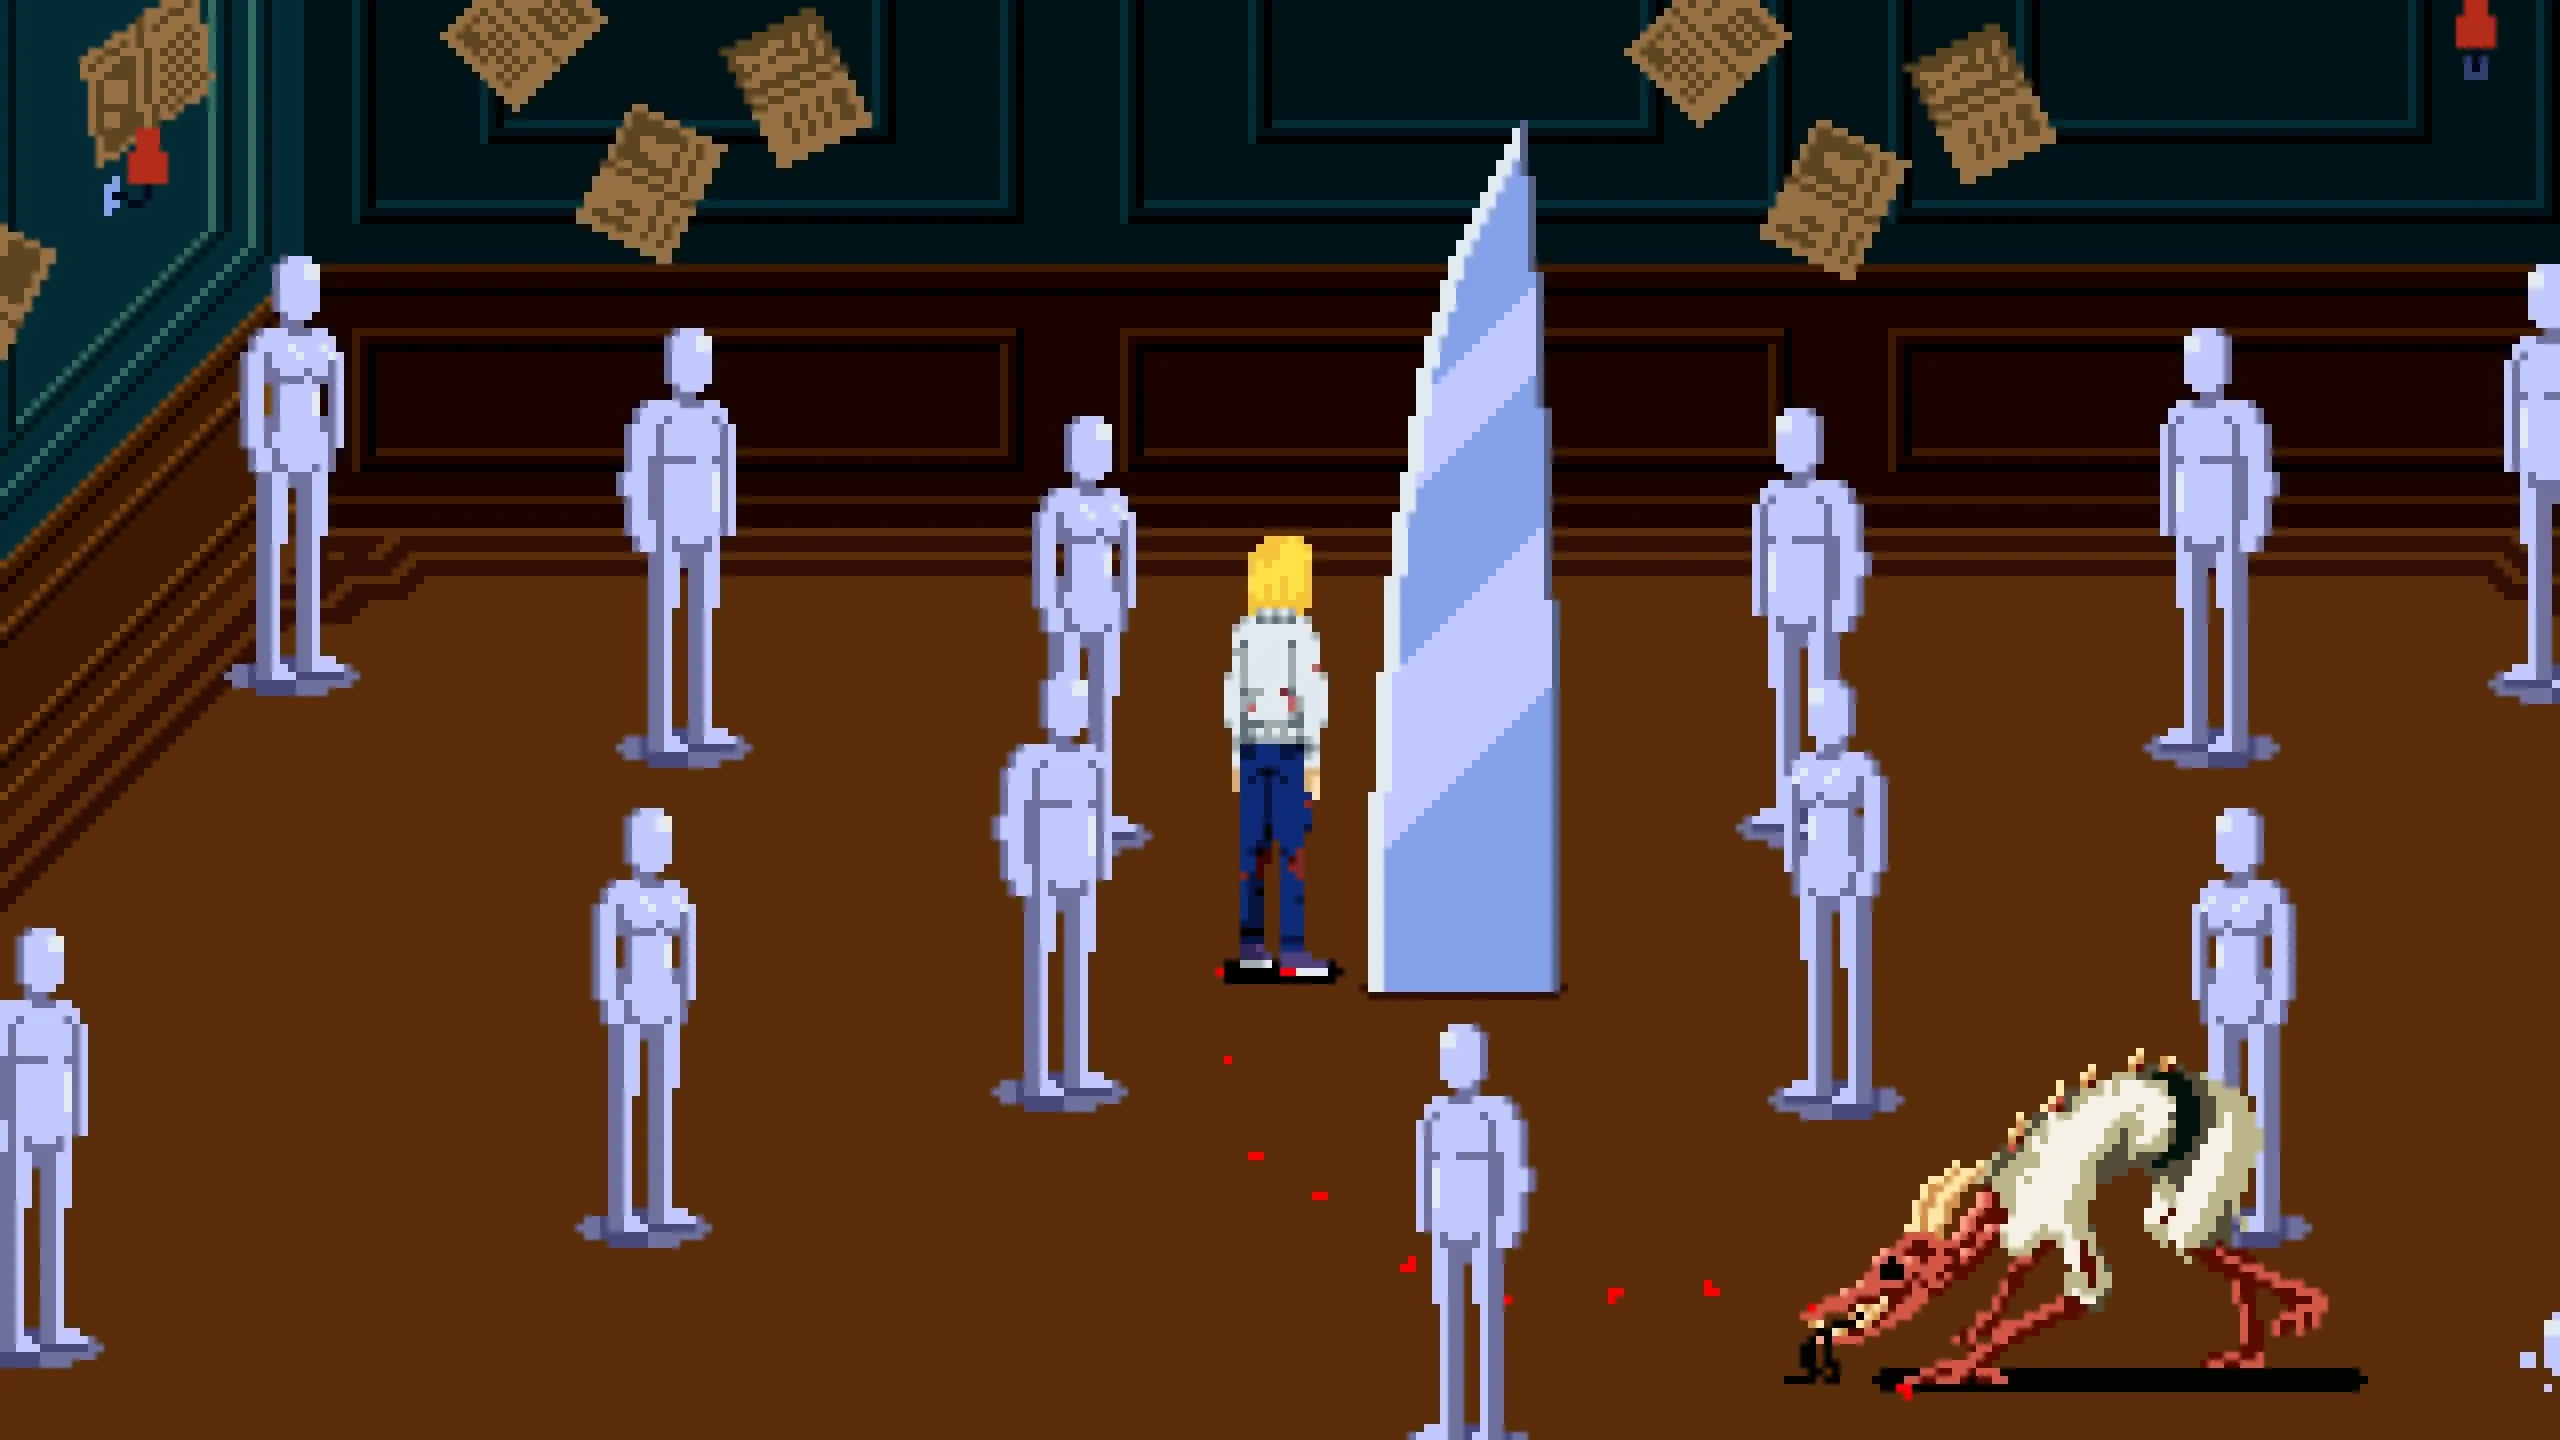
During beast-form Sanguis, position Julia so the standing mannequins are in the path of the boss’s attacks. Let Sanguis break them; the achievement is not a request for Julia to smash them with a weapon. Reposition between attacks and continue until every mannequin has been destroyed.
Keep away from the fight-ending knife setup until the mannequin goal is complete. The normal solution is to lure the beast to the giant knife, timing his pounce or getting him directly over it. That kills him and advances the game, which is exactly why doing it early can cost Bad Puppy.
Carnitos: one attempt for the triple hit, another for no damage
Valiant Little Taylor requires killing three Carnitos with one hit. In the encounter reached after using the Chisel, allow the small enemies to gather into one swing’s reach, then strike. The recorded condition is three in one hit, not three kills over the encounter.
Butcheress requires defeating the Carnitos without being hit. Preserve a pre-fight save and restart an attempt when damage occurs. Renka reports using the bottom-right corner to control the fight, but describes it as an AI blind spot. Treat that as a player tactic which may change with updates, not an invulnerability guarantee.
The two goals put different demands on positioning: gathering enemies for a triple can make a no-damage attempt less forgiving. Finish one condition and use the saved retry for the other if combining them is costing attempts.
Keep the finale deaths on their own saves
Acrophobia: on the Ending 1 branch, let Lacuna’s phase-one scream/jump attack catch Julia and drop her. Devoured: on the Ending 2 branch, approach Hermes’s visible mouth during phase two and let it eat Julia. These achievements require the specified death, not simply losing to that boss.
Reload afterwards and finish the ending normally. For Heart of Lead, use the Ending 2 branch to kill all Relicta, including those on every building floor, rather than just the ghosts directly on the route to Séptimo Arte. Renka reports unreliable kill registration and recommends single kills followed by waiting for the gold particles to disappear; that is a player workaround, not a confirmed engine rule.
Sources and version
Source-based walkthrough for the PC full release, checked October 22, 2026. Route reference: Metadata Rosenberg and Dalia’s Puzzle and Boss Guide, Boss Fight Tips 1–4.. Renka’s achievement guide supplies the challenge conditions and reports the Carnitos positioning and ghost-registration workarounds. No kill count, damage value or guaranteed exploit is inferred. Gameplay excerpts are credited in their captions. Check the official update feed if your installed version behaves differently.