Monster Hunter Wilds · Charge Blade · Base game
Charge Blade explained: build energy, load phials, boost the shield, then choose your axe route
On this page
- Read four different states instead of calling everything “charged”
- 1. Build Sword Energy, then actually load it
- 2. Convert the resource into shield boost
- 3. Choose an axe route that matches the opening
- 4. Add Sword Boost when its effect solves your problem
- Pick the weapon’s phial role before chasing a copied build
- Fix the state that failed
- Sources, controls and version
Sword Energy is not the same as loaded phials. Build energy with sword attacks, use Charge to store it, and spend phials on Shield: Elemental Boost. Then choose a discharge opening or activate Power Axe through a valid trigger. If your sword starts bouncing, check excess Sword Energy before assuming the entire weapon is ineffective.
Published October 17, 2026 · Base-game official online manual reviewed · Move names used so custom keyboard/controller bindings remain clear
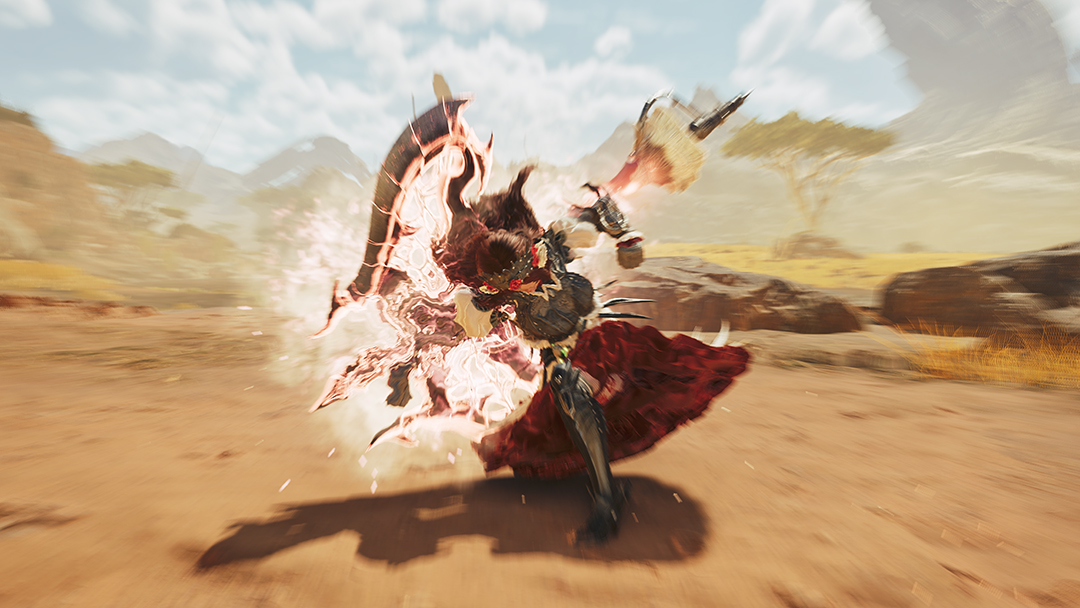
Read four different states instead of calling everything “charged”
| State | How it fits the loop | What it does not prove |
|---|---|---|
| Sword Energy | Sword attacks accumulate energy; yellow or above can be loaded into phials. | Building energy alone does not activate the shield boost. |
| Loaded phials | Charge converts stored energy into the weapon’s usable phial resource. | Having full phials is not the same as Power Axe being active. |
| Element Boost | Spending phials to boost the shield improves Sword Mode guarding and enables Super Amped Element Discharge. | It does not mean you can ignore the required move entry. |
| Power Axe | An axe enhancement that reduces phial use and supports additional hits. | Morphing to Axe Mode alone is not its activation condition. |
1. Build Sword Energy, then actually load it
Use Sword Mode to start the resource cycle. The official manual recommends substituting Charged Double Slash into the basic sword sequence to build the gauge quickly. Release the charged attack at its correct timing: holding longer is not automatically better, and an incorrect release can produce Rising Slash instead.
Once the gauge reaches yellow or above, use Charge. Watch the resource change rather than assuming that a glowing sword means the phials have already been filled. If you continue accumulating too much Sword Energy, attacks can deflect.
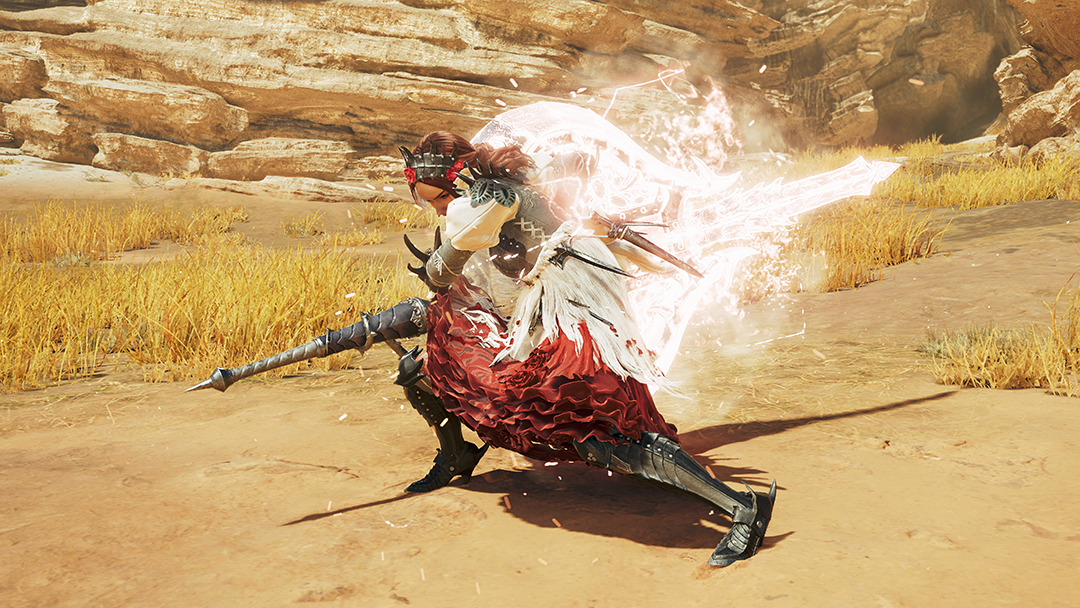
Useful detail: the manual states that charging when phials are already full enhances them with the surplus. That is distinct from filling empty phials. Learn the ordinary load first, then recognize the enhanced state instead of treating both resource displays as interchangeable.
2. Convert the resource into shield boost
During Charge, follow the Shield: Elemental Boost action shown in your control scheme. It spends phials and establishes Element Boost. This is a purposeful conversion: the phials you just stored are being used for a maintained state rather than immediately discharged into a monster.
There is also the Elemental Roundslash route from the preparation of Amped Element Discharge. Choose one route to learn first. Trying to remember both while also learning sword charging makes a failed state change harder to diagnose.
Our starting recommendation is to verify the sequence in the training area: energy → loaded phials → shield boost. Check each transition independently before adding the pressure of a live opening. This is a learning order, not a claim about the fastest speedrun opener.
- 1Sword attacks → Sword Energy
- 2Charge → loaded phials → shield boost
- 3Rebuild resources → choose discharge or Power Axe opening
3. Choose an axe route that matches the opening
Discharge route: confirm the shield state and entry
With Element Boost active, Amped Element Discharge can lead into Super Amped Element Discharge. The official recommended sequences also show a direct Super Amped follow-up after guarding with an attack that blocks.
Learn the difference between an entry being available and the monster allowing enough time to finish it. Our recommendation is to use a shorter action when the opening closes rather than force the remainder of a memorized combo. A combo list describes possible connections; it is not a guarantee that every monster pause accommodates the whole sequence.
Power Axe route: use a trigger, not just a morph
The manual supplies two clear routes: hit a wound with Focus Slash: Double Rend, or perform Savage Axe Slash after a Perfect Guard. The Focus Strike uses a leaping sword attack from either weapon mode, and hitting the wound puts you into Power Axe.
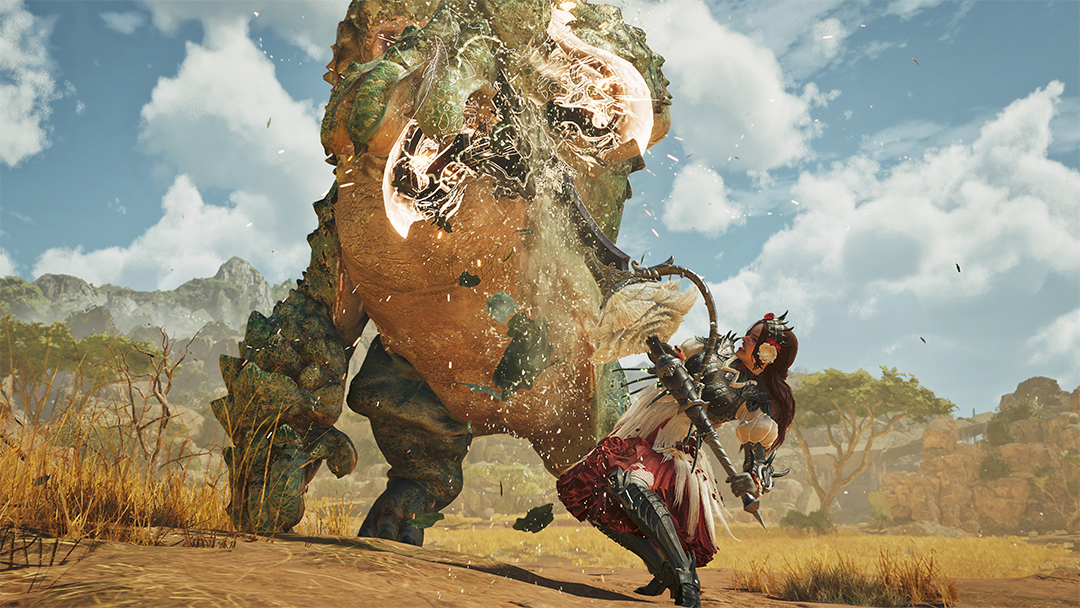
While powered up, axe attacks support additional hits through continued button input. Follow the individual move’s hold/continue prompt; do not assume a quick tap and the powered multi-hit input behave identically. The manual also describes reduced phial use, but does not establish a universal damage-per-second winner for every matchup.
4. Add Sword Boost when its effect solves your problem
Sword Boost is a further enhancement after Element Boost. It adds phial effects to sword attacks and prevents deflection while active. It is not the same operation as Shield: Elemental Boost, even though both are accessed around the charging sequence.
If your immediate learning problem is distinguishing resources, first make the shield loop repeatable. Then add Sword Boost deliberately and observe its state. Do not use the shared word “charge” as a substitute for checking which boost you actually activated.
Pick the weapon’s phial role before chasing a copied build
Impact Phials add stun and exhaust effects; Element Phials strengthen the weapon’s elemental properties. That is a meaningful branch in the system. A recommendation built around one phial type should not be copied to another without checking what the setup is trying to exploit.
For equipment decisions, identify the weapon’s phial type, intended target and attack route first. A build image that omits those conditions is incomplete. This guide establishes the resource and move-access foundation; it does not invent an endgame decoration set, a damage multiplier or a claim that one phial type always wins.
Fix the state that failed
| Problem | Check | Next action |
|---|---|---|
| Sword attacks deflect after repeated attacks | Excess Sword Energy | Load energy with Charge rather than continuing to overfill it; distinguish this from other deflection causes. |
| The gauge glows but the shield is not boosted | Energy versus loaded phials versus Element Boost | Complete the storage and boost steps separately. |
| Super Amped Discharge does not come out | Element Boost and the preceding move | Use a valid follow-up or guarded entry, not an unrelated neutral input. |
| Axe Mode is active but Power Axe is not | Did the activation action succeed? | Confirm the wound hit or Perfect Guard → Savage Axe Slash route. |
| Charged Double Slash becomes Rising Slash | Release timing | Follow the charge timing rather than extending the hold indefinitely. |
Sources, controls and version
Core states, move names and entry conditions were checked directly in CAPCOM’s Charge Blade manual. The manual homepage records an August 4, 2026 update for Ver.1.042.00.00. Its PS5 page is used for named actions; consult your own in-game prompts for custom bindings. CAPCOM notes that manual images can differ from the final presentation.
The Chinese topic lead was GamerSky’s Charge Blade move guide; its text, screenshots and numerical phial claims are not reproduced. CAPCOM’s Ascendance previews concern a 2027 expansion and are excluded from this base-game loop. Training order and decision explanations are independent editorial advice.
Next: decoration slots, talismans and a legal skill plan. Monster Hunter Wilds guides →