Transport Fever 3 · Cargo pickup · Mouse and keyboard
Cargo not loading? Check the pickup stop before adding vehicles
On this page
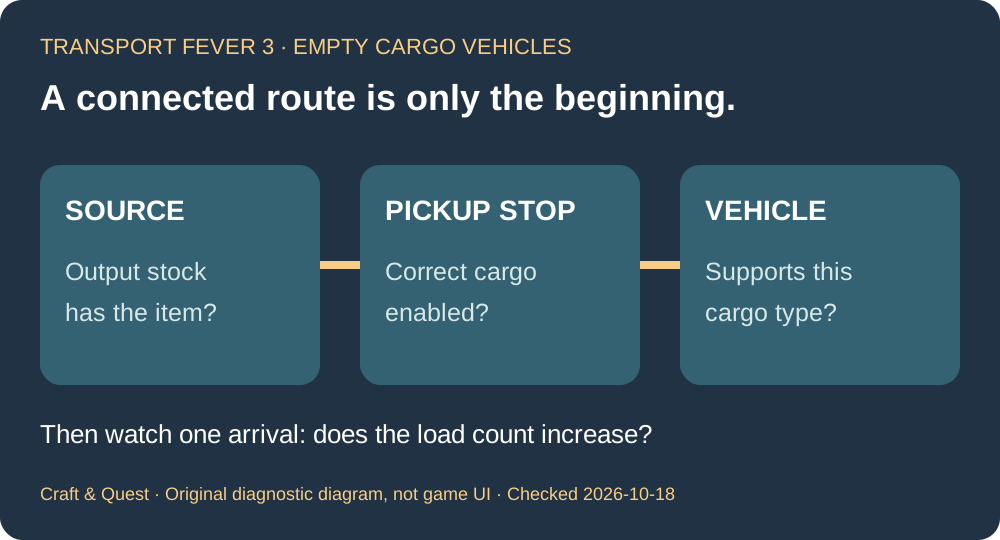
Confirm that the source has output stock, the vehicle supports that cargo, and the pickup stop is configured to load it. A connected route is only the route: it does not by itself prove that you selected the right cargo or destination.
Published October 18, 2026 · Current official manual checked October 18 · Vanilla cargo workflow
Watch the developer's supply-chain demonstration
Official Transport Fever channel: Building a supply chain, 1:44. The video was published August 28, 2025, before release; use it to see the logistics concept. The steps below use the current manual, rather than treating this preview interface as the final version. Footage stays on the original upload.
1. Find where the goods actually are
Open the producing industry's window and expand Output Stocks. Goods stay at their producer until collected. A production figure is not the same as the quantity currently waiting for your vehicle. Inspect the output item you intend to carry, not just the factory's activity or appearance.
For example, if your plan is to collect logs, write down that exact item and source. If the stock is empty, buying a second truck cannot establish whether the first truck's loading setup works. Investigate production first; if stock is available, continue to the pickup configuration.
2. Open the exact stop's cargo configuration
Open the line manager, select your line, then use the pickup stop's configuration button or cargo icons in the lower stop list. Enable the intended cargo and inspect its loading percentage. These settings belong to each stop: changing the destination row is not the same as changing pickup.
Before closing the panel, check three labels against your written plan: the selected line, the stop you edited, and the item you enabled. This simple comparison is particularly useful after copying or extending an existing route. Change one setting and watch one arrival before changing the whole network.
3. Match the vehicle to the cargo
Use the vehicle store's cargo filter to check compatibility. A vehicle that serves the line but cannot carry its intended freight does not become suitable merely because the road is connected. Check the current vehicle or train composition, rather than assuming every unit has the same cargo support.
Use one known-compatible vehicle for the test. Keep the intended source and destination unchanged. If it now collects the selected item, you have a useful baseline from which to expand; if it does not, note which earlier check failed instead of replacing vehicles repeatedly.
4. Separate pickup from delivery and loading speed
At the receiving end, confirm the correct consumer is within cargo catchment. The current manual distinguishes cargo catchment from passenger road access. A visually nearby passenger facility is not evidence of a working freight delivery.
Watch the load count as the vehicle visits the source. No increase is a pickup problem; an increase followed by an unsuccessful delivery calls for checking the receiving stop and consumer. A slowly increasing count is a different observation again. Record which event happens before choosing an upgrade.
The developer explains that integrated industry loading docks are convenient starting points but slow. Specialised stations offer a speed trade-off with costs and environmental impact. That upgrade decision comes after a working pickup test; a larger station is an expensive way to discover that the wrong cargo was enabled.
A short test record you can repeat
- Source and output item: what should this vehicle collect?
- Output stock before arrival: is there anything to load?
- Pickup row and filter: did you edit the intended stop?
- Vehicle: does it support that item?
- Load before and after the stop: did pickup happen?
- Receiving consumer: is the intended delivery covered?
Keep the first successful arrangement as your baseline. Only then add vehicles or more cargo types, one change at a time. This is a troubleshooting procedure, not a promise of a specific income or throughput.
Sources and related help
Official references: industry stocks, stop cargo configuration and vehicle filters, station catchment, and the developer's pre-release loading-system explanation. Current manual takes precedence over preview details. The checklist is independently organised; it is not a gameplay test report.
If the map will not load at all, use the separate save-loading crash checks. All Transport Fever 3 guides →