We Were Here Tomorrow · Co-op puzzle · Spoilers
We Were Here Tomorrow Cargo Elevator: Both Keys & Many Ways
On this page
- Before the fuse: choose the normal lift route or Many Ways
- Stop the fan and lower the crane for the hanging fuse
- Use the plate and folding plank to enter the office
- Hold the first monkey bar while your partner hooks the green key
- Open the shutter and retrieve the purple key beneath the office
- Insert both keys, board together and start the lift
- Sources
Collect the green and purple keys through the office-controlled openings, put green in the lift’s left slot and purple in the right, then pull the lift chain together. For Many Ways, leave the fuse socket empty and reach the gallery using the lift-side goop steps.
Before the fuse: choose the normal lift route or Many Ways
The Cargo Elevator needs a green key and a purple key in its console. The keys are behind separate openings controlled from the office above the hall. Give the climbing and monkey-bar jobs to the Goop Gun player; the Hook Gun player collects the keys through the openings. Call each other Goop and Hook while you split up. The office player and the collector face different directions, so give the room or device along with any left-or-right instruction.
First decide whether you want the Many Ways achievement on this attempt. It requires starting the lift while the fuse socket is empty. Inserting the hanging fuse locks it into the socket, so make this decision before completing the ordinary fuse-door route. For a straightforward progression clear, use the fuse and continue through the gallery. For Many Ways, leave it hanging and reach the gallery from the lift side using goop steps.
| Item or control | Job | Who handles it |
|---|---|---|
| Hanging fuse | Opens the ordinary gallery access | Goop player holds the crane chain; Hook player retrieves it |
| Office monkey bars | Hold the key openings accessible | Goop player hangs on the requested bar |
| Green key | Left lift-console slot when facing the console | Hook player retrieves it through the gallery hatch |
| Purple key | Right lift-console slot | Hook player retrieves it from the passage below the office |
Use short completion calls: “holding,” “key collected,” and “clear of the shutter.” A spring-loaded opening can close when its operator releases the control. The collector should confirm the item is actually in hand before the operator changes position. This is especially important during the purple-key trip, where the collector must leave the passage again.
For Many Ways, keep the fuse on the crane and use the lift-side gallery entry as the first climbing job. The Goop player builds the steps; the Hook player climbs onto the gallery and waits at the green hatch. Once that player has reached the upper walkway, recall the temporary lift-side goop so the Goop player can prepare the separate office climb.
From there, collect both keys using the same office controls as the ordinary route. Keeping the fuse socket empty changes gallery access, not the requirement for two keys in the lift console. Before departure, have the Hook player confirm the green key, then the purple key, and have the other player confirm that nobody inserted the fuse during an earlier troubleshooting attempt.
For the normal route, use the gallery stairs after the fuse door opens. On the normal route, the inserted fuse opens the stairs. On the achievement route, the socket stays empty and the Hook player reaches the gallery by the goop steps beside the lift. Tell your partner which route you are taking before one of you climbs to the office.
Stop the fan and lower the crane for the hanging fuse
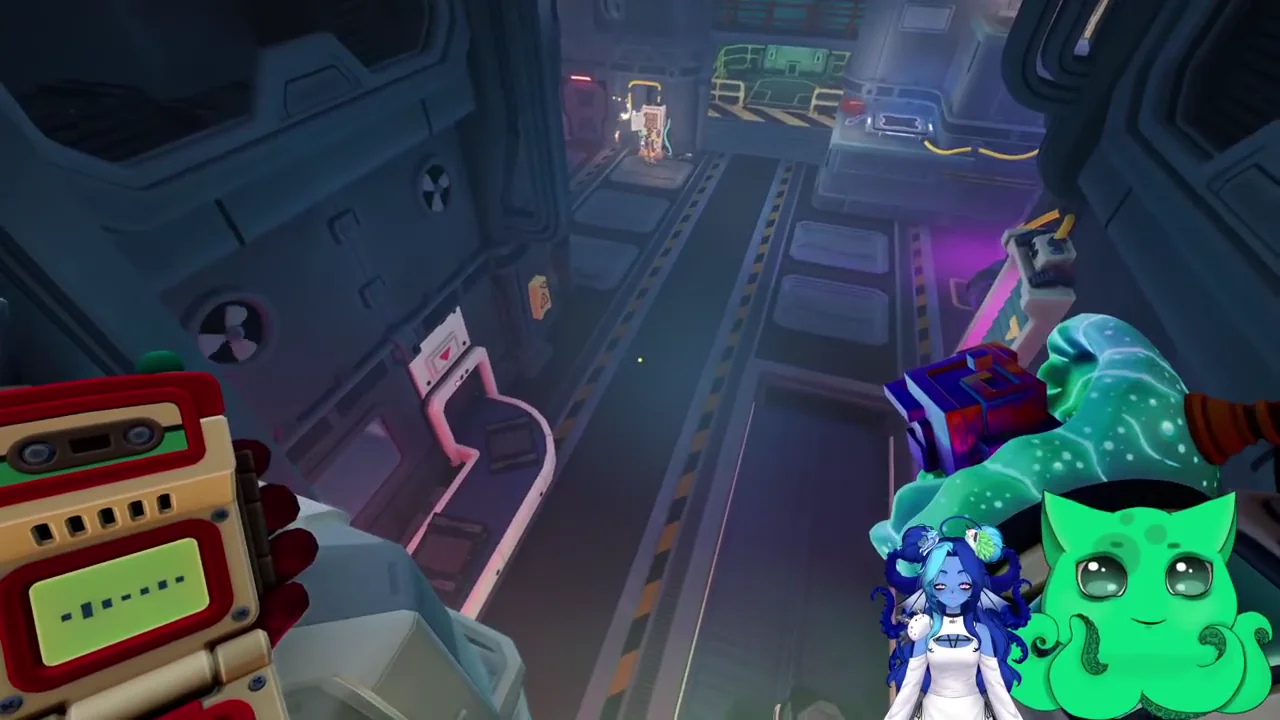
For the ordinary route, locate the fan in the wall above the conveyor. The Goop Gun player shoots goop onto the fan to stop it. The Hook Gun player then hooks the stopped fan and keeps holding it open. Prepare a climbable goop stack below the opening so the Goop player can enter the duct while the partner maintains the hook.
Follow the duct up to the catwalk with the crane chain. At this point the Hook player can release the fan and move below the hanging fuse. Pull the crane chain fully and hold it; the crane lowers the fuse into reach. The collector should stand directly below the item on the hall floor, look upward and hook the fuse rather than aiming at the arm supporting it.
After the fuse has been collected, release the crane chain. Return through the duct if needed, with the Hook player reopening the still-gooped fan for the descent. Keep the temporary steps until the returning player is safely down. Recall goop after the crossing instead of removing the platform while somebody is still relying on it.
Take the fuse to its socket by the gallery door and insert it. Follow the newly available stairs to the gallery around the lift. The Hook player needs the gallery position facing the green key’s hatch; the Goop player needs to reach the office above the hall. Before separating again, confirm that both have identified their next destination.
Use the plate and folding plank to enter the office
Find the raised grey block carrying a pressure plate. Build a short goop stair against it: a lower step and a higher stack beside it. Climb the steps onto the block, then put goop on the plate. The purple plank folds down into a bridge leading toward the office’s open window. Use the window with no glass rather than pushing against a neighbouring pane.
Prepare the next goop steps against the wall near the plate and climb to the ledge beside the folding plank. Cross the plank and enter the office. Leave the plate supplied while this bridge is needed: recalling the supporting goop can fold the plank away and remove the return route. Tell the collector when you are inside and ready to operate the monkey bars.
If the plank stays up, inspect the plate itself. Check that the goop landed on its surface rather than on the floor beside the block. If the bridge is down but the climb fails, check the final ledge and window you are aiming for. Adjust the position of the temporary steps instead of repeatedly attempting a jump from the same poor angle.
Hold the first monkey bar while your partner hooks the green key
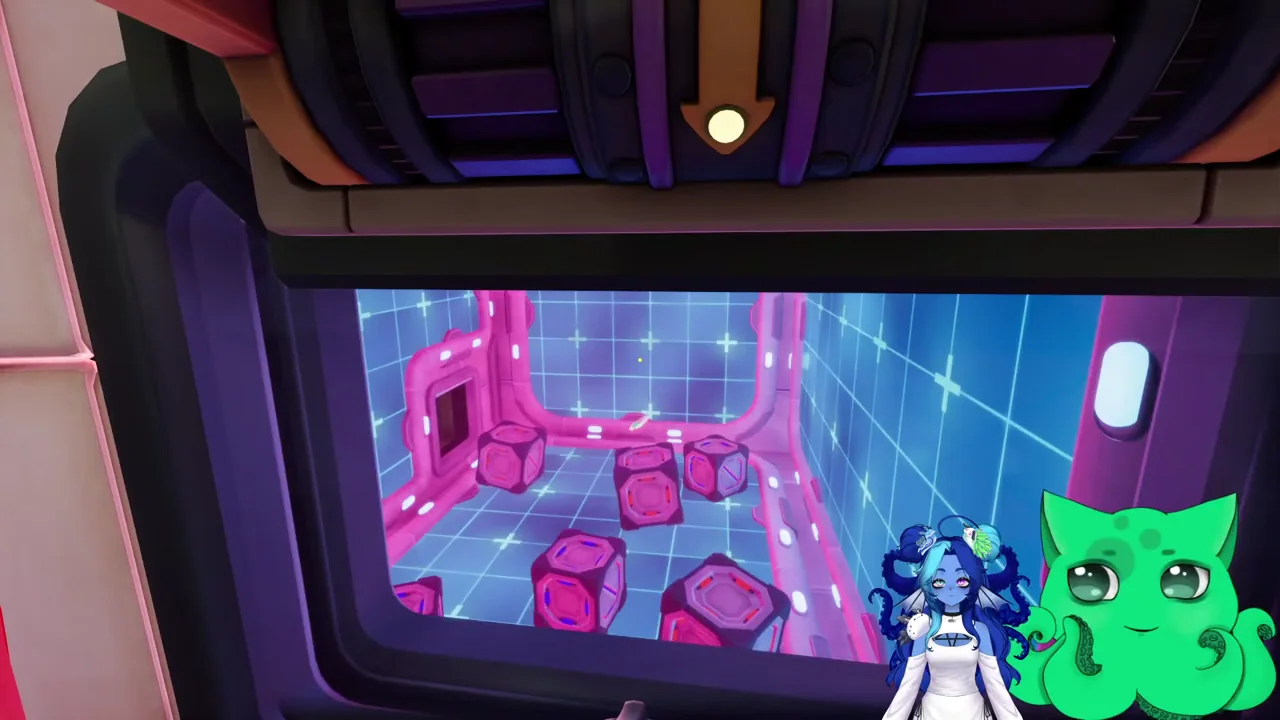
The first office monkey bar opens the hatch hiding the green key. Jump up to grab it and hang until the bar is fully down. The Hook player waits on the gallery outside the key room, facing the opening. When it opens, aim at the green key and pull it through with the Hook Gun.
The opening allows the hook through but blocks a player. Remain outside and collect the item from the gallery instead of trying to squeeze through the hatch. Once the key is held, call “green collected.” The office player can then release that bar and move to the other one without making the collector restart the interaction.
For the no-fuse Many Ways route, the Hook player reaches this same gallery from the lift floor. Build goop steps under the gap in the inner gallery railing above the lift entrance. Climb the lower step, the higher stack and then the gallery edge. Walk around to the green hatch; the Goop player still needs the office route and first monkey bar described above.
Once inserted, the fuse stays in the socket. If you put it in before deciding to attempt Many Ways, finish the normal lift route or return to an earlier checkpoint for another attempt. On the next try, leave the hanging fuse alone and send the Hook player up the lift-side goop steps before working the office controls.
Open the shutter and retrieve the purple key beneath the office
Move to the second monkey bar in the office’s other corner. Hang on it to open the green shutter in the hall wall. The Hook player stands opposite that shutter and pulls the push-pull crate out of the channel. The crate drops onto the lower conveyor, creating a climbable approach into the opening.
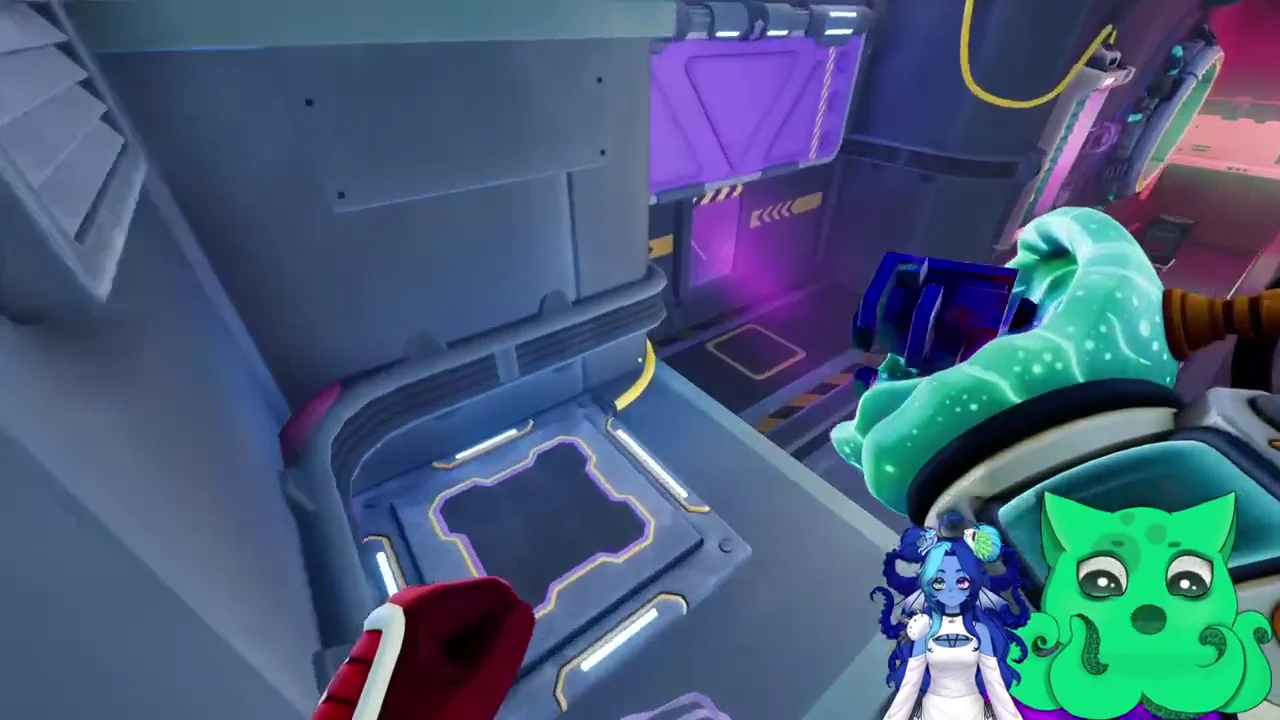
Drop to the conveyor, climb onto the crate and enter the channel behind the shutter. Continue to its end and look through the low side gap into the passage under the office. The purple key hangs there; hook the item through the gap. Avoid switching attention to other objects in the room until the key has reached your hand.
Return to the shutter, drop back onto the crate and leave the channel while the partner keeps hanging. Call “out” only after you are safely on the accessible side. That lets the office player release the bar and begin the return trip without closing the shutter across the collector’s route.
If the hook cannot reach the purple key, move farther along the channel and look through the intended low gap. A view from the lift or the wrong doorway gives a different distance and angle. If the crate is still behind the shutter, reopen it and pull the crate into position before trying to climb into the passage.
During the purple-key trip, keep the collector’s return path clear around the crate. Ask for a final “back on the hall floor” confirmation before recalling goop or moving away from the office controls. With the collector back beside the lift, the office player can leave the controls and take the plank route down. Wait for both players to arrive at the lift console before starting the final countdown.
Insert both keys, board together and start the lift
Bring both players back to the lift. Facing its console, put the green key in the left slot and the purple key in the right slot. Inspect the console after insertion and confirm that both keys registered. The Goop player should leave the office by the supported plank route before recalling the temporary steps.
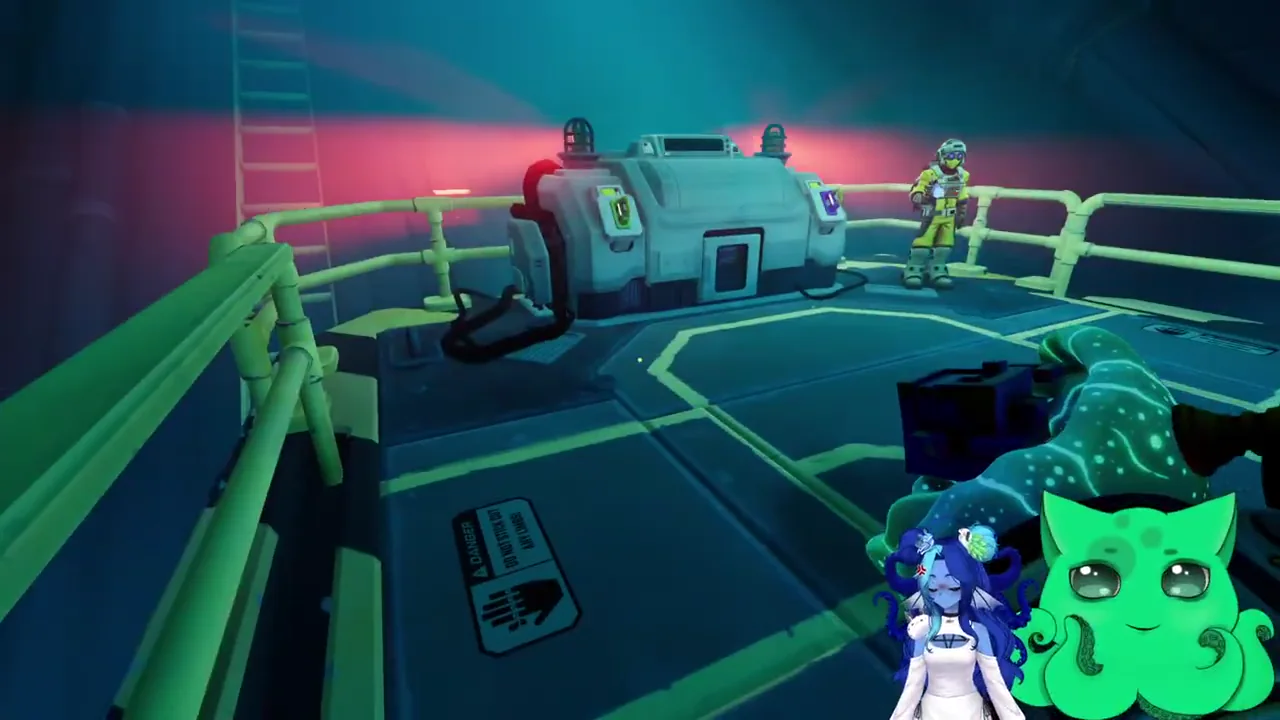
Stand together on the lift and pull the two-handled chain all the way at the same time. Use a countdown after both players are in position. If only one handle moves or the console is still missing a key, solve that condition first rather than repeatedly pulling. The normal lift departure awards Onwards and Upwards; the empty fuse socket adds the separate Many Ways condition.
Stay aboard while the lift sequence completes and the next area loads. Once you reach the Particle Accelerator Lock, change roles from climbing and item collection to reading monitor symbols and matching the button panel. Keep the tools identified by function so changing room colours does not confuse your callouts.
Sources
Puzzle reference · Patch 1.1.2