We Were Here Tomorrow · Launch puzzles · Spoilers
We Were Here Tomorrow Circuit Board: All Six Socket Matches
On this page
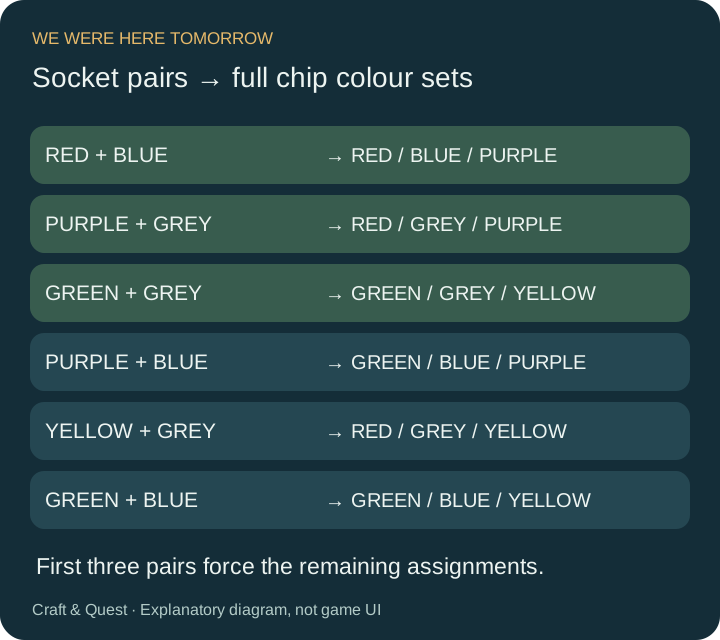
Match each socket’s two colours with a component containing both. Fill the three forced matches first: red/blue, purple/grey and green/grey. The remaining chips then resolve purple/blue, yellow/grey and green/blue. Install all six and press the board’s check control.
Get one player onto the circuit board
This puzzle is in the Research & Development laboratory. One explorer uses the Matter Reduction / Enlargement Platform while the partner operates the external equipment. Once the explorer has shrunk, open the miniature exit and let them reach the board. Assign roles by size: the miniature explorer handles components; the normal-sized explorer reads the monitor and reference note.
The board has six sockets. Each socket carries two colour markings, while each loose component represents a set of three colours. The clue monitor uses shapes for those colours, so keep the reference key available when matching a component. Call both socket colours before picking a chip, especially when lighting makes grey and another pale colour difficult to tell apart.
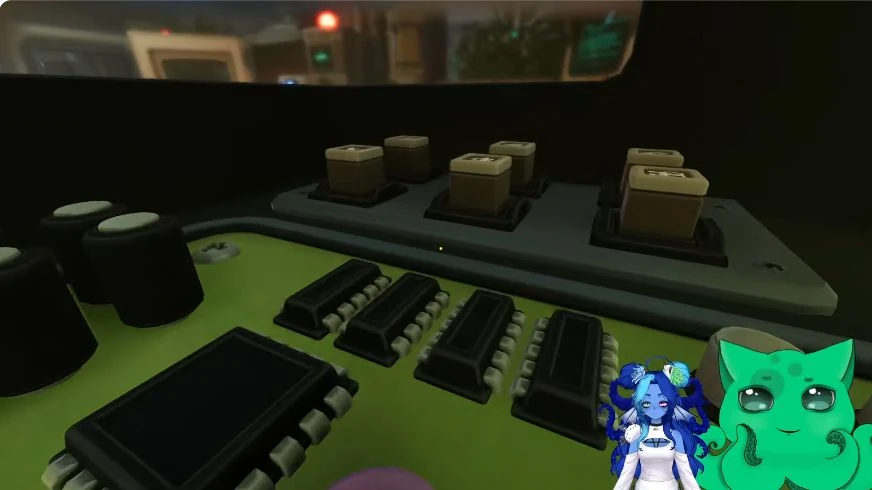
Translate the markings before placing anything
| Colour | Matching shape |
|---|---|
| Red | Triangle |
| Blue | Y |
| Purple | Star |
| Grey | Pentagon |
| Green | Square |
| Yellow/orange | Plus or cross |
Use the embossed shape when the warm-coloured screw looks orange rather than yellow on your screen. Agree that “plus” and “cross” name the same mark for this puzzle. On the monitor, find the drawing associated with the required three-shape set; use that drawing to identify the physical component.
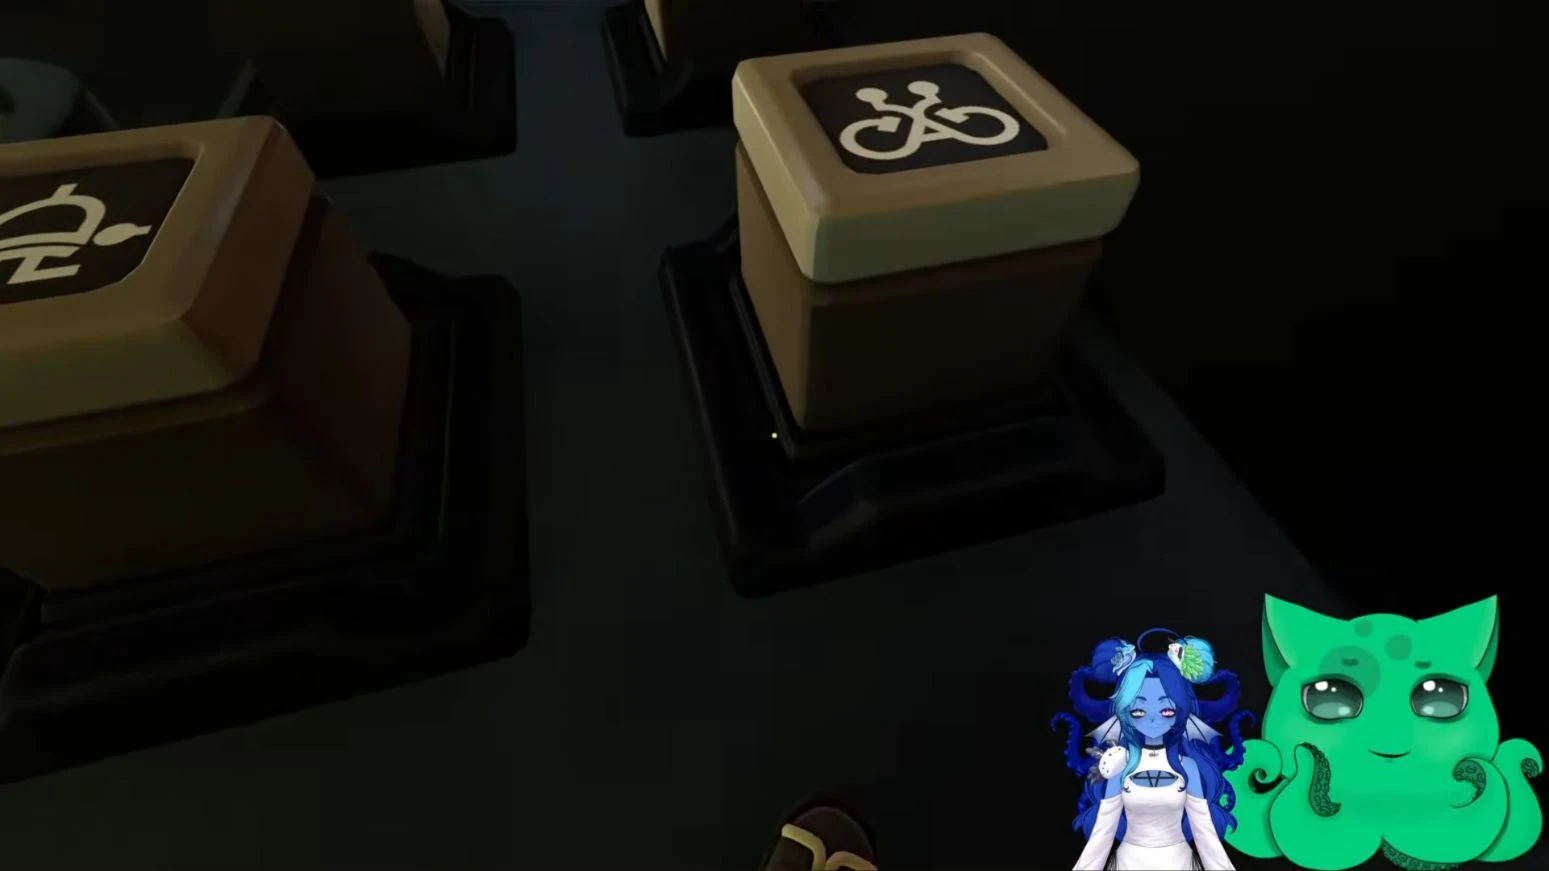
A socket only supplies two constraints. A chip with red, blue and purple can fit a red/blue socket, but it can also appear to fit purple/blue. The assignment must leave a suitable chip for every socket. That is why starting with the nearest open socket can create a dead end later.
Place the forced matches, then the remaining three
| Order | Socket pair | Component’s full set |
|---|---|---|
| 1 | Red + blue | Red, blue, purple |
| 2 | Purple + grey | Red, grey, purple |
| 3 | Green + grey | Green, grey, yellow |
| 4 | Purple + blue | Green, blue, purple |
| 5 | Yellow + grey | Red, grey, yellow |
| 6 | Green + blue | Green, blue, yellow |
The first three sockets each have one compatible component in the full set. The remaining rows become forced once those components are used. You can walk to the sockets in any convenient order; the numbered sequence above makes the reasoning easier to follow while the two players compare their views.
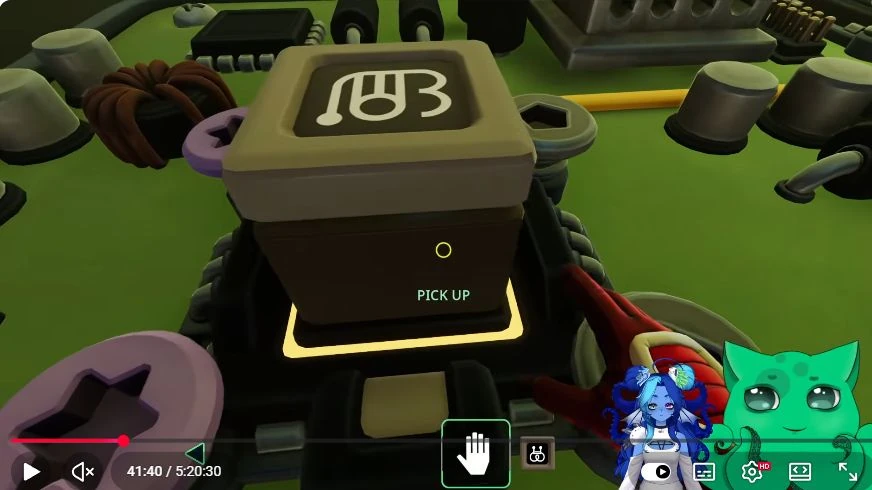
Work through an ambiguous socket
Suppose the miniature explorer reaches purple/blue first. Two chips contain that pair: red/blue/purple and green/blue/purple. Reserve the red chip for red/blue, because the green chip cannot serve that socket. Place green/blue/purple at purple/blue instead. You have now filled two sockets while preserving a valid option for each.
Apply the same reasoning to the grey/yellow pair. Green/grey/yellow is needed at green/grey, leaving red/grey/yellow for grey/yellow. Describe the full chip set when handing off the instruction: “grey and yellow socket, use the red-grey-yellow chip.” That wording keeps the destination pair and the carried component distinct.
If you already used a reserved chip in another compatible socket, trace that pair back through the table. Correct the assignment that consumed the unique option, then fill the stranded socket. Inspect the other ambiguous placements before checking the entire board.
Read a component’s three markings in a consistent order when checking your notes. For instance, write red/blue/purple as one entry instead of making separate notes for “purple with red” and “blue chip.” That prevents the same physical component from appearing to be two available choices. Cross out a component only after the miniature player confirms where it was placed.
For a final audit, the reader can name the six destination pairs while the operator visits them. At red/blue, check that both colours occur on the installed chip; repeat at the other five sockets. If each individual placement seems compatible but one chip remains homeless, revisit the three forced assignments. One of their chips is usually occupying a flexible socket. Follow that specific chain of placements rather than removing every component and recreating the same guess.
Check the completed arrangement
- Read each socket’s two markings again.
- Compare both with the component occupying it.
- Confirm all six chips have a destination.
- Activate the check control and allow its response to finish.
- Follow the opened route once the board accepts the arrangement.
If a component is hard to reach, check that the placing player is still miniature and close enough to interact. Leave the normal-sized partner at the reference station so they can continue reading the missing set rather than both searching the board from the same viewpoint.
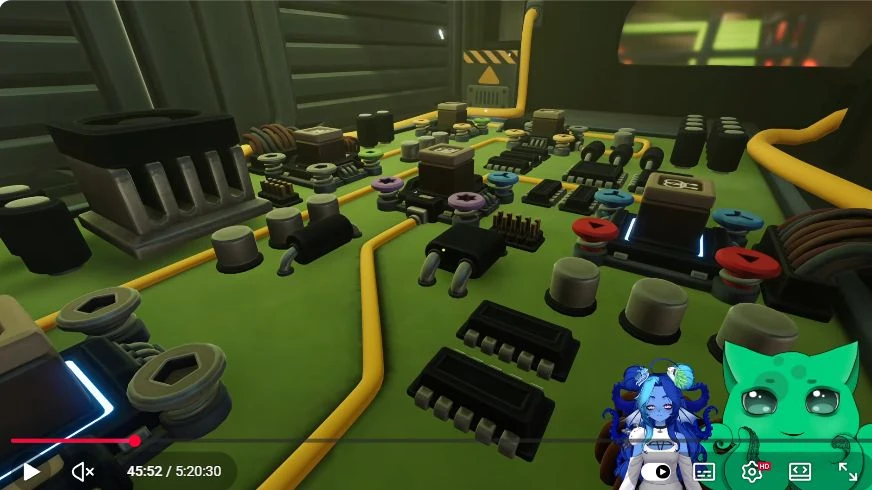
After completing the board, continue with the four-dose resin mixture. That room also separates a clue reader from a miniature operator, but its order comes from the chemical recipe rather than the socket table.
Sources and gameplay reference
- Socket and component data
- Circuit board and shrinking observations
- Zedaph: component monitor, 55:02
- fgw: circuit board, 24:48 onward
Step images: Darlom, We Were Here Tomorrow Can A Couple Solve All The Puzzles? | Live Gameplay, Creative Commons Attribution. Frames exported as WebP with the original creator overlays retained. Game © Total Mayhem Games.