We Were Here Tomorrow · Launch puzzles · Spoilers
We Were Here Tomorrow Floppy Doors: Cartridge, Dial Pairs and Both Panels
On this page
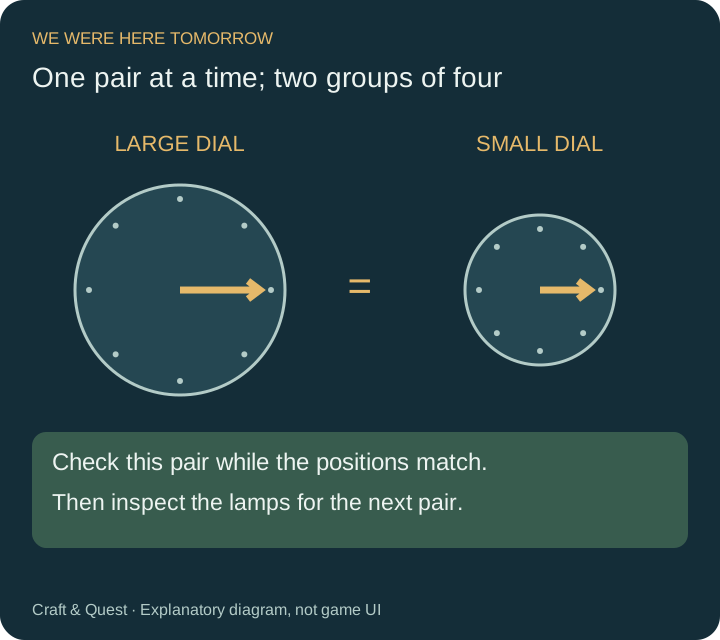
Insert the cartridge, start a dial group with its chain, and check each large/small pair when their pointers align. Complete four pairs on the first panel and four on the second. The second group has diagonal positions as well as up, down, left and right.
Power the dial station before starting a group
In Dr. Dahne’s laboratory, the miniature route reaches the inside of the machinery while the other explorer can operate the outer console. The station uses a cartridge and two groups of dials. Insert the cartridge into its slot before trying to solve the groups. Check for the active monitor or machine response once it is inserted.
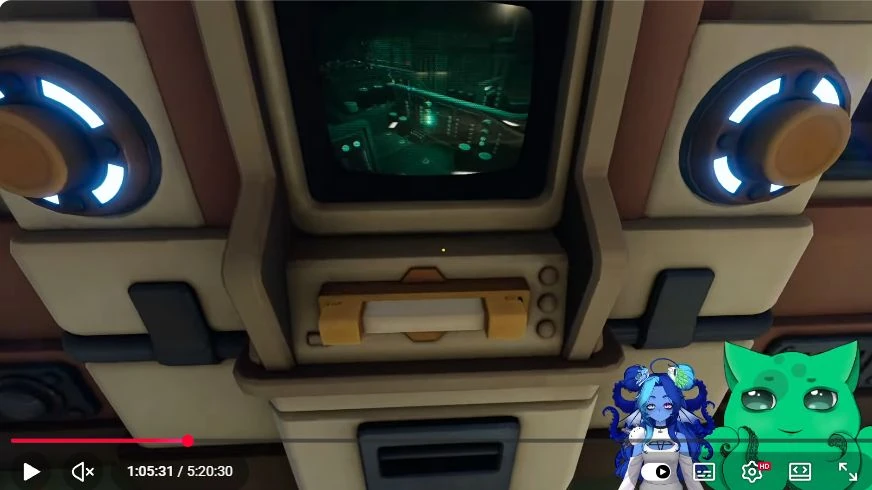
If the small explorer has reached a passage blocked by large floppy-style doors, keep the partner at the external console. Compare what each of you can reach before changing size again. One explorer needs access to the miniature mechanism, while the other watches the larger panel and its check control.
Agree on one way to describe the pointers
Number the pairs from one to four in the order checked by the machine. Use screen-relative directions: up means the top of the dial you are describing, and right means its right edge. Read the pointer’s position, then say the pair number. “Pair two, right” is much clearer than a bare “right” while your partner is still watching pair one.
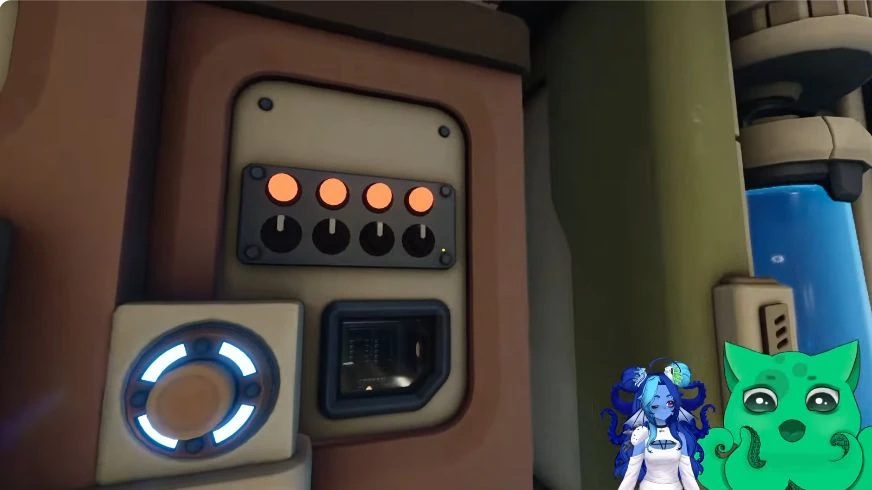
Before a timed check, both players should confirm which pair they are observing. If one player says “two” and the other is on “three,” pause until the same pair is located. The progress lamps show which position the panel has reached, so use those lamps after each check to choose the next pair.
Complete the four-position group
- Pull the group’s chain to start its dials.
- Watch the first large/small pair and call their positions.
- Use the check control when the two positions coincide.
- Inspect the progress lamps to see which pair is next.
- Repeat until the panel has accepted all four pairs.
The dials move in steps with brief pauses. Observe a complete cycle before the first check so you can recognise those pauses. A useful callout is “approaching right” followed by “right now” when both views agree. The player at the check button can then connect the command with the actual position instead of reacting to an unexplained countdown.
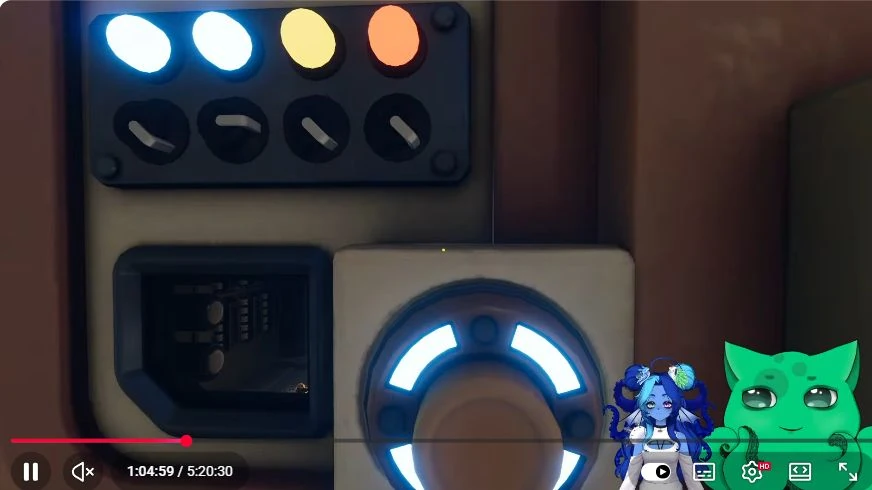
For example, suppose pair one’s large dial points right while the small dial is still pointing up. Keep watching that pair until the pointers occupy the same position, then check. After the accepted lamp changes, move attention to pair two even if pair one continues to be visible.
Repeat with the eight-position panel
The second group adds the diagonals. Agree on the eight names before starting: up, upper-right, right, lower-right, down, lower-left, left and upper-left. Use the same vocabulary on both sides. Calling a diagonal “almost up” makes two adjacent positions sound like one target.
Watch the active pair, check its alignment and inspect the progress lamp after each attempt. If a check fails, read the panel’s resulting state before proceeding. Start from the pair the machine currently requests rather than automatically continuing with the next number on your notes.
Fix an early or late check
If both players saw matching directions but the machine rejected the check, compare what was visible when the button actually registered. Voice transmission and reaction time can put a spoken “now” behind the animation. Let the outside operator watch another cycle, use the same active pair and adjust the next call to the response you observe.
Keep the retry controlled: retain the agreed direction names and change only the check timing. If the pointers were different at the check, correct the alignment first. If the pair number was wrong, return to the progress lamps. These observations identify whether the next attempt needs better timing or attention on another pair.
For a diagonal retry, name the corner precisely before the dials reach it. “Upper-right” must mean the position between up and right on both displays. If the two explorers describe the same pointer differently, use its neighbouring cardinal directions to settle the description. Then watch a fresh cycle and compare the same pair again.
Keep a simple progress note for the two panels: first group, pairs one through four; second group, pairs one through four. Mark a pair complete from the machine’s response, then read the next active position. This is particularly useful after the miniature explorer moves to another viewing point and the outer player is still looking at the completed panel.
Confirm both groups before entering the printer puzzle
A completed first panel still leaves the second group to solve. Inspect both sets of lamps and follow the miniature route as the doors open. Once the two groups are complete, the 3D printer’s grid becomes available.
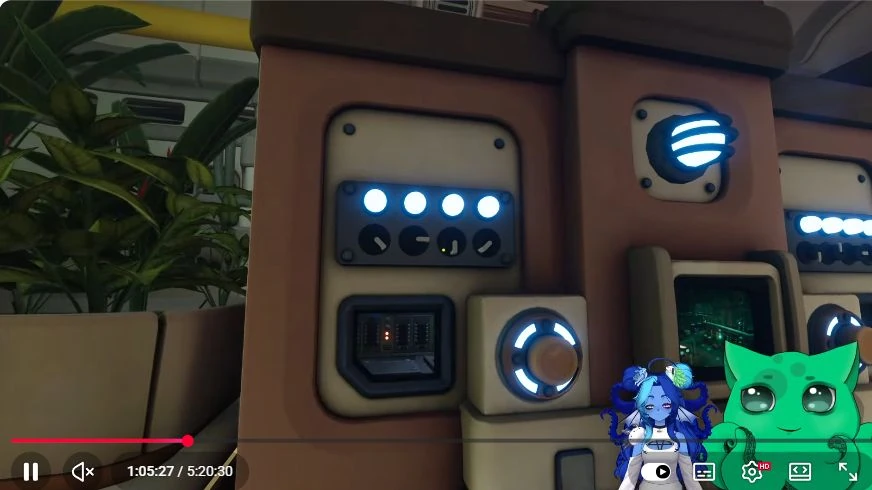
Continue with the green key-card printer guide. It uses the illuminated cabinet as a target and a five-pad controller inside the machine, so finish the dial groups before searching that cabinet for the next pattern.
Sources and gameplay reference
- Cartridge prerequisite and pair checks
- Panel indicators and recorded outside controls
- fgw: outer console, 45:02–47:05
- Zedaph: miniature console, 1:27:23
Step images: Darlom, We Were Here Tomorrow Can A Couple Solve All The Puzzles? | Live Gameplay, Creative Commons Attribution. Frames exported as WebP with the original creator overlays retained. Game © Total Mayhem Games.