We Were Here Tomorrow · Co-op puzzle · Spoilers
We Were Here Tomorrow Laser Crystals: Correct Order
On this page
- Use the crystal names to solve the order clue
- Learn the two movable crystal types in the routing rooms
- Identify the real blue crystal before routing the final stage
- Pass through Rupium, then the correct red crystal
- Feed the final emitter and read its response
- Troubleshoot the first failed segment, not the whole laboratory
- Sources
Route the beam through blue Pingosius Crystalis, green Rupium and red Cattonimus, in that order, then into the final emitter. Cattonimus is the middle of the three red candidates. Match the blue crystal to its chart drawing: a decoy can also turn the beam blue.
Use the crystal names to solve the order clue
The final Laser Crystals stage needs the beam to pass through Pingosius Crystalis → Rupium → Cattonimus, then enter the end node. The order clue describes a mirror, a serene stone and a fiery heart. Match those descriptions to the explanation chart and the actual crystal shapes before building the final beam route.
Each explorer has useful information and access to different parts of the laboratory. One can read a chart or terminal while the other inspects the mounted crystals. Agree on the names early. A call such as “the blue one” is incomplete because the final stage contains two blue crystals, and three red candidates make a similar visual trap.
| Position | Crystal | Order-clue connection | Identity check |
|---|---|---|---|
| 1 | Pingosius Crystalis | Mirror | The correct blue crystal, matched to the drawing |
| 2 | Rupium | Serene stone / tranquility | The green crystal |
| 3 | Cattonimus | Fiery heart | The correct red crystal, in the middle of the red group |
| Finish | End node / emitter | Receives the completed beam | Route the beam upward into the final machine |
Write the three names in order, then match each one to its drawing before aiming the beam. The final room contains look-alikes, so you need the crystal’s outline as well as its colour. Have the chart reader describe the candidate’s outline and distinctive smaller features, then let the routing player confirm the real object before choosing the pylons feeding it.
Learn the two movable crystal types in the routing rooms
The carrying pieces placed on pylons have different jobs. An orange aiming crystal changes the horizontal direction toward another pylon. A purple up-down crystal transfers the beam vertically between levels. Inspect whether the next receiving holder is on the floor or ceiling before selecting the piece you need.
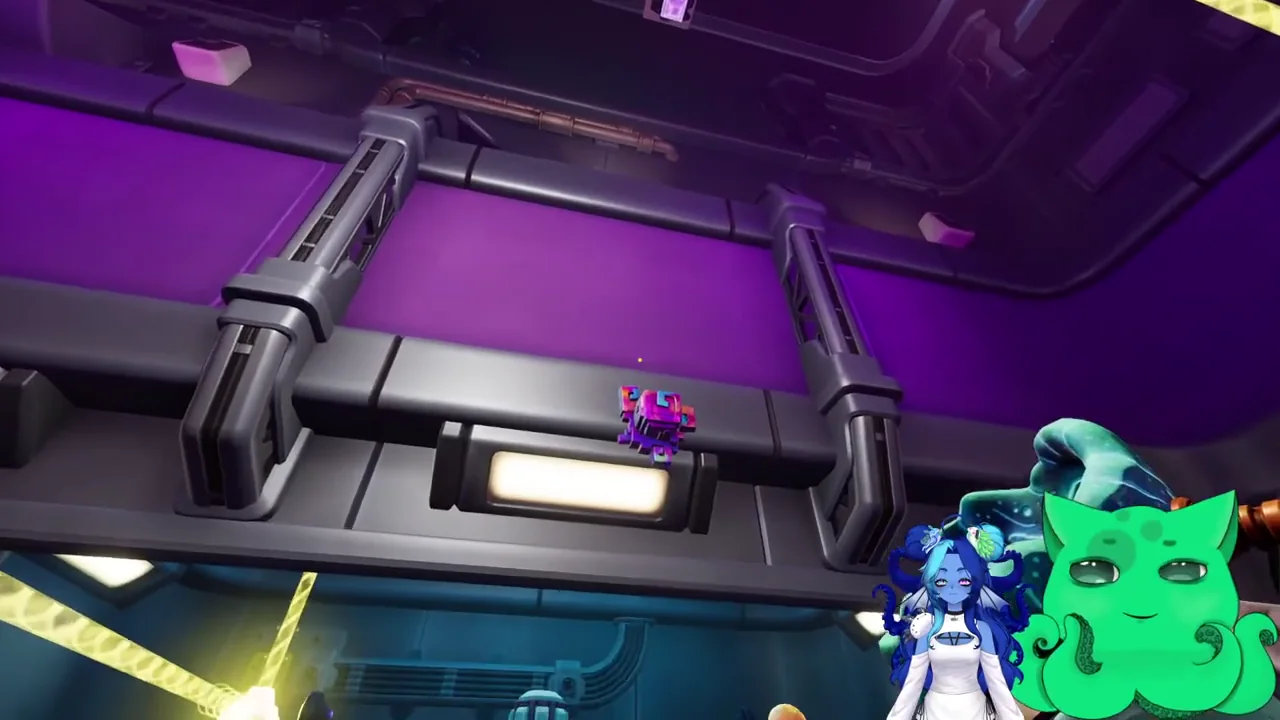
In the first routing room, continue the beam through the available holders to the redirect node that opens the route forward. A useful pattern is ceiling transfer down, a floor turn, then transfer up to the next ceiling turn. Inspect the receiving pylon from both sides if the beam appears to pass near it without actually connecting.
The next room adds four passthrough pylons that must all be lit together. Build a continuous active route through all four before the redirect node. Check the installed piece at each holder rather than assuming the starting arrangement is correct. The movable push block also participates in the route through its fixed vertical crystal.
Keep the route stable behind you while adjusting the next section. Have one player follow the beam from the source and call the first point where it stops. The partner adjusts that holder and checks the receiving end. Continue one connection at a time so a late change does not silently break a passthrough pylon you already counted as complete.
If a holder reaches its turning limit, inspect another feeding position instead of forcing the same angle. Floor and ceiling placements are part of the solution space. Preserve the confirmed segment of the route while finding a vertical transfer or neighbouring pylon that can reach the next target.
Identify the real blue crystal before routing the final stage
The final room has six colour-crystal candidates: two blue, one green and three red. Only one of each colour is the required crystal. Compare the blue candidates with the named drawing for Pingosius Crystalis. Use the arrangement of its spikes and small rounded details, not just its general blue-green appearance.
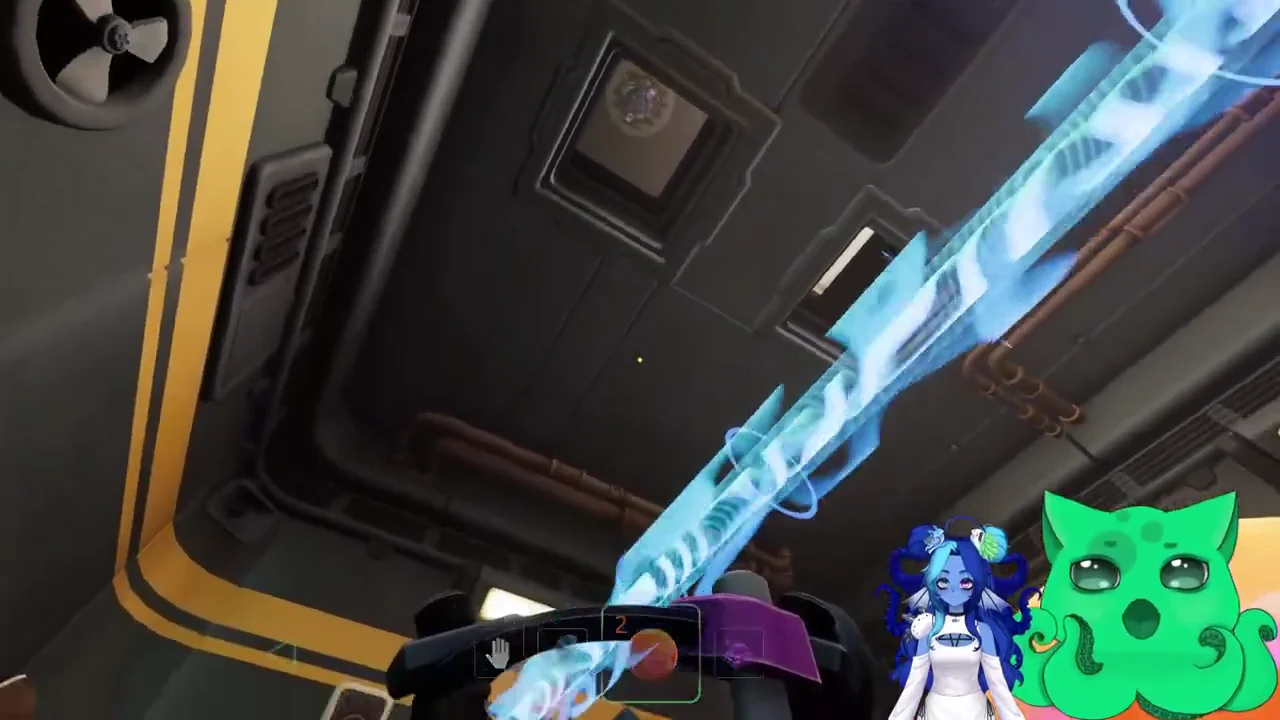
Ask the chart reader to describe the feature that separates the candidates. Then inspect that feature on the mounted crystal from the available window or opening. If it is partly hidden behind a holder, change your viewing position before rearranging the beam. The actual crystal identity matters more than which candidate is nearest to the source.
The beam changes colour even when it hits a decoy of that colour. A blue beam therefore confirms a colour interaction, but does not establish that you selected Pingosius. Have the chart reader point out the chosen crystal’s spikes and rounded details while the routing player traces its incoming beam. Both players should be looking at the same mounted crystal before the beam continues toward the green stage.
Plan the route through the required blue crystal first. Locate the holders capable of feeding it, then work backward toward the source and forward toward the green crystal. This reduces the chance of building an attractive path through the wrong blue candidate and having to dismantle most of it at the final error screen.
Pass through Rupium, then the correct red crystal
After the blue stage, route the beam through Rupium, the green crystal. In the separated laboratory layout, use the windows and available beam openings to connect the room; you do not need to physically stand beside every crystal the beam passes through. Have the player with the better view confirm the incoming and outgoing segments.
Once the green stage is established, trace the route back into the main hall toward Cattonimus. Among the three red candidates, the correct crystal is the middle one. Compare the named chart and the actual mounted group so “middle” refers to the group itself rather than the centre of a player’s current camera view.
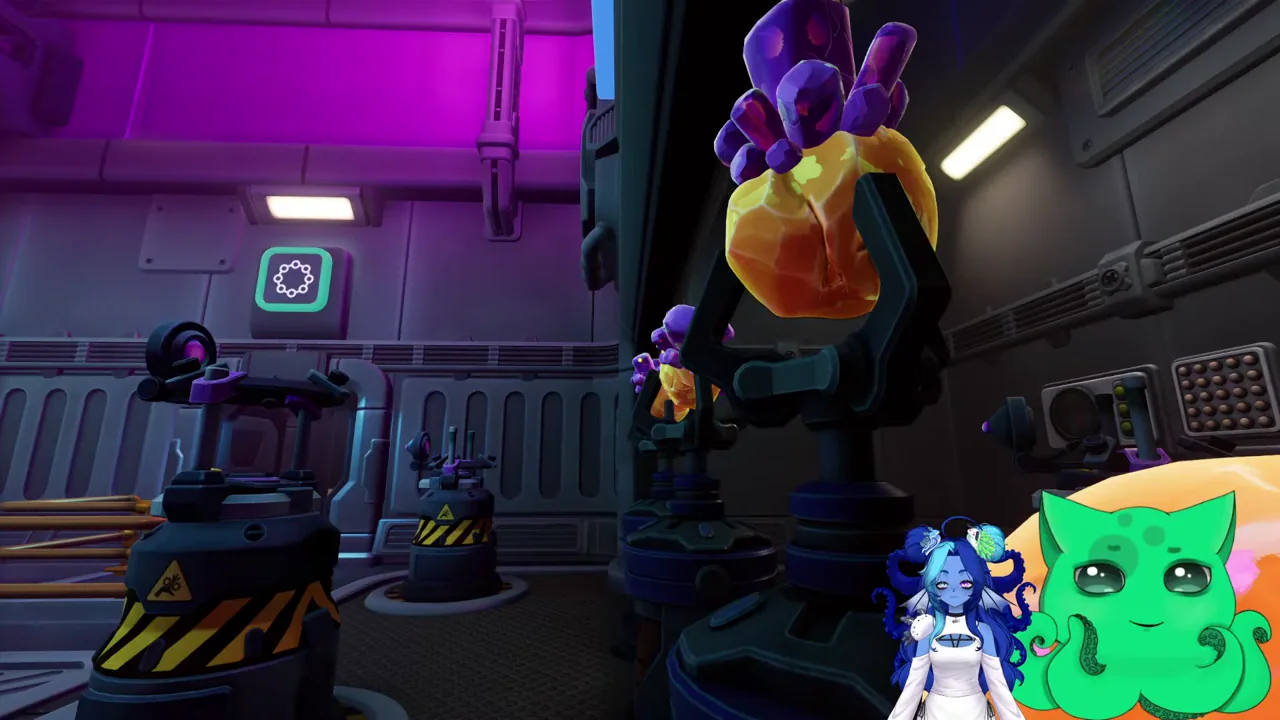
The visible beam progresses from orange at the source to blue, then green, then violet after the correct red stage. Use those colours to locate the stage of your route, while still checking the crystal identities. A decoy can produce the same colour, so keep the name-based verification alongside the visual trace.
A practical division is for one explorer to watch the current crystal interaction while the other adjusts the holder feeding the next segment. Announce the stage by name: “Pingosius checked,” “Rupium checked,” and “feeding Cattonimus.” This is easier to follow than a stream of colour calls when several beams and lights are visible at once.
Work forward from the source after each major change. Check that the beam reaches the required blue first, the green second and the red third. Inspect intersections and returns through other rooms rather than checking only the last visible beam near the emitter. An earlier detour can leave a visually plausible final segment with an incomplete ordered sequence.
Before sending the last segment into the receiver, have the partner trace the three named interactions aloud from the source. Confirm which blue was used, where the green interaction occurs and which red member is selected. Then inspect the final upward transfer. If the three named crystals are correct, leave those connections in place and adjust the final upward transfer at the receiver. If a name or shape fails the check, go back to that crystal’s feeding pylon first.
Use the closest stable view for fine adjustments. If the player operating a holder cannot see the receiving pylon clearly, the partner should watch that receiving end and call whether the beam contacts it. Stop rotating once the connection is established, then move the observation point forward to the next segment.
Feed the final emitter and read its response
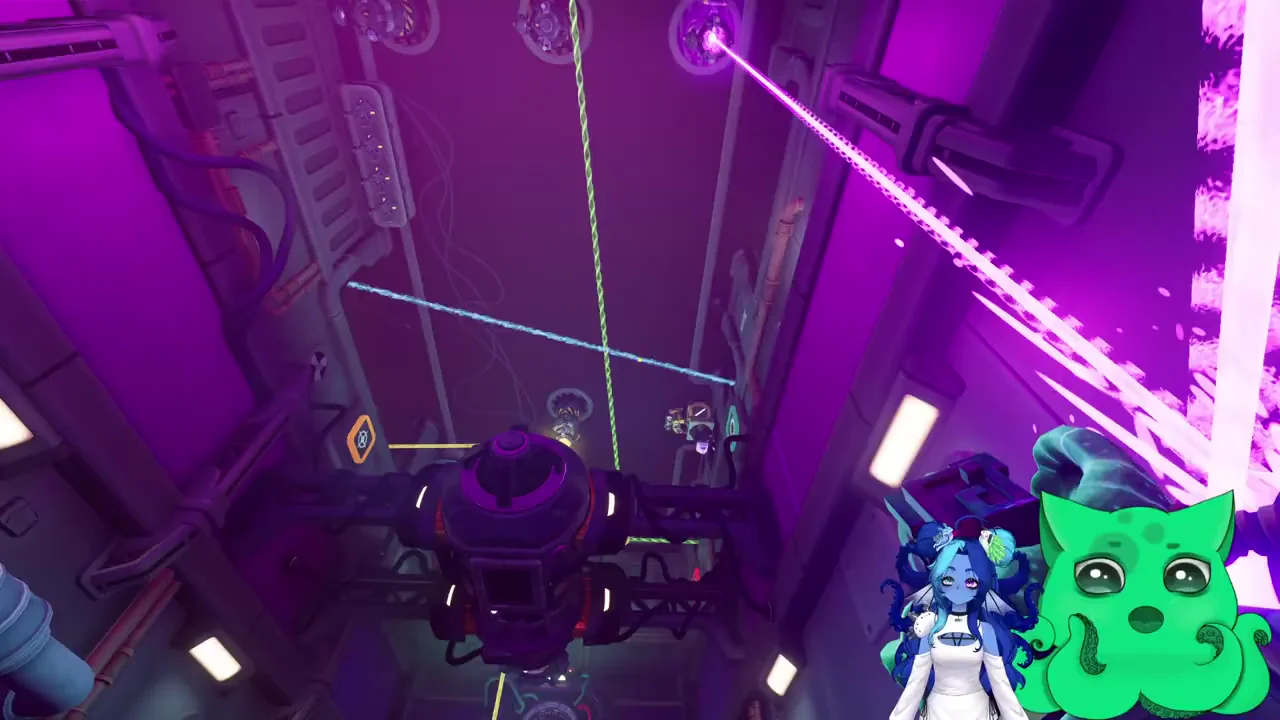
After the three required crystals, route the beam toward the end machine. The final push block carries a fixed vertical crystal. Position that block beneath the machine and feed it from a reachable floor pylon so its crystal sends the beam up into the receiver.
Prepare the block’s position before making the last fine adjustments. If it starts on a raised ledge, move it into the required lower position using the available push interaction. Then check the vertical alignment from a view where both the block crystal and the receiving machine are visible.
When the receiver accepts the configuration, watch the machine response and newly available exit. The successful sequence reactivates the Laser Array and leads onward from the optics laboratory. Wait for the animation and passage response before recalling pieces or changing the final beam route.
If the receiver reports WRONG CRYSTAL CONFIGURATION, the beam is reaching the end but the required crystal sequence has not been accepted. Keep the end connection intact while tracing backward through the ordered interactions. Check the blue identity, Rupium and the middle red candidate before rebuilding every ordinary aiming segment.
Troubleshoot the first failed segment, not the whole laboratory
| Observation | Likely check | Next action |
|---|---|---|
| Beam stops before another holder | Aim, height or installed piece type | Inspect the last lit pylon and its intended receiver |
| A passthrough pylon is dark | The active route no longer crosses it | Restore that connection while preserving the other lit pylons |
| Blue beam but final configuration fails | Blue candidate identity | Match Pingosius to the drawing again |
| Green stage works, red stage unclear | Which member of the red group is hit | Verify Cattonimus in the middle of the group |
| Completed colours, no end response | Final block position and upward beam | Align the block beneath the receiver and inspect contact |
Give each change a single purpose. If the wrong crystal is being hit, fix that crystal’s feeding segment; if the beam misses the next pylon, adjust the local aim. After the correction, trace from the source again to make sure the ordered path still works. This catches an accidental break near the start before the partner spends time adjusting a downstream holder with no incoming beam.
For a beam crossing between rooms, put one player at the sending holder and the other beside the receiving entrance. One can see a beam leaving a room while the other sees it missing the intended entrance. Name the holder or crystal at each end of the connection and change one aim at a time. Once the same segment is visible and accepted from both sides, continue to the next one.
After the optics route, the Six Rings puzzle uses a fixed three-button order with a held clue chain. Before that next challenge, finish the Laser Array response and make sure both explorers have reached the open route. The ring answer belongs to that later shaft, not to any of the laser holders here.
Sources
Puzzle reference · Patch 1.1.2