We Were Here Tomorrow · Co-op puzzle · Spoilers
We Were Here Tomorrow Six Rings: 4–1–5 Button Order
On this page
Hold the clue chain fully pulled and press the blade buttons in this order: 4, 1, 5, counting from the top. That means fourth from the top, highest blade, then second from the bottom. Match each blade’s symbol to the three clue screens as you go.
Identify the six blades and number them from the top
The Six Rings challenge is in the Gravitonics Department. Look for the tall shaft containing six fan-like blades stacked vertically. Each blade has a button and its own symbol. At the bottom is a three-screen clue monitor with a chain beside it. One explorer keeps that chain fully pulled while the other selects the blade buttons.
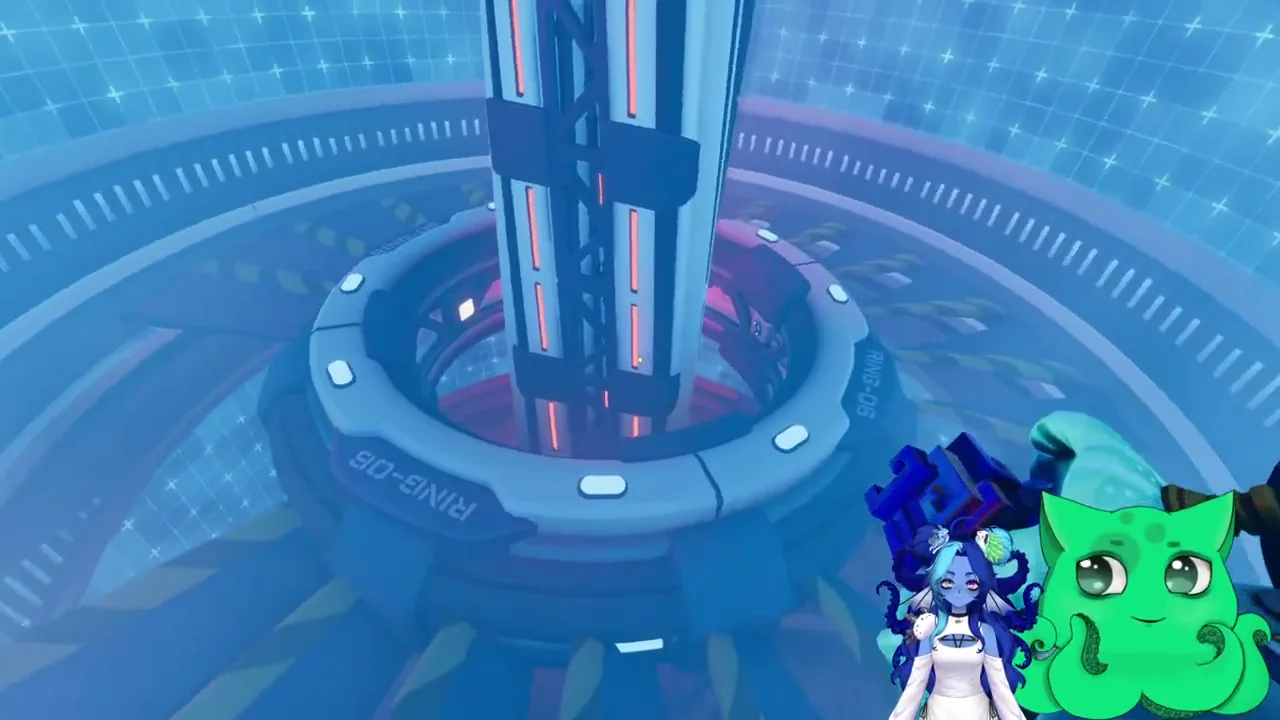
Number the blades from the top: one is highest and six is lowest. The fixed answer is 4 → 1 → 5, in that order. Agree on the numbering before entering it. If one player counts from the bottom, the same spoken number sends them to a different physical blade.
| Input | Clue position | Blade to press |
|---|---|---|
| First | Left screen | Blade 4, counted from the top |
| Second | Middle screen | Blade 1, the highest blade |
| Third | Right screen | Blade 5, counted from the top |
Use the blade symbols to verify the count. The clue monitor gives three symbols, and the corresponding button is on the blade carrying that symbol. When the camera turns during travel, look back at the symbol on the blade and compare it with the clue screen. Count down from the shaft’s top again before the next press, using the same six blade numbers.
Keep the clue chain fully pulled while reading
At the monitor, pull the chain all the way and keep holding it. The three screens display the clues only while the chain is held. Letting go makes them blank again. Tell your partner when all three clues are visible, then read them from left to right using agreed descriptions.
Describe each symbol with its distinctive marks: circles, spokes, arrows or other visible features. Ask the button player to repeat the symbol on their selected blade before pressing. This gives you a second check on the fixed numerical answer and helps recover if the player has lost track of the top of the shaft.
Keep the clue operator at the chain while the button player works through the route. If the operator needs to release it, tell the partner first and stop further inputs until the monitor has been restored. A blank clue screen is an interaction state you can fix directly, so inspect the chain before changing anything else in the shaft.
Enter blade 4, then blade 1, then blade 5
- Confirm the clue chain is fully held and the monitor is readable.
- Identify blade 4 from the top and verify its symbol against the left clue screen.
- Press that blade’s button once and announce “first input.”
- Move to the highest blade, blade 1, and verify the middle clue.
- Press its button, then identify blade 5 against the right clue.
- Press blade 5 and watch for the successful machinery response.
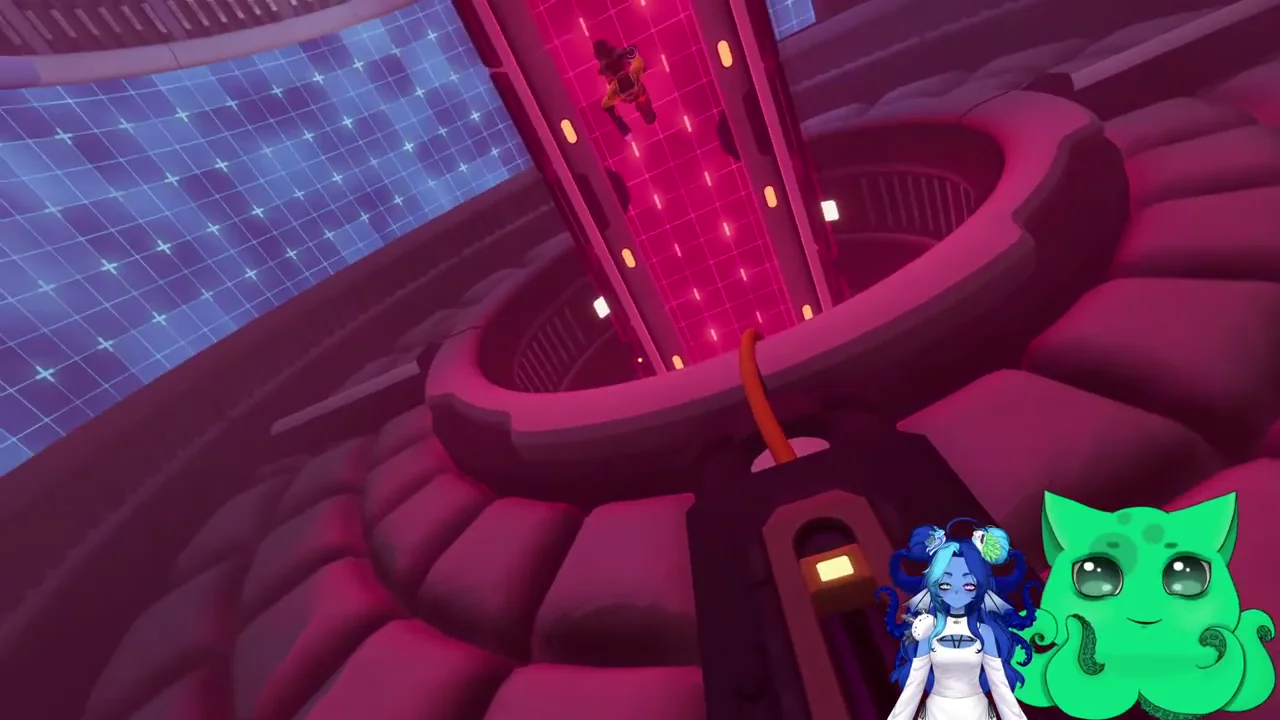
Keep a separate note of input number and blade number. “Second input, blade one” prevents “one” from being mistaken for an instruction to restart. After the operator confirms an input, move to the next destination before issuing another button command.
The buttons can flash and reset after an incorrect selection. If that happens, stop and restart with blade 4. Continuing with blade 1 after an accidental first press attempts a shortened sequence against a freshly reset challenge. Re-establish the first symbol and begin the full three-input order.
Tell the moving explorer “fourth from the top, then the highest, then second from the bottom.” These are the same three destinations as 4–1–5. Keep the numerical answer on the note, but use the physical descriptions when the moving explorer can see the shaft’s endpoints more clearly than its middle levels.
For example, if the traveler begins at the lowest blade, count that as six, then the next one upward as five and the next as four. Verify blade four’s symbol against the left screen before the first press. After the first accepted input, travel to the actual highest blade for the second input; do not simply move one level upward because the spoken answer contains “one.”
For the final input, find the second blade above the bottom rather than recounting downward from a camera that has changed orientation. Compare its symbol with the right screen, confirm “third input, blade five,” and press once. This gives each stage a physical endpoint that can be checked independently of the previous movement.
Recover when gravity or viewpoint reverses your count
In the surrounding gravity rooms, floors and walls can swap their apparent orientation as the player moves. Anchor the numbering to the shaft’s actual top, not to the top edge of the current screen. The highest blade remains blade 1 even if the camera has turned while approaching another level.
Before pressing, compare the blade symbol with the monitor callout. If your numerical count says four but the symbol differs from the left clue, stop and locate the intended blade. Recheck where the count began and whether you counted all six levels. Resolve that mismatch before adding another input to the attempt.
| Problem | Check | Next action |
|---|---|---|
| Clue screens went blank | Chain fully pulled and held | Restore the chain before resuming |
| Correct-looking numbers fail | Counting direction | Start at the highest blade as 1 |
| A button flashes and inputs reset | The selected blade and symbol | Begin again at 4 |
| Partner cannot tell which input is next | Input index versus blade number | Call “first/second/third input” separately |
If the player is still moving into position, delay the press. Settle securely at the correct button, check the symbol and then interact. This keeps navigation mistakes from becoming puzzle-input mistakes and makes a failed attempt easier to diagnose.
Confirm completion and continue into Gravitonics
The fixed 4–1–5 sequence completes the challenge and grants access to Gravitonics. Watch the machinery and opened route after the final press. The Spiraling achievement is associated with completing this Six Rings challenge. Give the game time to finish its response before leaving the clue station.
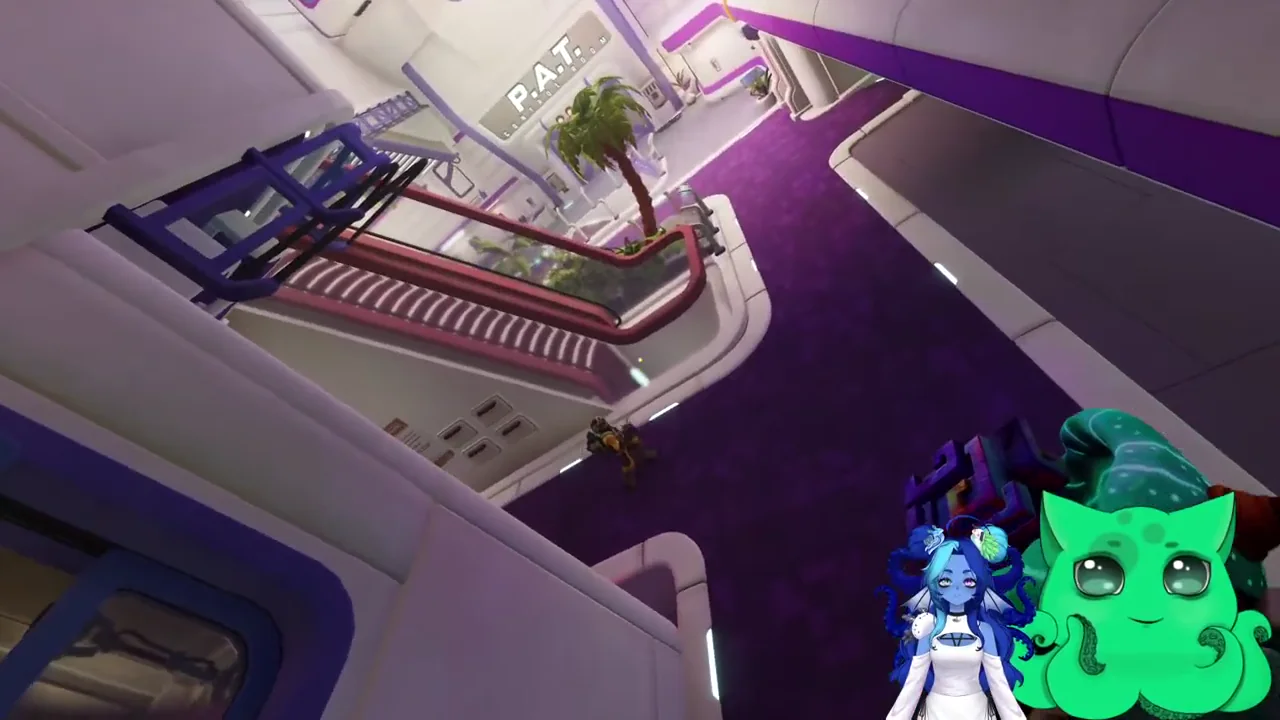
If the expected response does not occur, confirm that the last attempt began from a clean reset and included all three inputs. Ask the operator whether the chain remained fully held. Then verify the blade symbols and count direction again before trying another complete attempt.
This room has a fixed answer, unlike the seven-variant Particle Accelerator Lock. Here you can keep 4–1–5 beside you for the whole attempt: those blade destinations stay fixed. At the earlier monitor lock, each reset calls for a fresh reading of the four displayed symbols. For the beam puzzle immediately before this area, use the named crystal order guide.
Sources
Puzzle reference · Patch 1.1.2