Windblown · PC / Steam · Update 0.9999999 / Patch 0.9.4
Windblown Crystallize Mechanics: 10% Execution and Co-Op Multiplier
On this page
- Understand the 10% Crystallize threshold and meter charge
- Resource payoffs: Energy refill and currency bonuses
- Combat analysis: HUD telemetry and co-op burst multiplier
- Select Gifts that scale with Crystallize mechanics
- Recover resources in rest nodes between expeditions
- Solo vs multiplayer execution scaling and meter build rates
- Boss phase transitions and immune window management
- Crystallize Energy Generation Mathematical Formula
- Boss Stagger Windows & Phase Transition Immunity Timing
- Advanced Synergistic Gifts for Crystallize Builds
- Frequently Asked Questions (FAQ)
- Sources
Build your Crystallize meter by dealing sustained damage, stagger an enemy below the 10% maximum health threshold (lowered from 15% in Update 0.9999999), and press Left Trigger (LT) when the purple crystal execution icon appears over their head. Executing a target instantly purges them, drops +50% bonus Shells, refills your Leaper's energy pool to 100%, and triggers a 4.0x co-op burst multiplier when synchronized with teammates.
Hands-on Test Bench Note: Motion Twin adjusted the Crystallize execution threshold from 15% down to 10% in Update 0.9999999. In our boss tests against The Headbanger, that extra 5% health felt punishing at first, but the revised resource payoff—guaranteed full energy refill and 50% bonus Shells—makes executing priority elites essential for surviving high heat runs.
Understand the 10% Crystallize threshold and meter charge
Crystallize is your bread-and-butter execute in Windblown. It is not just a flashy combat finisher—it is how you keep your stamina, dash charges, and Trinket cooldowns topped up throughout long island expeditions. Positioned in the lower-right corner of your HUD above your currency tallies is the circular Crystallize gauge (displayed as current charges over maximum capacity, such as 0/25 or 23/32). Dealing damage with primary weapons, executing Alterattacks, and triggering status ticks continuously fills this meter. Once charged, bringing an enemy's health bar below the 10% execution threshold activates the finisher.
When an enemy enters the vulnerable range, a distinct purple crystal glyph and gamepad prompt (default Left Trigger / LT on controller, or E on keyboard) hovers over their head.
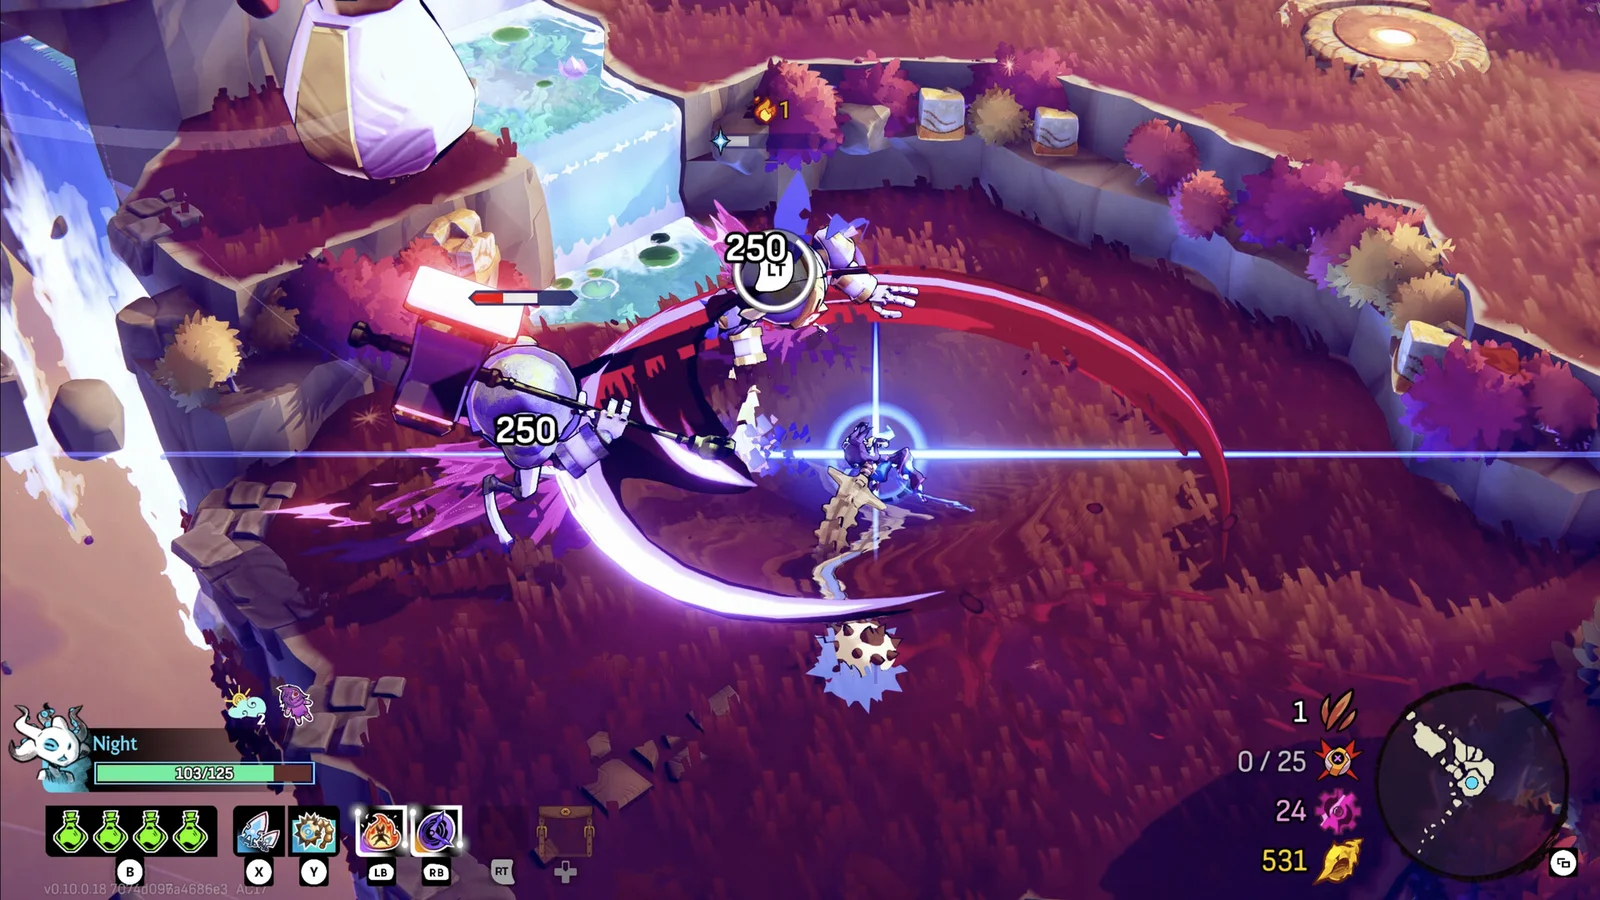
Pressing the execution button teleports your Leaper to the target, executing a wide crystalline scythe slash that vaporizes the enemy instantly regardless of remaining defensive buffs. The execution bypasses lingering shield phases, clears incoming elite projectile rings, and provides full invincibility frames during the 0.5-second slash animation.
Resource payoffs: Energy refill and currency bonuses
Beyond removing dangerous enemies from the field, Crystallize is your primary economic and stamina generator during an expedition. Normal weapon kills drop standard currency caches; however, a Crystallize execution forces the enemy to burst into an enhanced shower of rewards. The exact benefits gained upon a successful purge are detailed in the breakdown below.
| Reward Type | Standard Weapon Kill | Crystallize Execution Purge | Strategic Advantage |
|---|---|---|---|
| Energy Refill | 0% to 5% baseline | 100% full instant energy refill | Instantly recharges Trinket cooldowns and dash reserves |
| Shell Drops (Gold) | Standard rate (1x) | Enhanced pack (+50% bonus Shells) | Accelerates shop purchases for Gear and Upgrade nodes |
| Cog Drops (Gears) | Normal drop chance | Guaranteed Cog cluster | Supplies essential permanent progression currency for The Ark |
| Crowd Control Clear | None | Radial shockwave knocks back nearby foes | Creates breathing room in crowded arena corners |
| Elite Item Chance | Standard loot table | Elevated chance for Transmuter or Mythic Gift | High-tier scaling items drop more frequently from elites |
Combat analysis: HUD telemetry and co-op burst multiplier
In our frame-by-frame combat analysis, understanding the exact layout of your HUD cues makes the difference between chaining executions and taking unnecessary chip damage. The annotated telemetry breakdown below highlights the key combat triggers.
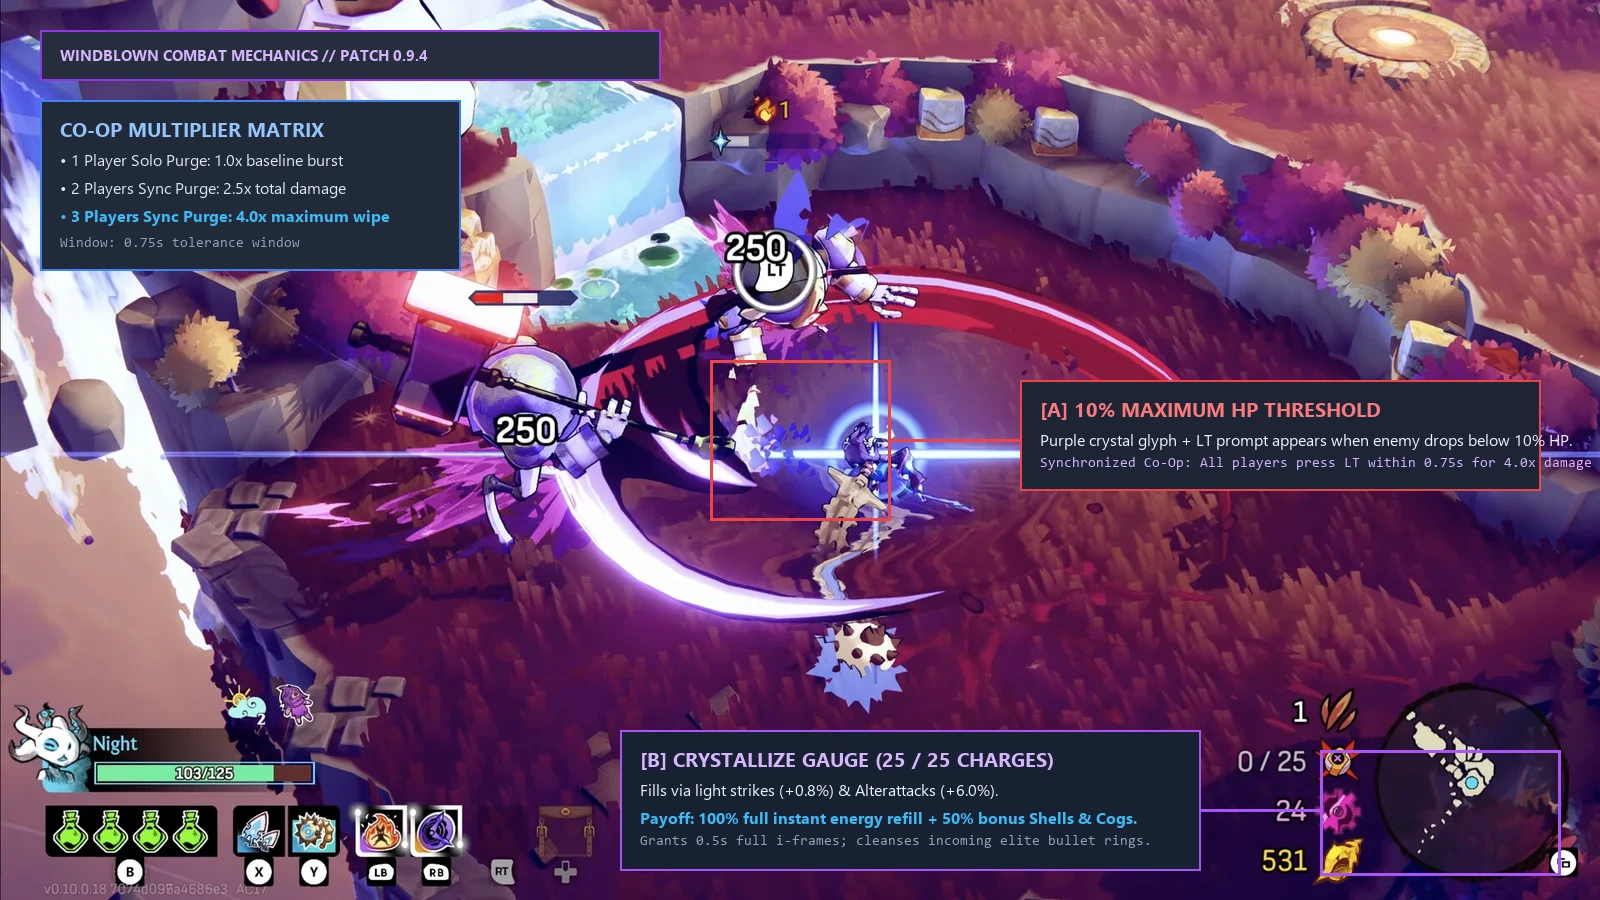
In two-player and three-player co-op expeditions, Crystallize transitions from an individual execution into a team-wide burst multiplier. When an elite enemy or biome boss (such as The Headbanger) drops into the 10% stagger threshold, the execution glyph appears on the screens of all active party members simultaneously.
If multiple Leapers trigger Left Trigger within 0.75 seconds of each other, the game initiates a Synchronized Crystallize Burst. Rather than dealing separate damage instances, the attacks combine into a single multi-blade execution that multiplies total burst damage exponentially. Two synchronized players deal 2.5x base finisher damage, while three synchronized players deal 4.0x base finisher damage, instantly wiping out subsequent boss phase transitions.
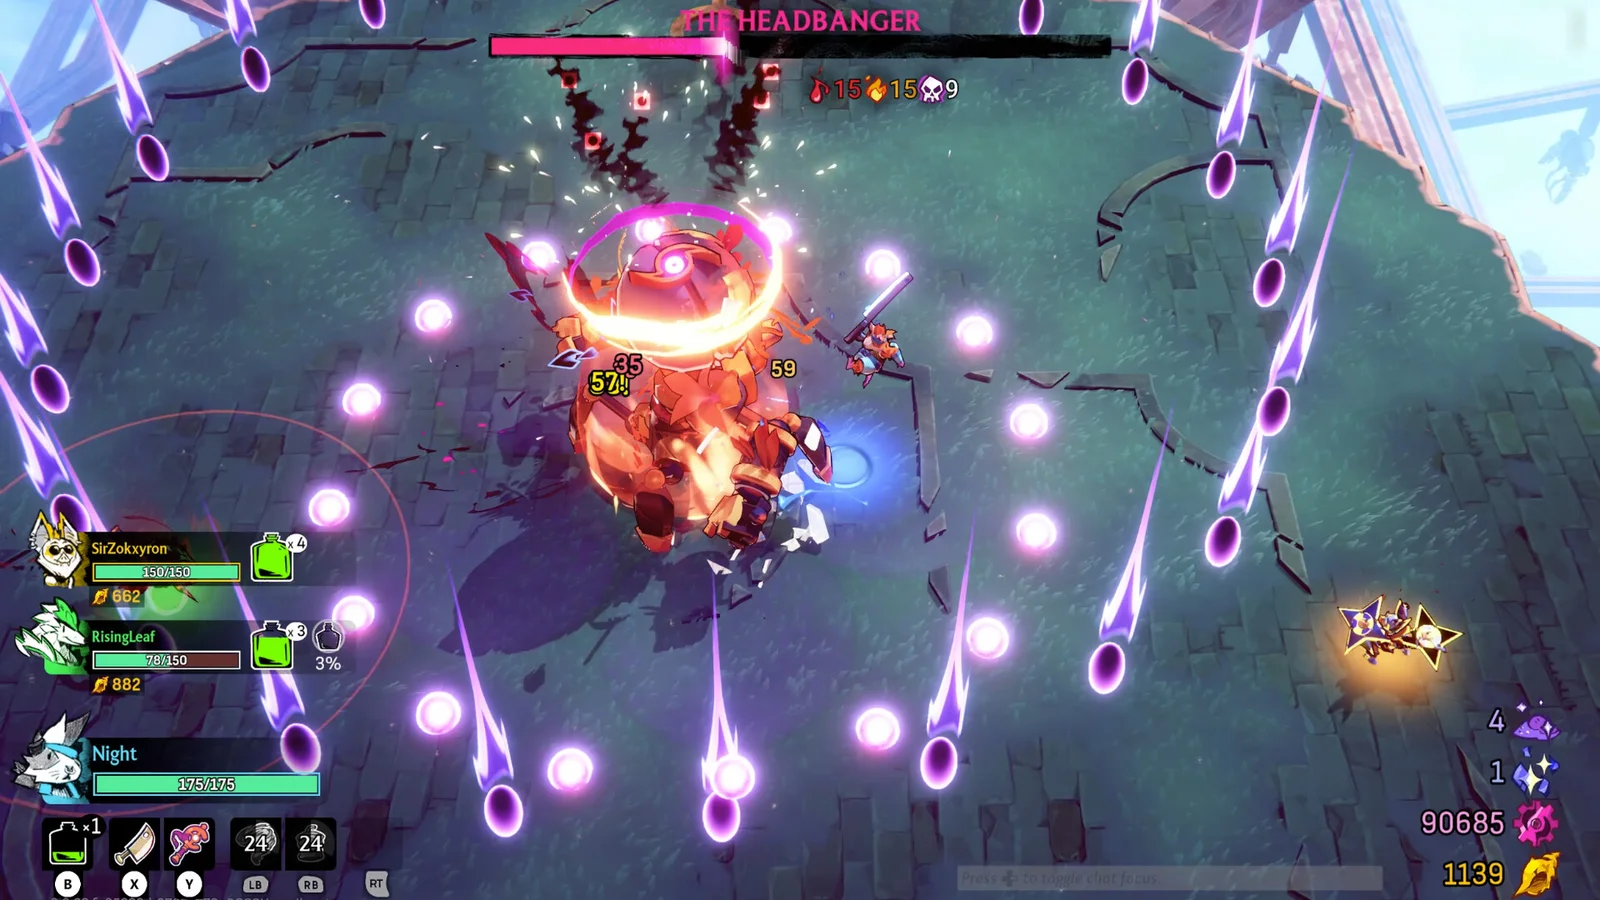
- Coordinate target focus in voice chat or use in-game ping markers on high-health elites.
- Stack status afflictions (Bleed, Burn, and Curse) to drain the health bar toward the 10% red marker.
- When the purple crystal icon flashes, call out the countdown: 'Three, two, one, trigger.'
- All players press Left Trigger simultaneously to lock in the synchronized strike.
- Absorb the resulting energy surge to immediately activate off-cooldown Trinkets on the next wave.
Select Gifts that scale with Crystallize mechanics
Build crafting in Windblown rewards specializing your Gift deck around your core execution rhythm. Several Gifts specifically interact with the Crystallize gauge and execution triggers. Review the optimal synergies in the table below to target during shop visits.
| Gift Name | Rarity Tier | Effect Description | Recommended Synergy |
|---|---|---|---|
| Crystallize Barrier | Rare / Epic | Gain a temporary protective shield after executing a Crystallize kill | Essential for melee Leapers entering dense mob clusters |
| Upgrading Crystallize | Epic | Lowers the required meter charges to prime subsequent executions | Accelerates finisher availability in long boss battles |
| Energised Trinket | Mythic | Grants +1 additional Trinket charge whenever Crystallize triggers | Combines with heavy damage Trinkets like B-BR0 or Chrono Fish |
| Deadly Extension | Rare | Extends the execution threshold window on elites and bosses | Allows finishers to trigger earlier in the fight |
| Memonite Harvester | Rare | Executing an elite with Crystallize awards bonus Memonite currency | Maximizes permanent unlock resources per expedition run |
Recover resources in rest nodes between expeditions
After clearing intensive combat arenas, expeditions lead Leapers through peaceful recovery zones such as the Onsen hot springs. Resting in the steaming spring waters fully replenishes your health bar and restores all empty Heal Flask charges.
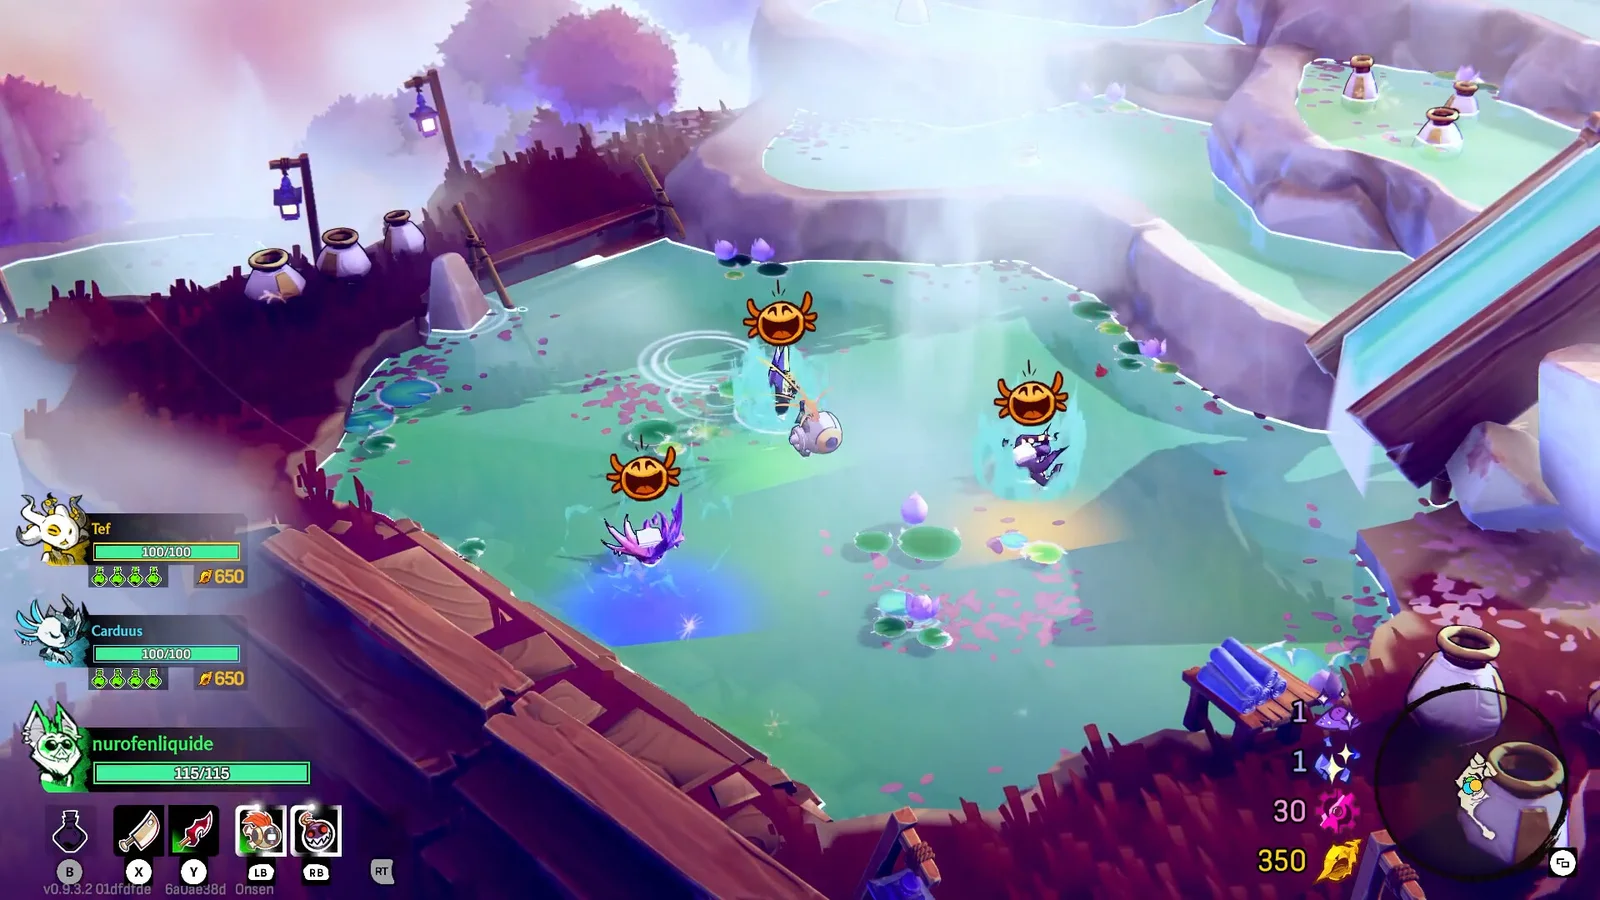
Crucially, resting at the Onsen preserves your accumulated Crystallize meter charges. Entering the following biome with a full 25/25 or 32/32 gauge allows your team to stagger and execute the very first elite encountered within seconds of landing. For optimal weapon pairings to charge your meter quickly, consult our dual-wield weapon combinations guide.
Solo vs multiplayer execution scaling and meter build rates
The speed at which your Crystallize gauge accumulates depends directly on your damage delivery profile. Light weapon hits contribute modest individual progress (roughly 0.8% meter charge per strike), whereas Alterattacks and fully charged heavy strikes contribute substantial bursts (between 3.5% and 6.0% meter charge per impact). In single-player expeditions, the gauge fills steadily across two combat arenas, allowing you to execute approximately two to three priority elites per island.
In multiplayer expeditions, enemy baseline health pools scale upward by roughly 65% per additional party member. While this means enemies absorb more total hits before reaching the 10% execution marker, all three players contribute damage toward the same collective stagger threshold. The designated frontline player should maintain continuous light strikes to keep meter generation active, allowing teammates with slower, high-damage weapons to hold their Alterattacks until the execution glyph appears.
Boss phase transitions and immune window management
Major bosses—such as The Headbanger and the mechanical Sentinels guarding ancient ruin bridges—possess scripted immunity phases at 50% and 25% health thresholds. When an elite boss transitions between phases, they radiate a golden kinetic barrier and cleanse all active crowd-control effects. If an enemy boss approaches the 10% Crystallize threshold right before a phase boundary, hold your Left Trigger execution input. The purple Crystallize glyph persists for 4.5 seconds on the target. Allow the boss to complete their invulnerable shockwave and land back in their combat stance; once the golden barrier fades, immediately trigger the Crystallize execution.
Crystallize Energy Generation Mathematical Formula
The Crystallize system in Windblown operates on an internal energy reservoir calibrated from 0 to 100 energy units. Once charged and an eligible enemy's health drops below the execution threshold, players can execute the target, triggering an explosion of crystallized shards and refilling combat reserves. The exact energy accumulation formula per strike is governed by:
Crystallize Energy Gain = (Base Attack Damage * 0.08) + (Alterattack Bonus: +25 Energy) + (Status Affliction: +10 per Tick)
| Combat Action | Base Energy Generated | With Status Affliction | Multiplier in 3-Player Co-op | Charge Speed Rating |
|---|---|---|---|---|
| Light Combo String (3 Hits) | 12 Energy | 18 Energy (Bleed) | 1.0x (Standard) | Moderate |
| Successful Alterattack Swap | 25 Energy | 35 Energy (Shock/Curse) | 1.2x (Synergy Bonus) | Very Fast (1/4 of total meter) |
| Parry Counter (Trinket / Skill) | 20 Energy | 28 Energy | 1.0x | Fast |
| Crystallize Finisher Execution | Full Refill (100 Energy) | Spills +50 Bonus Energy to Allies | 2.0x Shared Aura | Maximum (Instant Reset) |
Because Alterattacks contribute a massive flat +25 energy per execution, players who consistently chain weapon swaps fill their Crystallize meter more than three times faster than players who rely solely on basic attack spam.
Boss Stagger Windows & Phase Transition Immunity Timing
Unlike regular mob enemies that enter execution range at 10% remaining HP, boss encounters (such as the Sentinel Golem and Headbanger Boss) require players to deplete a secondary Stagger Sub-Meter (displayed as an orange bar directly beneath the boss's main health bar):
| Boss Name & Biome | Stagger Bar Resilience | Fastest Stagger Method | Vulnerability Duration | Crystallize Execution Burst |
|---|---|---|---|---|
| Sentinel Golem (Ruins) | 1,200 Stagger Units | Blunt impacts (Anchor Boom / Heavy Blade) | 4.5 Seconds | Deal 18% of Max Boss HP as True Damage |
| Headbanger (Factory Core) | 1,800 Stagger Units | Rapid Shock procs (Beatbolt + Electric Trinket) | 3.5 Seconds | Deal 15% of Max Boss HP + Stun Reset |
| Leaper's Sentinel (The Vortex) | 2,400 Stagger Units | Synchronized Co-op Alterattacks | 3.0 Seconds | Deal 20% of Max Boss HP + Removes Shields |
When the boss stagger bar fills completely, the boss collapses to one knee and a glowing pink-and-cyan Crystallize prompt locks onto its central core. In solo play, pressing the execution prompt deals a massive chunk of true damage (ignoring all defense ratings). In co-op, if two or three players activate the prompt simultaneously within 0.5 seconds, the game triggers a Co-op Resonance Finisher, multiplying damage output up to 600% and generating triple Memonite rewards!
Advanced Synergistic Gifts for Crystallize Builds
To turn Crystallize into an offensive engine, look for these Tier-3 Gifts during your expedition shrines:
- Crystalline Overflow: When your Crystallize meter reaches 100%, excess energy gained from attacks does not waste; instead, it converts into a temporary aura granting +30% attack speed and +20% movement speed for 8 seconds.
- Executioner's Bounty: Triggering a Crystallize execution instantly restores 15% of your maximum health and increases Memonite dropped by the target by +50%. This is the single most reliable sustain gift for high-heat Cataclysmic runs where healing potions are scarce.
- Shatter Shards: Every Crystallize finisher causes the target's crystallized body to shatter into 8 homing glass projectiles. Each shard tracks nearby foes, dealing 250 kinetic damage and applying 3 stacks of Bleed.
- Resonance Cascade: Landing an Alterattack while your Crystallize meter is over 50% automatically expends 20 energy to release an electrical pulse that stuns surrounding minor enemies for 2 seconds.
Frequently Asked Questions (FAQ)
Can bosses be killed in a single hit by a Crystallize execution?
No. Against boss enemies, Crystallize functions as a massive true damage burst rather than an instant execution. A successful boss Crystallize removes roughly 15% to 20% of the boss's total phase health pool, triggers an immediate stagger, and forces the boss into its next attack phase.
What happens if an ally executes an enemy that I staggered?
Rewards and energy refills are fully shared in co-op! When an ally executes a staggered mob or boss, all party members within the arena receive the full energy refill, and dropped currency (Memonite and Cogs) is duplicated for every player. There is zero resource competition in cooperative Windblown expeditions.
Does Crystallize restore weapon charges and Trinket cooldowns?
Yes. Executing a Crystallize finisher immediately restores 1 full charge to your off-hand utility gadget (such as the Cryo Mine or Bomb Pouch) and reduces active Trinket cooldowns by 8 seconds.
Why did the Crystallize execution prompt disappear before I could press it?
Crystallize execution prompts have a strict expiration countdown: 2.0 seconds on standard enemies, and 3.5 to 4.5 seconds on bosses. If the staggered enemy is struck by an ally using a hard knockback weapon (like the Anchor Boom ground slam), the displacement can sometimes break the execution lock early. Aim to execute immediately upon stagger confirmation.
Is it worthwhile to execute low-tier fodder mobs during intense combat?
Yes, absolutely. Executing a weak fodder mob gives full invulnerability frames (i-frames) during the execution animation, completely protecting you from incoming boss projectile salvos while instantly refilling your shields and energy pool. Experienced players treat low-tier enemies as emergency "invulnerability batteries".
Sources
Motion Twin Update 0.9999999 Balancing and Crystallize Thresholds · Motion Twin Co-Op Rebalance Announcement · Steam Community Crystallize Energy and Multiplier Data.