Chained Beasts · Arena field guide
Chained Beasts Goliath: Leap Cues & Deep Impact
On this page
For Deep Impact, an opponent must die to Goliath’s leap attack. Leave a weakened enemy near the intended landing area, move your own character clear before impact and keep teammates from delivering the finishing hit. During the fight, leave red warning areas early and preserve an open route between the arena’s stumps and fences.
Read the Germania arena before Goliath closes in
At the start of the snowy encounter, locate the open passages between the stumps and wooden fences. Choose a route wide enough for your party’s chain. A gap that lets one character slip through may still leave the connecting links wrapped around a post.
Keep the centre of the action and the next escape lane visible together. Several ordinary fighters share the arena with Goliath, so a clear path can disappear when another group moves in. Check the lane again before circling behind the boss or stopping to pick up equipment.
Agree who calls the direction around an obstacle. When two linked players approach different sides of the same stump, one can pull the other back into an attack. A short call before the turn gives both players time to take the same passage.
Check your camp choices against that job. A movement injury makes narrow escapes more expensive, and a camera effect makes red warnings harder to follow. Use the Healer effect checks and personal training-pain checks before entering Germania with an avoidable control problem.
Keep a spare weapon route in mind as well. If you throw your held weapon across the arena, you may have to cross several attack lanes to replace it. Pick a nearby dropped item that you can reach from the safe side of the chain before committing to a long throw.
Leave the warning area before the attack lands
Goliath combines jumping movement with ground attacks. The official fight footage shows red floor warnings as he attacks, including a broad frontal sector. As soon as a warning occupies your route, move toward its nearest clear edge while checking that your partner has room to follow.
Use the shape you can see rather than guessing a fixed dodge rhythm. A frontal sector and a landing threat call for different directions. Step sideways out of a sector instead of running farther along its centre, and leave enough room to continue past the first safe-looking point.
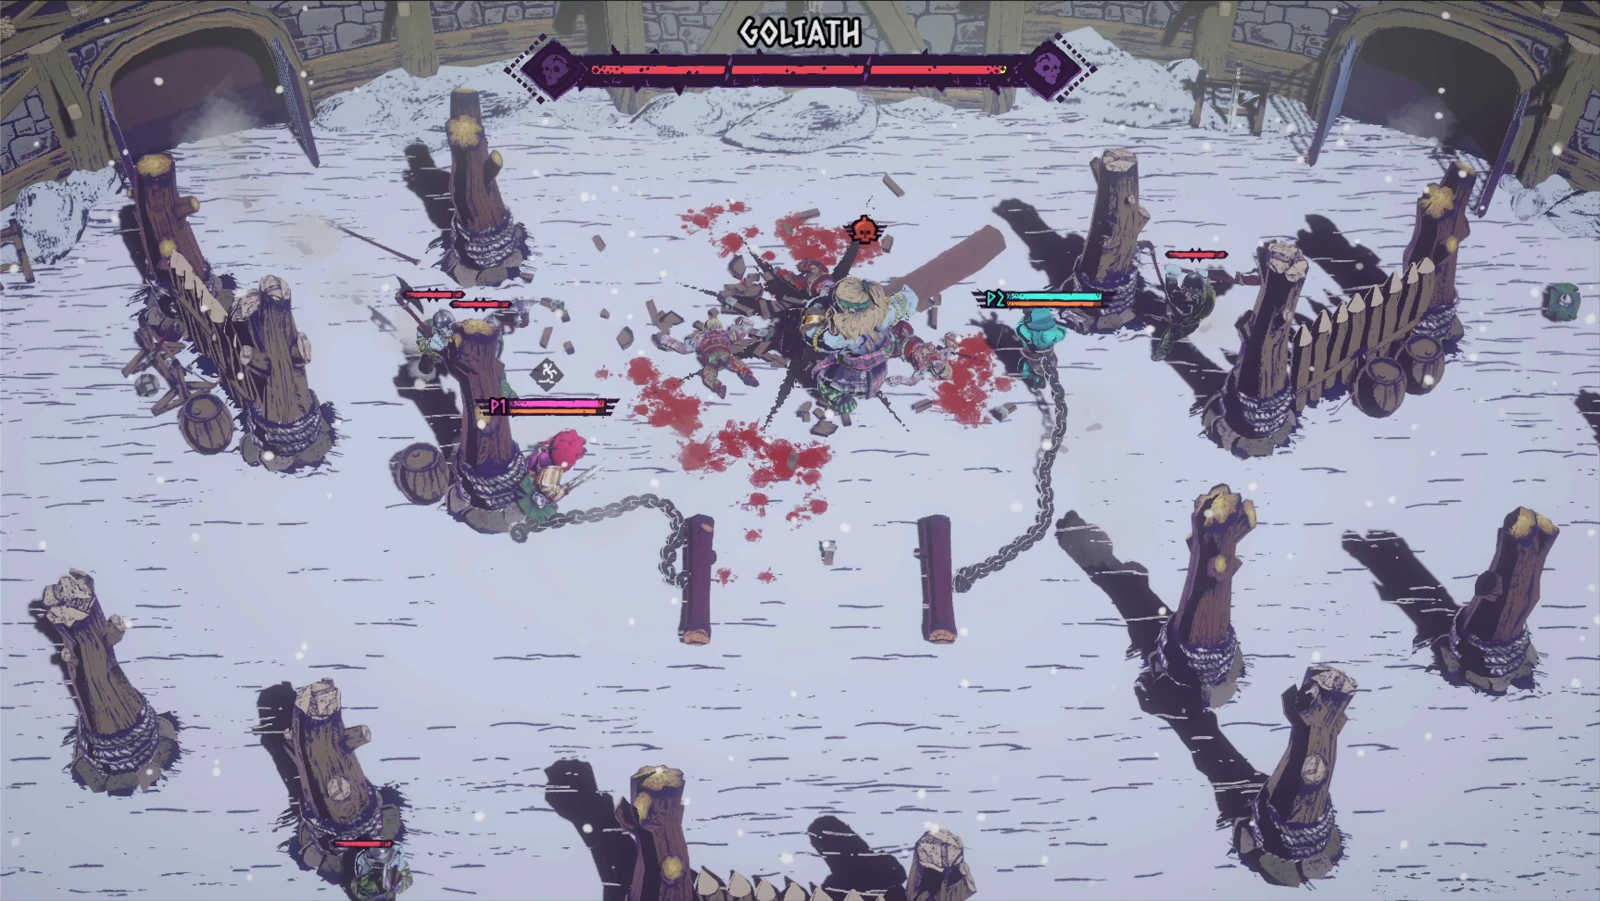
Pause your own attack when the warning appears. A partially completed combo is a poor reason to remain on the marked floor. Move first, then look for a follow-up once the attack has landed and the area around your player is readable.
In a group, call the escape side before crossing behind a teammate. If you pull the chain through their position while they are also reacting, both characters can lose the route. Keep the first movement simple: one shared lane out, then separate to the spacing you need for the next exchange.
When Goliath becomes airborne, track the destination and the ordinary enemies nearby. The jump is also the attack needed for Deep Impact. Decide whether you are safely positioned for that attempt before trying to keep an enemy inside its landing area.
Set up Deep Impact with one weakened opponent
Steam’s achievement requires the leap to kill an opponent. Start by choosing an ordinary enemy you can keep in view and reduce its health enough that the landing has a chance to finish it. Stop attacking that target while you prepare the next leap.
Let the enemy approach the area you are using, then leave before the impact. Your aim is to keep the target in danger while your own player and chain have an exit. Pick open ground for the first attempt so that the route out does not depend on squeezing between two stumps.
- Choose a surviving ordinary opponent and weaken it.
- Keep it near the part of the arena where you are watching Goliath’s approach.
- Hold a clear escape route for every linked player.
- When the leap commits, move out and leave the weakened target near the landing.
- Let the impact resolve before returning to ordinary attacks.
- Check the achievement and the target’s result after you are safely repositioned.
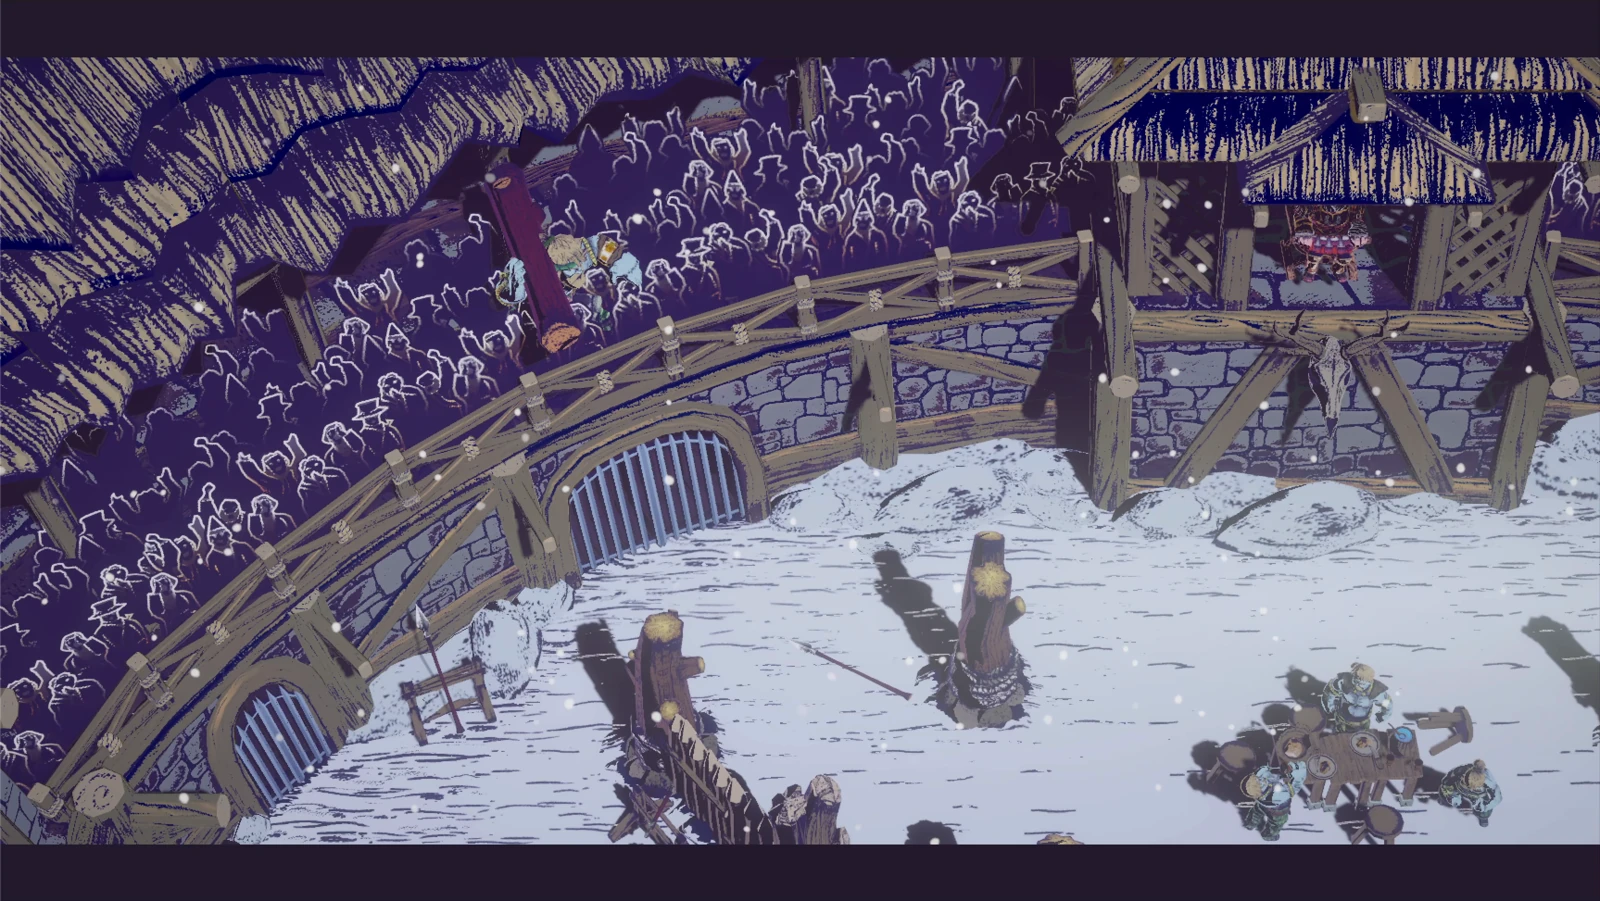
Tell teammates which target you are preserving. A thrown weapon or a broad attack can kill it just before Goliath arrives. Have the other players handle a different approaching enemy or keep the outer lane clear while you watch the selected target.
If the opponent survives the landing, keep the attempt separate from the main damage race. Clear the immediate threat, weaken a suitable target further and wait for another safe opportunity. You do not need to stand inside the hit to test whether the enemy will die.
If the target dies to another attack, choose a new one. Deep Impact is about the leap’s finishing hit, so a normal kill near Goliath cannot establish that the condition was met. Use the next attempt to simplify the scene: fewer nearby enemies, a clearer lane and one teammate watching the target.
Recover after the landing and manage the adds
After an attack lands, check where Goliath and the surviving fighters have ended up. Follow the open side of the crowd rather than immediately running through its middle. One short reposition can put your player, your teammate and the dropped weapons on the same usable side of the chain.
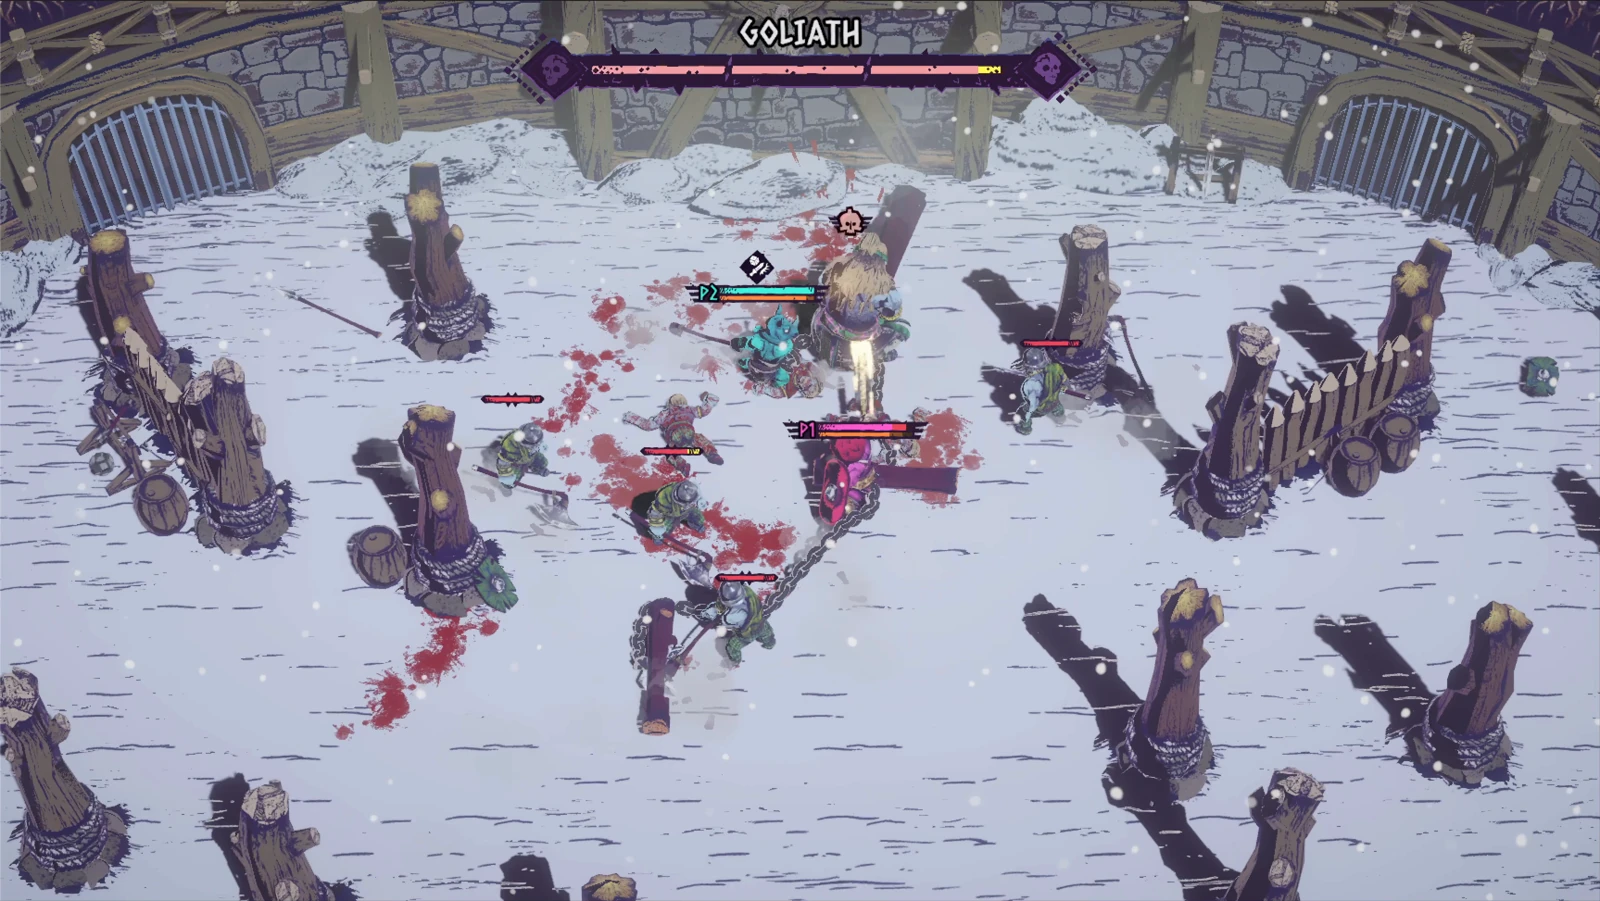
Use that space for a short follow-up, then look for the next warning. Keeping the boss’s health bar in view helps you track the fight, but the floor tells you where you can safely stand. Read both before committing to another attack.
Ordinary opponents also control your movement. A fighter in the exit lane can interrupt the path you planned for a leap. Remove that obstacle first when survival is the priority; keep a different weakened target for the achievement instead of preserving the enemy blocking your only way out.
For chain attacks, use a nearby fighter on clear ground after Goliath’s current attack finishes. The Squeeze Attack sequence needs a full wrap and a pull-away movement. Begin it only when you have time to complete those actions without crossing a fresh boss warning.
When a player is low on stamina, call for a quieter position before the next approach. Missing Lung prevents regeneration while moving in 1.0.2, so a character carrying that condition may need a safe pause. Give them space outside the marked floor rather than dragging them around continuously.
Recheck the route when fire occupies the lanes
The official arena image below shows lit fire pillars among the stumps and floor hazards. When fire occupies a route you used earlier, select a different gap before the next attack. Keeping the same circular route by habit can carry the party through a newly dangerous section.
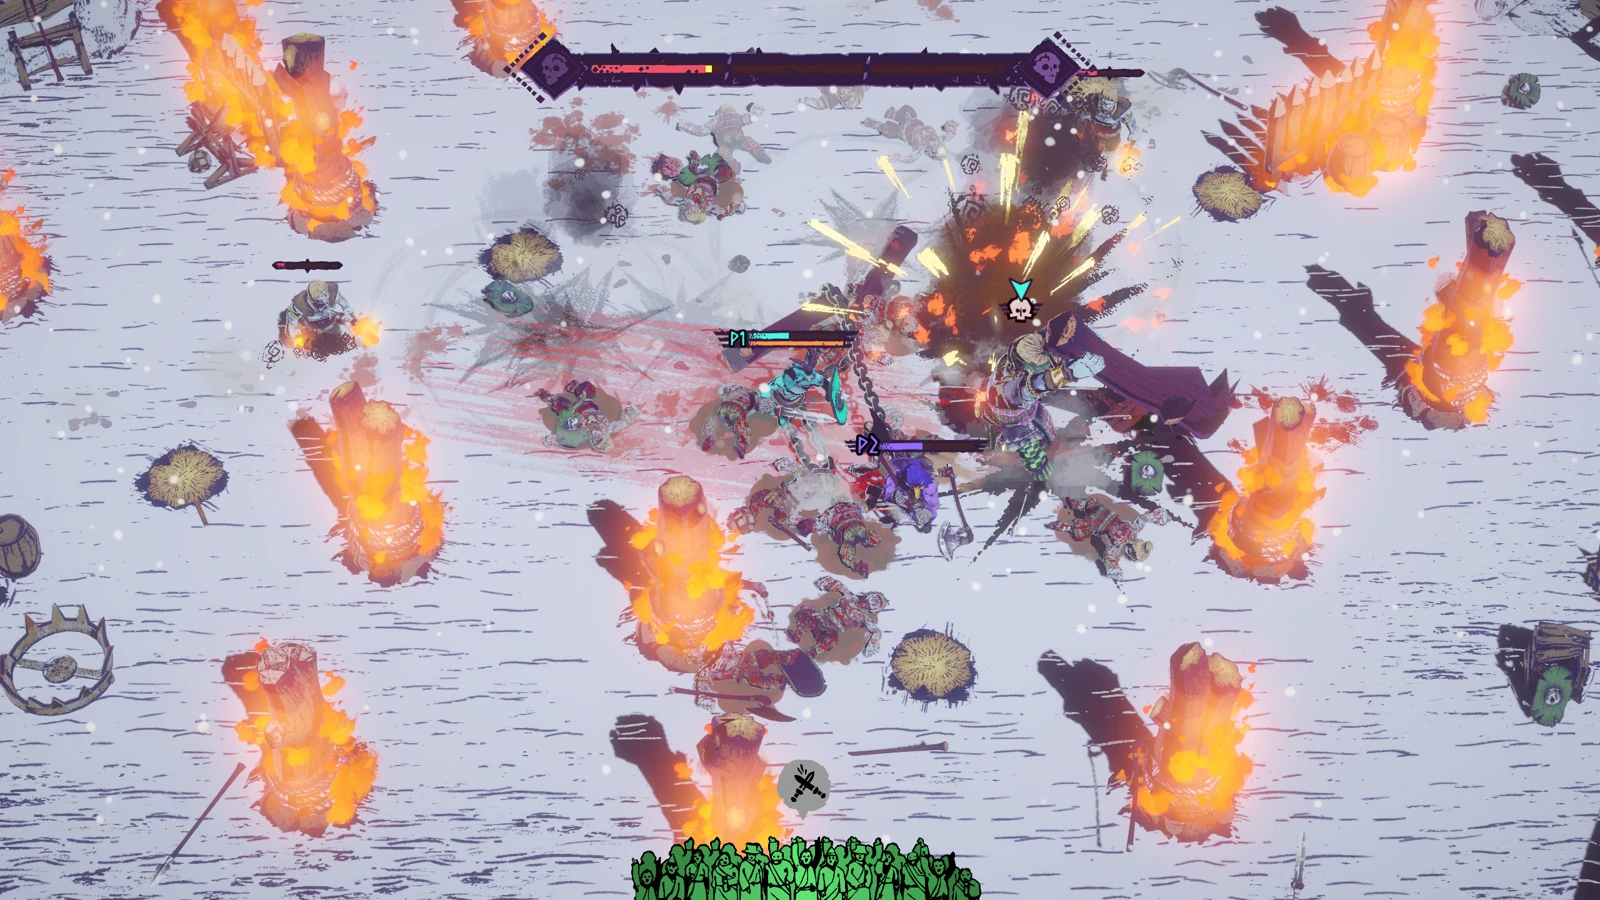
Move the group toward a visible clear area rather than splitting around opposite sides of a burning obstacle. Keep the chain’s middle section out of the hazard as well as the players at its ends. If you need to change direction, announce it while both characters still have room to turn.
Leave dropped equipment in a hazardous lane until it is reachable safely. Pickups tempt you to focus on a small patch of floor while the next attack approaches. Use a weapon already nearby or let the teammate on the safer side collect the replacement.
For Deep Impact attempts, choose a target near the clear side of the arena. This gives you an exit when Goliath commits and reduces the number of hazards competing for the kill. You can return to the main fight after the landing without first disentangling the party from a burning corner.
Watch the ordinary opponent’s health before every new attempt. An earlier hit, a teammate’s throw or another hazard may have changed it since you selected that target. If it is already almost dead, stop using broad attacks nearby and have the party move the remaining fighters away from the landing setup.
Keep the player marker visible as the camera follows the group. When a linked teammate moves to another lane, the view can shift while you are judging the warning’s edge. Use your own marker to confirm that you have actually left the red floor, then check the enemy’s position inside the intended impact area.
Check the kill condition when the achievement stays locked
| What happened | Next check |
|---|---|
| An opponent died beside Goliath | Was the finishing damage from the leap or another attack? |
| The landing hit but the opponent survived | Weaken the next target further before preserving it. |
| A teammate finished the saved target | Call the target out and assign the partner a different job. |
| The chain stopped your escape | Choose a wider landing setup with both players on the same side of obstacles. |
| An online achievement seems missing | Use the current build, which includes further online achievement fixes. |
Keep the encounter’s goals distinct when checking your result. Surviving Germania is the progression goal; Deep Impact requires a particular enemy death during Goliath’s leap. Check the platform achievement entry after the fight, then use the failed attempt’s visible result to decide what to change.
For the next run, keep the part that worked. If the enemy was in the landing but survived, improve the health setup. If you were trapped by the chain, improve the route. Changing those two things separately makes the next attempt easier to read than rebuilding the entire approach.
Sources
Germania and Goliath · Steam achievements · Update 1.0.2 · Featherweight Games · Official gameplay images.