Dota 2 · Ursa · Build decisions
Ursa Build: Battle Fury or Early Blink, Fury Swipes and Enrage Timing
On this page
- Build the next useful function, not a fixed six-slot list
- Cast order and the commitment
- Skill priorities for this plan
- Talent branches: choose the failure you need to solve
- What the interaction actually changes
- Reserve mana for the whole sequence
- When the build fails, change the right part
- Sources, version and recommendations
Use Battle Fury when farming acceleration is the actual priority; use an earlier catch route when you must connect to a target now. Overpower supplies a limited number of fast attacks, Fury Swipes rewards staying on the same target, and Enrage is a short defensive window rather than permanent safety.
Published October 18, 2026 · Valve hero and item data retrieved October 17, 2026
Ursa often has enough potential damage but not enough connected attacks. This build treats access, target continuity and survival as three separate decisions. It also avoids treating a farming purchase as proof that you should accept every available fight.
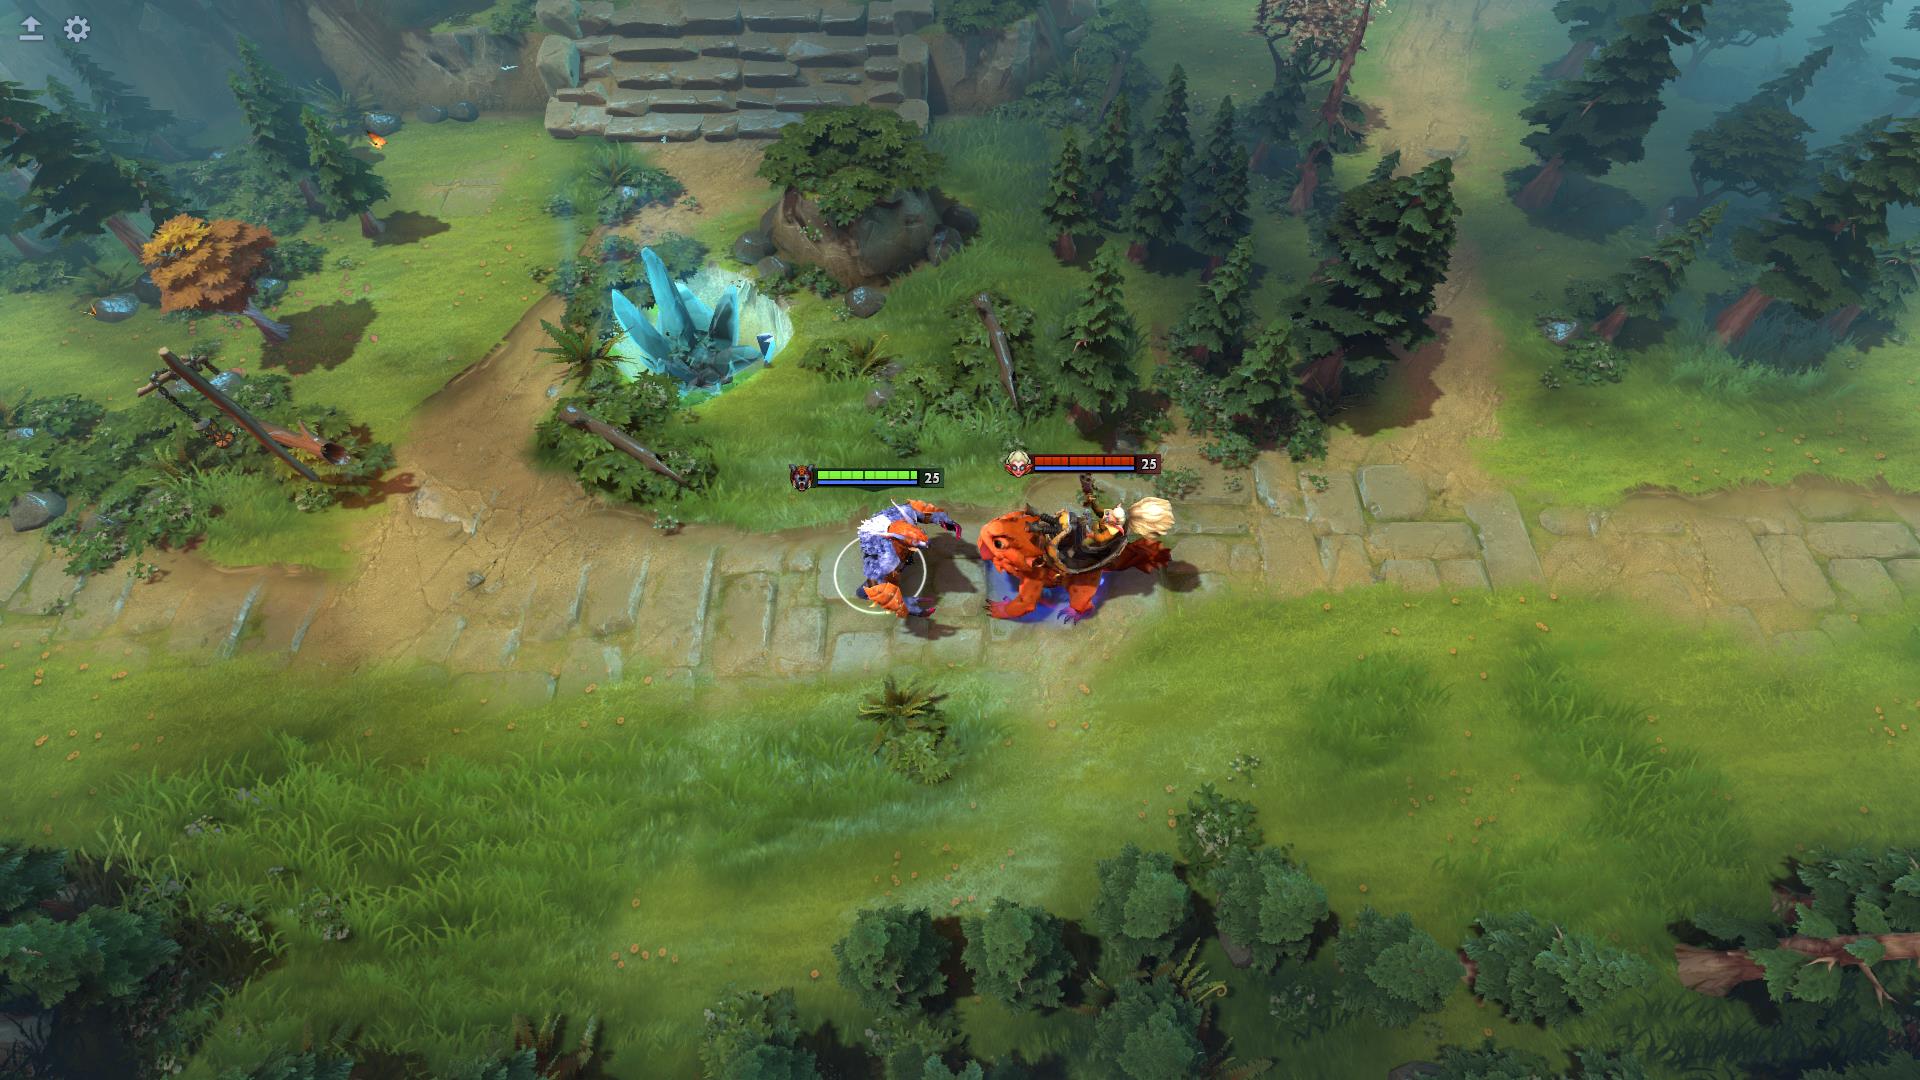
Build the next useful function, not a fixed six-slot list
| Stage | Proposed purchase | Decision before buying |
|---|---|---|
| Lane | Boots, recovery and access to the useful lane spells | Keep enough resources for Earthshock and Overpower rather than spending everything on a distant purchase. |
| Economy route | Battle Fury if a real clearing interval exists | This postpones another major purchase; account for the fights happening meanwhile. |
| Catch route | Blink or an appropriate slowing item before another raw damage slot | Choose against the escape you need to stop, not because both items appear in a final build image. |
| Commitment | BKB against applicable disruption; then evaluate Basher or Abyssal | Control and protection solve different pieces of the attack sequence. |
Cast order and the commitment
- Choose a target you can continue hitting and check the required protection. Do not spend the whole plan reaching a unit already leaving the fight.
- Use Overpower and the available catch to create connected attacks. Keep Earthshock available for the chosen movement or slowing job.
- Use Enrage for the dangerous portion of the commitment. Decide whether the next action is another attack or an exit before the short defensive window ends.
Skill priorities for this plan
Build Fury Swipes and Overpower together when repeated attacks are available. Add Earthshock investment when its reach and slow matter to the actual lane. Taking more attack charges does not help if you repeatedly change targets before stacking damage. Take Enrage at the normal ultimate opportunities and review its strong-dispel description before using it as a response.
Talent branches: choose the failure you need to solve
| Tier | Current alternatives | Purpose |
|---|---|---|
| 10 | Fury Swipes reset time / mana regeneration | Keeping stacks across a break versus sustaining repeated casts. |
| 15 | Maul health scaling / Enrage status resistance | Health-based damage contribution versus the defensive window. |
| 20 | Earthshock radius / Fury Swipes damage | Connecting area pressure versus stronger same-target stacks. |
| 25 | Earthshock charges / Overpower attacks | Another movement interaction versus more attacks per buff. |
These are decision branches from the reviewed talent labels. Exact values can change; inspect the current selection panel before committing the point.
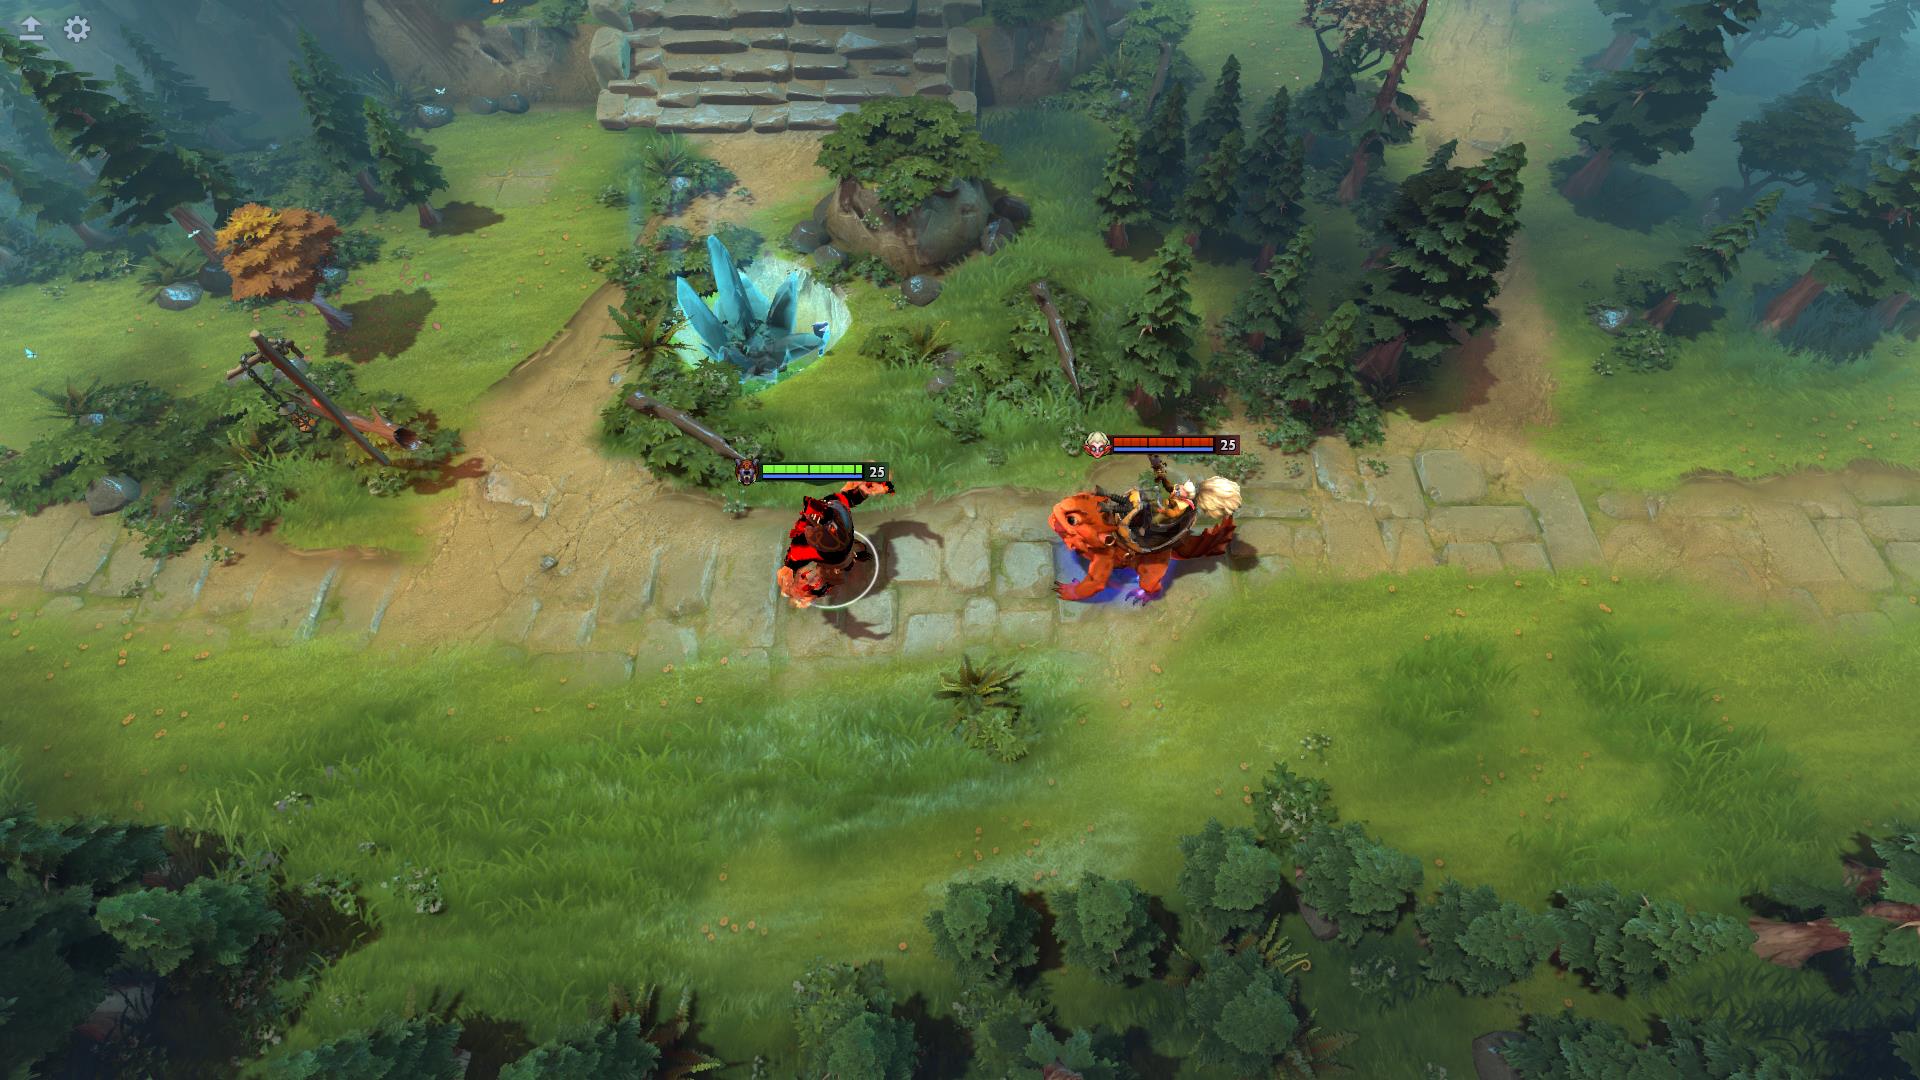
What the interaction actually changes
The reviewed maximum Fury Swipes rank adds 36 damage per stack. As a narrow comparison, five additional maintained stacks represent 180 more raw stack-based damage on a later attack before the target’s defenses. That is not the total damage of six attacks, and it does not survive an expired stack timer by assumption.
Reserve mana for the whole sequence
| Cast or item | Listed mana cost |
|---|---|
| Earthshock | 95 |
| Overpower | 60 |
| Enrage | 0 |
| Black King Bar | 50 |
| Abyssal Blade | 75 |
95 + 60 + 0 + 50 + 75 = 280 mana. The example includes Earthshock, rank-4 Overpower, rank-3 Enrage, BKB and Abyssal. If you chose a different catch item, replace that item’s cost rather than treating this as a universal minimum.
This is a sum of listed costs before mana-cost modifiers, regeneration or omitted actives, not a prediction of your exact displayed mana after the fight.
When the build fails, change the right part
I have damage but cannot finish anyone
Identify whether the missing part is reach, continued contact or a disable window. Another damage purchase may solve none of them.
The next target feels much harder
Fury Swipes is target-specific. Do not transfer the previous victim’s accumulated stack expectation.
Enrage ended and I died
Its reviewed duration is short. Treat the remaining exit route as part of the commitment.
Sources, version and recommendations
Mechanics, ability costs and talent labels: Valve’s English Ursa data. Item functions and costs: Black King Bar, Abyssal Blade; the complete item snapshot is retained with this guide’s editorial evidence. Retrieved October 17, 2026.
Chinese-language build discussion supplied a topic lead only; its old values and wording are not reused.
The purchase order, skill priorities and talent decisions are independent editorial recommendations. Official demonstration images do not prove this item route won a match. No fixed purchase minute, win rate, guaranteed kill or personal playtest is claimed.
Compare the Sven cast-order plan or browse all Dota 2 guides.