Loftia · PC (Steam Early Access) · EA Patch #2 (Nov 10, 2026)
Loftia Gridfall Guide: Beneath the Surface, Atlas, Mita, Urbex Key & Blue Shrooms
On this page
- Preparation Checklist Before Dropping Into Gridfall
- Finding Atlas in Gridfall ("Beneath the Surface")
- How to Unlock Mita's Urbex Key ("Field Notes and Loose Bolts")
- Repairing All 3 Red Pillars Underground & Clearing Atlas's Chain
- Reaching Blue Shrooms, Concrete Jungle & Keeping the Lights On
- Patch #2 Gridfall Map Fixes & Overgrowth Transition Notes
- Frequently Asked Questions
- Sources & Patch Verification
- Next useful check
To reach Atlas during Beneath the Surface in Gridfall, walk straight ahead from the district entry point, turn right along the main road toward the jump pad, and drop down the cavern hole into the Underworld. Before Mita unlocks the Urbex Key so you can open the blue Urbex doors and repair all three red pillars, finish the Museum's Field Notes and Loose Bolts investigation first.
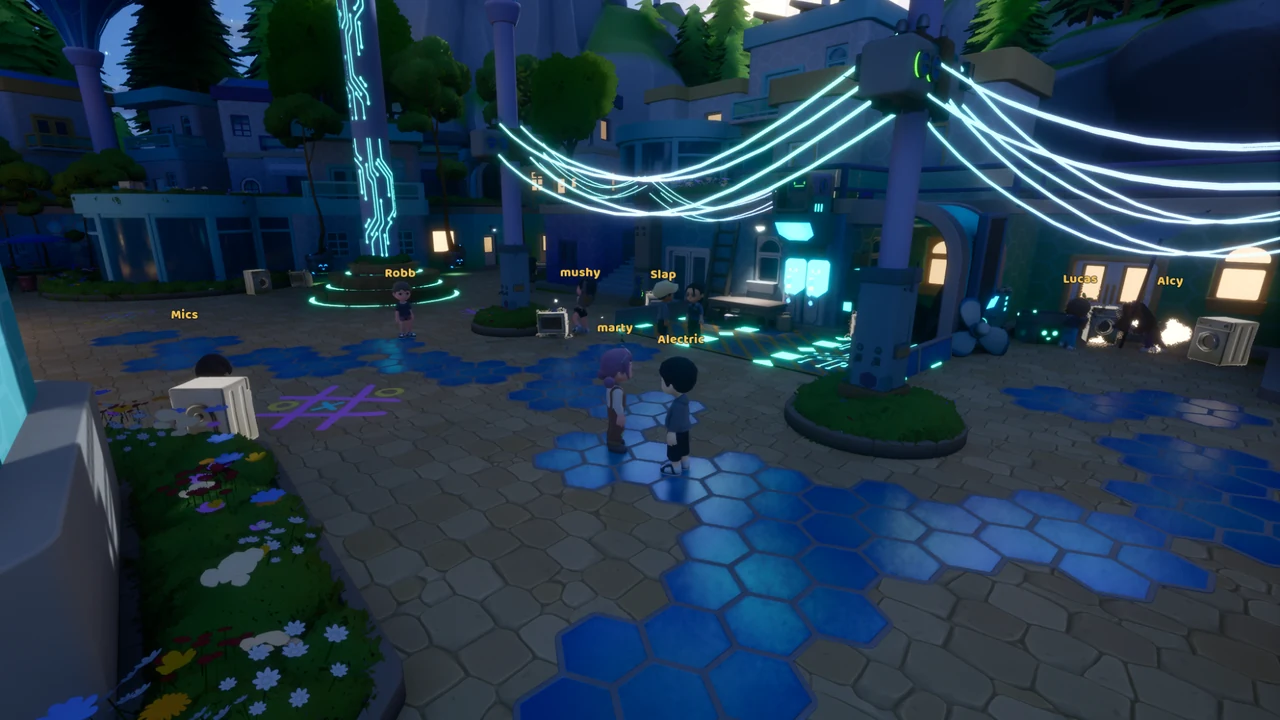
Gridfall trades Loftia's sunny floating gardens for neon-lit hex plazas, locked office wings, and deep subterranean power tunnels. Even players who cruised through Loftia City and Hanging Gardens regularly stall here, looping upper rooftops trying to figure out why Mita refuses to hand over the Urbex Key or where the drop hole to reach Atlas sits.
Qloud Games repaired two of Gridfall's worst progression bugs inside Early Access Patch #2 (November 10, 2026). First, Atlas stopped spawning during invalid quest steps; second, Beneath the Surface gained a clearer destination pin so players stop mistaking rooftop balconies for underground routes.
Packing spare energy and knowing the exact order between Atlas, the Gridfall Museum, and Mita keeps your run moving forward cleanly. Follow the route checkpoints, pillar clearing loop, and vertical rail guide below to unlock both Project Station Level 3 and high-ledge Blue Shrooms in minimal trips.
Preparation Checklist Before Dropping Into Gridfall
Walking straight into Gridfall without basic flight gear or portable energy turns tight exploration loops into slow runs back to town docks. Spend two minutes sorting your inventory back on your island before chasing Beneath the Surface.
- Equip Both Glider and Bounce Shoes: You can reach the main road without Bounce Shoes, yet having them from Project Station Level 2 makes clearing elevated jump pads, urban balconies, and Museum stairs far faster.
- Charge Your Battery Above 10 Charges: Gridfall's main progression line culminates in Keeping the Lights On, which consumes 10 Battery Charges directly alongside tech scrap. Keep your backpack topped off before diving underground.
- Leave at Least 8 Bag Slots Clear: Between locked office collectibles for Electric Dreams, spare Electronic Scraps, Carbon Fiber, and Rusted Metal, tight bags fill up long before you climb out of the Underworld.
Finding Atlas in Gridfall ("Beneath the Surface")
Gridfall stacks multi-story Tech District architecture directly over hollowed subterranean vaults, which confuses horizontal quest compasses. Rather than vaulting diagonally over alleys right at the gate, hold to the main paved road from the moment you load into the zone.
- Move Straight Forward at District Arrival: Step out of Gridfall's spawn plaza straight ahead past the initial glowing blue hex tiles without jumping down random stairwells yet.
- Take the Right Turn onto the Main Road: At the main street split, follow the primary paved road rightward deeper into the Tech District until you spot a raised jump pad landmark sitting along the street edge.
- Locate the Drop Hole Beside the Jump Pad: Look right near that jump pad structure for a wide downward shaft opening into rocky tunnels below. Drop squarely into that hole to land inside the Underworld cavern holding Atlas.
- Verify Your Objective Indicator (Patch #2): If you originally accepted Beneath the Surface before November 10 and could not find the entrance, confirm Steam downloaded Patch #2, which added explicit destination marking down to Atlas's chamber.
Notice how easy it is to mistake upper industrial catwalks or washing-machine scrap heaps near the Tech District plaza for underground doorways. Always stick to that jump-pad landmark first; once you know where the Underworld drop shaft sits, returning later with Mita's key takes twenty seconds.
| Gridfall Landmark / NPC | District Layer | Quest Link / Key Check | What You Unlock or Collect Here |
|---|---|---|---|
| Tech District Entry & Jump Pad Road | Upper Surface | Beneath the Surface entry corridor | Direct drop-hole route straight into Underworld cave |
| Atlas (Underworld Chamber) | Underground | Fixed wrong-stage spawn in Patch #2 | Directs investigation toward Mita, blue Urbex gates, and damaged pillars |
| Gridfall Museum (Mita) | Tech District | Requires Field Notes and Loose Bolts | Unlocks Urbex Key + Electric Dreams Research Station tab |
| Blue Urbex Doors & Three Red Pillars | Underworld Wings | Unlocked with Mita's Urbex Key | Repair all 3 red pillars, then report back to Mita |
| Concrete Jungle & High Cliffs | Outer Gridfall | Pair with Rail Boots | Carbon Fiber salvaging & vertical rail paths to Blue Shrooms |
How to Unlock Mita's Urbex Key ("Field Notes and Loose Bolts")
Speaking to Atlas inside the Underworld explains the blocked power grid behind the sealed blue Urbex doors, so players naturally run straight back up to Mita expecting the key immediately. If Mita ignores your request and recites idle dialogue instead, you skipped her Museum gatekeeper line.
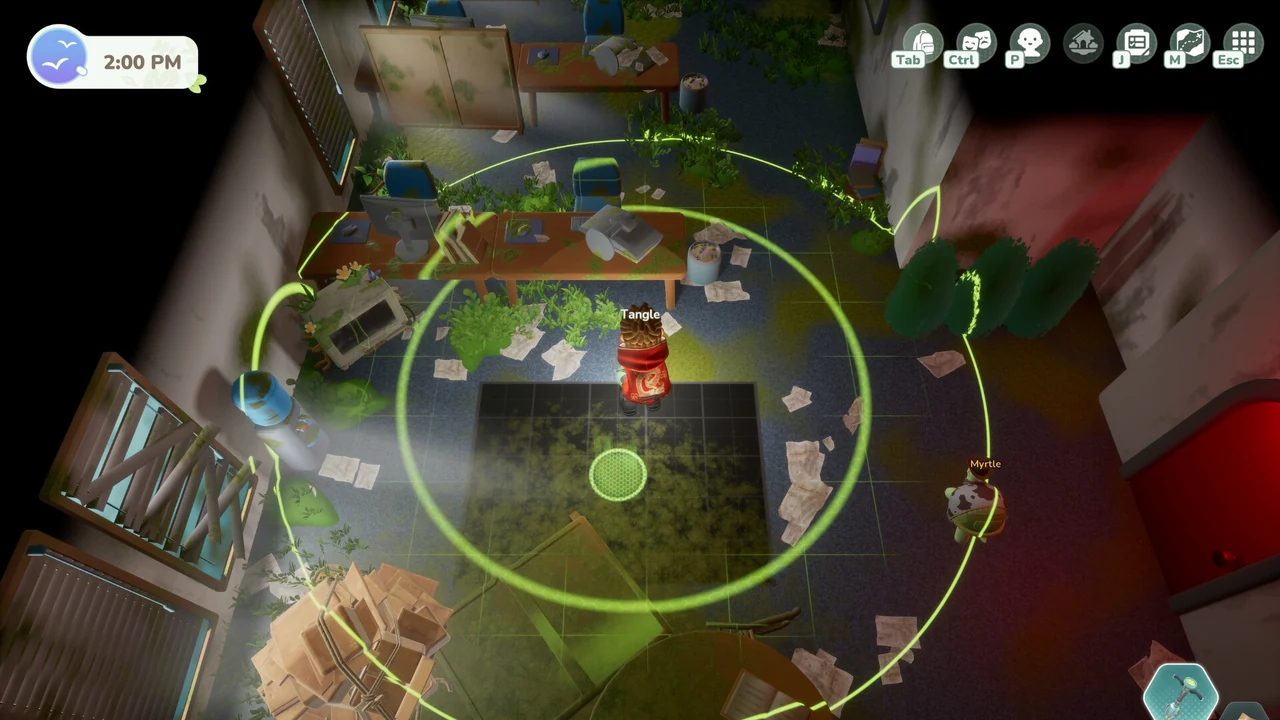
Mita withholds the Urbex Key completely until you finish the Museum quest Field Notes and Loose Bolts. Check your quest card carefully to confirm every town interview, scan objective, and preliminary research turn-in inside Gridfall Museum reads green rather than sitting one step shy of completion.
Most stalled players miss a secondary NPC chat line or walk out of the Museum before turning in the final piece of Field Notes and Loose Bolts. Exhaust all dialogue options inside the Museum hall cleanly until Mita visibly advances the Urbex progression state.
First Stop With the Urbex Key: Ruined Office Collectibles
Hold off for just three minutes before diving straight back underground once Mita activates your Urbex Key. Unlock the accessible surface corporate and tech offices around Gridfall right away to sweep desks, shelves, and dusty corners for Electric Dreams items.
Inside those blue-sealed office ruins, grab all three retro electronics—the Used Floppy Disk, Used Game Cartridge, and Used Boombox—plus stray Electronic Scraps. Submitting those three vintage pieces at the Gridfall Museum Research Station unlocks the blueprint for Rail Boots, saving a redundant backtrack later when vertical magnetic tracks stall your mushroom hunts.
Checking surface rooms immediately also stops you from burning extra Load screens later when you return home for crafting. Once Electric Dreams sits logged inside the Museum terminal alongside your Keeping the Lights On progress, a single visit back to your Player Island handles both the Level 3 upgrade and your new boots.
Repairing All 3 Red Pillars Underground & Clearing Atlas's Chain
Once your office sweep finishes and spare batteries sit ready, take the drop shaft back down to Atlas's Underworld chamber. Locked blue Urbex doors frame the perimeter corridors flanking the central underground hub.
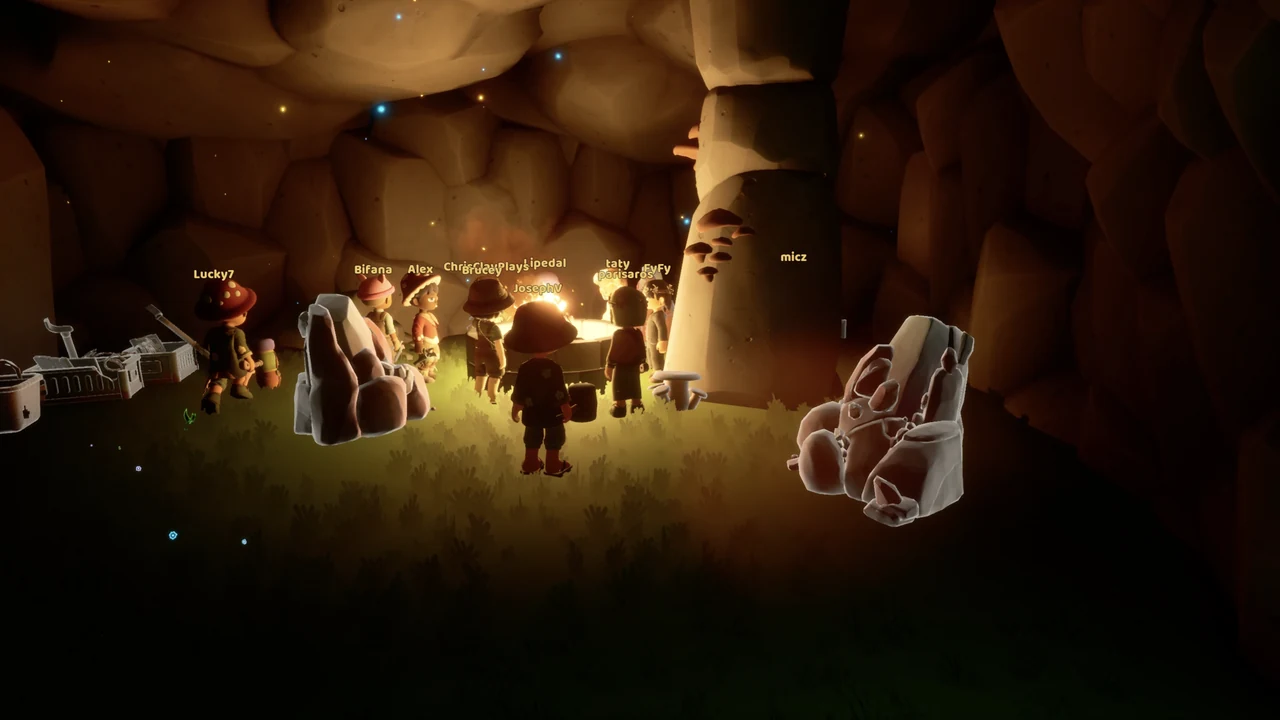
- Sweep Blue Urbex Gates Flanking Atlas: Walk the outer wall of Atlas's cavern to identify every blue-sealed Urbex door leading into dark tunnel branches.
- Count All Three Red Pillars Before Leaving: Unlock each wing with your Urbex Key and explore every side bend until you locate and fix all three red pillars rather than turning around early on two.
- Verify UI Count Increments Cleanly: After interacting with each damaged pillar, pause for two seconds so the quest objective ticks upward cleanly on screen (
1/3,2/3,3/3) before sprinting through the doorway. - Confirm Co-Op Party Objective Credit: If you drop into the Underworld with friends, make sure each player personally confirms their tracker reads three repaired pillars rather than rushing back upstairs while lagging behind another squad member.
- Report Directly Back to Mita: Do not expect Gridfall's next quest phase to unlock automatically down in the tunnel after pillar three stabilizes. Climb back up to the district and speak directly with Mita to lock in the pillar repair flag.
- Clear Keeping the Lights On for Station Level 3: Advance Gridfall's main story into Keeping the Lights On, turning in 5× Electronic Scraps, 2× Rusted Metal, 10× Scrap Wire, and 10 Battery Charges to grant Project Station Level 3 back on your Player Island.
Common Mistakes Around the Three Underground Pillars
Many players open only the closest blue doorway off Atlas's bonfire chamber, repair one damaged pillar, assume the remaining pillars live higher up in the city, and climb straight out of the hole empty-handed. Every single one of the three red pillars sits behind the locked subterranean wings framing Atlas's floor.
Walk the full perimeter wall of the lower cavern room using visual landmarks like glowing blue cable lines and stone archways so you spot all side wings cleanly. Double-checking your corner tracker for full completion before climbing the shaft avoids an extra five-minute hike back across Tech District avenues.
Recovering If Atlas Still Appears Stuck on a Pre-Patch Save
Patch #2 stopped Atlas from materializing out of sync during wrong quest phases, yet legacy characters parked underground prior to November 10 can occasionally keep old instance flags loaded. Avoid standing in front of a silent NPC re-clicking dialogue buttons twenty times in a row.
Fast-travel out to Loftia City or your Player Island, fully exit to the title screen to refresh Qloud Games' server-authoritative quest handshake, and drop back down from the jump-pad road. If HUD prompts freeze completely or mouse clicks stop registering mid-dialogue, walk through our UI lock & Patch #2 freeze troubleshooting checklist.
Reaching Blue Shrooms, Concrete Jungle & Keeping the Lights On
Even after underground pillars stabilize, two Gridfall resource hurdles stop progression dead if tackled in the wrong sequence: high-altitude Blue Shrooms (needed for The Shroom Next Door and Too Many Spores Spoil the Soup) and large stacks of Carbon Fiber.
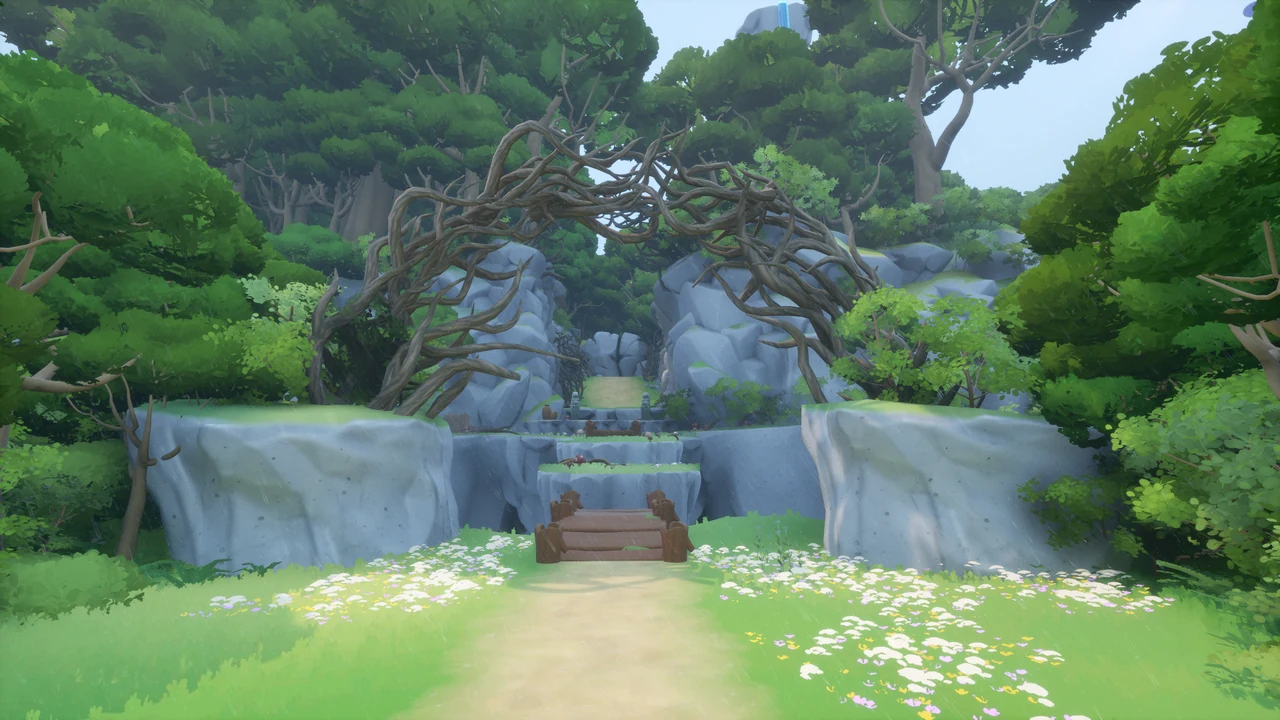
| Gridfall Material / Target | Exact Zone / Obstacle | Gear or Cost Prerequisite | Major Craft or Quest Use |
|---|---|---|---|
| Blue Shrooms | Upper cliffs reached via vertical magnetic rails | Rail Boots (Electric Dreams + Project Station Lv. 3: 5× Magnets, 3× Carbon Fiber) | Completes The Shroom Next Door and Too Many Spores Spoil the Soup |
| Carbon Fiber | Concrete Jungle tech wreckage & salvage spots | Standard Gridfall exploration | Core input for Rail Boots (3×), Hydrofarm (3×), and Wind Turbine frames |
| Electronic Scraps & Rusted Metal | Gridfall Tech District & abandoned office machines | Early Gridfall access + Urbex Key | Unlocks Project Station Lv. 3 (5× Electronic Scraps, 2× Rusted Metal, 10× Scrap Wire, 10 Battery Charges) |
Notice why order matters so sharply here: players often spot Blue Shrooms perched atop towering Gridfall walls, assume Bounce Shoes should reach them, and waste twenty minutes clipping off sheer rock geometry. Those cliffs intentionally hook onto vertical magnetic rails powered exclusively by Rail Boots.
Finish Keeping the Lights On first so your Project Station hits Level 3, gather Carbon Fiber across the Concrete Jungle (alongside any spare Magnets), build your Rail Boots from the Electric Dreams schematic, and zip straight up the vertical tracks in seconds. Meanwhile, send extra Concrete Jungle Carbon Fiber home immediately to construct the automated Hydrofarm detailed in our Project Station Level 3 & Energy guide.
Patch #2 Gridfall Map Fixes & Overgrowth Transition Notes
Beyond repairing Atlas and adding cleaner markers for Beneath the Surface, Patch #2 (November 10, 2026) resolved several hidden hazards that plagued late-game zone explorers. Multiple rock crevices and invisible trap corners in Gridfall, Hanging Gardens, and Overgrowth were patched out so boots no longer lock mid-climb.
Qloud Games also folded targeted Overgrowth cave optimizations into the November 10 build, cutting heavy shader stutters right as players push beyond Gridfall toward Overgrowth's Sightless Seekers research node for Battery Level 4. Remember too that out-of-bounds shortcuts like the Secret Cave skip and Don't Drop the Ball shortcut are patched shut now, keeping every zone reward locked behind intended flight and rail gear.
What to Gather Before Leaving Gridfall for Overgrowth
Before moving permanently past Concrete Jungle into Overgrowth's tangled vine gate, sweep one extra loop for Carbon Fiber, spare Magnets, and leftover Electronic Scraps. Between Rail Boots (5× Magnets, 3× Carbon Fiber), the automated Hydrofarm (3× Carbon Fiber), and shared Wind Turbine scaffolds, Gridfall's concrete wreckage supplies more Tier 3 bottlenecks than any other district in the game.
Use your Glider briefly when dropping down steep Underworld shafts so uneven ledges near Atlas's floor never chip away stamina unnecessarily before deep cave explorations begin. Always check that every locked blue door around both surface corporate wings and lower underground rooms has been swept for stray schematics and scrap wire.
Bringing an extra handful of Battery Charges home while sweeping Concrete Jungle also prevents your Seed Maker and Recycler crafts from sitting idle back on Player Island. With Gridfall pillars repaired, Mita happy, and Electric Dreams wrapped up, your island engineering loop moves cleanly into full late-game capacity.
Frequently Asked Questions
Why won't Mita give me the Urbex Key when I ask?
Mita withholds the Urbex Key until you finish Gridfall Museum's Field Notes and Loose Bolts questline cleanly—including every NPC interview and Museum research turn-in step. Clear that mission log fully, then return to talk to Mita again.
Where exactly is the drop hole to reach Atlas in Beneath the Surface?
Walk straight ahead from the Gridfall district entry plaza, turn right onto the main road, and follow it until you spot a jump pad. Check the rocky street edge beside that jump pad for the open cavern shaft dropping directly into the Underworld where Atlas waits.
How am I supposed to reach Blue Shrooms high on Gridfall cliffs?
Standard gliders and Bounce Shoes fall short of those sheer ledges by design. Complete the Gridfall Museum's Electric Dreams bundle (Used Floppy Disk, Used Game Cartridge, Used Boombox), upgrade your Project Station to Level 3, craft Rail Boots (5× Magnets, 3× Carbon Fiber), and ride Gridfall's vertical rails straight up.
How does Gridfall unlock Project Station Level 3?
Progress through Gridfall's story into the main quest Keeping the Lights On and deliver 5× Electronic Scraps, 2× Rusted Metal, 10× Scrap Wire, and 10 Battery Charges to unlock Tier 3 crafting on your Player Island.
What should I do if Atlas vanished or stopped progressing after repairing all 3 red pillars?
Verify Steam updated Loftia to Patch #2 (November 10), which repaired Atlas spawning on wrong quest phases, and make sure you walked back up to report to Mita after repairing the third pillar rather than waiting underground for an automatic cutscene.
Sources & Patch Verification
Every quest prerequisite, crafting recipe, station unlock, and bug workaround in this guide reflects Qloud Games’ live Early Access client through Patch #2 (November 10, 2026), verified against the Loftia Steam announcements and official developer documentation (Loftia Patch #2 Gridfall & Atlas Fixes · Qloud Games Press Kit · Official Early Access Overview).
All Loftia guides → · Valheim progression guides → · Enshrouded building guides → · Browse all game hubs →