Loftia · PC (Steam Early Access) · EA Patch #2 (Nov 10, 2026)
Loftia Permission to Glide Quest, Glider, Bounce Shoes & Rail Boots Unlock Guide
On this page
- Exact Story Chain Before You Can Craft the Glider
- Loftia City Resource Map for Permission to Glide
- Building the Refining Station & Managing Early Energy
- Complete Traversal Gear Matrix: Glider, Bounce Shoes, Rail Boots & Propeller
- How Patch #2 Sealed Terrain Skips & Polished Traversal
- Frequently Asked Questions
- Sources & Patch Verification
- Next useful check
To unlock your Glider in Loftia, finish Hazel's The First Sprout quest, accept Permission to Glide from Cliff, talk to Milo in Loftia City, build a Refining Station (5 Screws, 3 Scrap Wire, 5 Energy), refine Metal Plate, Plank, Straw, and Rubber, clear Ryder's Adventure Awaits! at Adventure Dock, and finish Cliff's Certified Flying Loftian to craft the Glider (3 Rubber, 3 Straw, 5 Glass Cullets).
Getting airborne changes how fast every hour of Loftia moves, yet the opening quest chain trips up plenty of new players before they ever step onto a sky dock. Because early missions like Permission to Glide spread prerequisites across three separate NPCs instead of handing out a wing directly, players frequently gather extra scrap without noticing a missing dialogue trigger or energy prerequisite back on their home island.
Early Access Patch #2 (November 10, 2026) cleared two major progression stalls along this opening sequence. Qloud Games fixed a conversation lock with Milo that froze step turn-ins, added missing closing lines for Pebble and Milo, and stopped duplicate Pebble clones from spawning when players skipped the opening City Tour.
Following the exact NPC handoff below gets your Refining Station, Adventure Goggles, and starter Glider running cleanly on your first evening. It also lines up your mid-game crafting materials for Bounce Shoes, Rail Boots, and the powered Propeller upgrade without forcing wasted trips back to starter streets.
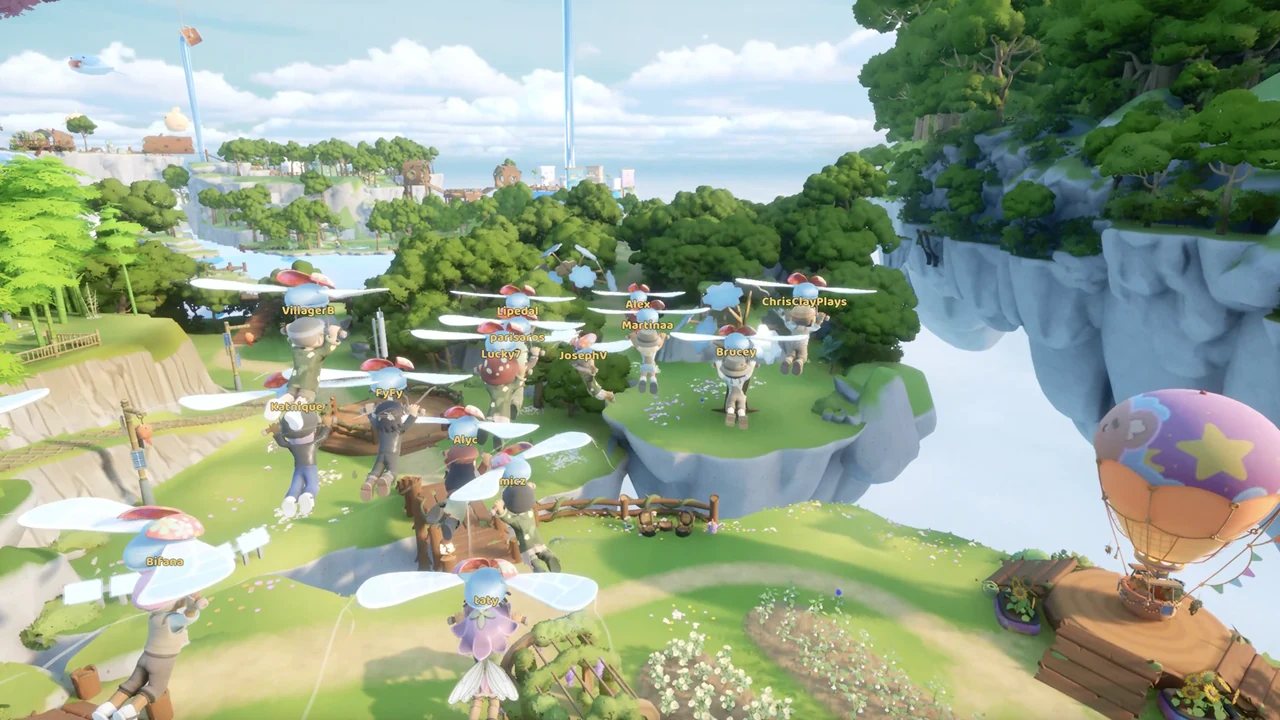
Exact Story Chain Before You Can Craft the Glider
The Glider schematic does not appear inside your workbench right after finishing Permission to Glide. You have to clear four sequential quest milestones across Hazel, Cliff, Milo, and Ryder before Project Station Level 1 lets you craft the wing.
- The First Sprout (Hazel): Finish your introductory island tasks with Hazel so district arrival markers open across Loftia City and Adventure Dock.
- Permission to Glide (Cliff → Milo): Accept the assignment from Cliff, walk into Loftia City, and run through every line of dialogue with Milo so your mission card updates with four district salvage bundles and a Refining Station build objective.
- Refine All Four Samples (Player Island): Place your Refining Station (5× Screws, 3× Scrap Wire, and 5 Energy) and process Milo's gathered salvage into one Metal Plate, one Plank, one Straw, and one Rubber. Turning those four refined samples back in awards the Adventure Goggles cosmetic and secures your permanent Refining Station progression.
- Adventure Awaits! (Ryder at Adventure Dock): Speak with Ryder along Adventure Dock, sort out the Scrambled Coordinates step, and clear the introductory Adventure Island obstacle course.
- Certified Flying Loftian (Cliff): Head back to Cliff once Ryder wraps up, take Certified Flying Loftian, and craft your Glider at Project Station Level 1 using 3× Rubber, 3× Straw, and 5× Glass Cullets.
Hold off on reporting a bug if you finish Permission to Glide, open your station back on your floating plot, and see zero aerial tools listed. Almost all missing-glider confusion traces back to skipping Ryder's Adventure Awaits! at Adventure Dock, which sits squarely between Cliff's first errand and Certified Flying Loftian.
Avoiding Dialogue Locks Around Hazel, Milo & Ryder
Always let NPC text boxes finish naturally rather than hitting Escape mid-sentence while rushing through introductory hubs. Even after Patch #2 stabilized Milo's dialogue branch, cutting off an NPC before the quest card pops in the corner HUD can leave Ryder or Cliff waiting on a conversation flag you thought already closed.
When heading into Ryder's Adventure Island sequence, clear bag slots ahead of stepping onto the boat deck and carry full stamina food or water. Ryder's opening course rewards careful ledge jumps over blind sprints, setting your habits early for multi-island travel afterward.
Loftia City Resource Map for Permission to Glide
Milo checks off five pieces apiece of four raw materials tucked inside separate neighborhoods of Loftia City. Each target matches a distinct sub-district landmark, and base tools gather every node cleanly without mid-game upgrades.
| Requested Raw Material | Loftia City Sub-District | What to Target or Smash | Refining Station Output | Why Extra Stacks Help Later |
|---|---|---|---|---|
| 5× Metal Scraps | Scrap Quarter | Break old washing machines, metal bins, and workshop scrap heaps | Metal Plate | Used in Medium Solar Panels (3× Plates) and mid-tier craft benches |
| 5× Scrap Wood | Construction Site | Collect fallen plank bundles and timber scraps around building scaffolds | Plank | Feeds basic furniture, bridge builds, and early workshop requests |
| 5× Plant Fiber | The Hills | Cut wild grass clumps and grassy slopes bordering upper city hills | Straw | Your starter Glider consumes 3× Straw directly |
| 5× Tires | Solar Farm | Look around stacked rubber rims beside ground-mounted solar arrays | Rubber | Your starter Glider consumes 3× Rubber directly |
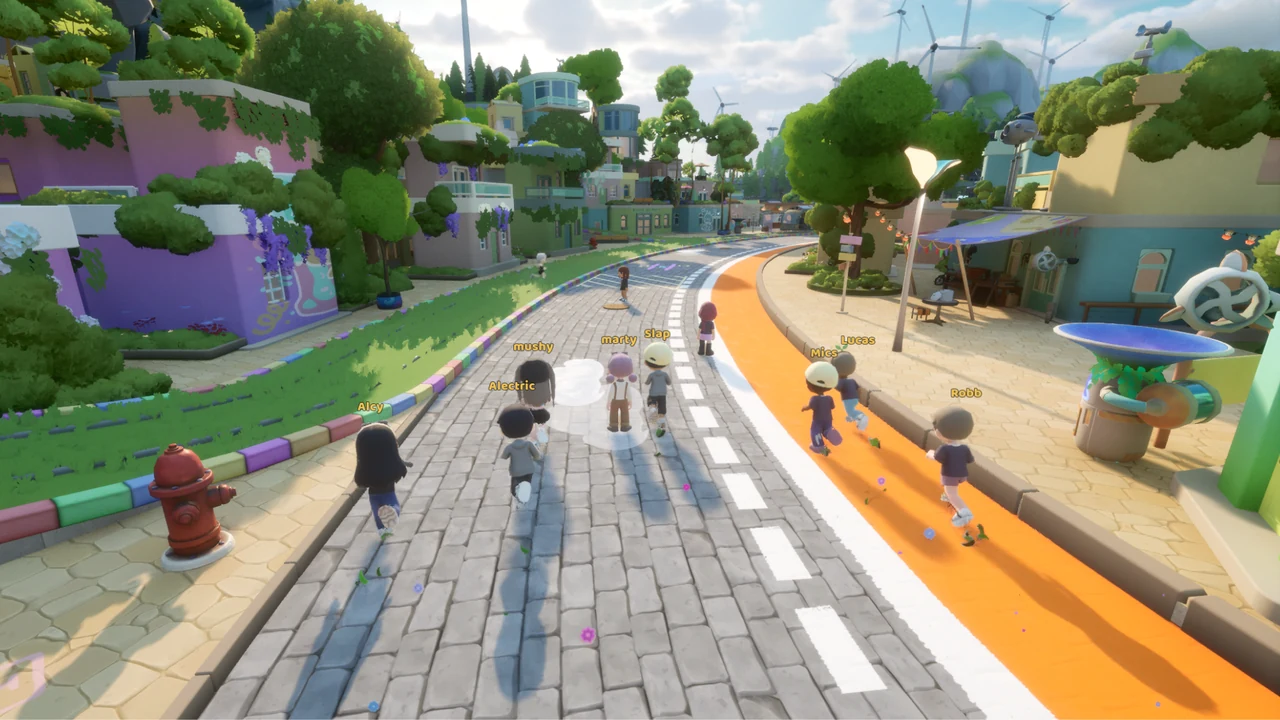
Instead of collecting the bare minimum of five items per zone and running straight back to your island, do one complete sweep across Loftia City right away. Smashing extra discarded washing machines in the Scrap Quarter and collecting stray timber piles at the Construction Site yields spare Screws, Scrap Wire, and Glass Cullets that you will immediately burn on your station queue.
Pay special attention to extra Tires around the Solar Farm and Plant Fiber up along The Hills. Because your Glider demands 3× Rubber and 3× Straw right after finishing Cliff's follow-up quest, hoarding extra stacks during your first Loftia City run avoids a second annoying commute back across town.
Players often wander uphill past the Construction Site looking for Metal Scraps or search residential gardens expecting Tires. Keep your loop divided cleanly: washing machines and scrap appliances stick to the Scrap Quarter, while loose rubber stacks cluster directly around the angled mirrors of the Solar Farm.
Recovering From Patch #2's Milo & Pebble Dialogue Bugs
Before Patch #2 shipped on November 10, backing out of Milo's screen early left his Permission to Glide objective completely mute. In the exact same launch build, players who skipped the opening City Tour occasionally walked up to talk to Pebble only to find two identical Pebble NPCs standing beside one another.
Check your Steam Downloads panel first to make sure the November 10 update is live. If an older pre-patch session still shows a silent NPC, fast-travel back to your personal island, perform a clean log-out to the login screen, and re-enter Loftia City to refresh shard entity state; for stubborn menu locks, check our UI freeze and Patch #2 troubleshooting guide.
Building the Refining Station & Managing Early Energy
Milo will not accept raw salvage, so the real hurdle shifts back to your floating island workbench. Building a Refining Station consumes 5× Screws, 3× Scrap Wire, and 5 Energy, making power management your very first base-building bottleneck.
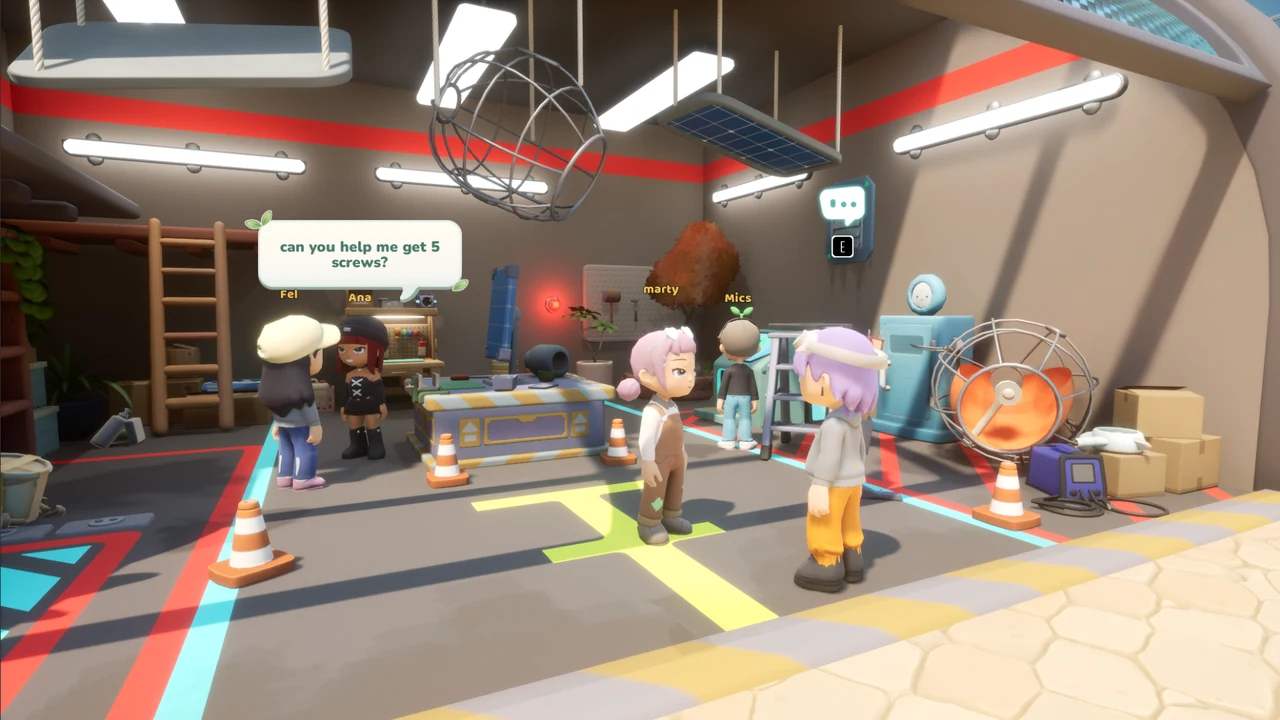
New players frequently gather all five Screws and three Scrap Wire only to tap craft repeatedly while the button stays unresponsive. Look at the bottom battery meter before panicking: if your starter cell sits below 5 Charges, the queue blocks automatically until you restore power.
- Build a Small Solar Panel First: At Project Station Level 1, craft a Small Solar Panel using 5× Metal Scraps, 5× Scrap Wire, 5× Glass Cullets, and 5 Energy so your plot banks up to 5 passive charges whenever sunlight hits.
- Group Your Processing Benches Beside the Spawn Dock: Place the Refining Station close to your Project Station and starter chests so moving plates, straw, and rubber takes seconds instead of jogging across the lawn.
- Verify Both Refine & Flight Material Counts Together: Before stepping off to clear Ryder's Adventure Dock mission, double-check that you already have 3× Rubber, 3× Straw, and 5× Glass Cullets sitting ready in storage for the Glider craft.
Once your Small Solar Panel and Refining Station run together, start banking stray Copper Scraps, extra Screws, and extra Scrap Wire inside a dedicated upgrade chest. Your very next island milestone—Project Station Level 2—immediately consumes 3× Copper Scraps, 5× Screws, 5× Scrap Wire, and 7 Battery Charges alongside fish turned in at Hanging Gardens; full numbers sit inside our Project Station Level 3, Hydrofarm & Battery Lv. 4 guide.
Glider Deployment & Safe Gap Crossing Habits
When Certified Flying Loftian clears and your starter Glider drops into inventory, double-tap Jump (Spacebar on keyboard) while off any ledge to deploy the wings. Keep forward movement pressed steadily rather than fluttering Spacebar off and on, since repeated cancels chew through stamina faster than one smooth glide.
Always judge vertical drop before jumping toward distant outer islands. Gliders shed height slowly across wide gaps, so launching from elevated cliffs or wooden docks gives far safer clearance than running straight off flat shoreline grass.
Complete Traversal Gear Matrix: Glider, Bounce Shoes, Rail Boots & Propeller
Crossing sky gaps with your starter wing opens outer districts, yet vertical cliffs in Hanging Gardens and elevated transit tracks inside Gridfall remain locked down by steeper height walls. Three targeted movement tools solve every remaining obstacle once your island stations climb through Tier 2 and Tier 3.
| Traversal Gear | Craft Station | Mandatory Unlock Prerequisite | Exact Crafting Cost | Where It Pays Off Most |
|---|---|---|---|---|
| Glider | Project Station Lv. 1 | Clear Permission to Glide, Adventure Awaits! & Certified Flying Loftian | 3× Rubber, 3× Straw, 5× Glass Cullets | Standard gap crossings between floating islands and starter docks |
| Bounce Shoes | Project Station Lv. 2 | Unlock Lv. 2 via Central Lake Research Station (Anadromous Odyssey) | 2× Aluminium Bar, 10× Resin, 2× Banana Leather | Springing onto tall rooftops, Hanging Gardens branches, and steep canyon tiers |
| Rail Boots | Project Station Lv. 3 | Upgrade Station to Lv. 3 & complete Gridfall Museum Electric Dreams bundle | 5× Magnets, 3× Carbon Fiber | Grinding elevated and vertical rails to reach Blue Shrooms and secret platforms |
| Propeller | Project Station Lv. 3 | Project Station Lv. 3 unlocked via Keeping the Lights On | 1× Glider, 2× Hard Lumber, 2× Aluminium Bar, 10× Resin | Upgrades your starter Glider directly for faster powered island crossings |
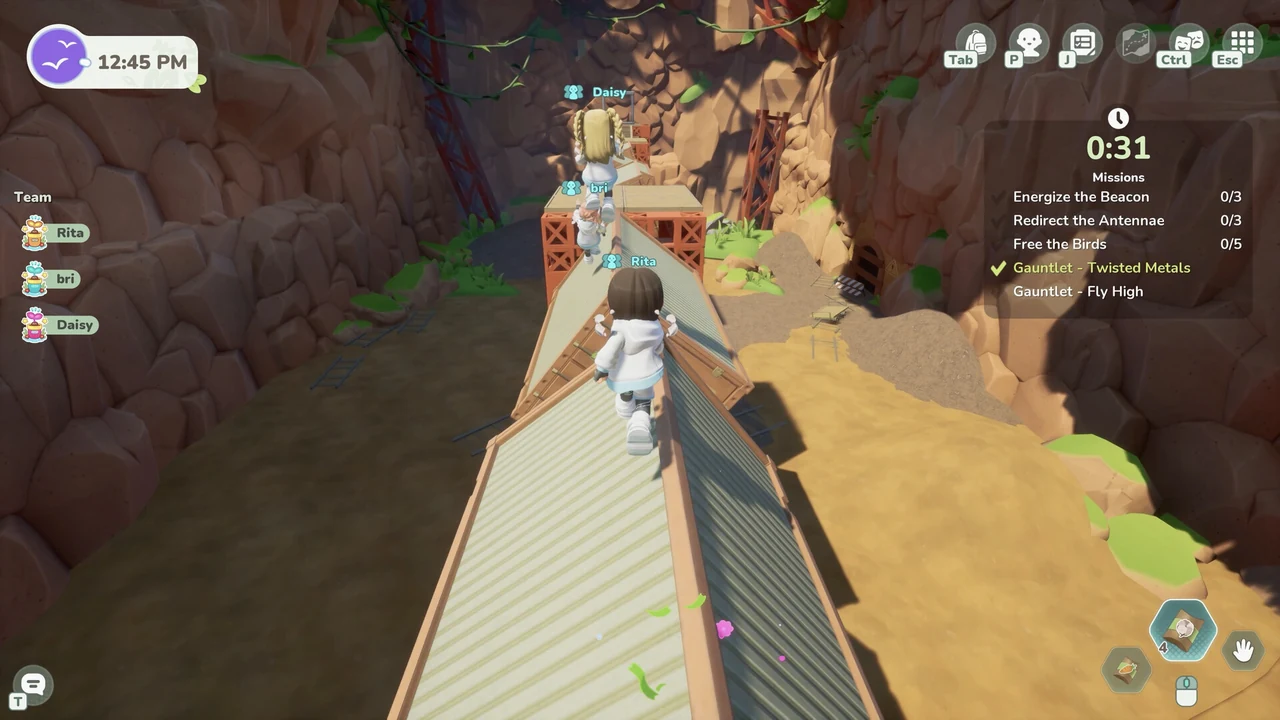
Unlocking Bounce Shoes for Hanging Gardens Cliffs
Project Station Level 2 unlocks cleanly as soon as you complete Page 1 of Hanging Gardens' Central Lake Research Station bundle titled Anadromous Odyssey. Turn in four specific catches—1× Allis Shad, 1× Atlantic Salmon, 1× Atlantic Sturgeon, and 1× Rainbow Trout—rather than waiting on town reputation timers.
Remember that Patch #2 stripped unintended rare fishing holes out of Loftia City hills, so do all four catches out in Hanging Gardens waters. Check full updated district fishing notes inside our Fur Real?, All Artifacts & Fishing guide.
After returning home to pay the Level 2 station upgrade (3× Copper Scraps, 5× Screws, 5× Scrap Wire, 7 Battery Charges), assemble 2× Aluminium Bar, 10× Resin, and 2× Banana Leather for Bounce Shoes. Wearing Bounce Shoes turns annoying rooftop chases, tall tree ledges, and timed co-op gauntlets like Twisted Metals and Fly High from clumsy retry sessions into single crisp hops.
Unlocking Rail Boots via Gridfall Museum ("Electric Dreams")
Rail Boots require clearing a double lock inside Gridfall, catching players off guard if they push down into Underworld ruins too fast. First, advance Gridfall's main story through Keeping the Lights On (spending 5× Electronic Scraps, 2× Rusted Metal, 10× Scrap Wire, and 10 Battery Charges) to raise your island workbench to Project Station Level 3.
Even with Level 3 unlocked, the Rail Boots schematic stays sealed inside Gridfall Museum until you complete the Electric Dreams bundle. Search locked office interiors across Gridfall to pick up three vintage electronics: a Used Floppy Disk, a Used Game Cartridge, and a Used Boombox.
Those blue-sealed offices remain locked until Mita awards your Urbex Key during Gridfall's investigation line; walk through every prerequisite step in our Gridfall Underworld, Atlas & Urbex Key walkthrough. Once Electric Dreams settles, craft Rail Boots back home using 5× Magnets and 3× Carbon Fiber gathered from Gridfall's Concrete Jungle.
Finally, when crafting the powered Propeller at Level 3, keep your existing Glider inside your active inventory instead of moving it to remote island storage. The Propeller recipe consumes 1× Glider directly alongside 2× Hard Lumber, 2× Aluminium Bar, and 10× Resin to forge the upgraded flight unit.
How Patch #2 Sealed Terrain Skips & Polished Traversal
Launch-weekend speedrunners regularly hopped up canyon walls and slipped past locked caverns without leveling stations past Tier 1. In Patch #2 (November 10, 2026), Qloud Games closed two high-profile progression skips—both the Secret Cave skip and the Don't Drop the Ball shortcut—while smoothing out terrain pockets across Hanging Gardens and Gridfall that used to trap characters mid-jump.
Skipping Bounce Shoes and Rail Boots is no longer worth the trouble. Unlocking both movement pieces cleanly keeps your stamina healthy across timed gauntlets, guarantees clean access to Gridfall vertical rail runs for Blue Shrooms, and avoids wedging your character into patched rock crevices far away from respawn flags.
Frequently Asked Questions
Why did Milo stop giving me quests mid-way through Permission to Glide?
Before Patch #2 (November 10, 2026), backing out of Milo's text box mid-dialogue could lock his state in Permission to Glide. Update Loftia on Steam, fast-travel to your Player Island or perform a clean relog, and return to Loftia City so Milo advances the four-sample list properly.
Where do I get each of the 4 items Milo requests in Loftia City?
Smash old washing machines in Scrap Quarter for Metal Scraps, pick up loose timber at the Construction Site for Scrap Wood, slice tall hillside grass in The Hills for Plant Fiber, and gather loose rubber rims around the Solar Farm for Tires.
Why isn't the Glider recipe showing up after finishing Permission to Glide?
Permission to Glide only unlocks the Refining Station line and grants Adventure Goggles. You still have to clear Ryder's Adventure Awaits! at Adventure Dock (Scrambled Coordinates and Adventure Island) and take Cliff's Certified Flying Loftian before the Glider unlocks at Project Station Level 1.
How do I unlock Rail Boots to ride vertical rails in Gridfall?
Unlock Mita's Urbex Key in Gridfall, loot the Used Floppy Disk, Used Game Cartridge, and Used Boombox from locked office rooms to clear the Museum's Electric Dreams research bundle, upgrade your island Project Station to Level 3 via Keeping the Lights On, and craft Rail Boots using 5× Magnets and 3× Carbon Fiber.
Does crafting the Propeller delete my Glider permanently?
No—the Propeller is a direct Tier 3 flight upgrade crafted at Project Station Level 3 using 1× Glider, 2× Hard Lumber, 2× Aluminium Bar, and 10× Resin. Keep your starter Glider on hand when crafting so the workbench converts it directly without errors.
Sources & Patch Verification
Every quest prerequisite, crafting recipe, station unlock, and bug workaround in this guide reflects Qloud Games’ live Early Access client through Patch #2 (November 10, 2026), verified against the Loftia Steam announcements and official developer documentation (Loftia EA Launch & Patch #2 Notes · Qloud Games Press Kit · Official Early Access Guide).
All Loftia guides → · Valheim progression guides → · Enshrouded building guides → · Browse all game hubs →