Monster Hunter Wilds · Gogmazios · Base game
Gogmazios: plan Fire and Dragon around its oil states
On this page
- Watch the official encounter footage
- Prepare two elemental jobs, not two unrelated builds
- Read the current state before spending the opening
- Do not skip the weakening step before the aerial attack
- Use the tools on its body to support the plan
- Keep lava damage separate from elemental preparation
- If the quest is missing
- Sources and next build check
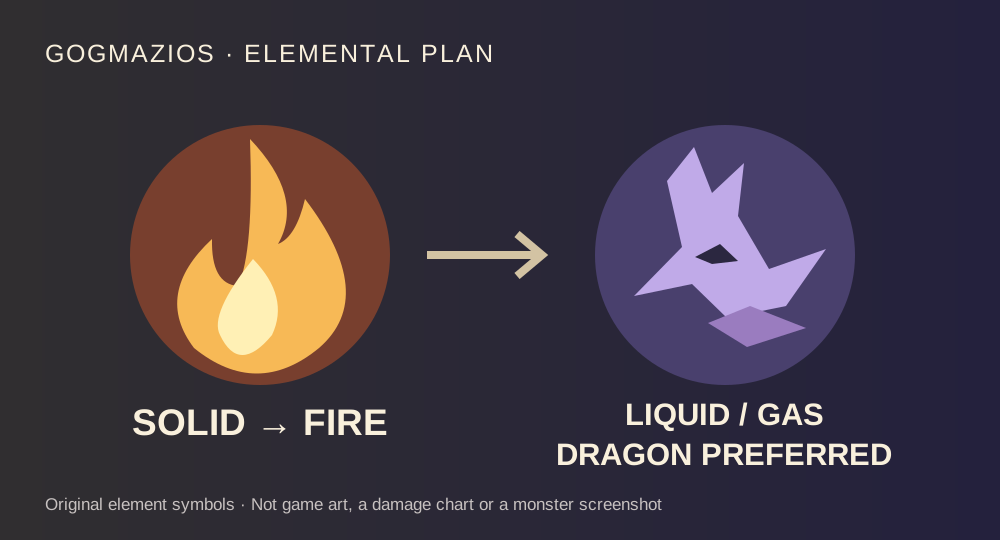
Use Fire against solid oil, then make Dragon your stronger answer as the oil becomes liquid and gaseous. Prepare both jobs before the hunt. When Gogmazios prepares its devastating aerial attack, deal damage to weaken it—Dragon is the most effective choice—before relying on Fabius’s guard or a guarding weapon.
Simply bringing a shield does not replace the damage requirement.
Published October 18, 2026 · CAPCOM base-game manual reviewed · Future Ascendance actions excluded
Watch the official encounter footage
Embedded from CAPCOM’s official Free Title Update 4 trailer, linked in its publisher announcement. Trailer footage introduces the encounter; it is not our gameplay test. Watch the official video on YouTube.
Prepare two elemental jobs, not two unrelated builds
Pick a Fire option you can operate reliably, then prepare a Dragon option for the later damage window. They can support different weapon playstyles, but a technically appropriate element is not useful if you cannot execute that weapon’s resource loop. Keep healing and the planned defensive action usable after switching.
For a group, state who can supply each element and who is ready to help with the powerful attack. Do not assume that a teammate’s weapon icon means their current equipment or attack is delivering the required element. Check the actual loadout before accepting the hunt.
Read the current state before spending the opening
| Oil state | Documented elemental direction | Practical decision |
|---|---|---|
| Solid | Fire is effective and drives the transition | Use the Fire part of the plan rather than beginning with a one-element assumption. |
| Liquid | Fire remains effective; Dragon is more effective | Shift toward the Dragon option while observing exposed objects. |
| Gaseous | Dragon is extremely effective | Prioritize that damage window and prepare for the dangerous aerial sequence. |
The table describes direction, not numerical hitzone values. A different hit result can also involve the part struck, weapon state or attack used. Compare the same action on the same relevant target before claiming that an element stopped working.
Do not skip the weakening step before the aerial attack
- Recognize that the late attack is a damage-and-defense sequence, not an ordinary opening to ignore.
- Use the planned Dragon damage to reduce its power.
- After weakening it, use the appropriate protection: Fabius’s guard or a player weapon that can guard, as described by CAPCOM.
- Check teammate health and have Lifepowder available where needed.
The manual warns that a direct hit is fatal and describes surviving behind protection after the attack’s power is reduced. Do not turn that into a universal claim that holding any guard from any position is sufficient. If a run fails here, separate insufficient weakening from being outside the intended protection or unable to perform the guard.
Use the tools on its body to support the plan
For the Convergent Elderbreaker, CAPCOM recommends attacking the wingarms to bring Gogmazios down, then damaging the back to dislodge the weapon. That gives a reason to work toward a reachable opening instead of spending the entire hunt chasing an inaccessible point on its back. Once the weapon is available, inspect its aiming controls on your own platform.
When the oil liquefies and parts are exposed, the Hook Slinger can retrieve Compact Anti-Wyvern Guns. These provide powerful, chargeable Dragon slinger ammunition. Treat that as a useful contribution to the Dragon phase; do not ignore the available tool merely because your ordinary weapon setup is focused on another job.
Keep lava damage separate from elemental preparation
Environment Damage Negated, Adaptability and Hardy Meal can reduce the lava’s effects, but the manual says they do not eliminate them. Choose ground without lava when possible. A resistance or melody name should not become an assumption that every place in the arena is safe to stand.
If you keep losing health while the attack plan is working, revisit the ground and recovery route before replacing the whole weapon setup. If the powerful attack remains lethal, revisit its weakening-and-protection sequence rather than treating environmental resistance as its counter.
If the quest is missing
The Extra Mission requires completion of Chapter 6-2, A First Cry, and HR 100 or higher. Olivia then appears at the Oilwell Basin Base Camp; current quest context can prevent accepting the mission. The special encounter allows up to four regular hunters plus four support hunters. That is not an eight-human lobby rule.
Sources and next build check
Mechanics and requirements: CAPCOM’s Gogmazios manual. The elemental preparation and failure-checking order are independent recommendations; no kill time, damage multiplier or guaranteed clear is claimed. Check your decoration categories and skill plan, or review the Charge Blade resource loop. All Wilds guides →.