Chained Beasts · Arena field guide
Chained Beasts Rhino: Stop Getting Dragged by the Chain
On this page
Move the whole chain out of the Rhino’s charge path before it reaches you. Watch the links between players as well as your own character. In public 1.0.2, Rhino chain trips deal damage and dodging no longer protects you while the mount is dragging the chain. Plan the escape lane before contact.
Check the chain before the mounted charge reaches you
At the Carthage boss encounter, find the mounted Rhino and trace the chain between your players. You can be standing to one side while the middle of the chain still crosses the mount’s route. Move the links clear as a group before looking for another attack.
The approach screenshot below shows the problem: two players occupy different sides of the sandy arena, with the mount coming toward the space between them. Their individual positions tell only part of the story. The line connecting them is also exposed to the charge.
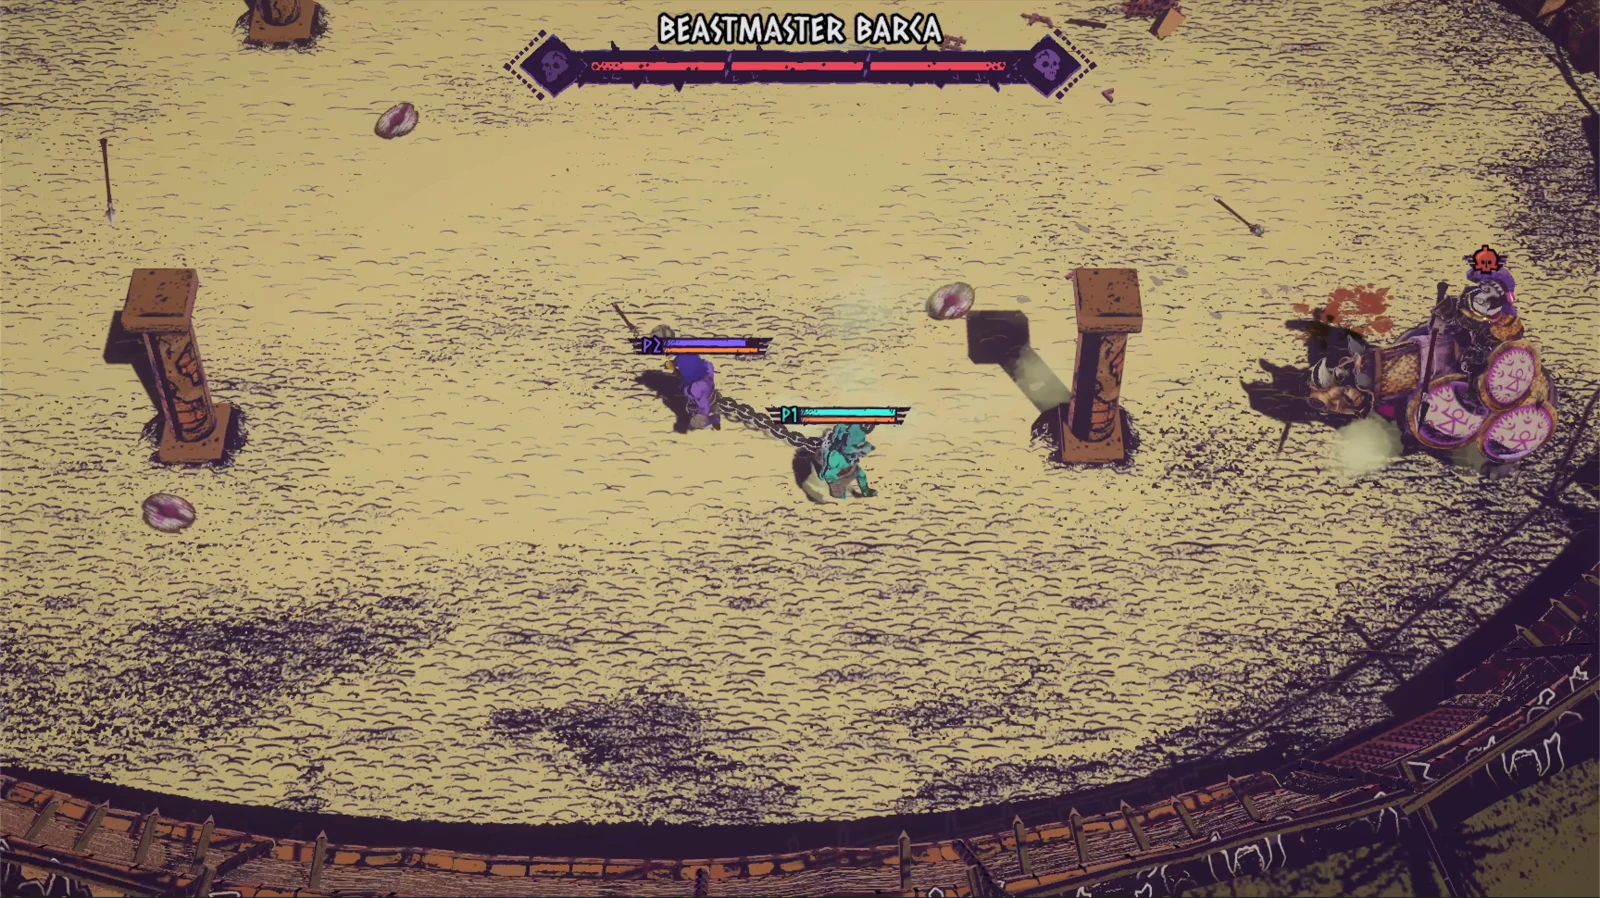
Give the group one direction to follow when the Rhino approaches. “Left into open sand” is more useful than both players independently backing away. If one player runs toward the outer wall while the other circles a pillar, they can stretch the chain across the very route they are trying to avoid.
Check existing movement and vision conditions at camp. A player with a camera effect may need a partner to call the mount’s approach; a player with movement trouble needs a larger turn. The Healer guide explains which cards can change those jobs.
What changed in 1.0.2
The public balance patch increased the Beastmaster’s Rhino damage and added damage when the mount trips players through the chain. It also removed dodge protection during a chain drag. An older clip in which a player rolls while being pulled can show a different damage outcome from your current build.
Use your dodge to leave the dangerous route before the chain is caught. Once you are already being pulled, repeated rolls no longer provide the protection described by that older behaviour. Watch where the mount and chain are heading and prepare to reposition when you regain movement.
| State | Priority |
|---|---|
| The mount is approaching | Clear the charge route with the entire chain. |
| Your partner is on the opposite side | Choose one shared direction instead of stretching across the path. |
| The chain is caught and dragging you | Track the landing area; rolling provides no drag-damage protection in 1.0.2. |
| You regain control beside a wall | Move toward open sand before resuming attacks. |
Keep the version change in mind when comparing damage between attempts. The same contact can now cost health even when the main annoyance used to be losing your footing. Leave more room around the mount rather than budgeting for a harmless trip.
Avoid the pillar-and-wall trap
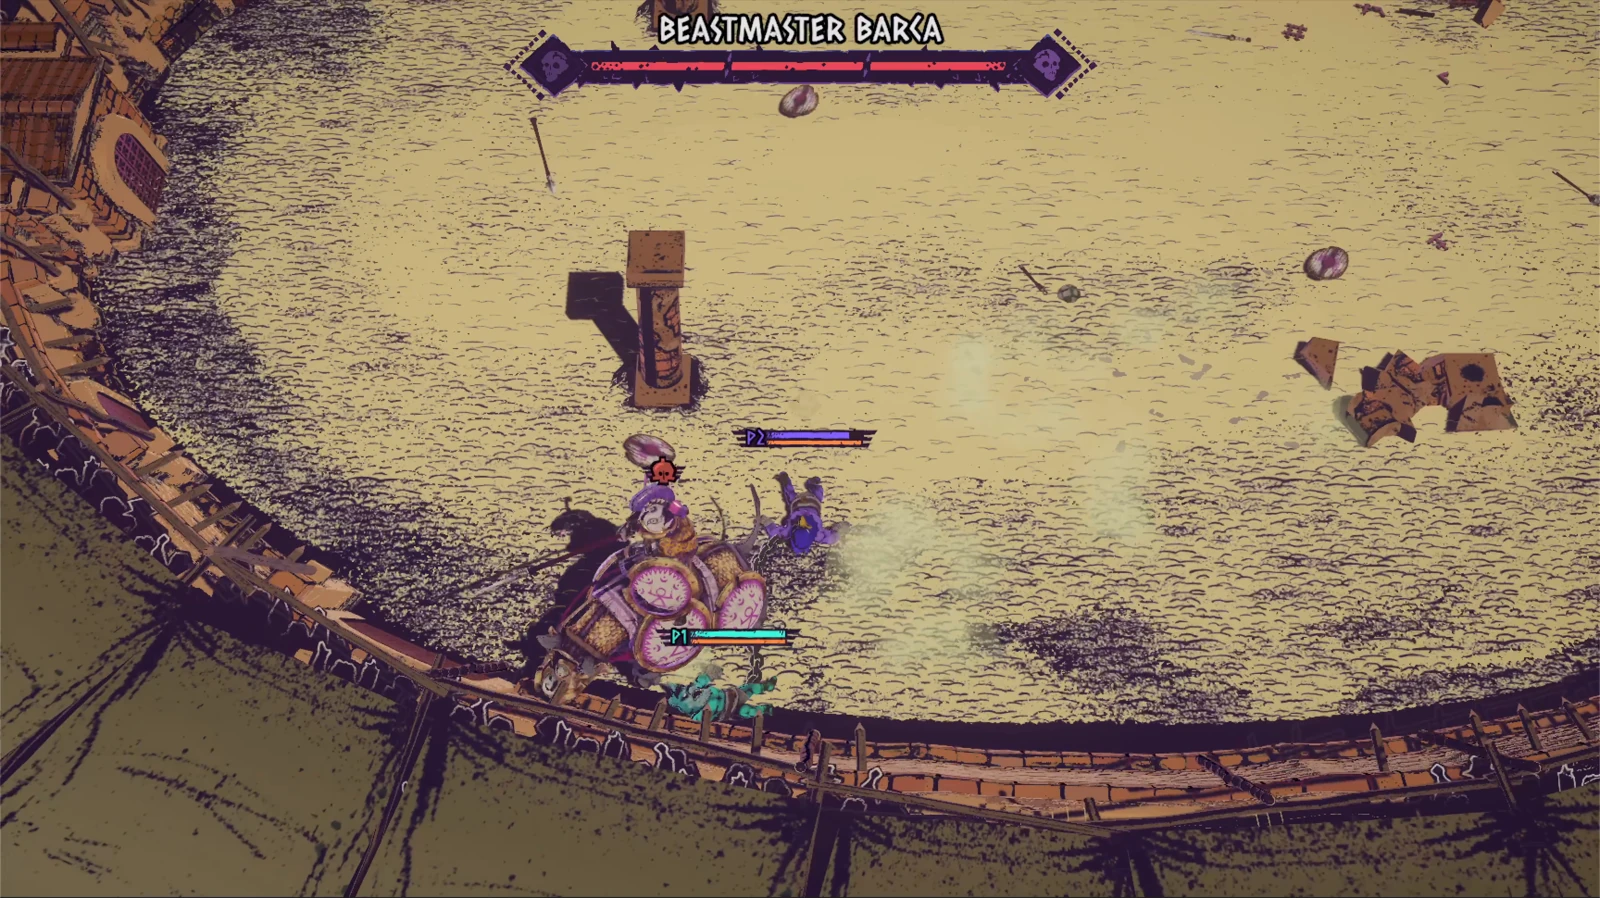
Look at the next obstacle beyond your player, not just the Rhino immediately in front. The contact frame below puts the party beside a pillar. If the charge carries the chain toward the arena edge, the available space shrinks while the mount and nearby fighters continue to occupy the same area.
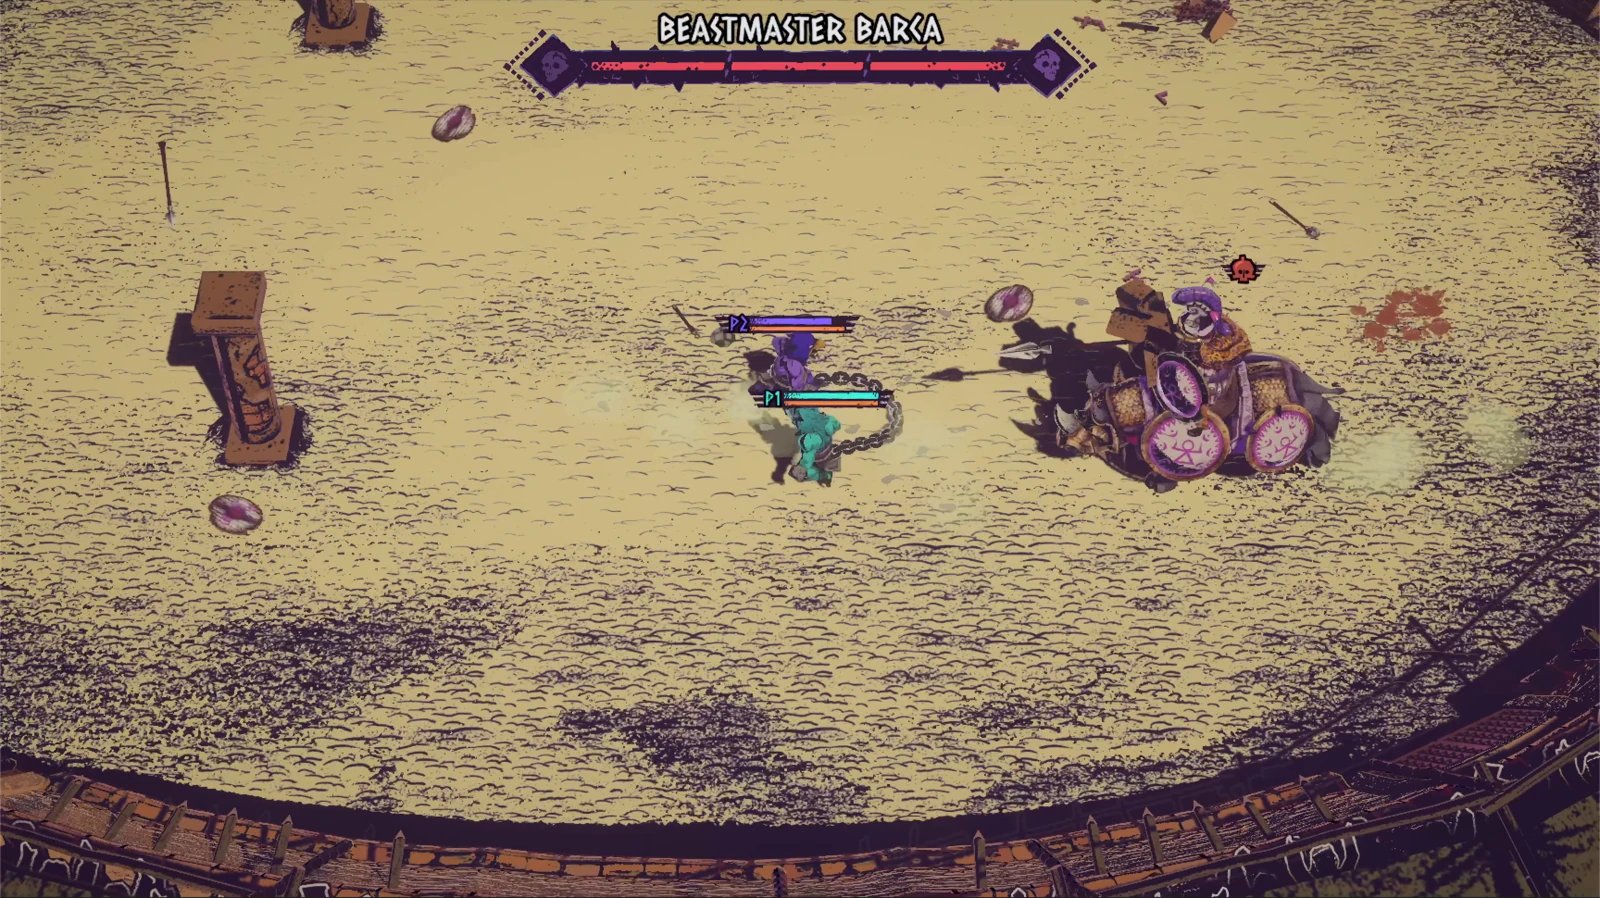
Before moving around a pillar, check which side your teammate is using. Follow the same side when the chain is already under tension. If you have wrapped opposite sides, move back around the obstruction together instead of pulling farther apart.
After a drag, resist the urge to grab the nearest dropped weapon immediately. First identify a clear direction out of the wall pocket. Once both players have space to move, collect equipment from a position that leaves the chain visible and keeps the mount’s approach in view.
When another enemy enters that pocket, use the first safe opening to leave the cluster. A short attack at the arena edge may feel convenient, but it can keep you beside the next charge. Re-establish the group’s movement before committing to a long exchange.
When calling the exit, name a visible landmark beyond the crowd, such as the clear side of the nearest pillar. Keep moving toward that same landmark until both players have left the edge. If the leading player turns back early to attack, the trailing teammate can be pulled across the mount again while still trying to escape.
Take attack windows without crossing the chain
Once the mount has passed, check the route between you and your teammate before chasing it. Stay on a side where both players can move together. A player sprinting across the mount’s front for one more hit can lay the connecting chain back across the charge route.
If you throw a weapon, identify a reachable replacement first. Loose equipment behind the Rhino or beyond your partner’s position creates a second reason to pull into danger. Let the teammate with the easier route retrieve it, or use equipment already inside the safe area.
The wide arena screenshot below is useful for planning those routes. Mark the mount, the nearest pillars and the clear strip of sand beside your players. Reset that mental picture after each contact because your chain can end up on a different side of an obstacle.
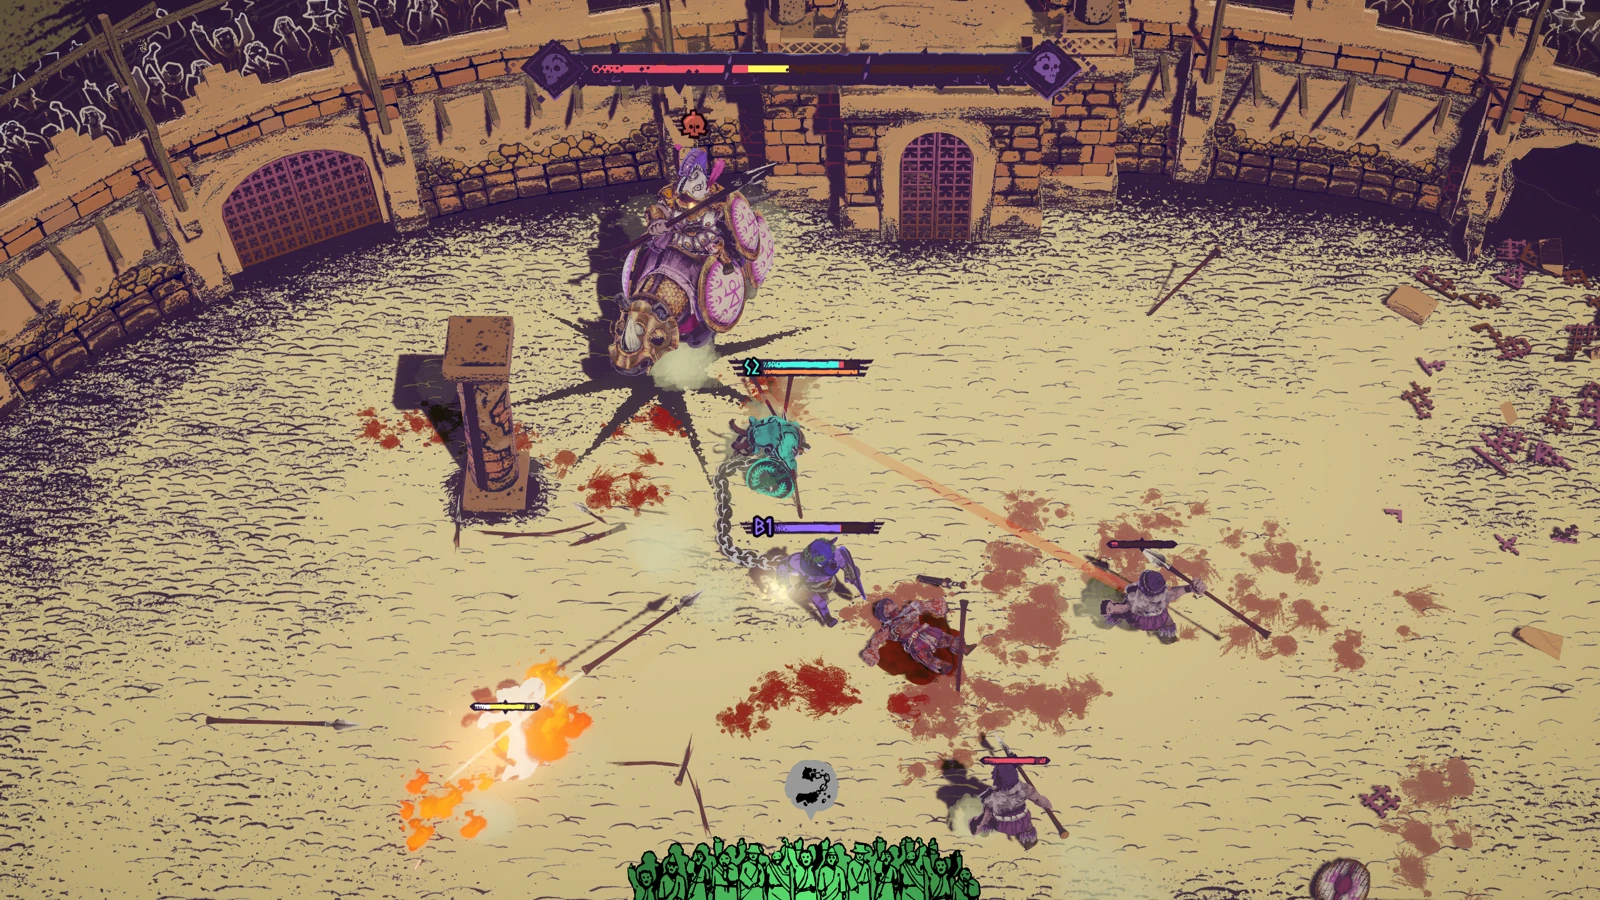
Use ordinary enemies for chain techniques when the mount is elsewhere. The full-circle squeeze needs time and an open pull-away lane. Abandon that setup when the Rhino turns toward it, then return to a fresh standing target after the dangerous route is clear.
Separate surviving the charge from Stampede
Stampede requires Beastmaster Barca to be trampled to death by the Rhino. It is a specific finishing condition on the boss. Staying alive through a chain drag, damaging the mount or letting it hit an ordinary opponent does not complete that condition.
If your immediate problem is repeated drag damage, solve the movement first. Keep the chain away from the charge, leave the wall pocket after contact and resume attacking only after both players have space. A finishing-condition attempt is easier to plan once the group can reliably survive the approach.
Before the next act, review the Trainer’s personal injury costs. Sacrificing several players’ movement for a shared level can leave the same chain-position problem unresolved. Keep at least one dependable caller and a direction that the whole party can follow.
In Germania, apply the same habit to Goliath’s marked attacks: read the warning, check your partner’s route and move before the danger reaches the chain. The layout changes, but coordinating the exit remains a useful first response.
Sources
Update 1.0.2 · Featherweight Games · Steam achievements · Official gameplay images.