Stardew Valley · 1.6 Fishing Mastery · Two-tackle builds
Two tackle slots: choose the pair that fixes your missed catches
On this page
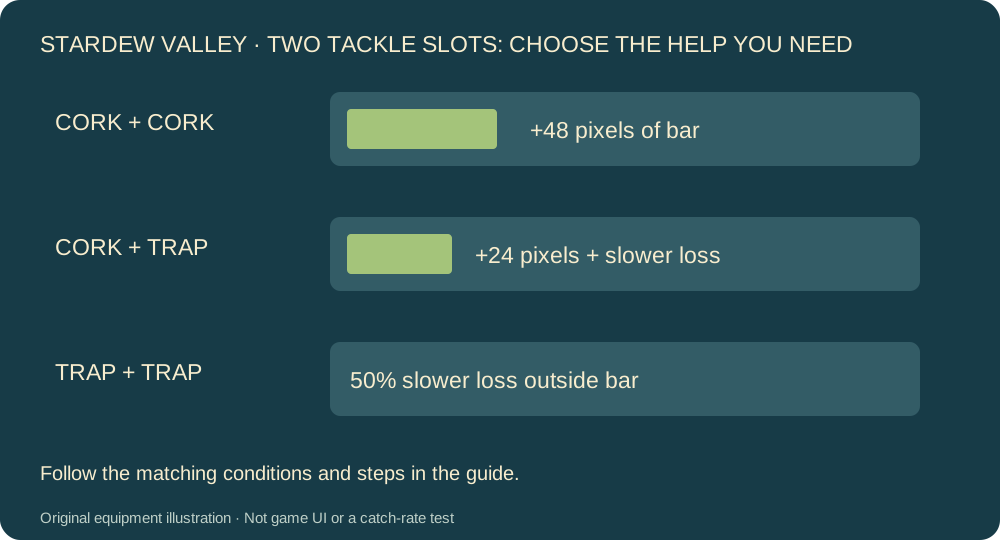
Use two Cork Bobbers for a larger fishing bar, two Trap Bobbers for slower progress loss outside the bar, or one of each for both forms of help. Start by identifying whether you struggle to keep the fish inside the bar or to recover after it escapes.
See the game controls
Salmence — Advanced Iridium Rod chapter from 2:26, June 9, 2024. Original creator gameplay, hosted by YouTube. This footage illustrates the controls; the written choices and examples below are independently explained. If the player does not load, open the original video.
Unlock the actual two-slot rod
Claim Fishing Mastery to receive the Advanced Iridium Rod. Fishing level 10 alone is not that claim. The Mastery Cave opens after all five skills reach level 10; earn a mastery level and claim the Fishing reward at its pillar. Extra copies become available at Willy’s Fish Shop for 25,000g afterward. The ordinary Iridium Rod still holds only one tackle.
Choose one of these three plans
Swipe sideways on a narrow screen to compare all columns.
| Pair | Documented effect | Useful when |
|---|---|---|
| Cork + Cork | 48 extra fishing-bar pixels in total | The normal bar leaves too little room to follow a moving target |
| Cork + Trap | 24 extra pixels plus the single Trap effect: progress decreases 33% slower outside the bar | You want more room and more recovery tolerance |
| Trap + Trap | Progress decreases 50% slower outside the bar | You can recenter the bar but lose too much progress during gaps |
Two Trap Bobbers do not give a 66% reduction. Two Cork Bobbers affect bar size, not a guaranteed catch rate. The recommendations above connect the documented effects to a failure pattern; they are not a ranking based on measured success rates.
Build the whole setup around the job
- Choose the target and confirm it is available in your current fishing conditions.
- Equip both tackles on the Advanced rod, then inspect that both slots contain the intended pair.
- Select bait for the job: targeted bait for a valid target window; a general bait when you do not need one species.
- Try a few ordinary catches to understand how the changed bar feels before committing a rare attempt.
- Carry replacements and inspect tackle durability during a long session.
A Cork Bobber can be crafted at Fishing level 7 from 10 Wood, five Hardwood and 10 Slime. A Trap Bobber recipe unlocks at level 6 and uses one Copper Bar and 10 Sap. Those resource demands matter if repeated replacements compete with another farm upgrade.
If the pair seems ineffective
Confirm you are holding the Advanced rod rather than another rod in the inventory. Replace worn-out tackle. Then separate the two problems: the chance of hooking a target and the difficulty of completing its minigame. More bar size does not make an out-of-season fish available.
Duplicate effects are not universally additive: two Sonar Bobbers or two Curiosity Lures are exceptions to the usual stacking behavior. Check the specific tackle before spending both slots on identical items.
Sources and scope
Published October 18, 2026. References checked on this date: Advanced Iridium Rod · Mastery Cave · Cork Bobber · Trap Bobber · Tackle. The guide covers the documented 1.6 mechanics where applicable. The videos retain their original publication dates; they are not our gameplay recordings. Recommendations and comparisons are source-based, not measured catch-rate tests.
Rod and attachment checks · Targeted bait plan · Value the fish after catching · All Stardew Valley guides