Dressmaker · Practical workshop guide
Dressmaker accessory placement: make small moves without fighting the camera
Use the accessory movement controls for fine placement, and distinguish moving the object from moving your view before making repeated adjustments.
Follow the checks ↓Reviewed October 17, 2026 · Source-based guidance and editorial checks · Not gameplay-tested
What to look at in the picture
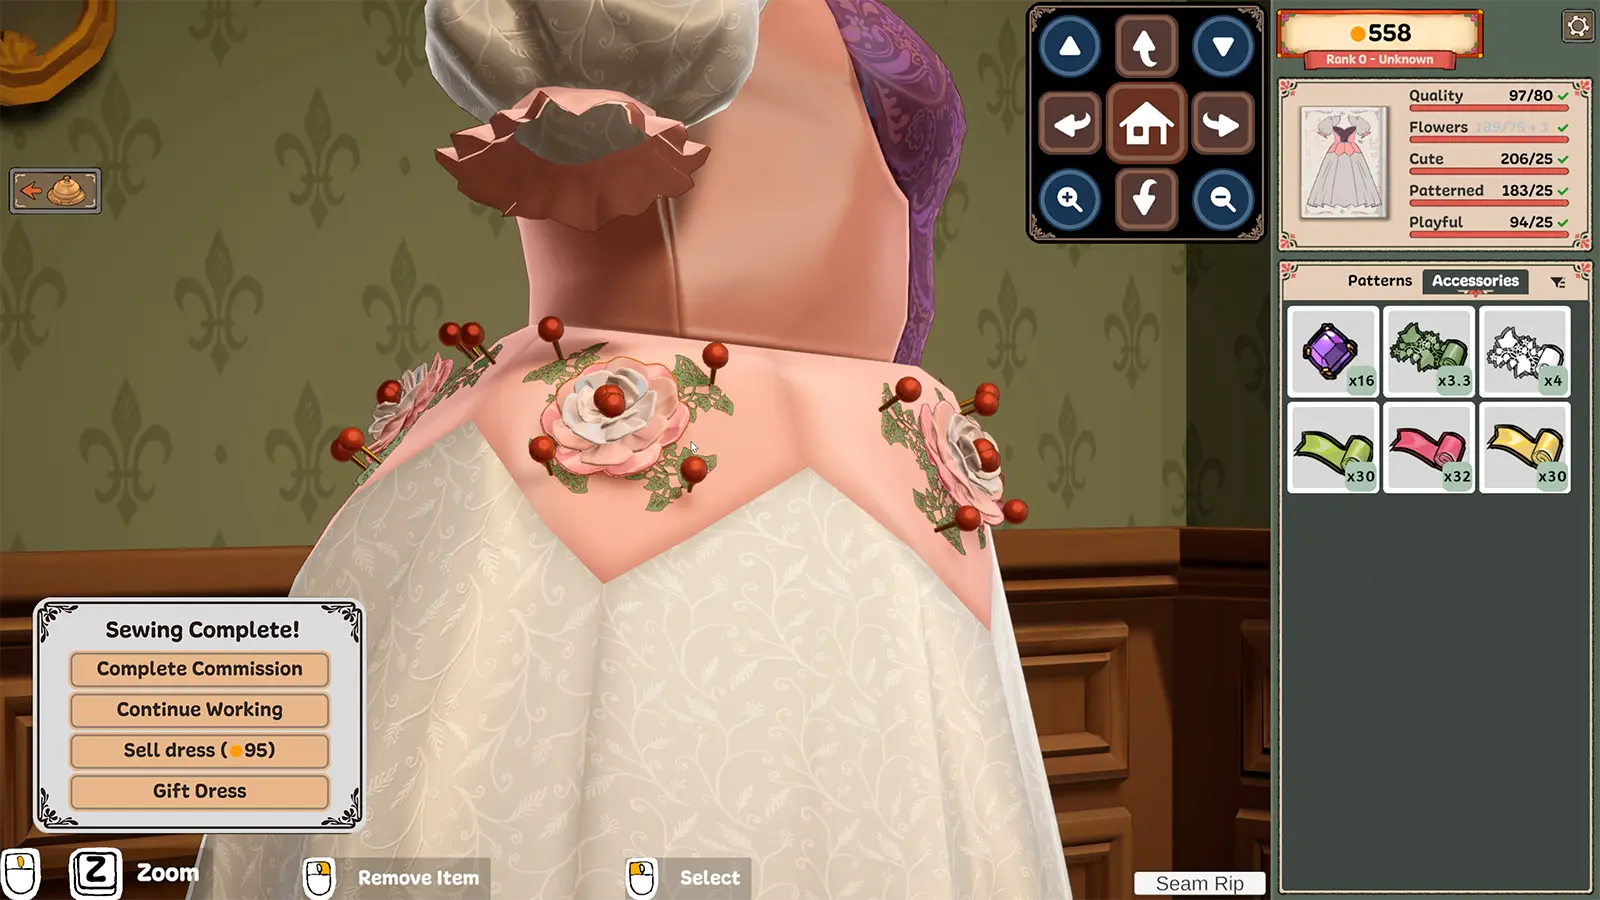
The example shows separate decorations attached to the dress, inventory at right and camera controls above. Do not use the old image as proof of a current micro-adjustment button position.
Step-by-step check
- Identify the intended accessory and check that you are adjusting that object rather than a nearby decoration.
- Position the view so the working area is visible, then make a small object adjustment and inspect the contact with the garment.
- If the rotation behaves unexpectedly, check the documented Control-key change to the rotation frame instead of repeatedly applying the same motion.
- Inspect from another angle before repeating the accessory elsewhere; matching a setting does not establish a matching surface.
Avoid this wrong conclusion
There is no universal tilt or height value here. A setting that looks right on one garment surface need not fit another.
Evidence and limits
Build 443 adds movement buttons to the rotation control and documents a Control-key frame change. This page concerns accessory precision, not the separate trim-selection workflow.
Reference: Developer Build 443 notes. Check your installed build and current interface when following an older source. Our inspection sequence is intended to narrow the problem; it is not a guarantee of a particular commission outcome.