Dressmaker · Beginner workflow
Make your first Dressmaker dress: a visual workflow
On this page
Read the request, plan the components and fabric in the sketchbook, cut the panels, assemble and sew them, then decorate and check the request again before delivery. Treat these as separate decisions: a dress can look attractive while still missing something the customer asked for.
Reviewed October 17, 2026 · Official-source walkthrough · Not gameplay-tested
1. Read the brief before choosing a look
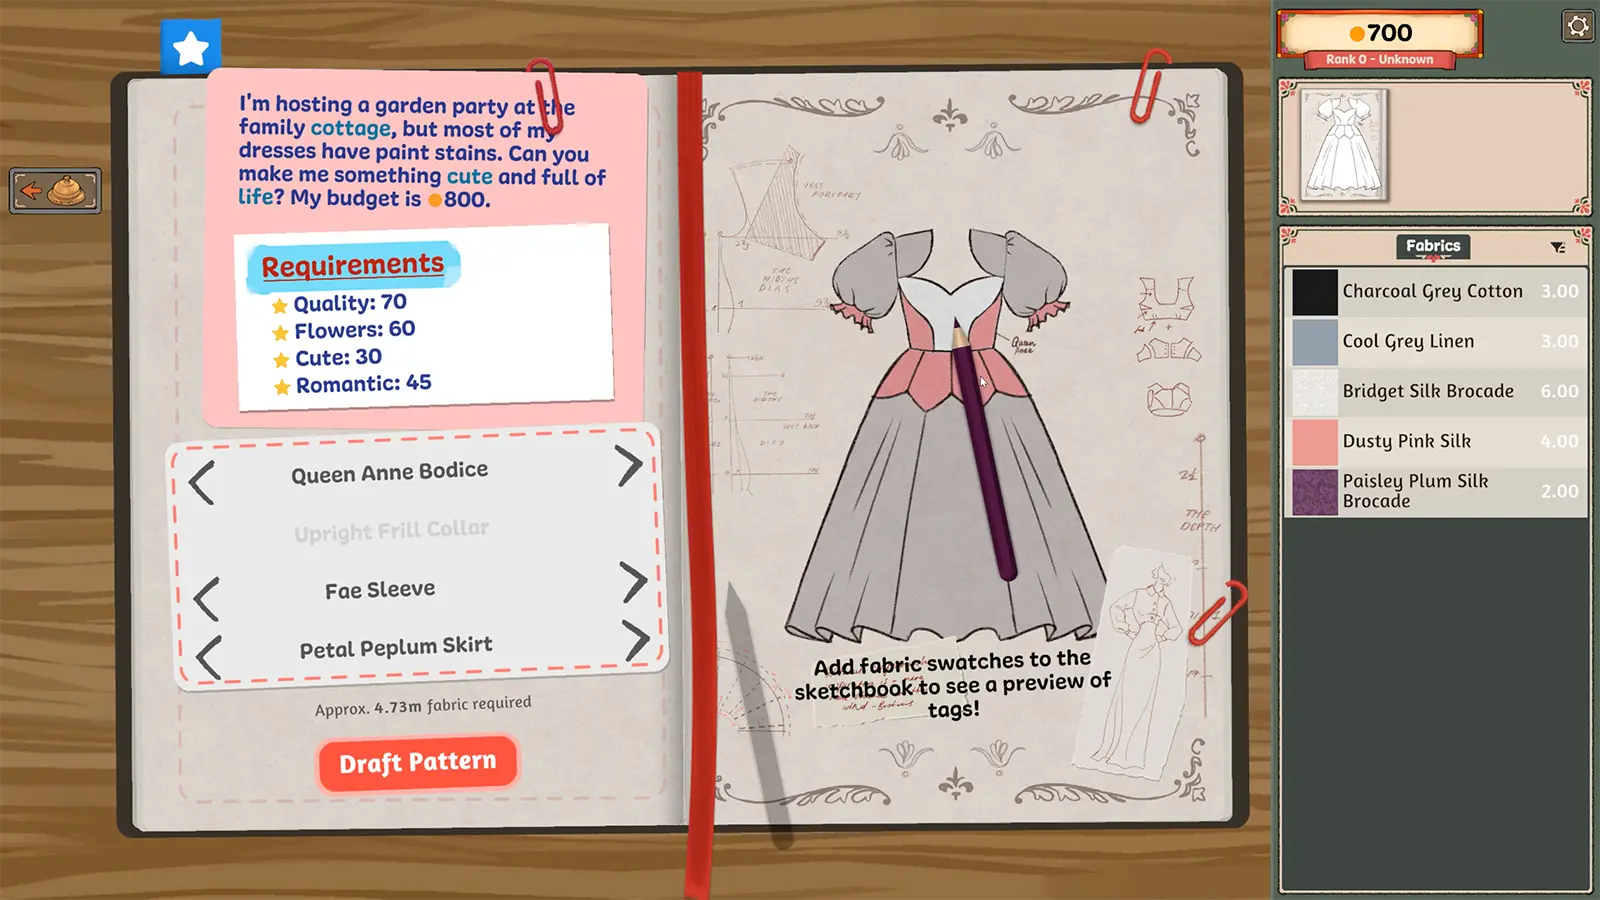
The left page in this image separates the written request, listed requirements and component choices. Read those areas before concentrating on the preview. Make a short note of the actual request in your game; do not copy the screenshot’s customer or numbers as your own commission.
2. Choose components and compare fabric
Use the sketchbook to plan the design and fabric samples. The developer’s Build 443 notes confirm that component names open the available choices. Recheck your intended look after changing a component rather than assuming the rest of the design is unaffected.
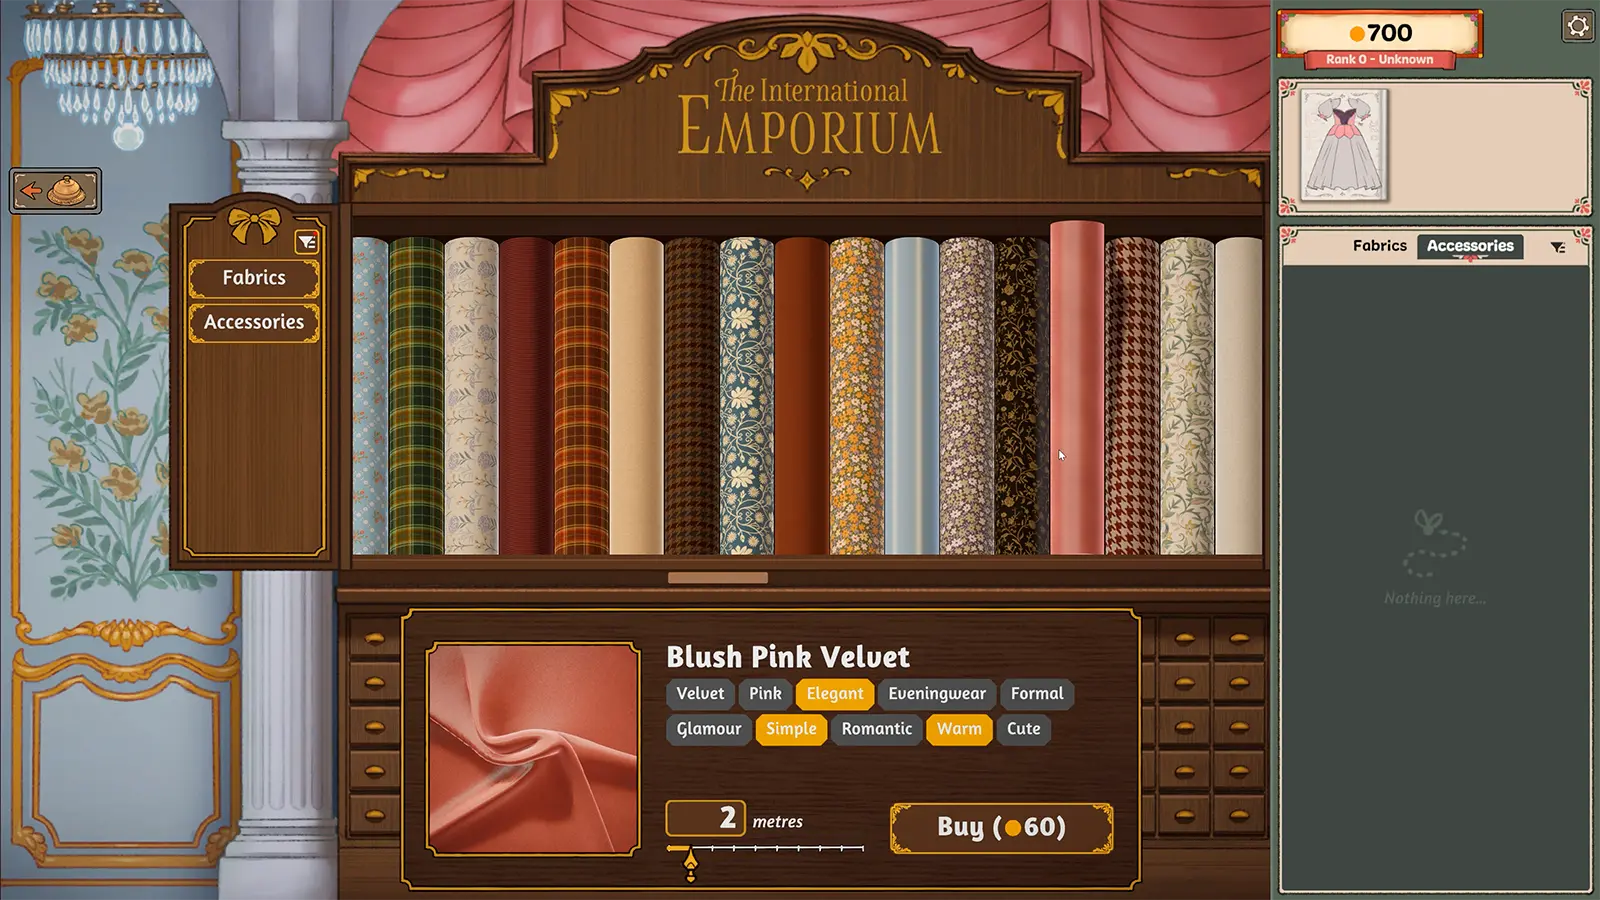
Before buying material, separate what is required from what you merely prefer. Fabric can be assigned per panel according to the official game description. That flexibility makes deliberate contrasts possible, but does not establish that any particular combination meets an unknown customer’s score.
3. Plan direction before cutting
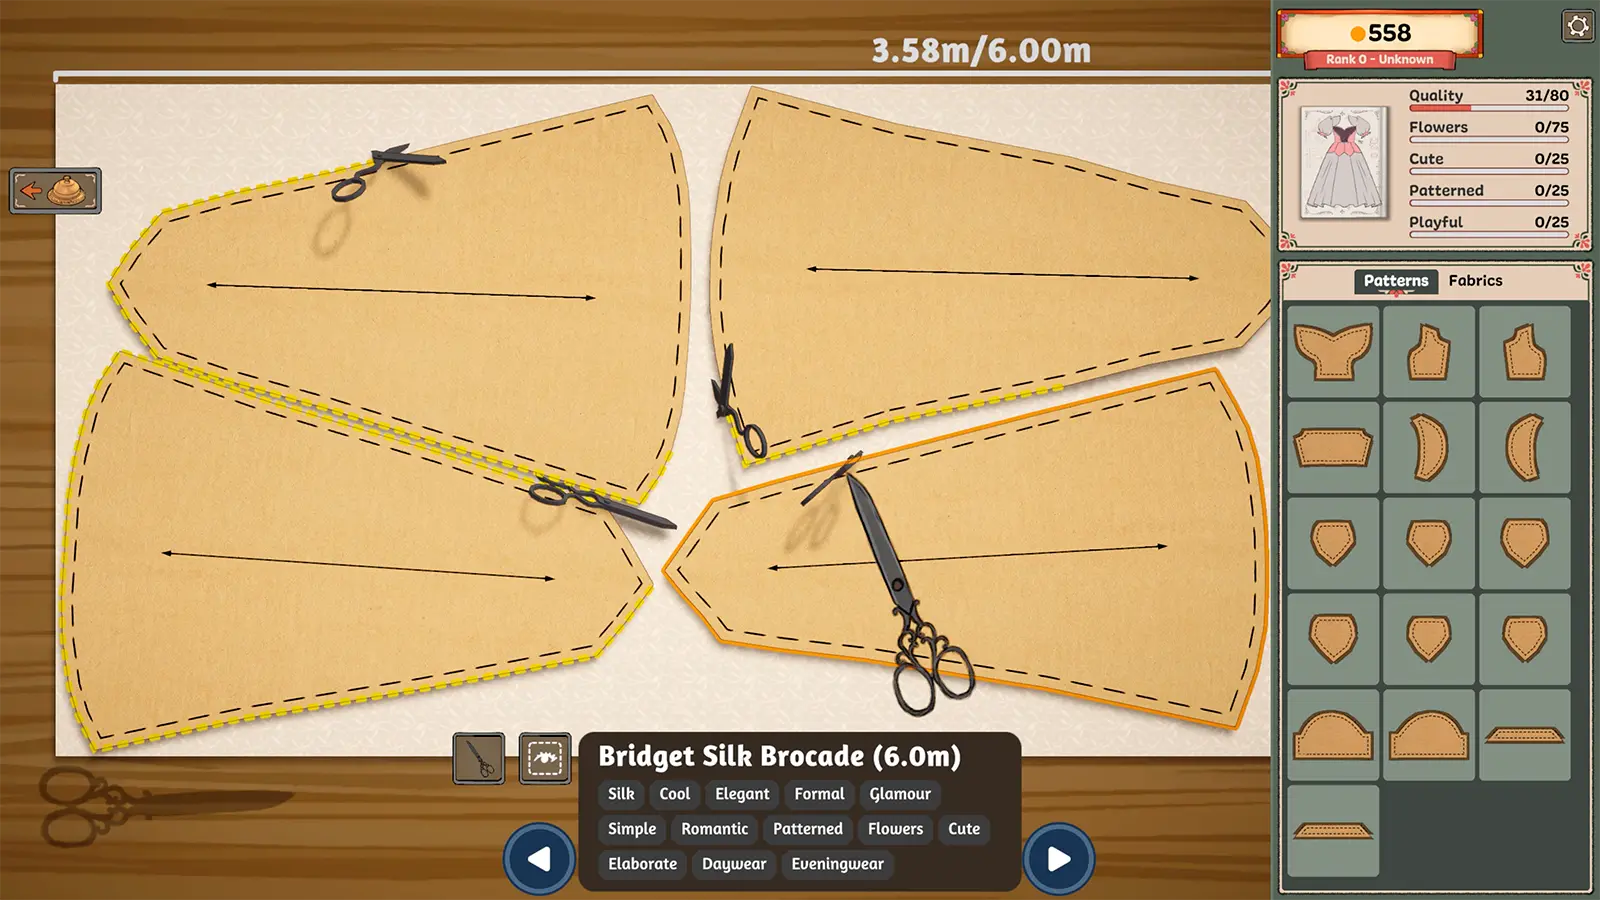
Inspect the panel’s identity and fabric direction before committing a cut. The official description connects grain or bias alignment with the finished appearance. It does not publish a universal optimal angle for every panel. For identification, follow the inventory-hint method in our panel guide.
Use the cutting-room controls reference if you need to gather pieces or move the view. A navigation problem and an incorrect cutting plan are different problems.
4. Sew the prepared pieces
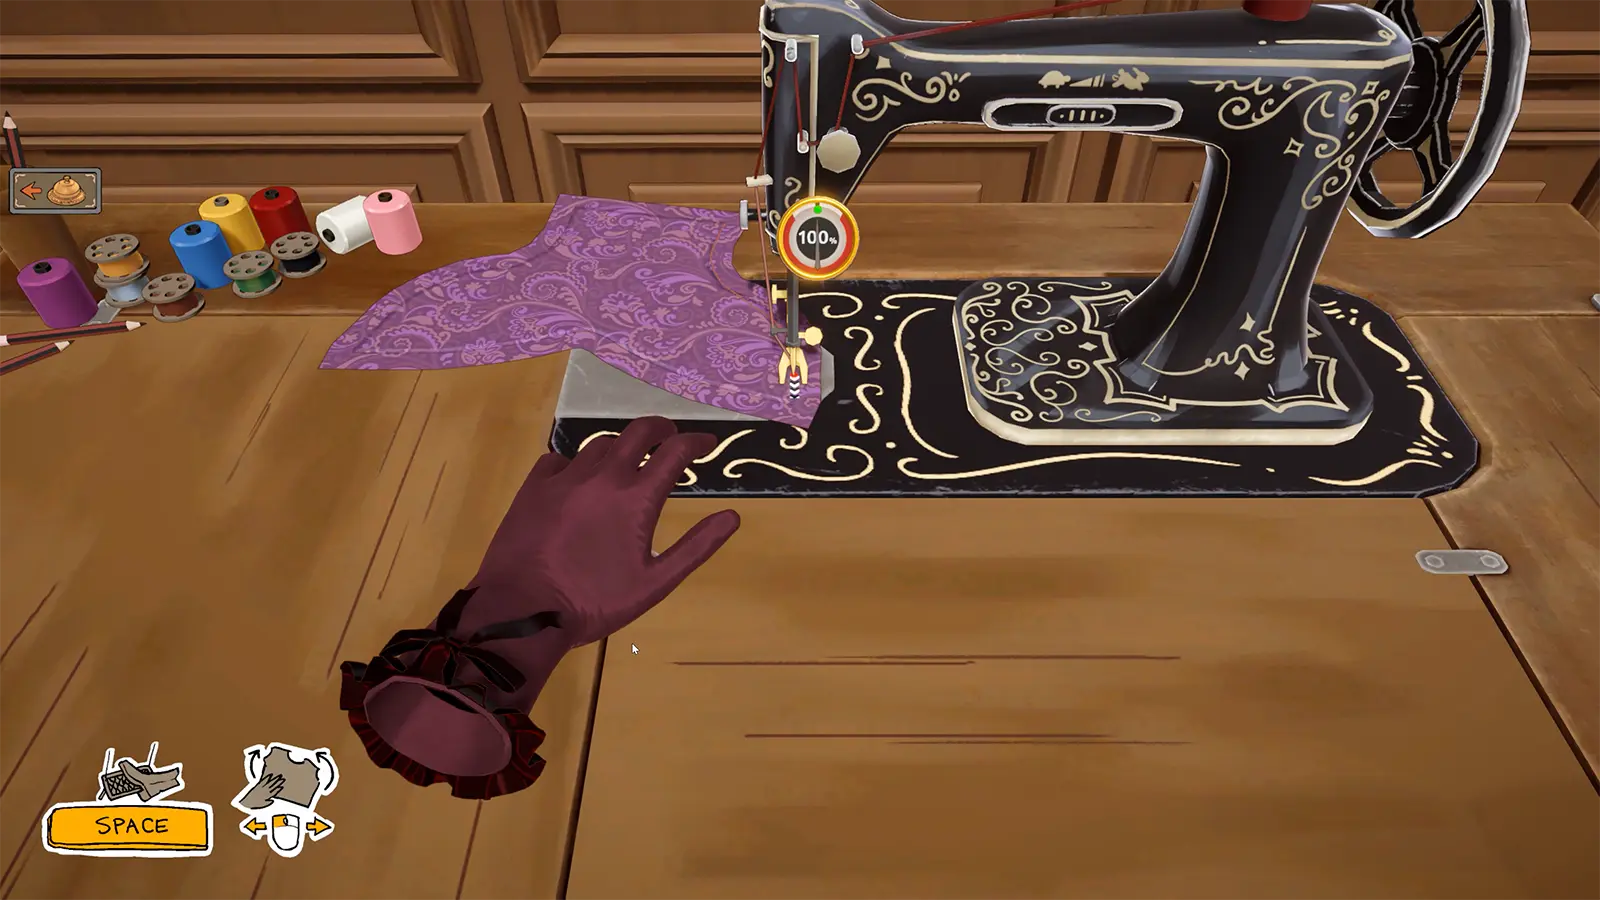
Feed the fabric through the machine to stitch the garment, as described by the developer. Watch the work area instead of treating the sketchbook preview as a completed item. If you want a different thread appearance, the documented spool control is explained in our thread-colour guide.
5. Decorate, then review the actual request
The game offers buttons, bows, appliqué, lace and other accessories. Choose decorations with a purpose: distinguish a customer requirement from an optional styling idea. Use the trim and camera reference for documented placement controls rather than guessing a universal height or tilt.
6. Deliver deliberately
The official description identifies customer delivery as a source of reputation and coin. Before finishing, reread the current brief and inspect any requirement that remains unclear. This walkthrough gives the station sequence; it does not provide a named customer’s guaranteed solution, scoring formula or exact payout.
If you cannot find the next request, check the other sketchbook pages before assuming your save is lost.