Enshrouded 1.0 · Base Construction & Efficiency
Base Building & Automation Guide: Comfort 70, Workshop Grid & Travel Hubs
On this page
- Comfort Level 70 Mathematical Calculation & Furniture Tier Matrix
- Craftsperson Workshop Layout & Magic Chest Radii
- Crop Farming Automation & Growth Tick Rates
- Planetary Fast-Travel Grid (8 Flame Altar Network)
- Sparkworks Logic Wiring & Automated Base Traps
- Structured Troubleshooting FAQ
- Sources & Related Tools
- Enshrouded tools
Reaching maximum Comfort Level 70 in Enshrouded extends your Rested buff duration to 72 minutes, granting +70 Maximum Stamina, +70% Stamina Regeneration, and +70 Maximum Health. Comfort is calculated using the highest-tier item in each category (Bed, Fireplace, Table, Chair, Rug, Trophy, Lighting); duplicate furniture does not stack. Position all 5 Craftsperson survivors within a 30-meter radius of your central Magic Chest hub so their automated stations (Kiln, Smelter, Loom, Mortar, Table Saw) pull materials directly from linked Magic Chests across base workshops without manual hauling.
Version boundary: Verified for Enshrouded 1.0.0.6+ (Full Release & Sparkworks). Voxel building physics, Flame Altar progression requirements, Shroud timer formulas, class skill tree scaling, and craft-from-storage mechanics reflect current stable game code.
Comfort Level 70 Mathematical Calculation & Furniture Tier Matrix
Building in Enshrouded is powered by a high-resolution voxel engine that allows you to construct intricate castles, subterranean bunkers, and elevated mountain sanctuaries. Beyond mere aesthetics, shelter design has a profound gameplay consequence: Comfort Level directly governs the strength and longevity of your character's Rested buff.
The Rested buff is the primary operational utility buff in Enshrouded. Every point of Comfort adds +1 minute to the buff timer while enhancing stamina recovery. The maximum reachable comfort ceiling in version 1.0 is Level 70, providing 75 minutes of continuous rested status (5 minutes baseline + 70 minutes from comfort points). This allows you to explore distant Elixir Wells, climb mountain peaks, and glide across biomes without resting for over an hour.
A widespread mistake among new builders is spamming identical decorations: placing ten wolf pelts or four fireplaces provides zero extra comfort. The game engine evaluates comfort through category exclusivity: only the single highest-value item within each distinct furniture group contributes to the total score. Review the complete tier list and value assignments in the matrix below:
| Furniture Category | Highest-Tier Qualifying Item | Comfort Yield | Crafting Station / Carpenter Recipe |
|---|---|---|---|
| Fireplaces & Stoves | Iron Fireplace / Grand Stone Hearth | +9 Comfort | Blacksmith: 10 Iron Bars, 20 Stone Blocks, 5 Charcoal |
| Beds | Palatial Carved Bed | +6 Comfort | Carpenter: 8 Hardwood, 4 Linen, 2 Feather Down |
| Seating (Chairs) | Noble Upholstered Armchair | +5 Comfort | Carpenter: 6 Hardwood, 4 Leather, 2 Straw |
| Tables | Grand Banquet Table | +5 Comfort | Carpenter: 12 Hardwood, 6 Nails |
| Rugs & Carpets | Ornate Embroidered Large Carpet | +5 Comfort | Hunter: 8 Linen, 4 Fabric Dye, 2 Leather |
| Lighting | Grand Iron Chandelier | +4 Comfort | Blacksmith: 4 Iron Bars, 6 Candles, 2 Chain |
| Wall Decorations | Mounted Wyvern Trophy | +5 Comfort | Hunter: 1 Wyvern Head, 5 Bronze Bars, 2 Wood Planks |
| Shelving & Storage | Carved Hardwood Bookshelf | +4 Comfort | Carpenter: 10 Hardwood, 4 Paper |
| Bathroom / Wash | Stone Washbasin & Bathtub | +4 Comfort | Carpenter: 12 Stone Blocks, 2 Copper Sheets |
| Shelter Baseline | Full Roof + Wall Voxel Enclosure | +5 Comfort | Enclosed room with zero exterior gap voxels |
To achieve Comfort 70, construct a dedicated "Great Hall" or Master Bedroom within your primary shelter. Ensure every single category from the table is represented by its top qualifying item. If your UI displays "Shelter Missing" or drops comfort down to 15, inspect your ceiling voxels: natural cliff overhangs do not register as shelter roofs; the room must be enclosed by crafted building blocks.
Craftsperson Workshop Layout & Magic Chest Radii
In Enshrouded, you rescue 5 legendary Craftsperson survivors: the Blacksmith, Alchemist, Carpenter, Hunter, and Farmer. Placing these NPCs unlocks their advanced production equipment, such as the Charcoal Kiln, Smelter, Table Saw, Spinning Wheel, and Laboratory.
To automate crafting and eliminate inventory hauling trips, every workstation must operate within the wireless pull range of Magic Chests. When a Magic Chest is placed within your Flame Altar boundary, all workshops and craftspeople automatically detect its ingredients. You can craft iron armor, bake pies, or brew potions without ever touching a storage box manually.
Use our dedicated Enshrouded Storage Planner tool to calculate exact material upgrade costs from Small Chests to Huge Magic Chests. Position your central base components according to the concentric workflow model:
- Zone 1: Central Vault (0m - 10m): Position your Flame Altar in the center of a 16x16 stone foundation. Stack Huge Magic Chests along the perimeter of this central vault. Label each chest using the 1.0 custom nameplate feature (e.g., "Ores & Ingots", "Alchemical Liquids", "Crops & Food", "Monster Trophies").
- Zone 2: Heavy Industry Ring (10m - 20m): Place the Blacksmith (Forge, Smelter) and Carpenter (Table Saw, Kiln) on the eastern wing. These stations consume high volumes of charcoal, ores, and logs.
- Zone 3: Science & Agriculture (20m - 30m): Place the Alchemist (Mortar, Laboratory) and Farmer (Seedbed) on the western wing. Situate your outdoor farming plots immediately outside the Alchemist's window to streamline fertilizer and crop harvesting.
Crop Farming Automation & Growth Tick Rates
Agriculture powers endgame stamina food, health potions, and tailoring fabrics. The Farmer's Seedbed transforms harvested wild plants into plantable seedling trays. Crop growth is dictated by server tick rates and soil quality. Placing seedlings directly into ordinary dirt results in sluggish growth cycles, whereas prepared Fertilized Farm Soil accelerates maturation by 100%:
| Crop Species | Growth Duration (Fertilized Soil) | Primary Crafting Output | Seedbed Multiplication Yield |
|---|---|---|---|
| Flax | 15 Minutes | Linen (Hunter armor, bags, gliders) | 1 Plant → 5 Seedlings |
| Bell Pepper | 18 Minutes | Meat Wrap (+5 Constitution food buff) | 1 Pepper → 4 Seedlings |
| Corn | 15 Minutes | Flour & Animal Feed | 1 Corn → 5 Seedlings |
| Indigo Plant | 20 Minutes | Fabric Dye & Mage robes | 1 Plant → 4 Seedlings |
| Strawberries | 12 Minutes | Fruit Bowl (+6 Health Regen food buff) | 1 Berry → 5 Seedlings |
Craft Fertilized Farm Soil at the Farmer's workstation using 7 Dirt, 3 Bonemeal, and 1 Nitrate. Lay a 4x4 grid of fertilized soil tiles on flat ground. Planting 64 Flax seedlings in this plot produces over 300 Linen per hour, guaranteeing endless crafting supplies for advanced storage chests and endgame armor sets.
Planetary Fast-Travel Grid (8 Flame Altar Network)
At Flame Level 6, you can maintain up to 8 active Flame Altars simultaneously worldwide. Flame Altars act as permanent, free teleportation waypoints that can be accessed from anywhere on the map screen (M).
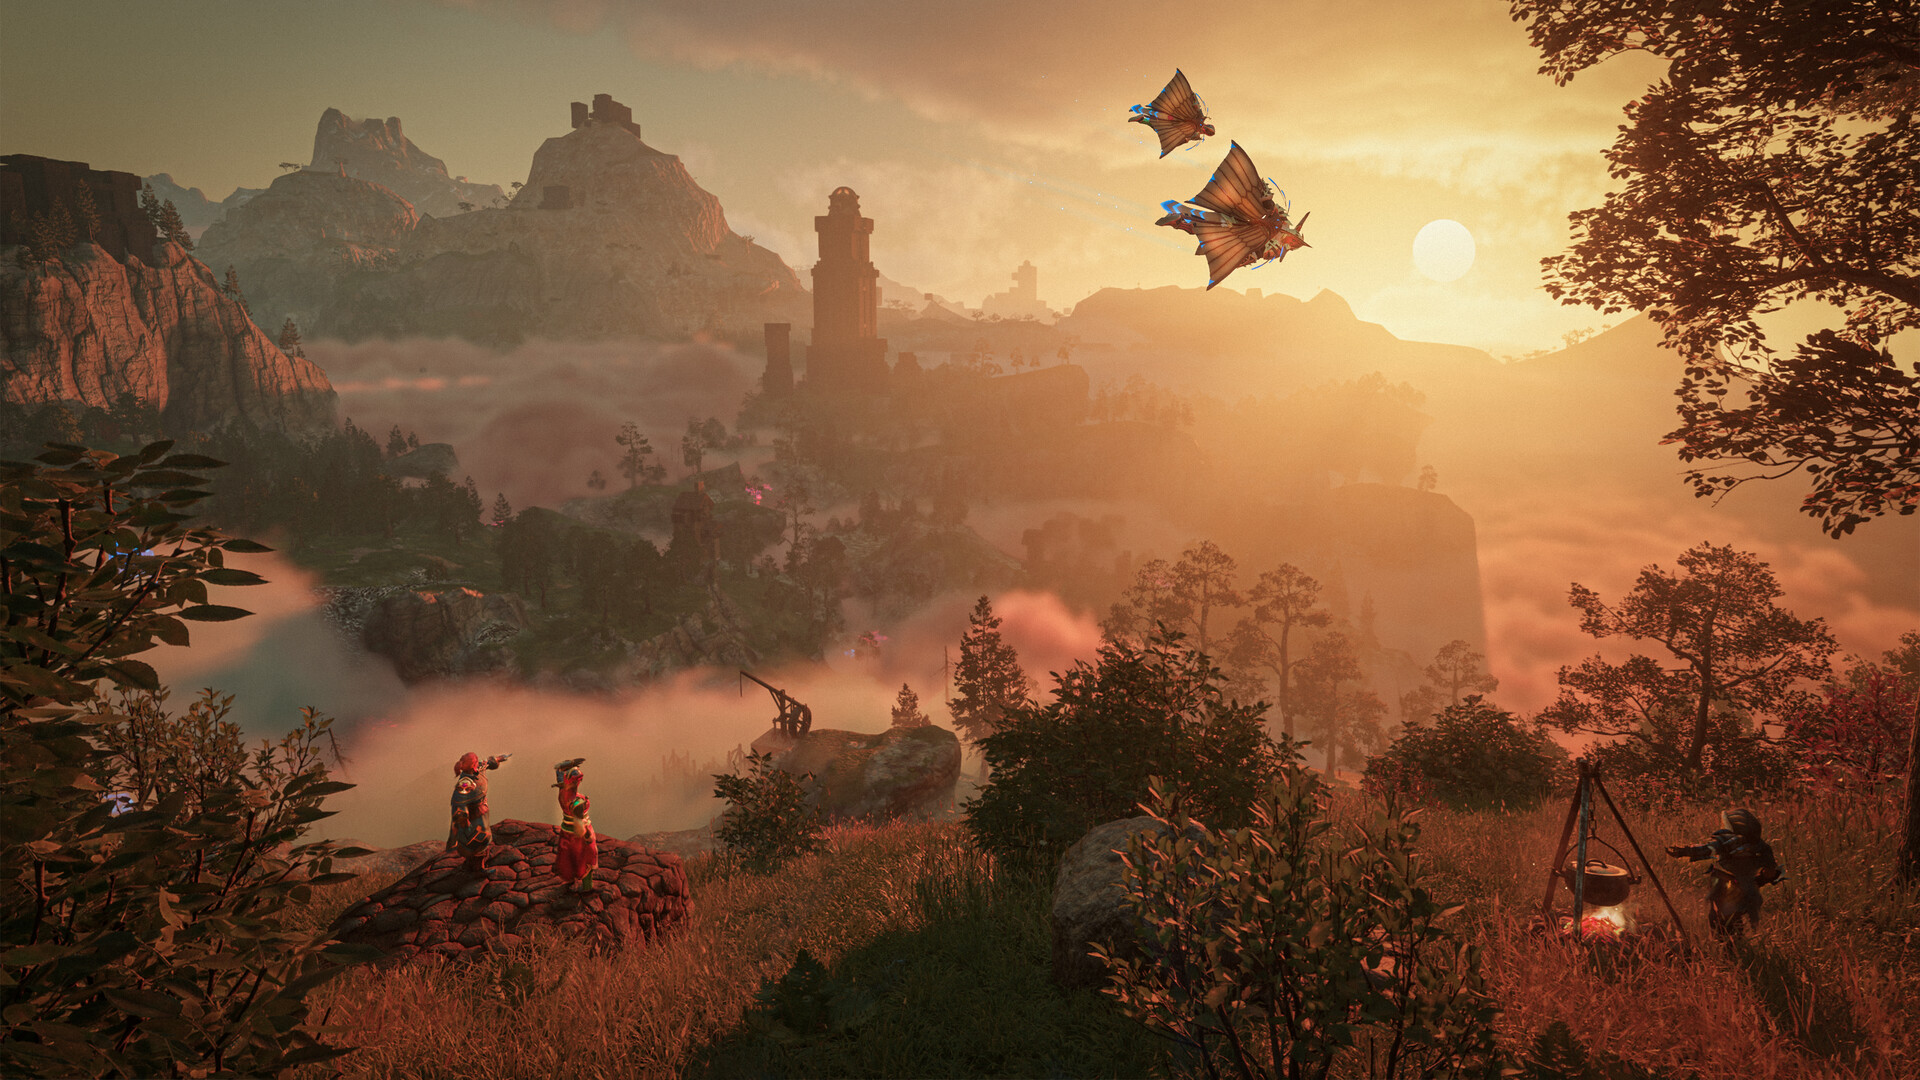
Do not cluster all 8 altars around your home settlement. Instead, establish one central home base, reserving the remaining 7 altars as strategic launchpads across high-value resource nodes and dungeon entrances:
- Altar 1 (Primary Megabase): Central Embervale plains near the initial awakening shrine. Houses your Comfort 70 mansion, all 5 Craftspeople, and the central Magic Chest depot.
- Altar 2 (Pikemead Citadel Launchpad): Placed atop the northern fortress walls. Grants immediate access to Pikemead's Reach, the Sunken City, and high-level Shroud roots.
- Altar 3 (Kindlewastes Desert Caldera): Positioned on the southern desert rim near Ridgeback Mine. Instant teleport for daily Iron Ore, Obsidian, and Sulfur gathering runs.
- Altar 4 (Nomad Highlands Mining Spire): Placed overlooking the great sandstone canyons for Lapislazuli and Copper harvesting.
- Altar 5 (Hollow Halls Dungeon Hub): Positioned at the mouth of the endgame Level 25-30 Hollow Halls crypts for rapid dungeon grinding.
- Altars 6 & 7 (Mobile Expedition Anchors): Left uncommitted in your inventory. When exploring uncharted ruins or boss dungeons, drop an altar outside the front door as an instant checkpoint in case you suffer an unexpected death.
Sparkworks Logic Wiring & Automated Base Traps
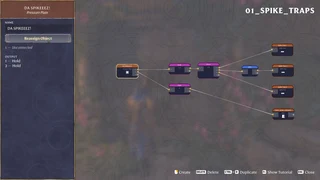
The Sparkworks update introduces electrical and mechanical logic components to Enshrouded, enabling players to automate defensive security and ambient comfort across their compounds. By utilizing pressure plates, tripwire beams, signal relays, and mechanical doors, you can safeguard your Craftspeople from wandering predators without constructing restrictive closed walls.
Implement an automated perimeter defense grid around your outer perimeter:
- Tripwire Sensor Nodes: Place infrared tripwires across natural choke points (such as canyon bridges and staircase approaches). When a hostile creature crosses the beam, the sensor emits an instantaneous pulse through adjacent logic conduits.
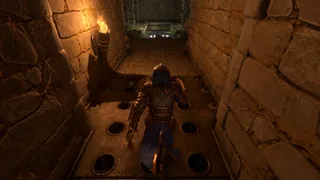
- Timed Spike Trap Arrays: Connect sensor pulses to subterranean Retractable Spike Traps. Setting a 0.5-second signal delay ensures that encroaching Scavengers step directly onto the center tile before spikes deploy, inflicting 450 piercing physical damage that instantly eliminates standard raiders.
- Automated Daylight Shutter Relays: Connect solar light sensors to mechanical roof shutters above your greenhouse terraces. During daylight hours, the shutters remain open to provide maximum ambient light bonus (+15% plant growth rate); at dusk, the circuit trips automatically, closing reinforced shutters to prevent nighttime bat swoops.
All Sparkworks logic wiring operates on localized power cells crafted at the Blacksmith using Copper Wire and Spark shards. Keep logic networks contained within a single Flame Altar zone to ensure instantaneous pulse transmission without chunk-boundary synchronization lag.
Structured Troubleshooting FAQ
- Why does my character lose the "Shelter" status and comfort rating while standing in an excavated basement?
- Enshrouded's shelter detection algorithm requires player-crafted ceiling voxels. If you hollow out an underground cellar beneath natural stone terrain, the game registers natural subterranean voxels as "underground open cavern" rather than "shelter." Line the ceiling of your cellar with at least one layer of crafted stone or wood blocks to trigger the shelter detection check.
- How do I rescue an NPC Craftsperson who clipped through the floor into terrain voxels?
- Craftspeople are world entities tied to their summon item. If an NPC falls through building voxels, equip your Summoning Staff, aim at a clean open floor tile, and select the missing survivor. Left-clicking re-summons the NPC directly to your cursor position with all quest dialog and unlocked recipes completely preserved.
- Why are crafting workbenches failing to pull materials from my newly placed Magic Chests?
- Ensure that the Magic Chest is located strictly within the active perimeter of your Flame Altar (marked by the glowing orange boundary wire). Furthermore, ordinary wooden chests do not have wireless functionality: only chests crafted as or converted to Magic Chests (with glowing blue runes on their lids) support base-wide crafting access.
- What is the maximum crop count a base can cultivate before experiencing client-side FPS stutter?
- Each individual planted seedling renders independent wind-physics shaders and growth tick counters. Exceeding 400 active crop entities within a single base perimeter causes severe CPU frame drops on mid-range hardware. Maintain multiple smaller 100-crop plots separated by at least 80 meters to distribute rendering load across multiple engine chunks.
- How do I expand my base construction boundary without moving the central Flame Altar?
- Interact with your Flame Altar and choose the "Upgrade Altar" option (distinct from "Strengthen the Flame"). Upgrading the altar requires small amounts of Shroud Cores and expands your construction boundary outward in a sphere: Level 1 provides a 40x40x40 meter cube, expanding up to 160x160x160 meters at maximum altar rank.
Sources & Related Tools
Comfort stack calculations, craft-from-storage radiuses, and Sparkworks logic protocols verified on Enshrouded 1.0.0.6+ (Full Release & Sparkworks). Tested against official Keen Games construction patch specs. Calculate exact chest recipe costs and material allocations with our interactive Enshrouded Storage Planner, or explore our full suite of automated base utilities in the Craft & Quest Tool Directory and discover more building layouts in our Enshrouded Game Hub.