Enshrouded 1.0 · Flame Progression & Shroud Survival
Flame Altar Level 6 Upgrade: Monster Heads, Sparks & Shroud Roots
On this page
- Flame Level 1 Through Level 6 Upgrade Matrix
- Boss Head Trophy Locations & Combat Strategies
- Sparks Farming Routes Across Flame Shrines & Sanctums
- Red Shroud Clearance & Survival Timer Mechanics
- Optimal Shroud Root Chopping Routes for Skill Points
- Structured Troubleshooting FAQ
- Sources & Related Tools
- Enshrouded tools
Upgrading your Flame Altar to Level 6 requires 40 Sparks, 1 Fell Sicklescythe Head, 40 Sulfur, 40 Saffron, 40 Iron Ore, 40 Lapis Lazuli, and 40 Yucca Fruit. Reaching Flame Level 6 permanently transforms lethal Red Shroud across high-tier regions into passable grey Shroud, extends your base global Shroud Survival Timer to 10 minutes (expandable to 20+ minutes with the Inner Fire skill and survival flasks), grants a permanent +5 bonus to all character attributes, and raises your active worldwide Flame Altar limit to 8 stations.
Version boundary: Verified for Enshrouded 1.0.0.6+ (Full Release & Sparkworks). Voxel building physics, Flame Altar progression requirements, Shroud timer formulas, class skill tree scaling, and craft-from-storage mechanics reflect current stable game code.
Flame Level 1 Through Level 6 Upgrade Matrix
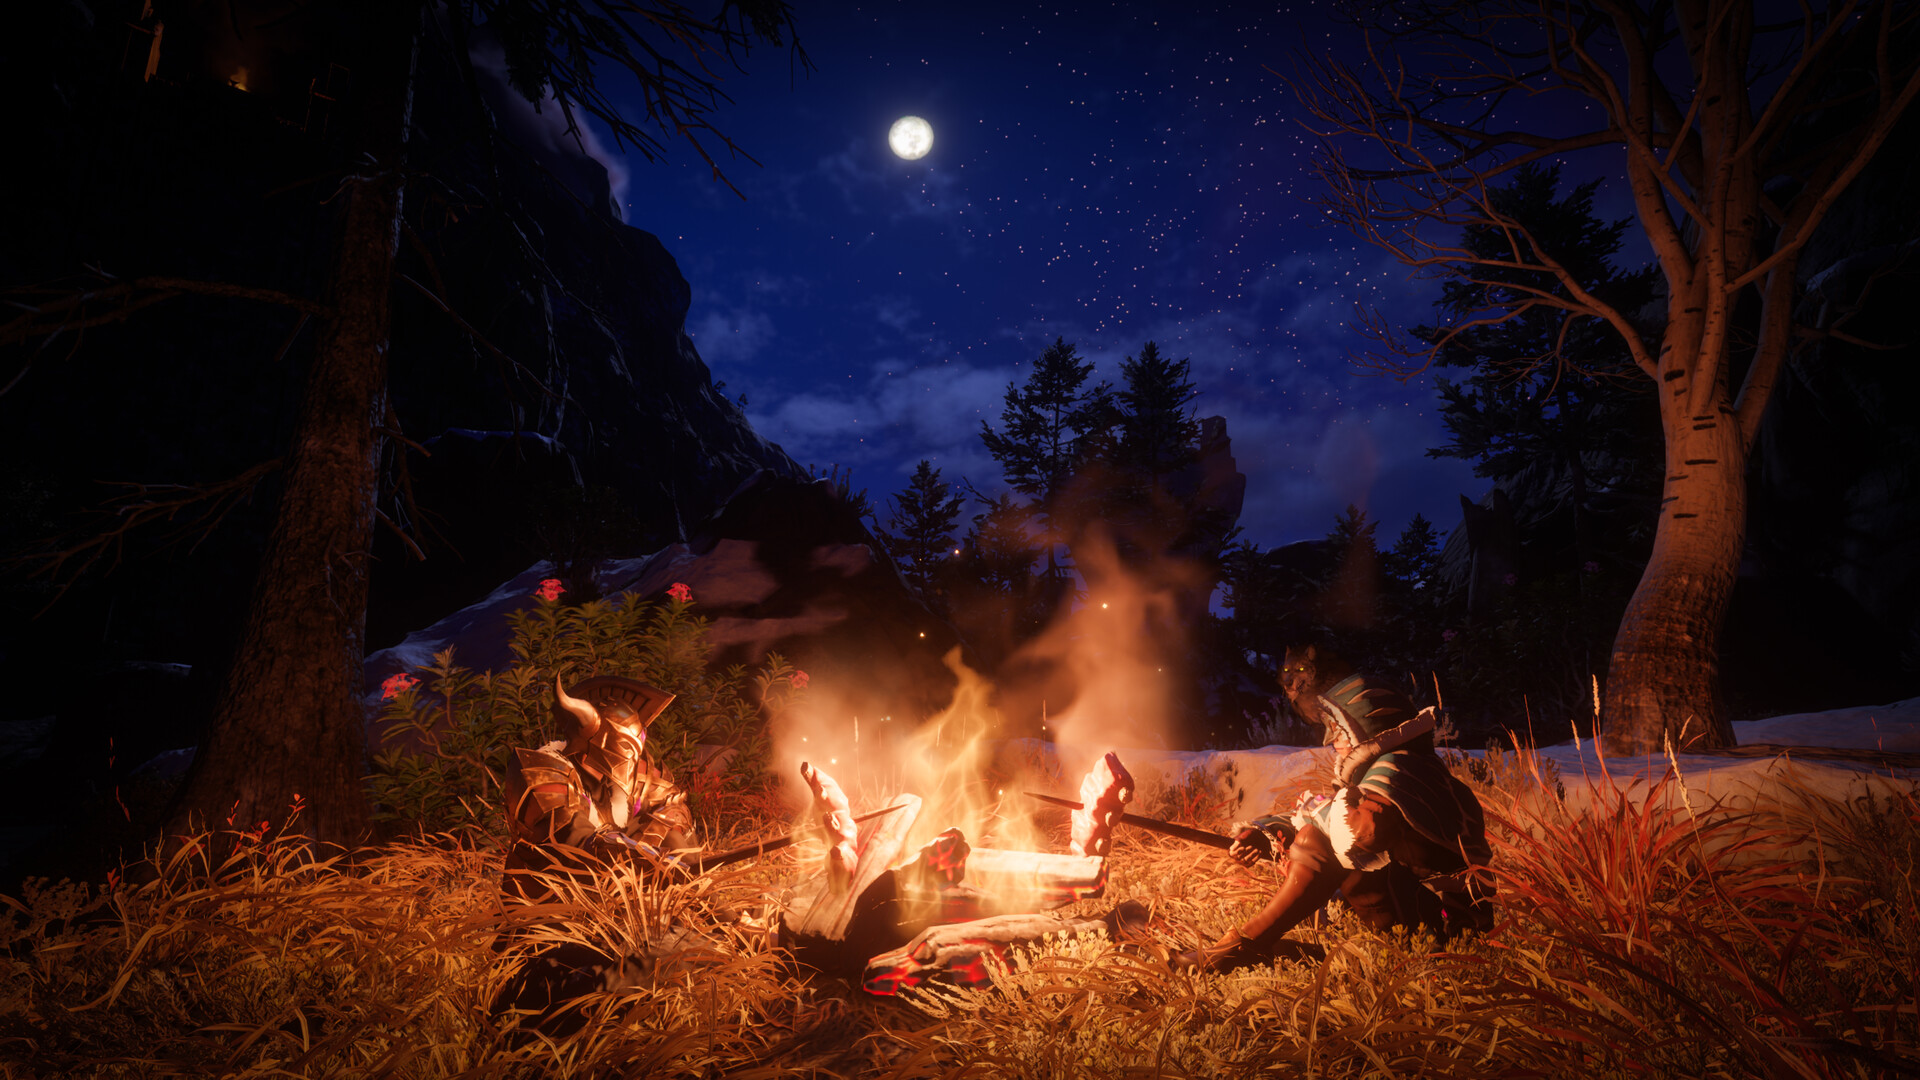
In Enshrouded, the Flame Altar serves as the central anchor of your world progression. Upgrading the Flame is entirely distinct from strengthening your base boundaries: while strengthening the altar merely expands the build perimeter around your house, Communing with the Flame upgrades your character globally, unlocking higher-tier biomes and neutralizing environmental lethal fog.
The progression through Levels 1 to 6 determines which Elixir Wells and Shroud roots you can access without instant death. Entering Shroud whose danger level exceeds your current Flame Level triggers immediate suffocation, depleting your entire health pool within 2 to 3 seconds. Prioritize gathering the required boss trophies as soon as you breach the corresponding regional gates.
Every Flame Altar tier demands specific rare resources alongside unique boss heads harvested from key landmarks. Review the complete requirements and global character benefits in the matrix below:
| Flame Level | Required Boss Trophy & Materials | Sparks | Global Shroud Time | Character Attribute Bonus | Active Altar Limit |
|---|---|---|---|---|---|
| Level 1 | Initial Awakening (Free starter placement) | 0 | 5 Minutes | Baseline stats | 2 Altars |
| Level 2 | 1 Fell Thunderbrute Head, 5 Resin, 5 Red Mushroom, 5 Bones, 5 Shroud Liquid, 5 Animal Fur | 1 | 6 Minutes | +1 All Attributes | 4 Altars |
| Level 3 | 1 Scavenger Matron Head, 10 Wax, 10 Salt, 10 Shroud Wood, 10 Flintstone, 25 Mycelium | 5 | 7 Minutes | +2 All Attributes | 6 Altars |
| Level 4 | 1 Fell Wispwyvern Head, 15 Goo, 15 Mycelium, 15 Indigo Plant, 15 Amber, 15 Copper Ore | 10 | 8 Minutes | +3 All Attributes | 8 Altars |
| Level 5 | 1 Fell Monstrosity Head, 20 Mint Mushroom Meat, 20 Fossilized Bone, 20 Ammonia Gland, 20 Tin Ore, 20 Rooibos | 20 | 9 Minutes | +4 All Attributes | 8 Altars |
| Level 6 | 1 Fell Sicklescythe Head, 40 Sulfur, 40 Saffron, 40 Iron Ore, 40 Lapis Lazuli, 40 Yucca Fruit | 40 | 10 Minutes | +5 All Attributes | 8 Altars |
The jump to Level 6 provides the final foundational attribute leap in the 1.0 release, boosting Strength, Dexterity, Constitution, Intelligence, and Spirit simultaneously by +1 (bringing the cumulative Flame bonus to +5 across all core attributes). This bonus stacks on top of your gear attributes and skill tree perks, delivering substantial increases to maximum health, mana capacity, stamina bars, and raw weapon damage scaling.
Boss Head Trophy Locations & Combat Strategies
Acquiring the high-tier heads necessary for Flame progression requires tracking down specific named apex encounters across the Springlands, Revelwood, Nomad Highlands, and Kindlewastes. Boss heads drop as guaranteed loot bags upon defeating the encounter leader, and these bosses respawn every time the world server reloads or passes a 24-hour in-game day cycle.
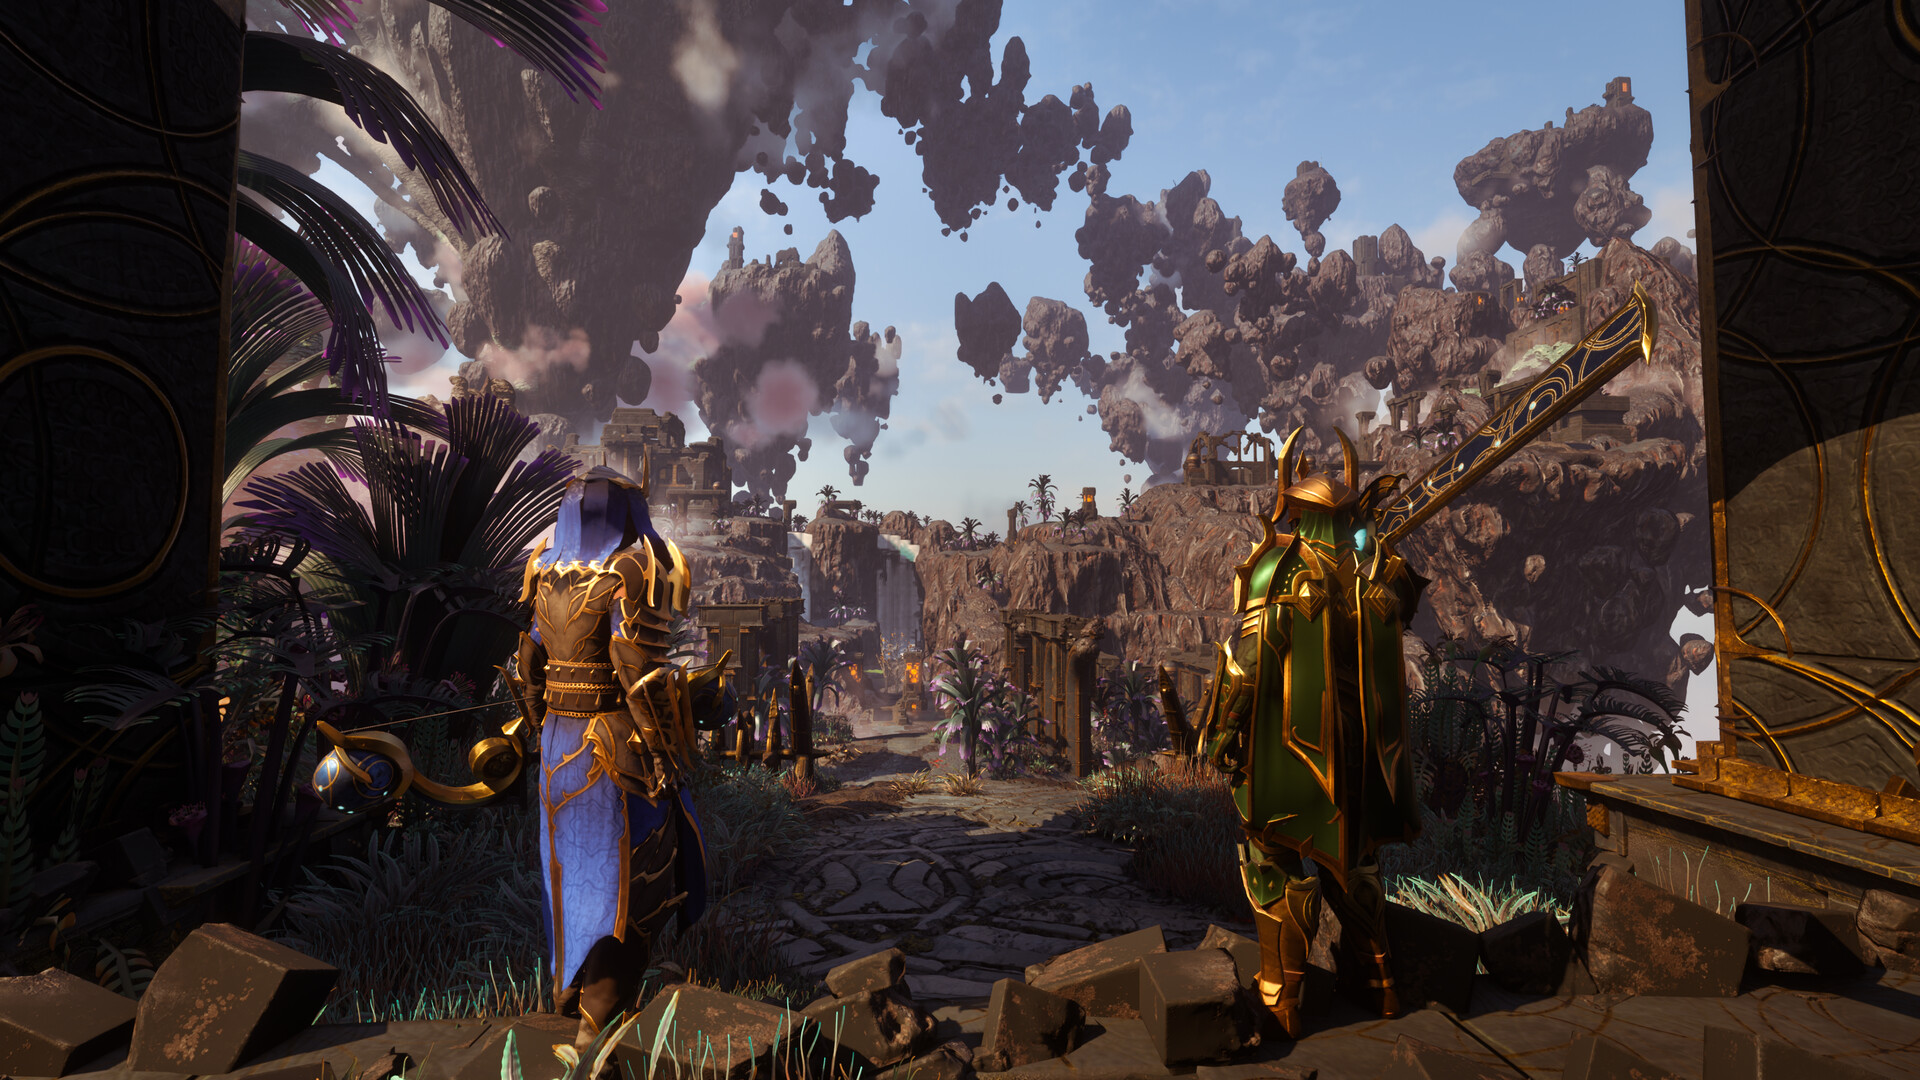
1. Fell Thunderbrute (Springlands Elixir Well - Level 2 Trophy)
The Fell Thunderbrute is a hulking corrupted giant wielding a two-handed stone mace. His attacks consist of a sweeping horizontal cleave, a delayed overhead ground slam, and an explosive ground pound that sends shockwaves through the soil. Avoid trading blows head-on: dodge roll behind his back during the windup of his heavy slam, punishing his slow recovery frames with fast melee cuts or wand darts. When his posture breaks, trigger a Merciless Attack to finish the encounter quickly.
2. Scavenger Matron (Hillock / Nomad Camps - Level 3 Trophy)
The Scavenger Matron wields a dual-barrel poison mortar and hurls sticky acid flasks that leave lingering toxic pools across the arena floor. Fighting her in close quarters requires constant lateral strafing: circling her clockwise ensures that her projectile mortars land behind your sprint trail. Equip armor with Nature Resistance or drink an Antiseptic potion before the pull. Stagger her with blunt Great Hammer strikes or headshots with a longbow while she pauses to reload her chemical launcher.
3. Fell Wispwyvern (Pikemead's Castle Sun Temple - Level 4 Apex Trophy)
The Fell Wispwyvern perches atop the frozen battlements of Pikemead's Castle. The fight alternates between an aerial bombardment phase and a grounded landing phase. During flight, the Wyvern discharges tracking ice breath and summons swarms of explosive Fell flying bugs. Eliminate the airborne bugs immediately using a fast Wand or multi-target arrows. When the Wyvern screeches and hovers in place, aim your bow directly at its glowing white throat sac: scoring a direct hit knocks the beast out of the sky onto the courtyard flagstones, leaving it vulnerable to execution attacks for 8 seconds.
4. Fell Monstrosity (Imperial Gardens / Southern Elixir Well - Level 5 Trophy)
The Fell Monstrosity is a massive, quadrupedal abomination encrusted with crystalline Shroud nodes. The creature attacks with sweeping front-arm slams, a 360-degree tail spin, and explosive airborne spore pods that carpet the ground in red mist. Avoid standing directly in front of its chest cavity. Instead, roll through its forward charge to position yourself behind its hind legs. The Monstrosity possesses high resistance to piercing and slashing damage but takes 150% damage from blunt weapons and fire magic. Maintain pressure with an upgraded Mace or cast Eternal Fireball against its exposed spinal cysts.
5. Fell Sicklescythe (Kindlewastes Sun Temple & Ridgeback Mine - Level 6 Capstone Trophy)
The Fell Sicklescythe is an ethereal flying wraith wielding dual spectral harvesting blades. Found lurking inside the subterranean Shroud vaults of the Kindlewastes and near the Ridgeback Mine, the Sicklescythe fires tracking red Shroud skull projectiles and executes high-speed spinning dashes across the cavern. Use stone pillars as natural line-of-sight cover to absorb the homing skull projectiles. Once the boss charges and impacts a wall, step out from behind the column and stagger it with heavy 2H hammer overhead strikes or concentrated Eternal Fireball blasts.
Sparks Farming Routes Across Flame Shrines & Sanctums
Reaching Level 6 requires collecting a total of 76 Sparks throughout your character's career (with 40 Sparks demanded for the final step alone). Sparks do not drop from defeated monsters. They must be collected directly from the central braziers of ancient Flame Shrines and Flame Sanctums scattered across the continent.
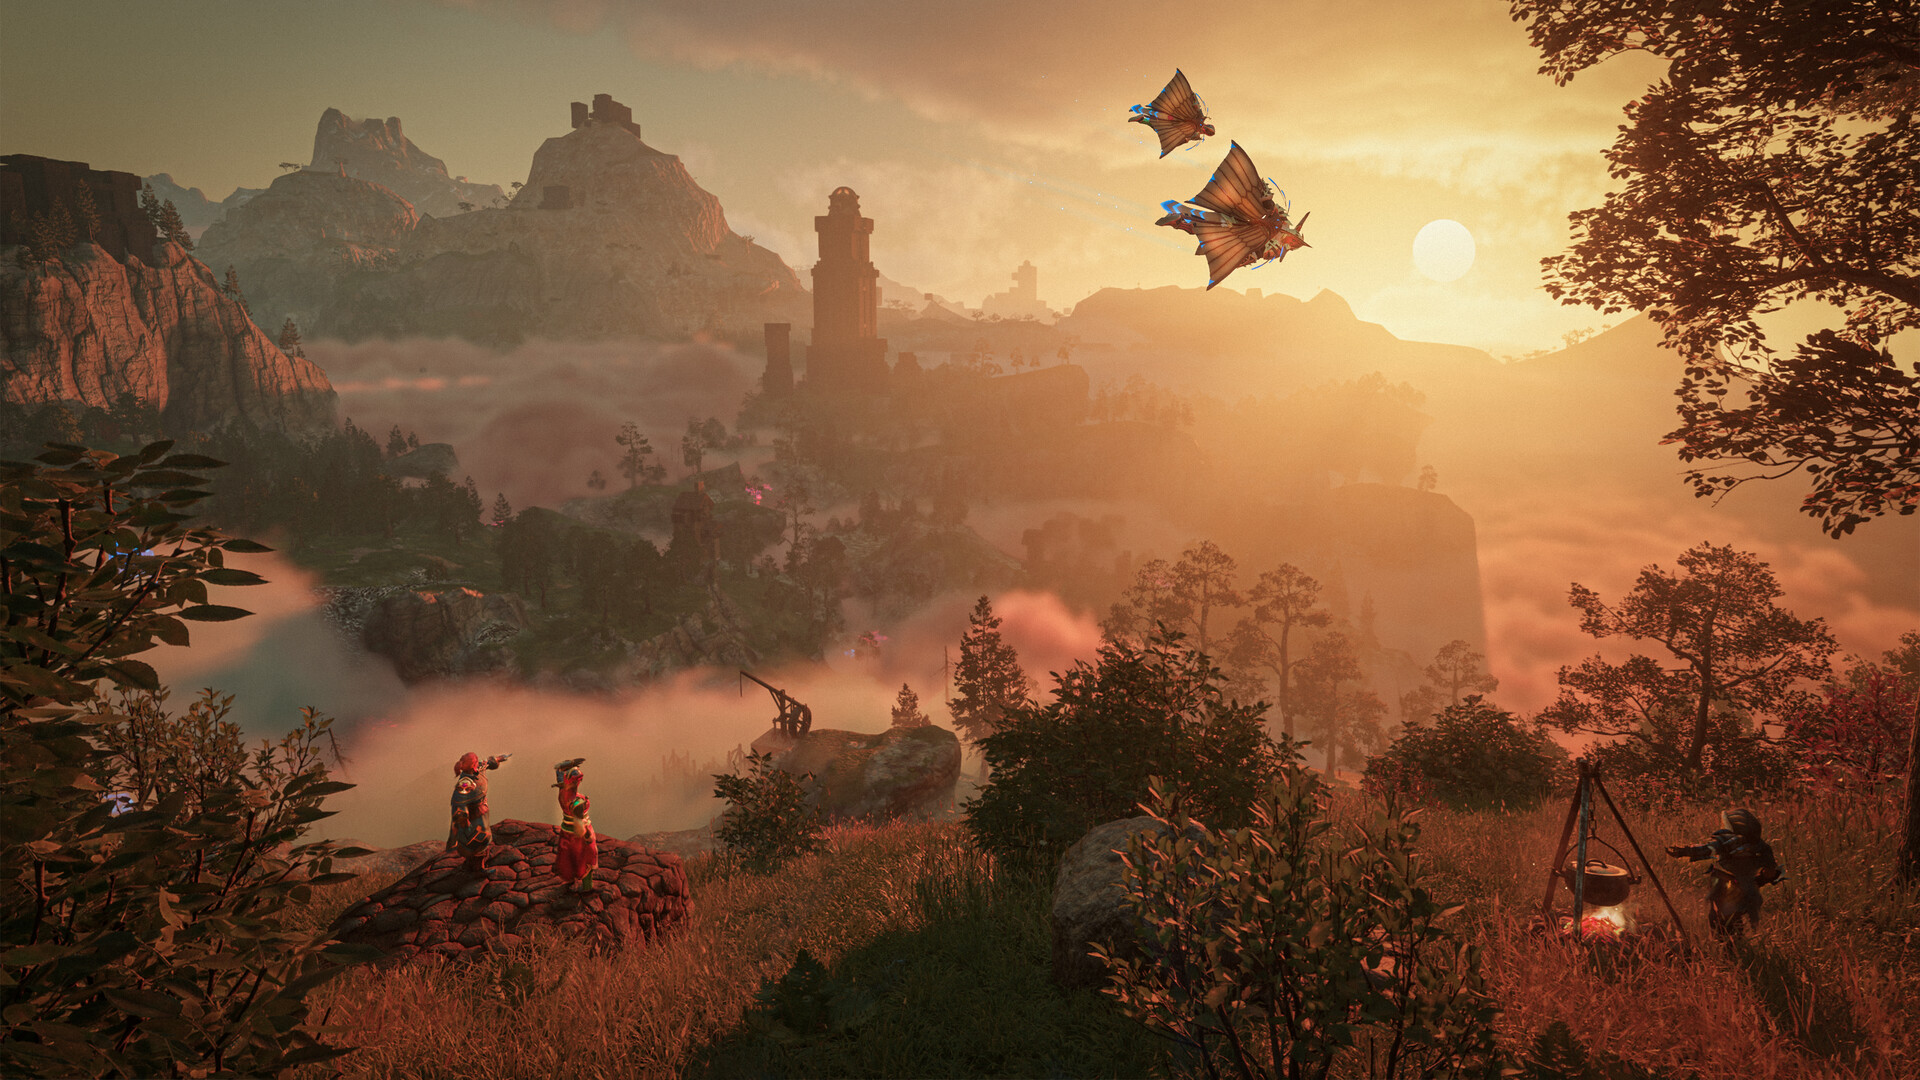
Flame Shrines appear on the map as prominent obelisk markers surrounded by stone columns. Each shrine contains exactly 1 Spark inside its central flame bowl. Because Sparks respawn whenever a local world session is restarted or when a dedicated server completes a world restart cycle, establishing an efficient teleport farming circuit allows you to gather 40 Sparks in under 25 minutes:
- Revelwood Ancient Spire Drop: Fast-travel to the Revelwood Ancient Spire. Glide directly southeast to harvest the shrine nestled inside the river bend, then glide northeast into the forested ravine for a second shrine (2 Sparks in 3 minutes).
- Nomad Highlands Canyon Circuit: Warp to the Nomad Highlands Spire. Glide south toward the canyon floor to loot two adjacent shrines located near the sandstone arches (2 Sparks).
- Kindlewastes Desert Sanctum Run: Teleport to the Kindlewastes Ancient Spire. Glide eastward over the sandstone dunes directly into the grand Flame Sanctum courtyard, collecting 2 Sparks from the dual sanctum pedestals.
- Session Reset: Return to the main menu and reload your local world. All harvested Flame Shrines immediately replenish their Sparks, allowing you to repeat the loop until reaching your target balance.
Red Shroud Clearance & Survival Timer Mechanics
The primary barrier to endgame exploration is lethal Red Shroud. In lower Flame tiers, entering Red Shroud causes the screen to flash crimson, playing an agonizing suffocation audio cue while draining 50% of your maximum health per second. Upgrading your Flame Altar to Level 6 clears Red Shroud throughout the entire central and southern landmass, transforming it into regular grey Shroud that respects your standard survival timer.
Your base Shroud timer is 5 minutes at Level 1, rising to 10 minutes at Flame Level 6. However, high-tier Elixir Wells contain complex labyrinths that require extended diving periods. The total allowable diving duration is governed by the following stacking formula:
Total Shroud Survival Time = Base (5m) + Flame Altar Level Tiers (+5m at Level 6) + Inner Fire Skill (+2m) + Relentless Flame (+5m) + Shroud Survival Flask (+4m) + Glow Soup (+1m) = 22 Minutes Maximum
Carrying Shroud Survival Flasks (crafted at the Alchemist using Shroud Liquid, Charcoal, and Glow Dust) is essential for extended subterranean dives. Drinking a flask immediately adds +4 minutes to your remaining timer. If your timer ever drops below 60 seconds, locate an illuminated Hourglass Pod on the cavern walls and strike it with any melee weapon to replenish your countdown to maximum without surfacing.
Optimal Shroud Root Chopping Routes for Skill Points
Every Shroud Root felled across Embervale permanently clears local fog pockets and awards 1 bonus Skill Point alongside rare Runes and Shroud Spores. Maximizing your skill tree builds before tackling Level 30 hollow dungeons requires felling all 15 accessible roots in the mid-to-late zones:
| Shroud Root Location | Region / Landmark | Recommended Level | Guarding Encounter | Skill Point Yield |
|---|---|---|---|---|
| Peaceful Acres Root | Springlands (South of Altar) | Level 3 | Fell Wolf Pack | 1 Skill Point |
| Woodgard Elixir Well Root | Revelwood Border | Level 11 | Fell Thunderbrute | 1 Skill Point |
| Lurking Ravine Root | Nomad Highlands Deep Basin | Level 16 | Scavenger Destroyer | 1 Skill Point |
| Sun Temple Sub-Root | Kindlewastes Sunken Crypt | Level 23 | Fell Monstrosity | 1 Skill Point |
| Imperial Gardens Core Root | Pikemead Citadel Grounds | Level 25 | Fell Commander & Archers | 1 Skill Point |
Always equip a high-tier Felling Axe (such as the Bronze Felling Axe or Iron Felling Axe) in your quickbar when approaching a Shroud Root. Standard combat swords and maces deal reduced damage to wood voxels, requiring 20 to 30 swings to fell a root. A dedicated felling axe destroys the root core in exactly 3 swings, collapsing the local corruption before reinforcement swarms can surround you.
Structured Troubleshooting FAQ
- Why does Red Shroud still instantly kill my character in the far northern mountains despite reaching Flame Level 6?
- Flame Level 6 unlocks all currently playable landmasses up through the Kindlewastes and Pikemead's Reach. Red Shroud in the extreme northern mountainous border zones (the Mountain biome perimeter) marks current Early Access world boundary limits that will be unlocked in upcoming major biome expansions. Reaching Level 6 clears all gameplay areas within the official world map boundary.
- What should I do if a slain boss head clips through terrain voxels into unreachable underground voids?
- Boss loot bags are physical entities governed by gravity. If an explosion knocks the boss trophy through a rock seam, do not attempt to dig blindly. Step away from the area, fast-travel back to your base Flame Altar, and return to the main menu. Reloading your world instance respawns the boss encounter at its designated arena pedestal with full health, allowing you to defeat it on clean flat stone.
- How do I extinguish or move an active Flame Altar without losing our base structures?
- Interacting with a placed Flame Altar provides an "Extinguish Flame" prompt. Confirming this action starts a 30-second warning countdown. Placed voxel buildings (stone walls, wood floors, roof tiles) remain permanently intact on the map; however, they lose their active shelter status and protective boundary against hostile mob spawns until you place a new Flame Altar within range.
- Can multiple cooperative players on a dedicated server share Flame Altar Level 6 upgrades?
- Yes. Flame Level upgrades are world-state properties tied directly to the world save file. When any player supplies the required Sparks, boss heads, and sulfur to upgrade a central Flame Altar, all existing and newly joined players on the server immediately gain the permanent +5 attribute bonuses, extended Shroud timers, and fast-travel station allowances.
- Why did my Shroud timer suddenly drop from 10 minutes to 3 minutes inside an Elixir Well?
- Deep subterranean Elixir Wells frequently contain environmental "Dense Shroud" or "Corrosive Mist" pockets caused by unbroken Shroud Spores. Standing in direct proximity to red spore sacs or taking damage from Fell Banshee scream attacks applies a temporal siphon debuff that cuts your current remaining Shroud countdown in half. Destroy the spore pods with arrows from safe range to restore normal timer drain rates.
Sources & Related Tools
Flame progression formulas, Spark shrine coordinates, and boss encounter mechanics verified on Enshrouded 1.0.0.6+ (Full Release & Sparkworks). Cross-referenced with Keen Games internal data registries and community cartography maps. Calculate optimal storage chest upgrades for all your monster trophies and rare crafting mats using our interactive Enshrouded Storage Planner, or explore our full suite of game tools in the Craft & Quest Tool Directory and discover more endgame strategies in our Enshrouded Game Hub.