Moon Sweepers · PC · 1.0.5
Moon Sweepers Garage: Unload Dust and Fix the Silo
On this page
Stop on the collector pad beside the garage so its pipe lowers and the hopper empties into the silo. Connect the silo outfeed to your delivery route, then check the receiving end for payment.
Find the collector pad beside the garage
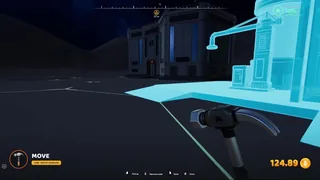
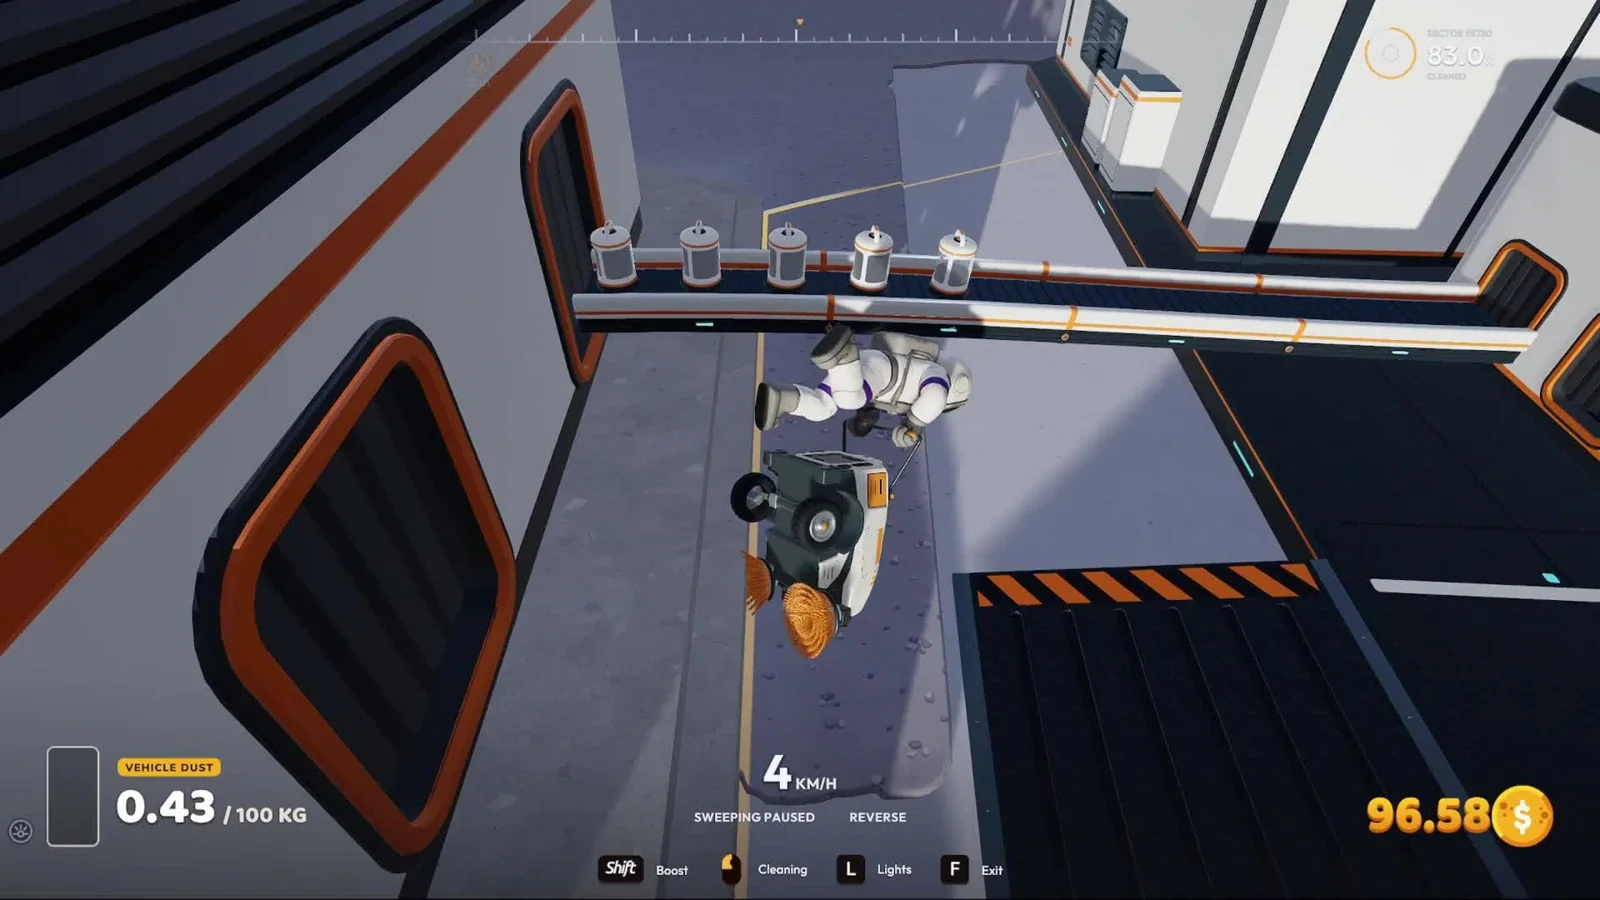
Bring the vehicle back with dust still in its hopper and use the garage's collector pad. The unloading position is the ramp beside the garage, to the left when facing its door. Drive onto that pad and stop centrally beneath the overhead pipe.
The pipe should lower once the vehicle is in position. Watch the hopper quantity while you wait: a falling amount is the useful confirmation that dust is leaving the vehicle. Simply parking at the main door leaves you looking at the garage without necessarily being over its unloading point.
Approach slowly enough to stop on the pad. If your rover's nose is under the pipe but the hopper is still outside it, move farther onto the centre and check the display again. Keep the approach clear of belt posts and machinery so you can repeat the same parking position on the next trip.
- Return with a visible amount of collected dust.
- Approach the ramp beside the garage door.
- Stop centrally on the collector pad.
- Look for the lowered pipe and a decreasing hopper quantity.
- Check the garage silo and its outgoing conveyor.
Connect the silo to a destination before the next trip
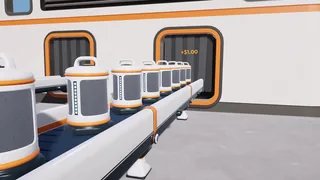
The collector transfers dust into the garage silo. To turn that dust into a steady delivery route, connect the silo's outfeed to a conveyor leading to a station intake or your processing line. Leave both ends visible while placing the first segment.
Version 1.0.5 adds a status explanation when the silo cannot send its dust out. One message tells you to connect a conveyor to its outfeed. Read that explanation before buying another vehicle: an empty receiving route would leave the next load waiting in the same place.
| What you see | Where to look next | Confirmation |
|---|---|---|
| The pipe stays up and the hopper stays full | Collector pad and stopped position | The pipe lowers and dust starts leaving |
| The hopper empties but the garage keeps its dust | Silo status and outfeed connection | Capsules leave the garage |
| Capsules leave, then queue beside a machine | The first stopped conveyor or machine | A load passes that exact point |
| A load reaches a station intake | Crew wallet and intake display | Payment is credited as belt-delivered material arrives |
Build a short, readable route for the first test. A garage next to a station needs fewer connections to inspect than one feeding a distant chain of processors. Once unloading and payment both work, extend that working line to the location you actually want.
If the output goes into processing, follow the dust into the first machine and then follow the produced material out. A stopped processor can hold up the garage behind it. The conveyor troubleshooting guide covers checking that chain one connection at a time.
Recall owned vehicles instead of purchasing duplicates
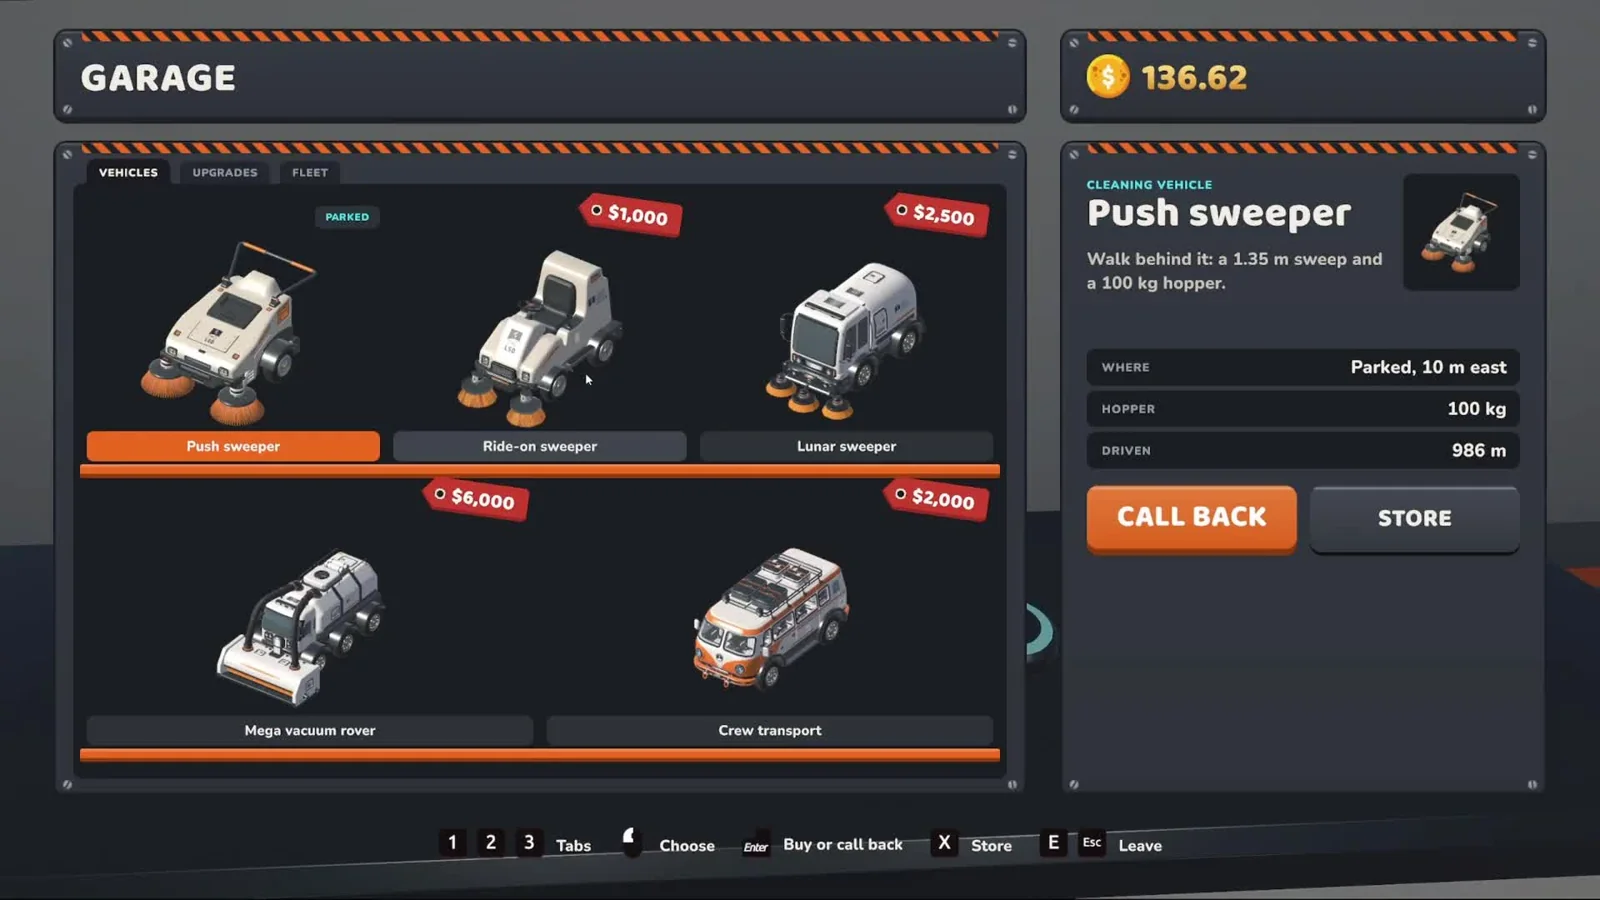
Use E at a garage to open its vehicle interface. Since 1.0.3, any garage can recall, store and upgrade vehicles you own. A vehicle left at a different garage therefore does not have to become a second purchase just because you have moved your cleaning area.
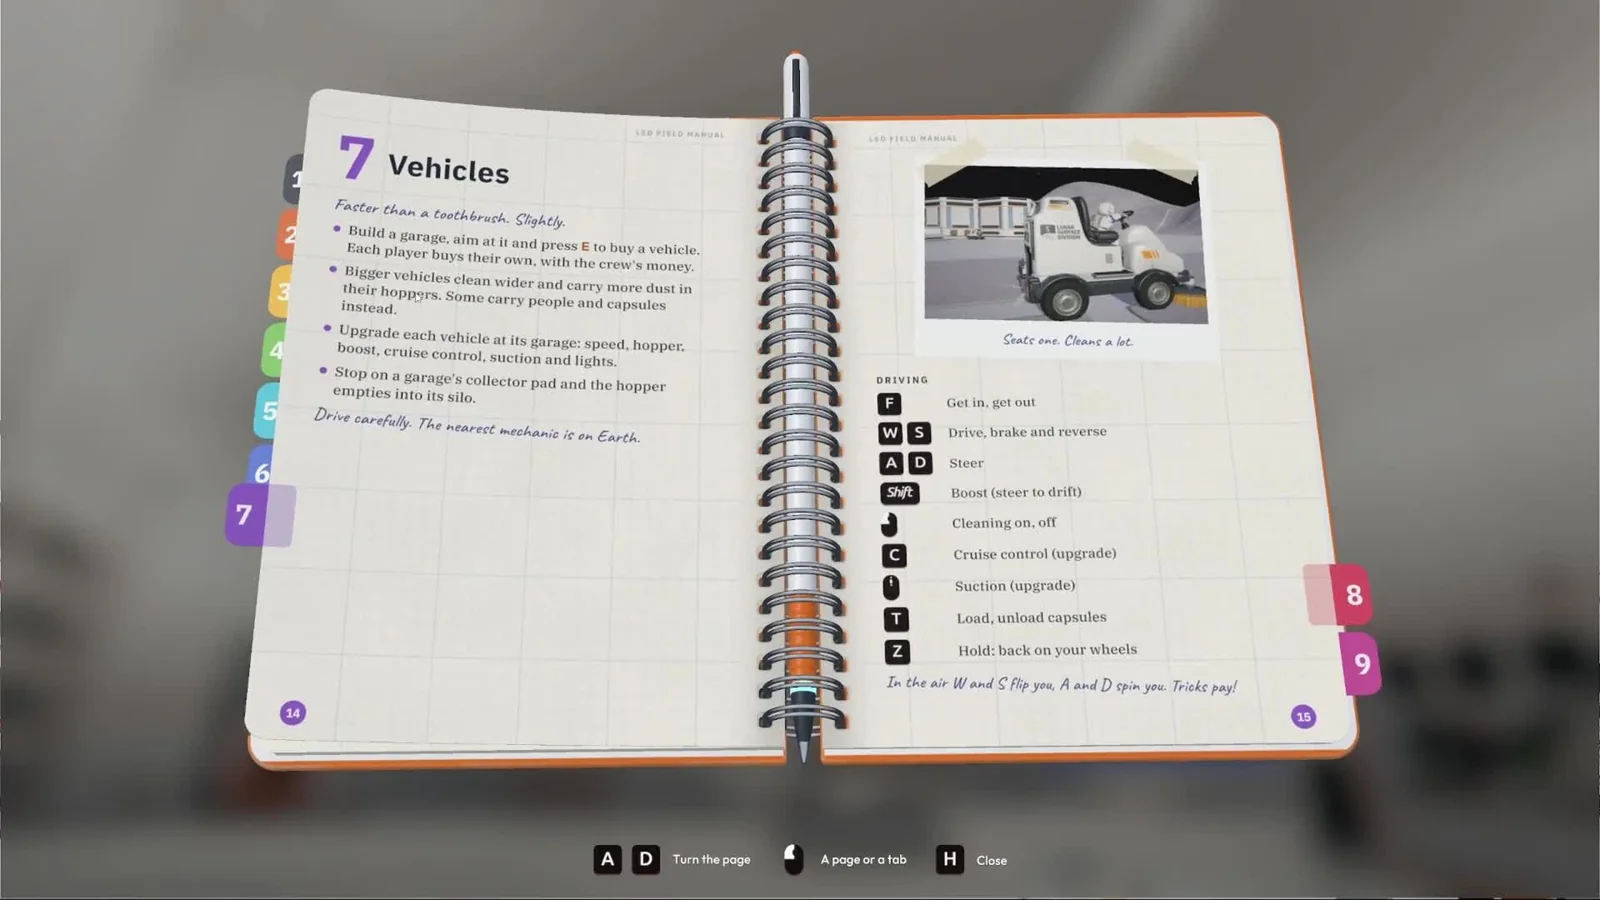
Check the owned vehicle in the garage interface before spending more crew money. Vehicle purchases are made by each player using the shared wallet, as the in-game manual explains. In a co-op world, check which player owns the vehicle you are trying to call back.
Removing a garage no longer deletes the vehicles kept there. They transfer to another garage, or remain available until you build the next one. If you have just redesigned the base, finish that replacement garage and check its recall interface before searching the terrain for a lost vehicle.
A major layout change can also move the convenient unloading side away from your route. Test the new approach with a small load before heading out for a full hopper. Repeating that short run makes it easy to tell a parking problem from an unfinished outfeed.
Fix the return journey before increasing capacity
Complete one cleaning trip and note where the time goes. If driving back takes most of it, a nearer usable garage or a clearer return route can matter more than a cleaning upgrade. If unloading is the delay, follow the silo and conveyor before adding hopper capacity.
The garage offers upgrades for speed, hopper capacity, boost, cruise control, suction and lights. Inspect the description of the upgrade on the selected vehicle. Pick the change that addresses the delay you just observed, then repeat the same route to see whether it helped.
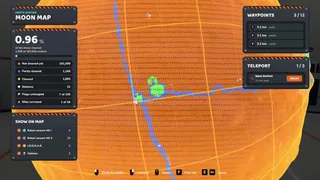
Use the Moon Map and station markers to keep the destination clear on longer trips. Set a waypoint for the return area before travelling past the terrain where you can still recognise your base. A straight line across the map can still cross a slope or a busy belt installation on the ground.
If the vehicle rolls over, hold Z to put it back on its wheels. After a rough landing, check your heading before boosting again; a fast return is only useful when it brings you onto the unloading pad. The keyboard vehicle controls in the manual list F for entering or leaving, W/S for driving and reversing, and A/D for steering.
Handle camera and placement problems separately
In 1.0.5, Settings → Controls includes Vehicle camera follows behind. Turn it off if the camera repeatedly pulls away from the direction you are trying to inspect. This is useful while lining up with a garage or checking the side of a larger vehicle.
If the ramp approach is genuinely obstructed, use the new Move Mode to revise the layout. Check the collector approach, space around the vehicle and the silo output after placing the garage again.
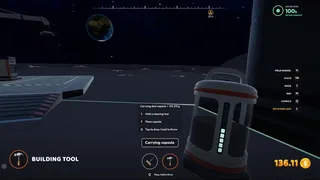
Use the hopper gauge before and after the stop to separate collection from delivery. A vehicle returning with an empty gauge has no dust to unload, even if it drove over a dusty route. Turn cleaning on for the test run and bring back a small visible load before adjusting the garage.
Finish with the same three checks each time you change the layout: dust leaves the hopper, dust leaves the garage, and the destination accepts it. That identifies the part still holding the load, so you can repair one connection instead of rebuilding the entire delivery system.
Sources
DragDrop Games: official patch notes · Play BIG or Die: in-game manual and garage walkthrough · VeedoDaMutt: map and building walkthrough · Steam: garage positioning discussion.