Moon Sweepers · PC · 1.0.5
Moon Sweepers Move Buildings: R Mode and Snapping
On this page
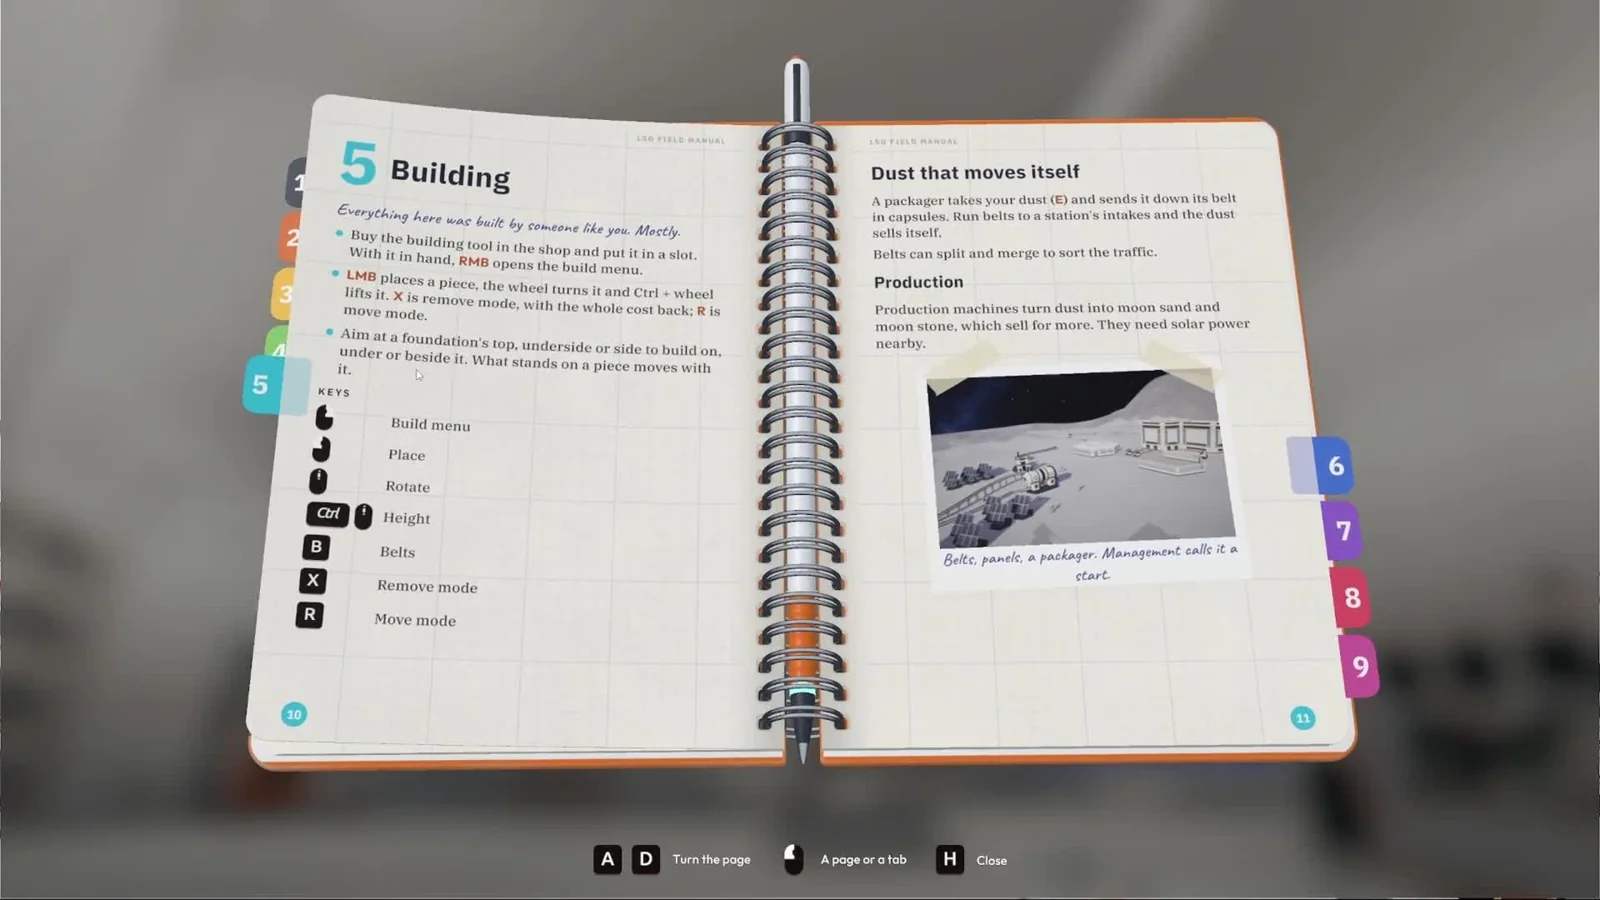
Equip the Building Tool and press R to move a placed piece with everything standing on it. Right-click puts it back; R or Esc exits. Version 1.0.5 also adds full refunds and foundation snapping.
Get the Building Tool into Move Mode
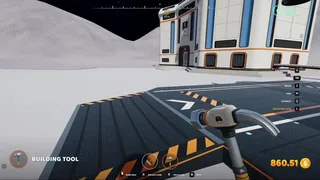
Use the Building Tool, rather than a cleaning brush, and point at the piece you want to relocate. Press R to enter Move Mode. This control arrived in 1.0.5; launch-week instructions telling you to demolish everything first are out of date.
If you have not bought the tool yet, return to the shop and put it into a tool slot. Select that slot before trying R. Right-click opens the construction menu while the tool is equipped, so close the menu and aim at the existing structure when you want to pick something up.
Start with an isolated piece where the selection is easy to see. A foundation supporting several objects is a larger move: everything standing on the selected piece comes with it. Check what the preview includes before carrying an entire section of your factory across the yard.
| Action | PC input | What to check |
|---|---|---|
| Enter Move Mode | R with Building Tool | The existing piece becomes the object being placed |
| Place the piece | Left mouse button | Check the full preview and its connected ports |
| Return it to its old position | Right mouse button | Use this before confirming an awkward new position |
| Leave Move Mode | R or Esc | Resume ordinary building |
| Switch to removal | X | You are about to dismantle, rather than relocate |
Move a foundation without leaving its machines behind
Stand where you can see the foundation and the objects resting on it. Pick the supporting piece when you want the whole assembly to travel together. Pick a machine itself when the job is only to change that machine's position.
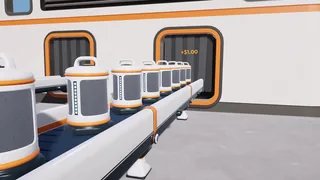
Before placing the group, walk around the destination preview. Leave room for the machine's loading side, outgoing belts and a path back through the base. For a garage, keep its collector pad approachable; the unloading route needs more space than the building's door alone suggests.
- Look at the existing assembly and identify the support you intend to move.
- Enter Move Mode and inspect the complete selected group.
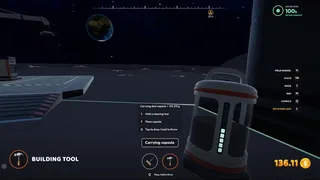
- Carry the preview to the new location, keeping its ports visible.
- Place it only after checking the incoming and outgoing routes.
- Follow one load through the relocated section before moving the next assembly.
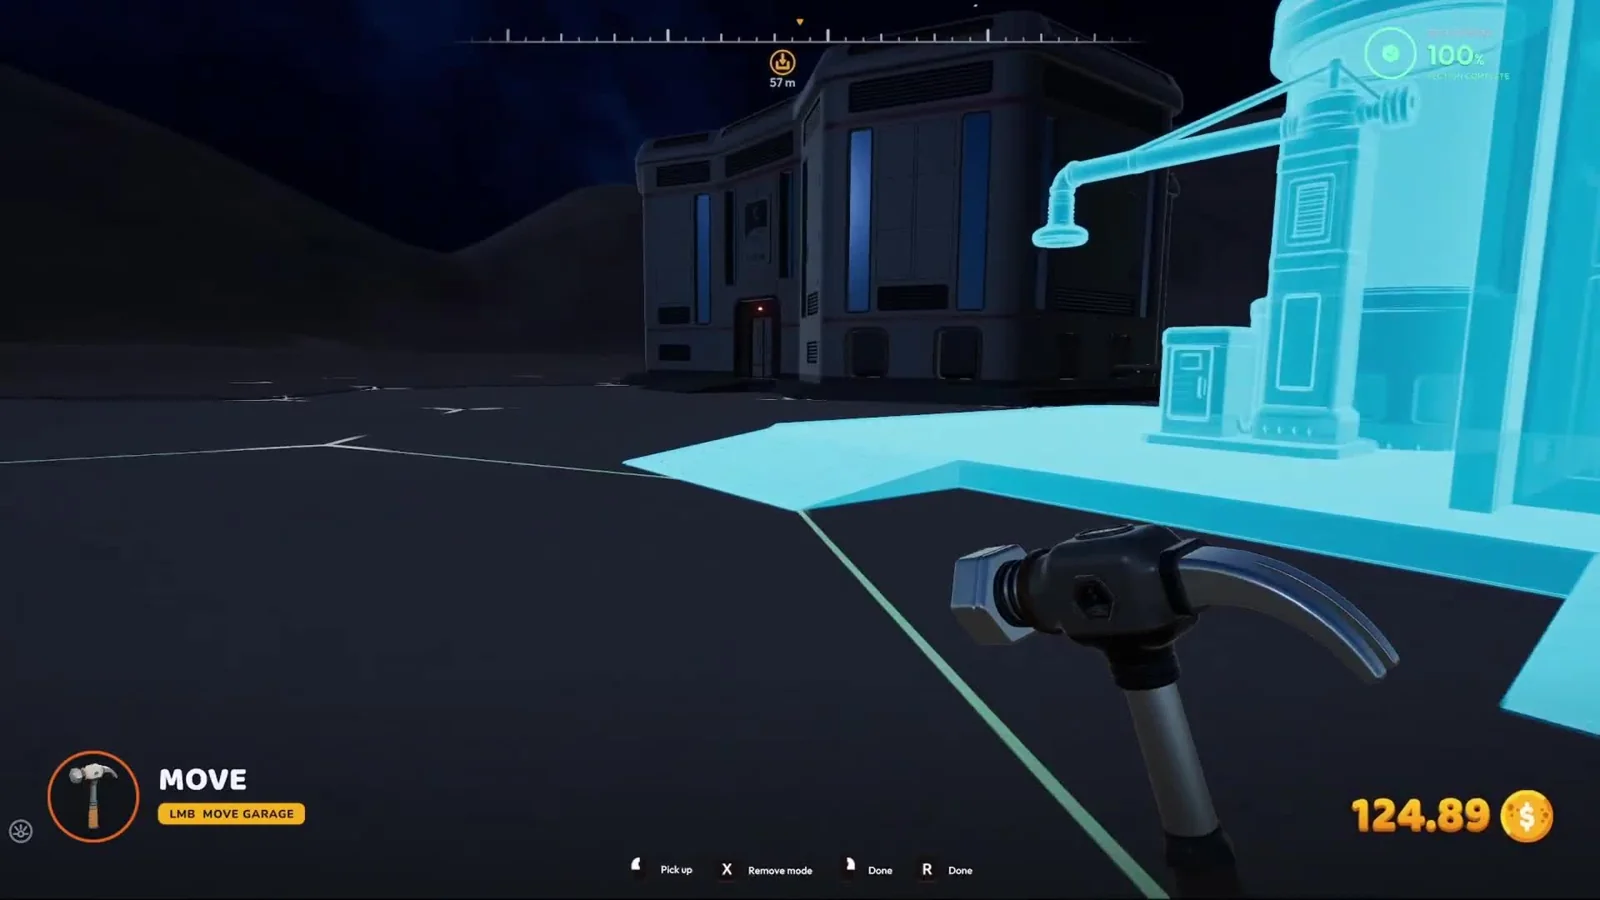
Belts connected to a moved piece try to follow its ports where they can reach. A long relocation can leave a connection that needs attention. Follow the visible belt back to the first unchanged junction and check that the route still ends at the intended receiver.
For example, moving a Pressure Chamber nearer the station changes two useful distances: the path from its dust source and the path from its output. Compare both before confirming. A shorter output belt can be offset by a much longer incoming route if the source stays on the other side of the base.
Snap machines to square or hexagonal foundations
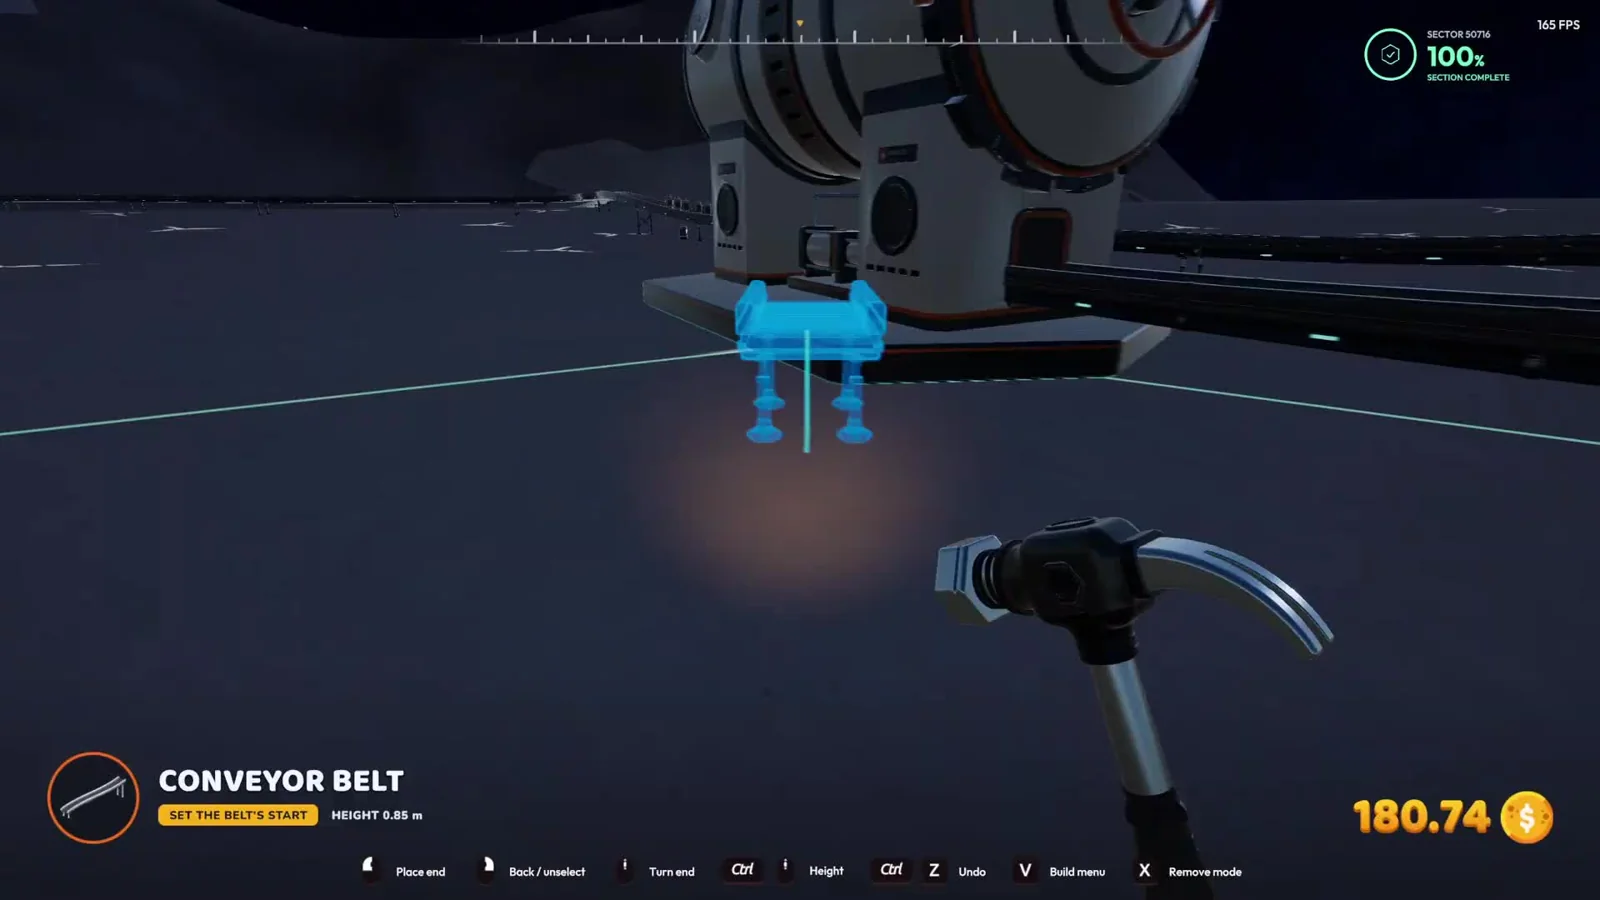
Aim at the foundation you want the machine to follow. In 1.0.5, machines can align squarely with it, meet its edges or sit centred on it; other placements use a half-metre grid. This makes a row of machines easier to lay out than repeatedly trying to match their edges by eye.
Use the mouse wheel to turn a machine while placing it. Square foundations use 90-degree turns, while hexagonal foundations use 30-degree steps. Set the intended input side before you extend the belts: rotating the next machine to match the previous one is easier than bending every connection afterwards.
| Placement job | Control or aiming point | Useful check |
|---|---|---|
| Match an existing machine's orientation and appearance | Middle-click that piece | The picked piece copies its rotation and style |
| Align a new machine | Aim at a foundation | Inspect the edge or centre alignment in the preview |
| Turn on a square foundation | Mouse wheel | 90-degree steps |
| Turn on a hexagonal foundation | Mouse wheel | 30-degree steps |
| Place outside the snap layout | F | Free placement gives you a different positioning option |
Press F when the snapped position puts a port where you cannot use it. Return to the preview and inspect the whole base rather than forcing a nearly fitting machine into a row. The 1.0.5 patch also fixed rows of machines being refused with the flat-foundation warning.
Build beside, below or beyond a foundation
The surface you aim at changes the building relationship. Aim at the top for the upper surface, at the underside for construction below, or at the side to extend alongside it. Pieces can also project past an edge into open air.
That extra freedom is useful around uneven lunar terrain, but it makes aiming important. Step sideways if a foundation edge hides the face you are trying to select. Check the preview from a second angle before placing a section underneath an existing factory.
You can now build directly on dusty ground. The dust beneath the placed piece is pressed flat during construction, so clearing the entire footprint by hand is no longer a prerequisite. Use the layout preview to choose the position first, especially when extending a garage approach or an elevated belt.
Choose between moving and removing
Move Mode repositions the selected piece for free. Removal now refunds its entire purchase price in 1.0.5, replacing the old 75% refund. Moving is convenient when you want to preserve the arrangement on a support; removing is useful when you are changing the design itself.
Use right-click to put a picked piece back if the new position does not work. Finish the placement or cancel it before switching tools. On a controller, enter Move Mode with Y from remove mode; the keyboard R sequence applies to PC controls.
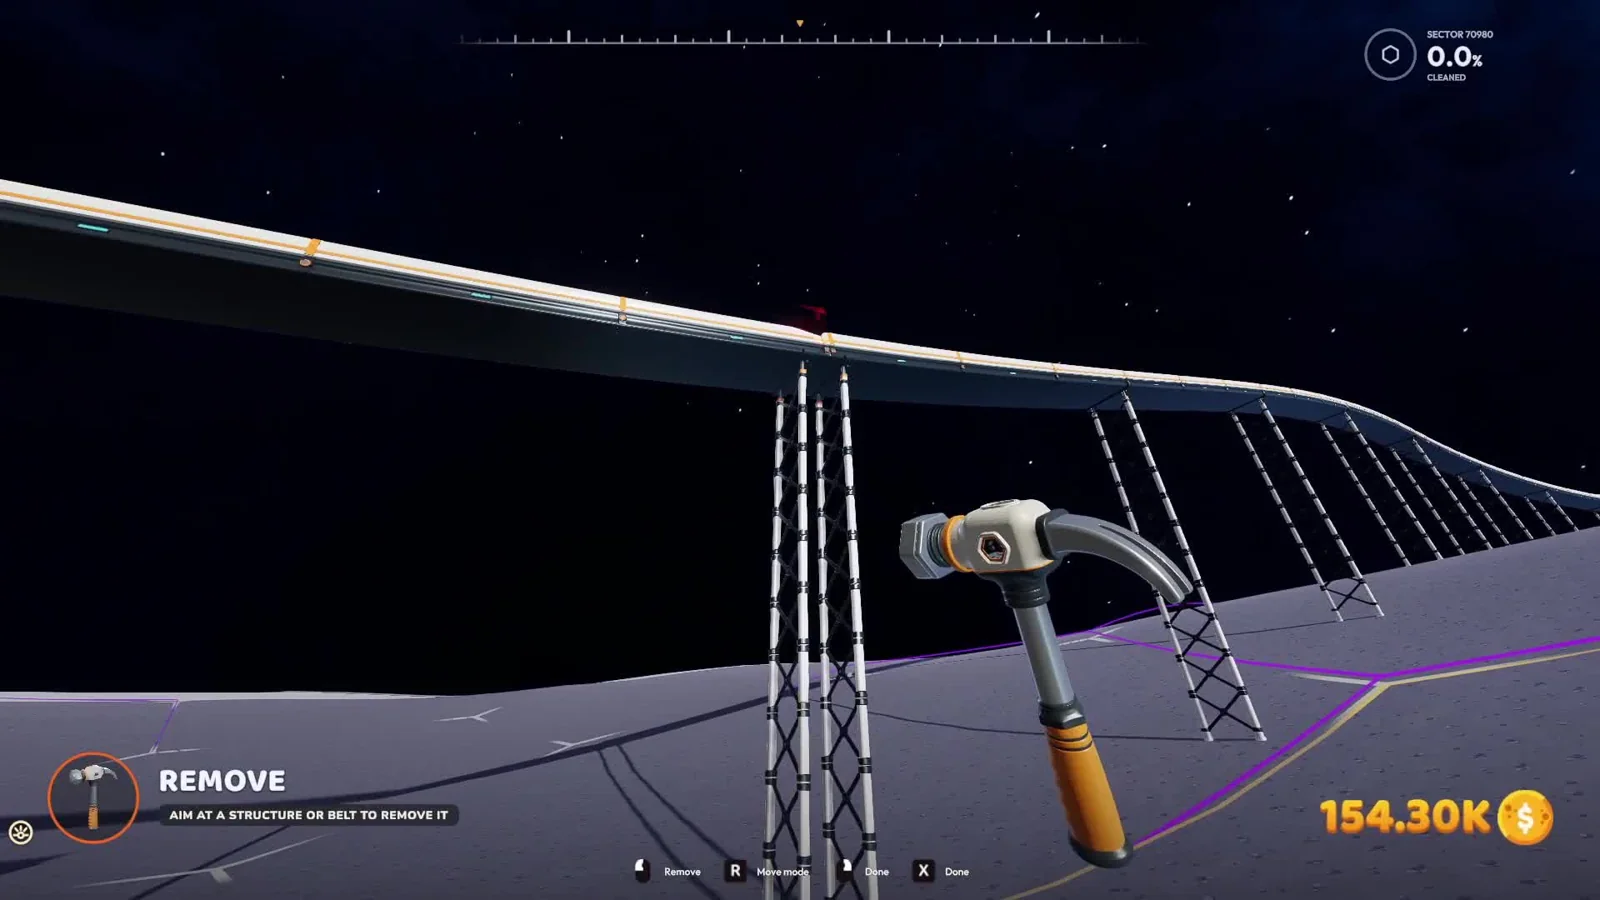
For a belt edit, inspect the point where the old segment leaves the machine before removing it. Place the replacement from that same port and follow it toward the receiver. This preserves a visible start and end for your repair even when the surrounding factory has several crossing routes.
After a successful move, check a complete production cycle. Watch the input arrive, the machine accept it and the output leave. If the first two work but the final belt stands still, continue with the capsule-stall checks rather than moving the factory again.
Sources
DragDrop Games: official patch notes · Play BIG or Die: in-game manual and garage walkthrough · VeedoDaMutt: map and building walkthrough · Glassbox Games: belt-port placement.