Find your next answer
Game guides
Search published titles and summaries, then narrow by game. Every result below is a complete page.
156 published guides
 Main v0.107.1
Slay the Spire 2 Regent: Parry, Sword Sage and Sovereign Blade Block
Main v0.107.1: Build a Blade turn that supplies defense as well as damage. Check the Parry and Replay interaction before copying an old Regent combo.
 Beta mechanics
Slay the Spire 2 Expect a Fight: Build Around Strength-to-Block on Beta
Beta branch: Expect a Fight changed jobs on beta v0.111.0. Calculate its Strength-based Block and reserve the energy needed to actually play it.
 Beta mechanics
Slay the Spire 2 Silent Poison: Outbreak, Mirage and the Defensive Gap
Beta branch: Separate Poison application, immediate triggering and defense. The beta reworks make old Outbreak and Mirage recipes misleading.
 Beta mechanics
Slay the Spire 2 Hyperbeam on Beta: Temporary Focus Loss and Orb Timing
Beta branch: Use the reworked Hyperbeam as a current-turn trade-off, while checking the orb effects that still resolve before Focus returns.
 Beta mechanics
Slay the Spire 2 Necrobinder Sacrifice: Osty Max HP and Block Planning
Beta branch: Evaluate the beta Sacrifice change using Osty’s actual maximum HP and the current card preview, rather than an assumed fixed Block value.
 Beta mechanics
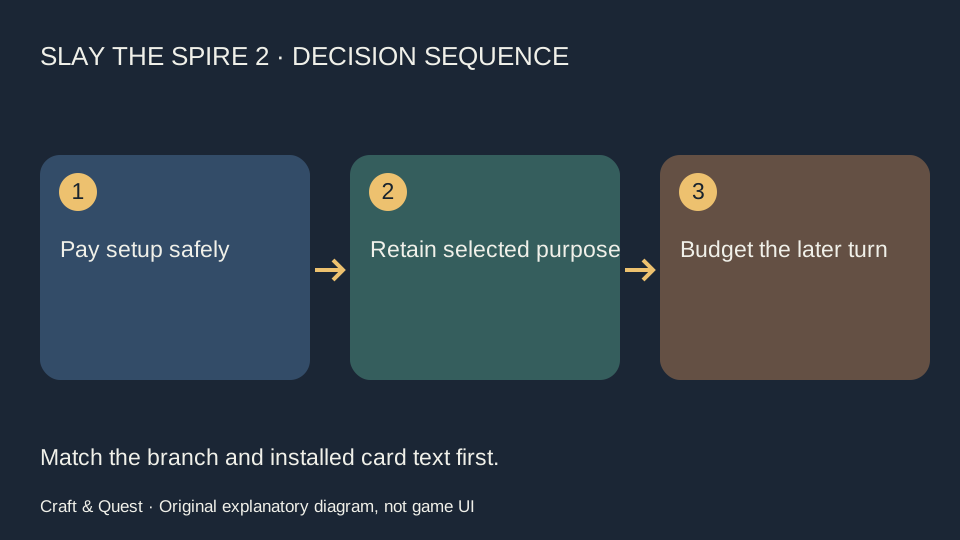
Slay the Spire 2 Well-Laid Plans: Retain a Useful Hand Without Forgetting the Setup Cost
Beta branch: Use the beta retain rework to align a payoff and its support, while distinguishing retained cards from free energy or guaranteed new draws.
 Beta mechanics
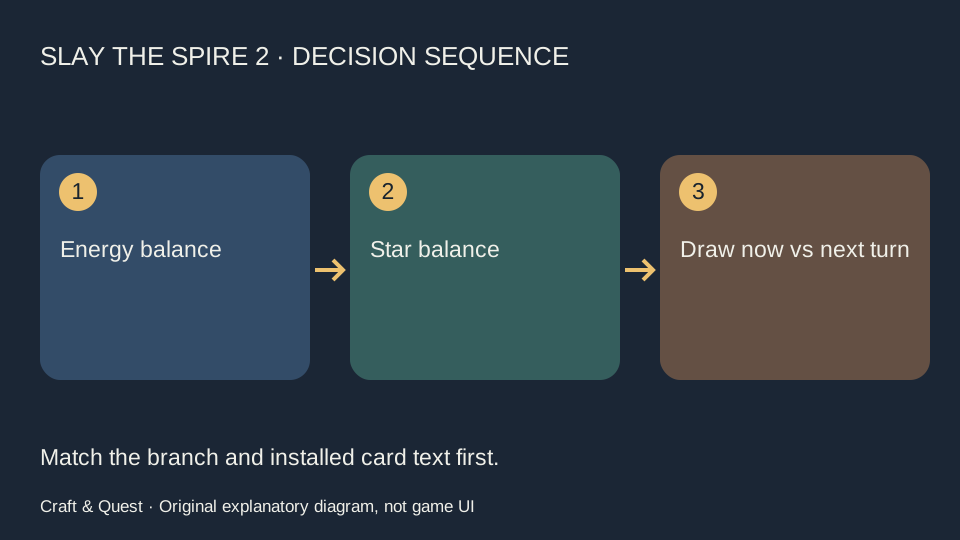
Slay the Spire 2 Regent Guiding Star: Plan Next-Turn Draw, Not a Same-Turn Loop
Beta branch: The beta timing change moves Guiding Star’s draw to next turn. Rebuild the turn sequence before calling an old Star loop infinite.
 Beta mechanics
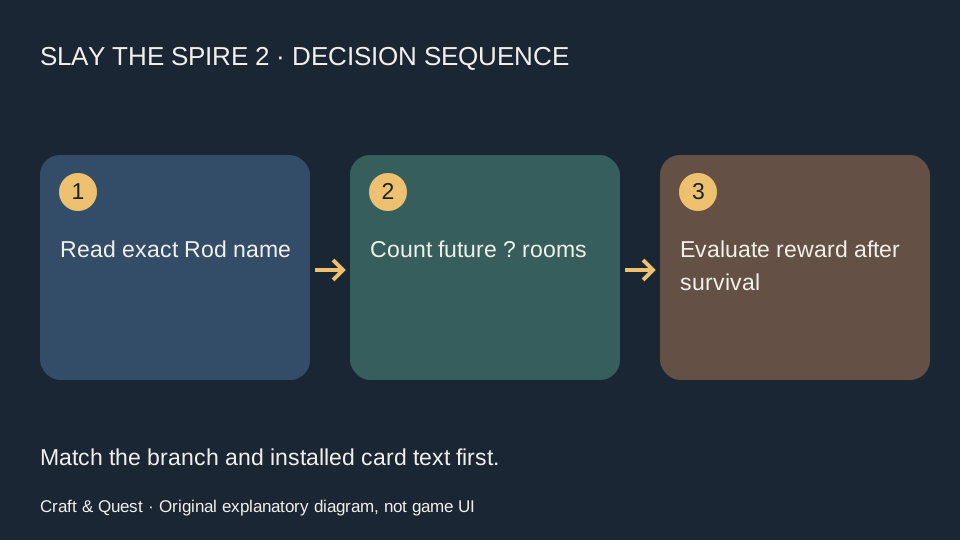
Slay the Spire 2 Dowsing: Finish the Quest Without Confusing It with Fishing Rod
Beta branch: Distinguish Dowsing Rod’s question-room quest from Fishing Rod’s combat-based upgrades and check the beta Abundance reward timing.
 Beta mechanics
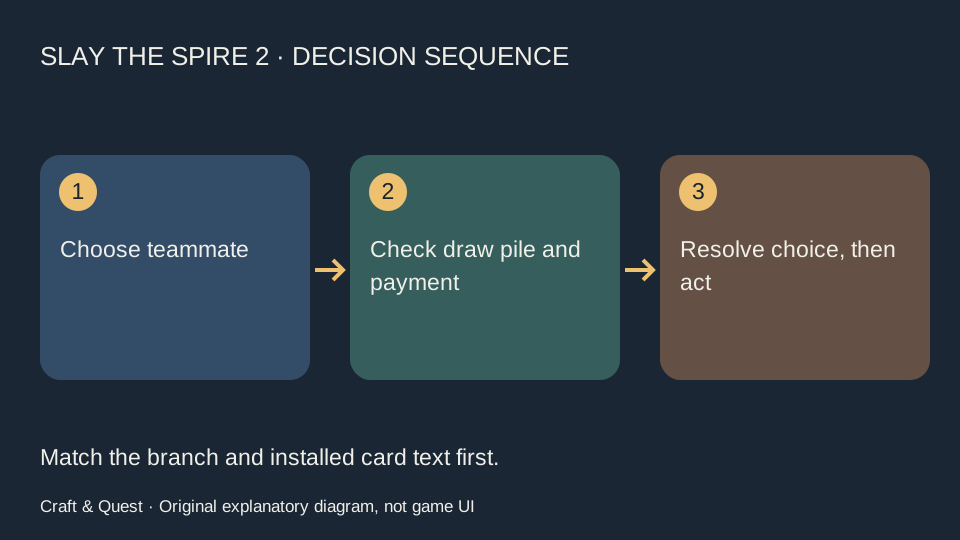
Slay the Spire 2 Co-op Tutor: Let the Right Player Choose the Needed Card
Beta branch: Tutor is a targeted teammate interaction. Coordinate the recipient, chosen draw-pile card and remaining turn resources before playing it.
 Main v0.107.1
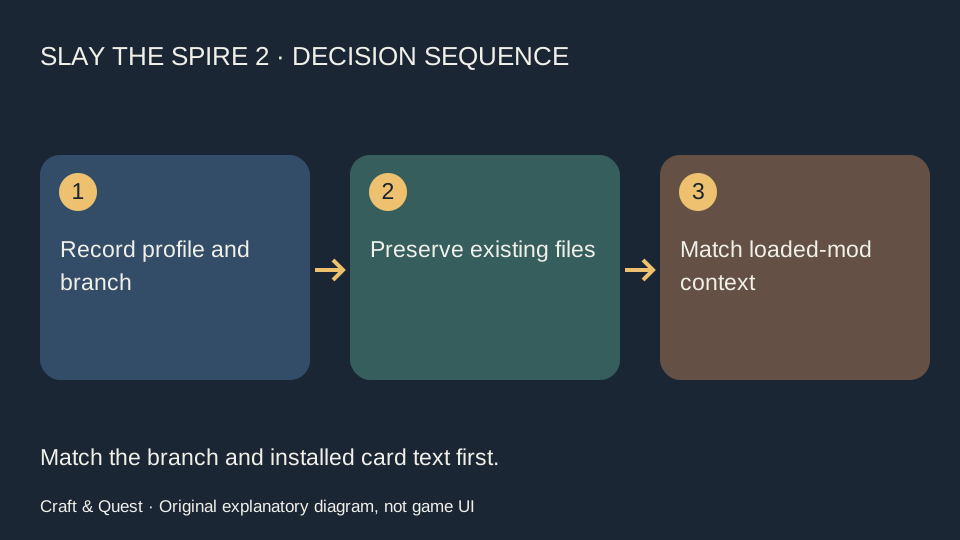
Slay the Spire 2 Progress Missing After Mods: Check the Save Context First
Main v0.107.1: Separate a modded save context, a version mismatch and a genuinely missing save. Preserve files before attempting any recovery.
 Build guide
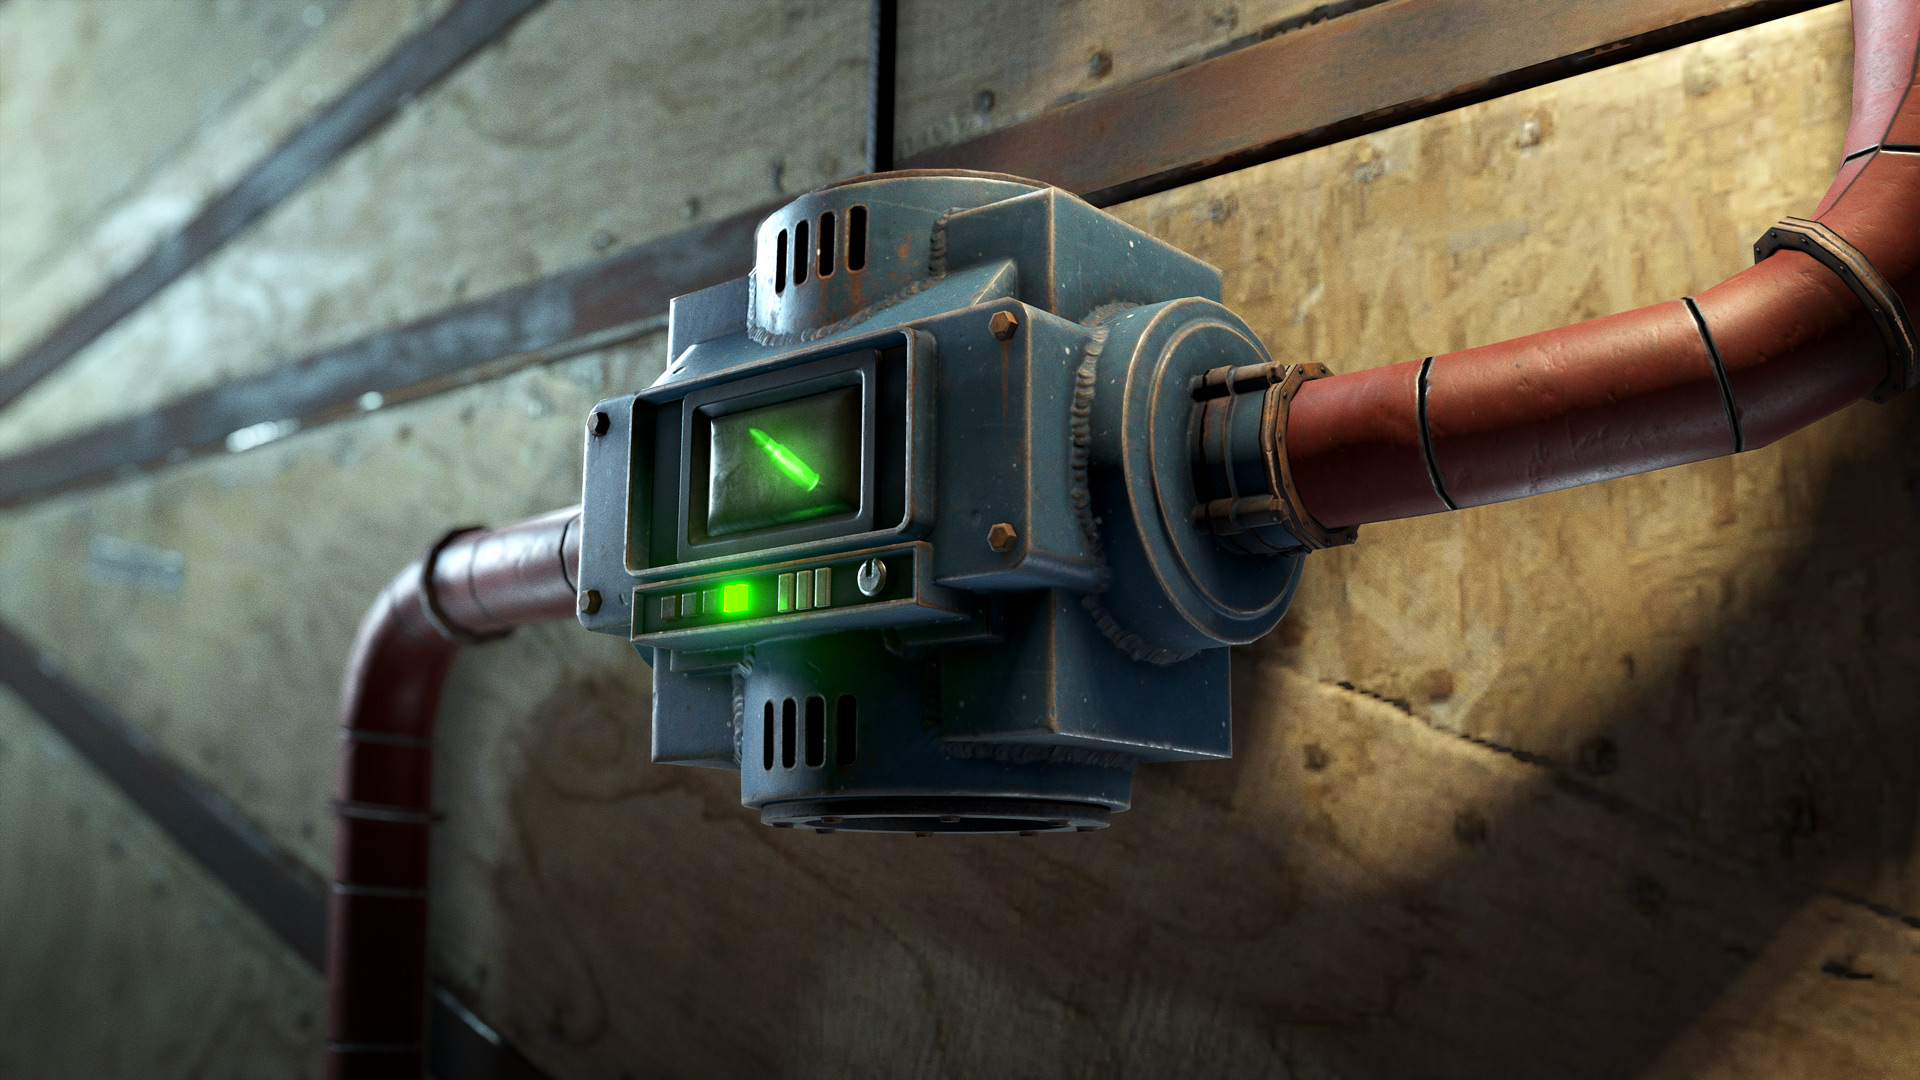
Rust Conveyor Min, Max and Buffer: Keep a Reserve Without Stalling Transfers
Separate source reserves, destination caps and batch thresholds. Use a small inventory test before connecting the full production line.
 Build guide
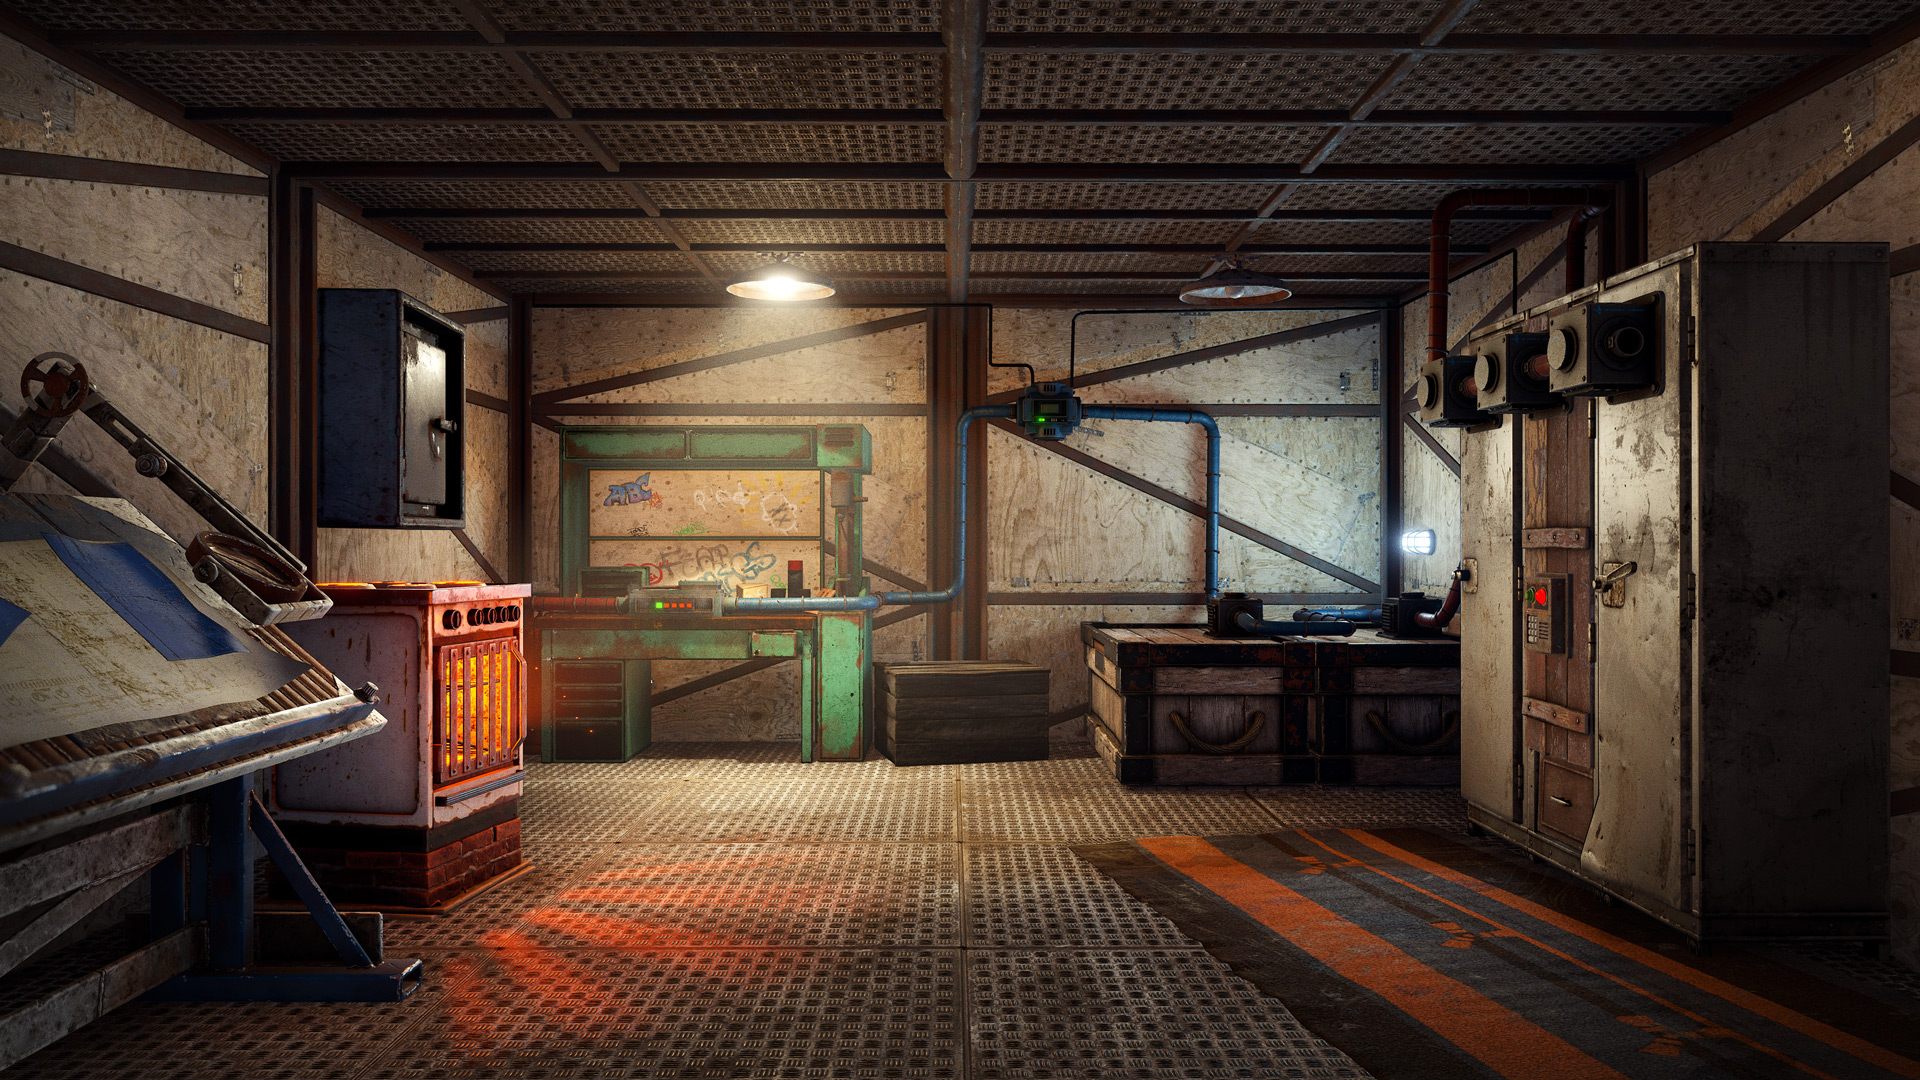
Rust Conveyor Any, All or None: Choose the Filter Logic Your Sorting Room Needs
Pick an allow-list, a combined condition or an exclusion rule; avoid treating filter modes as interchangeable sorting presets.
 Build guide
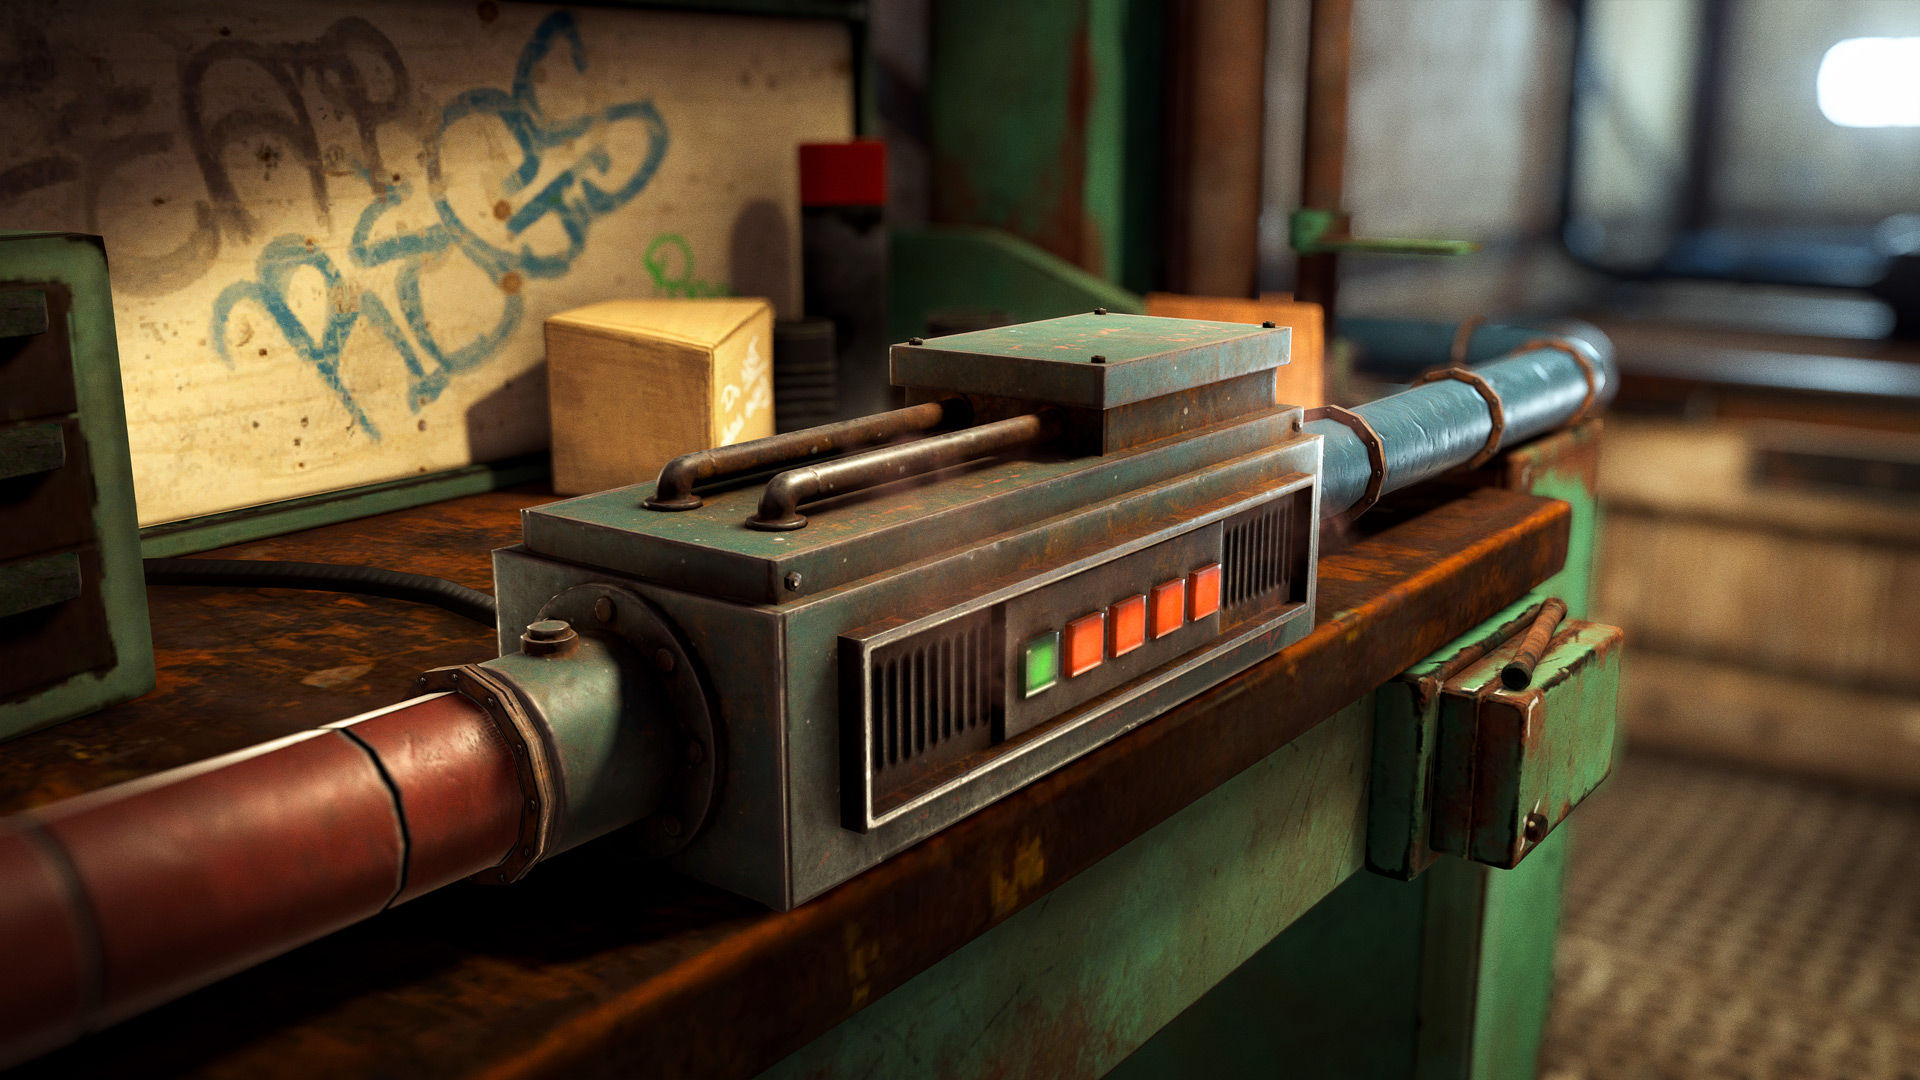
Rust Industrial Crafter Not Making the Right Item: Blueprint Order and Output Checks
Trace workbench eligibility, blueprint priority, ingredients and output capacity before rebuilding an automatic crafting line.
 Build guide
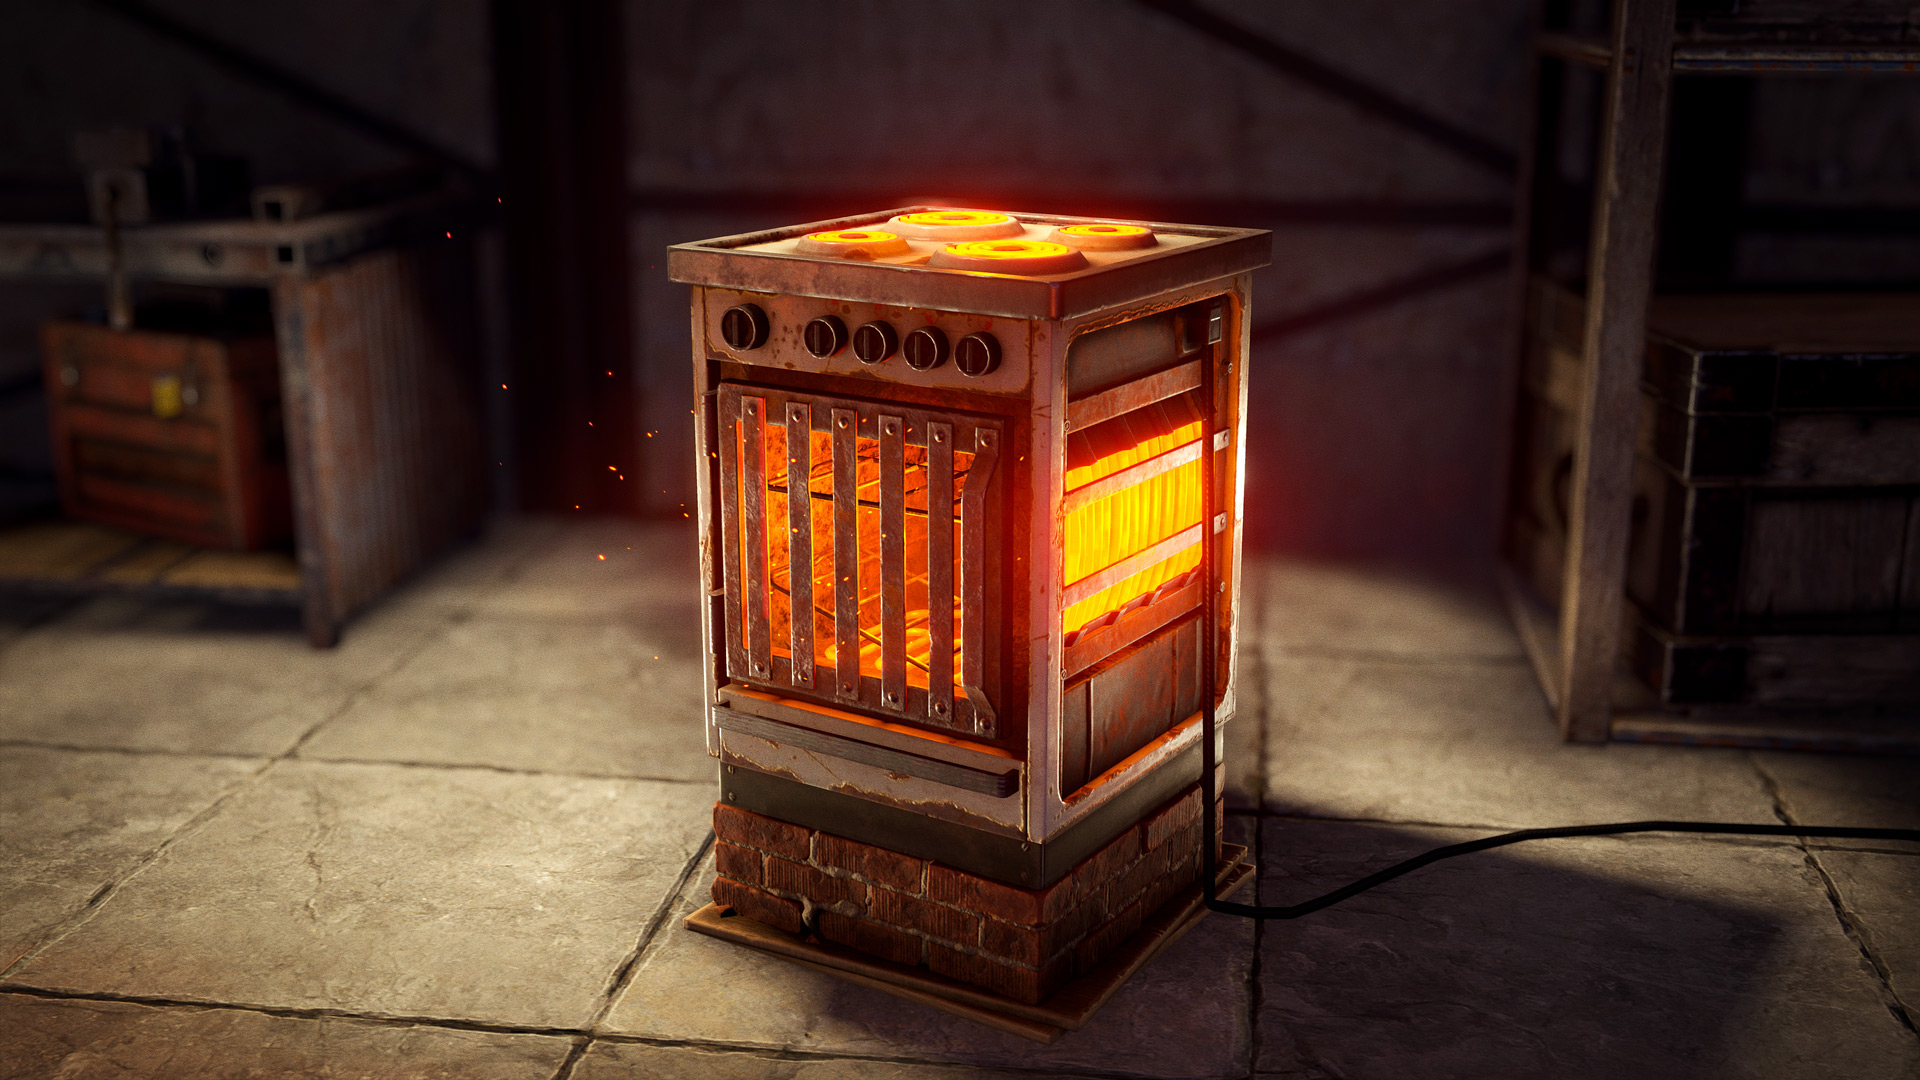
Rust Electric Furnace Makes No Charcoal: Build Separate Smelting and Fuel Plans
An electric smelting line needs power, ore flow and result storage; it does not replace a separate charcoal-producing process.
 Build guide
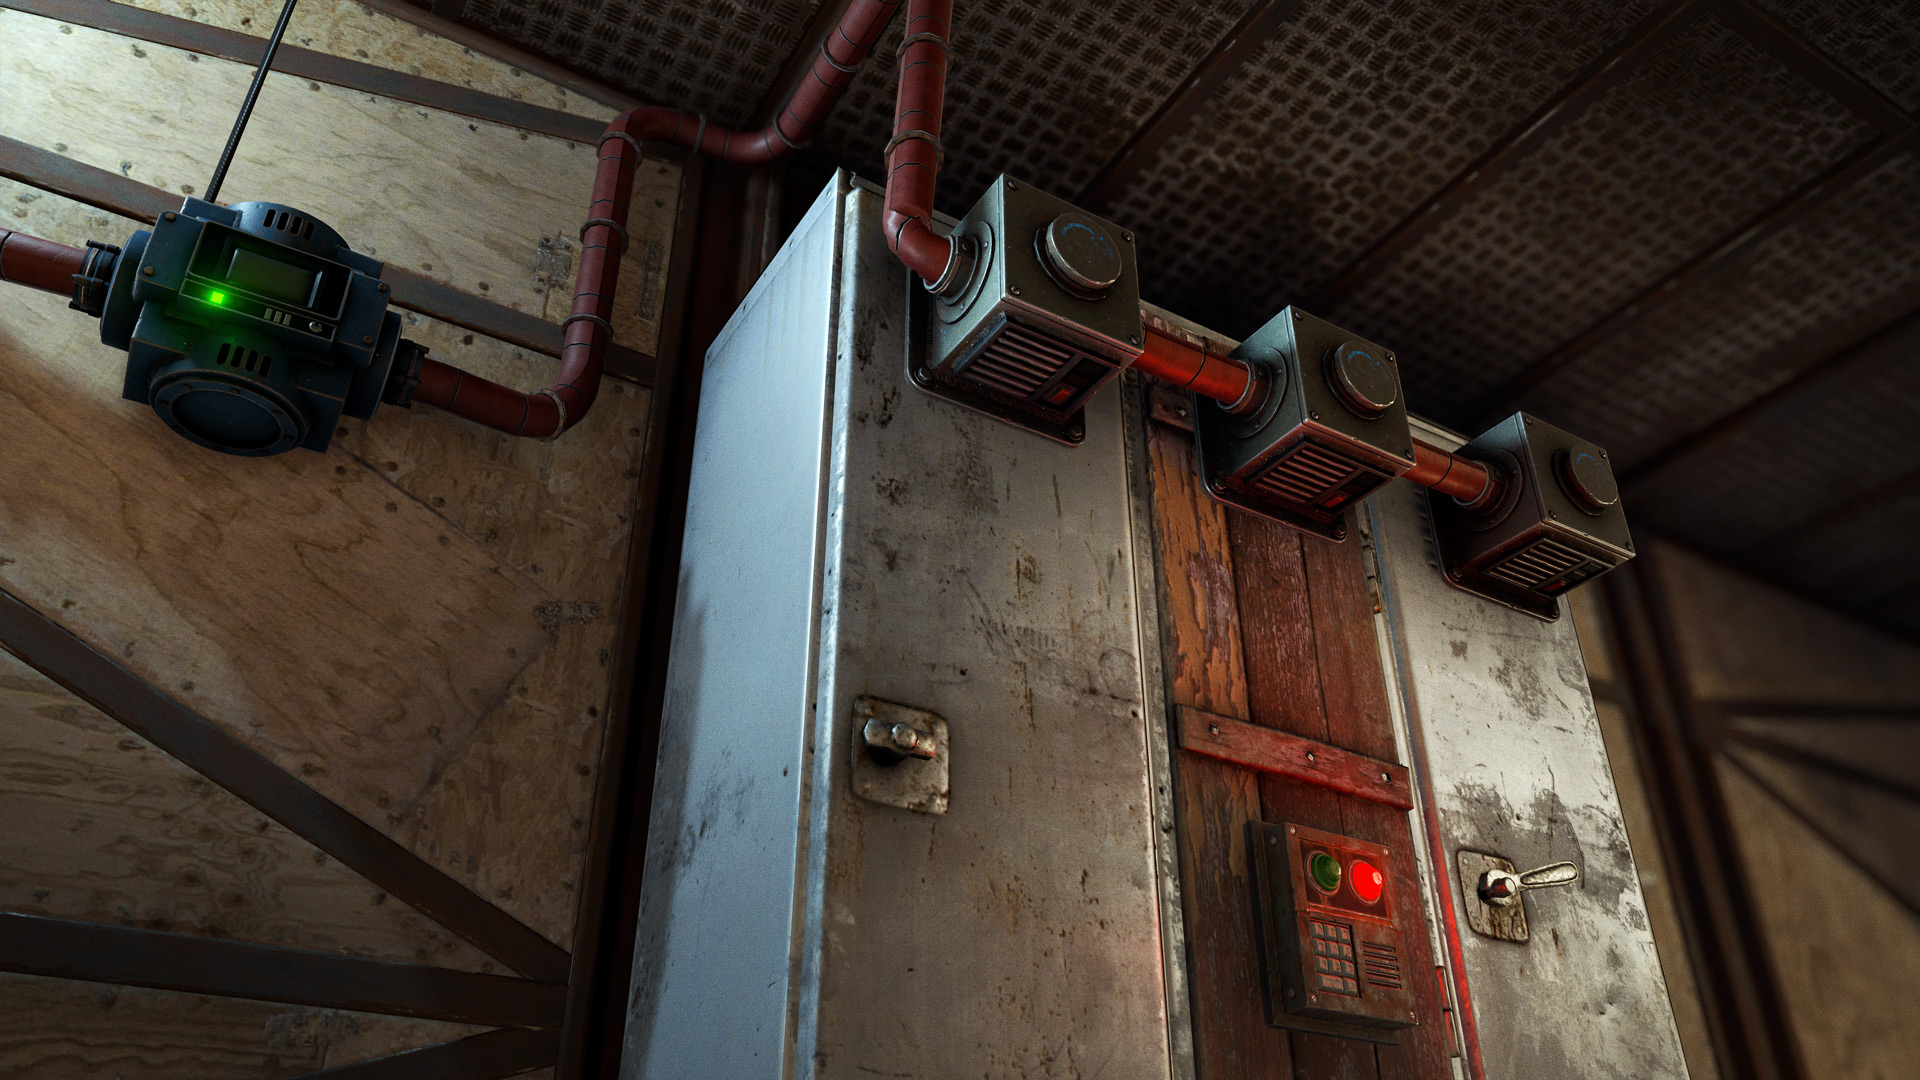
Rust Locker Automation Only Reaches One Compartment: Check the Storage Adaptor
A locker adaptor targets a partition. Verify each compartment and its direction before assuming your conveyor filter lost equipment.
 Build guide
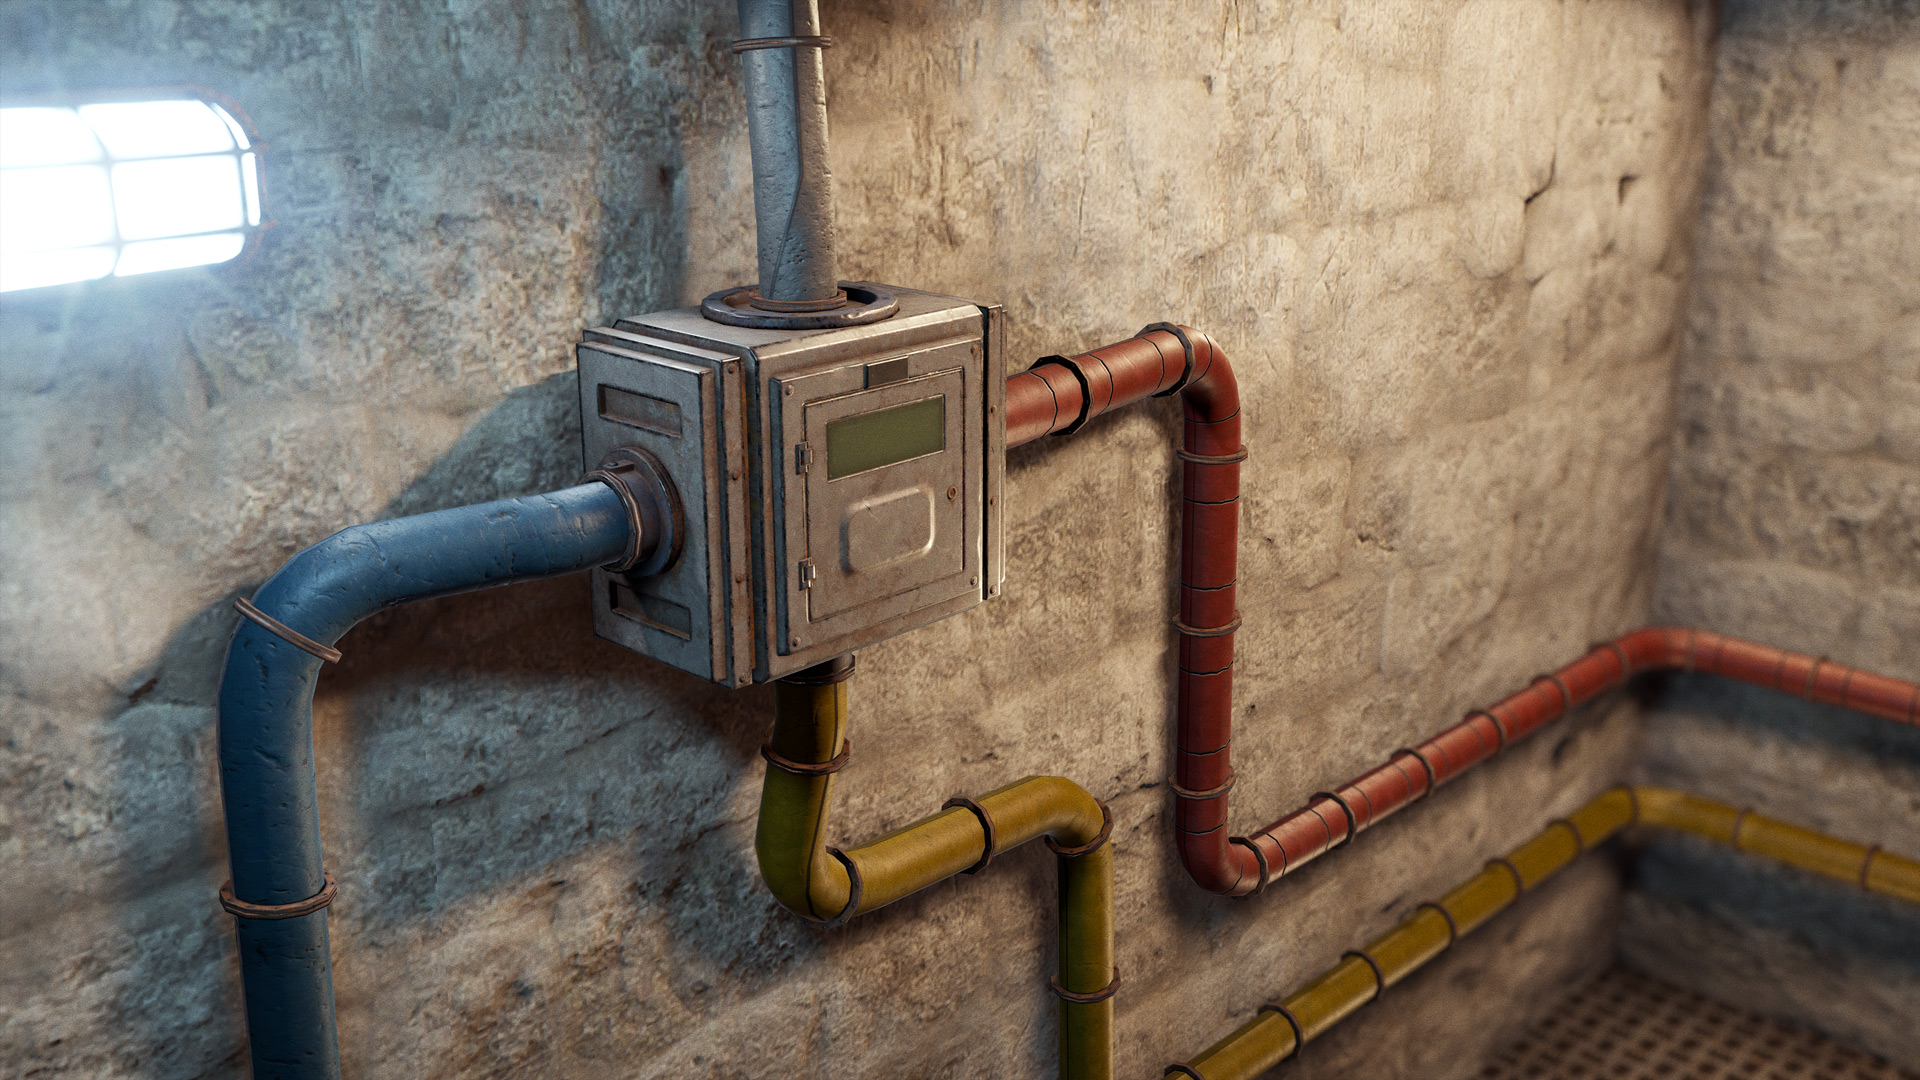
Rust Industrial Splitter: Share Supplies Without Mistaking It for Priority Storage
A splitter fans an industrial route into three paths. Test eligible destinations before relying on an equal-distribution assumption.
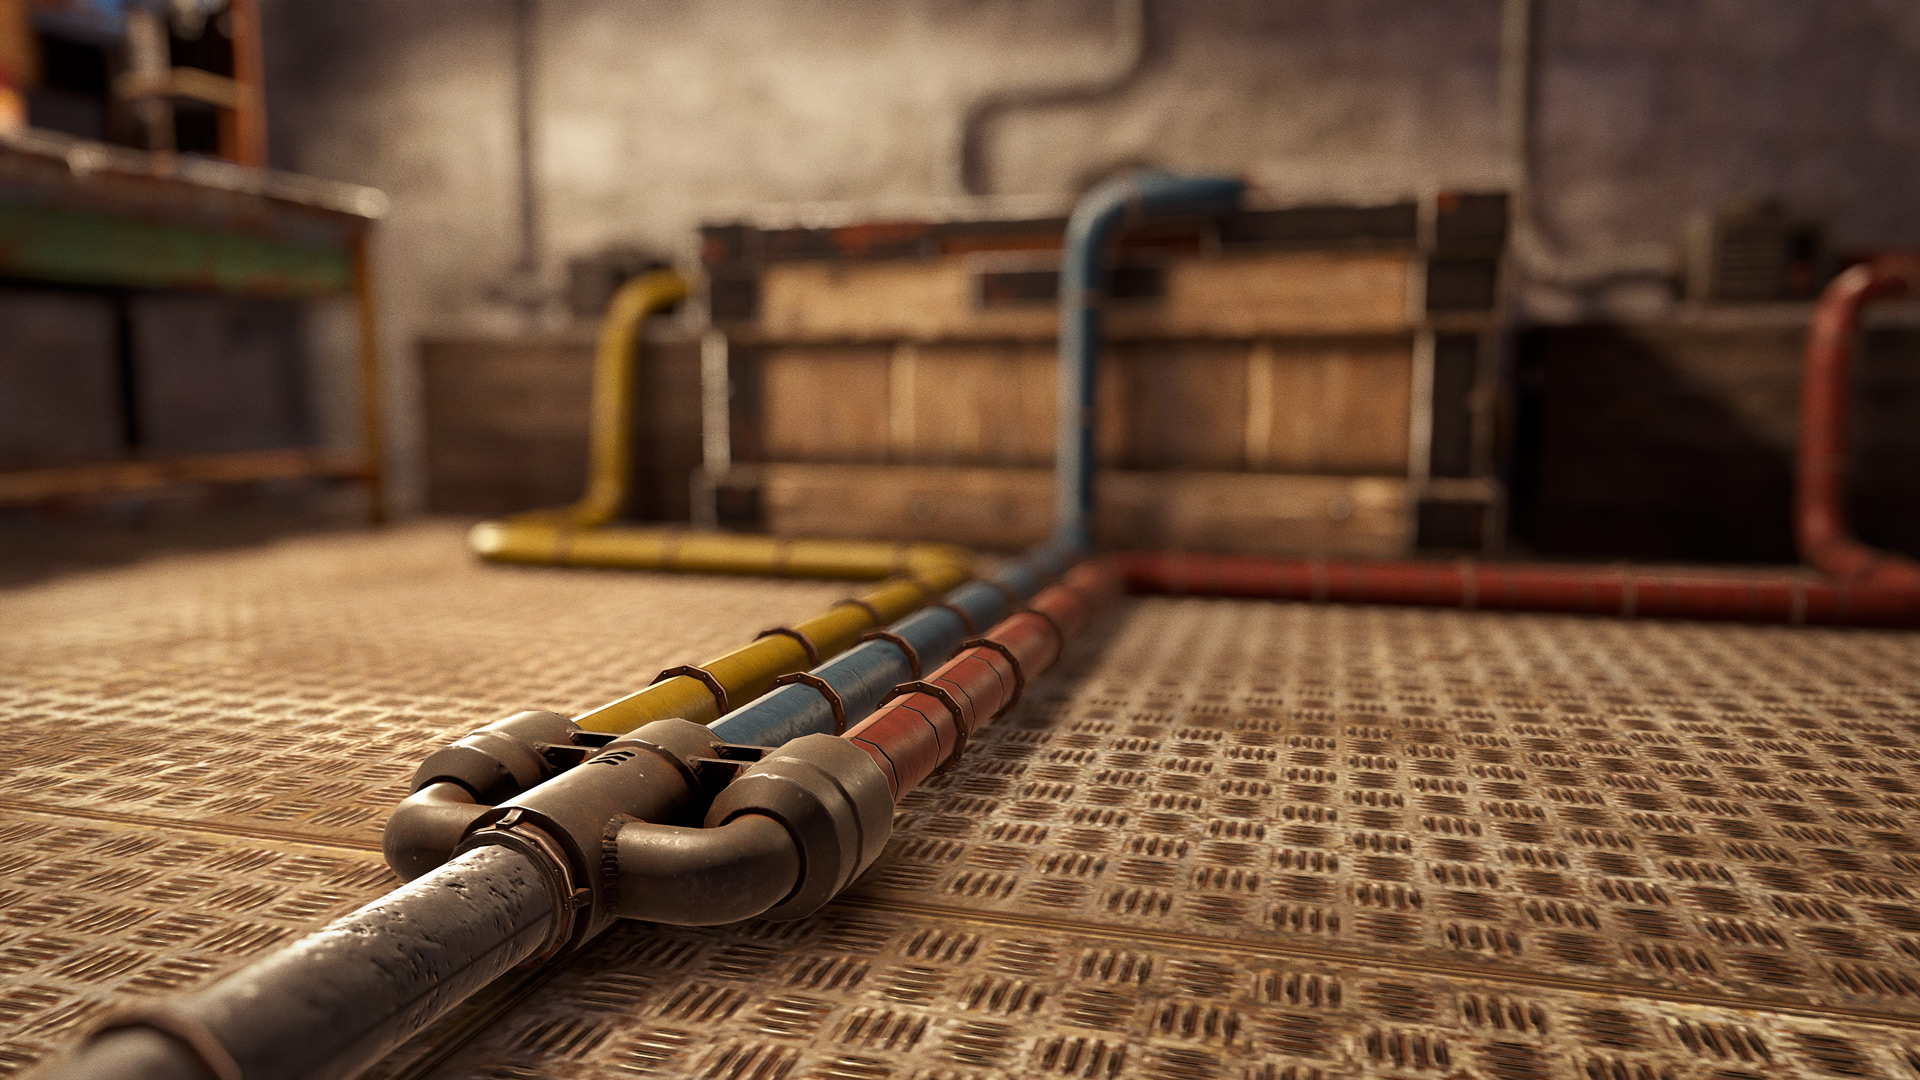 Build guide
Rust Industrial Combiner: Merge Input Routes Without Creating a Sorting Loop
Use a combiner for many-to-one routing, then control what leaves the merged line with a deliberate conveyor and destination policy.
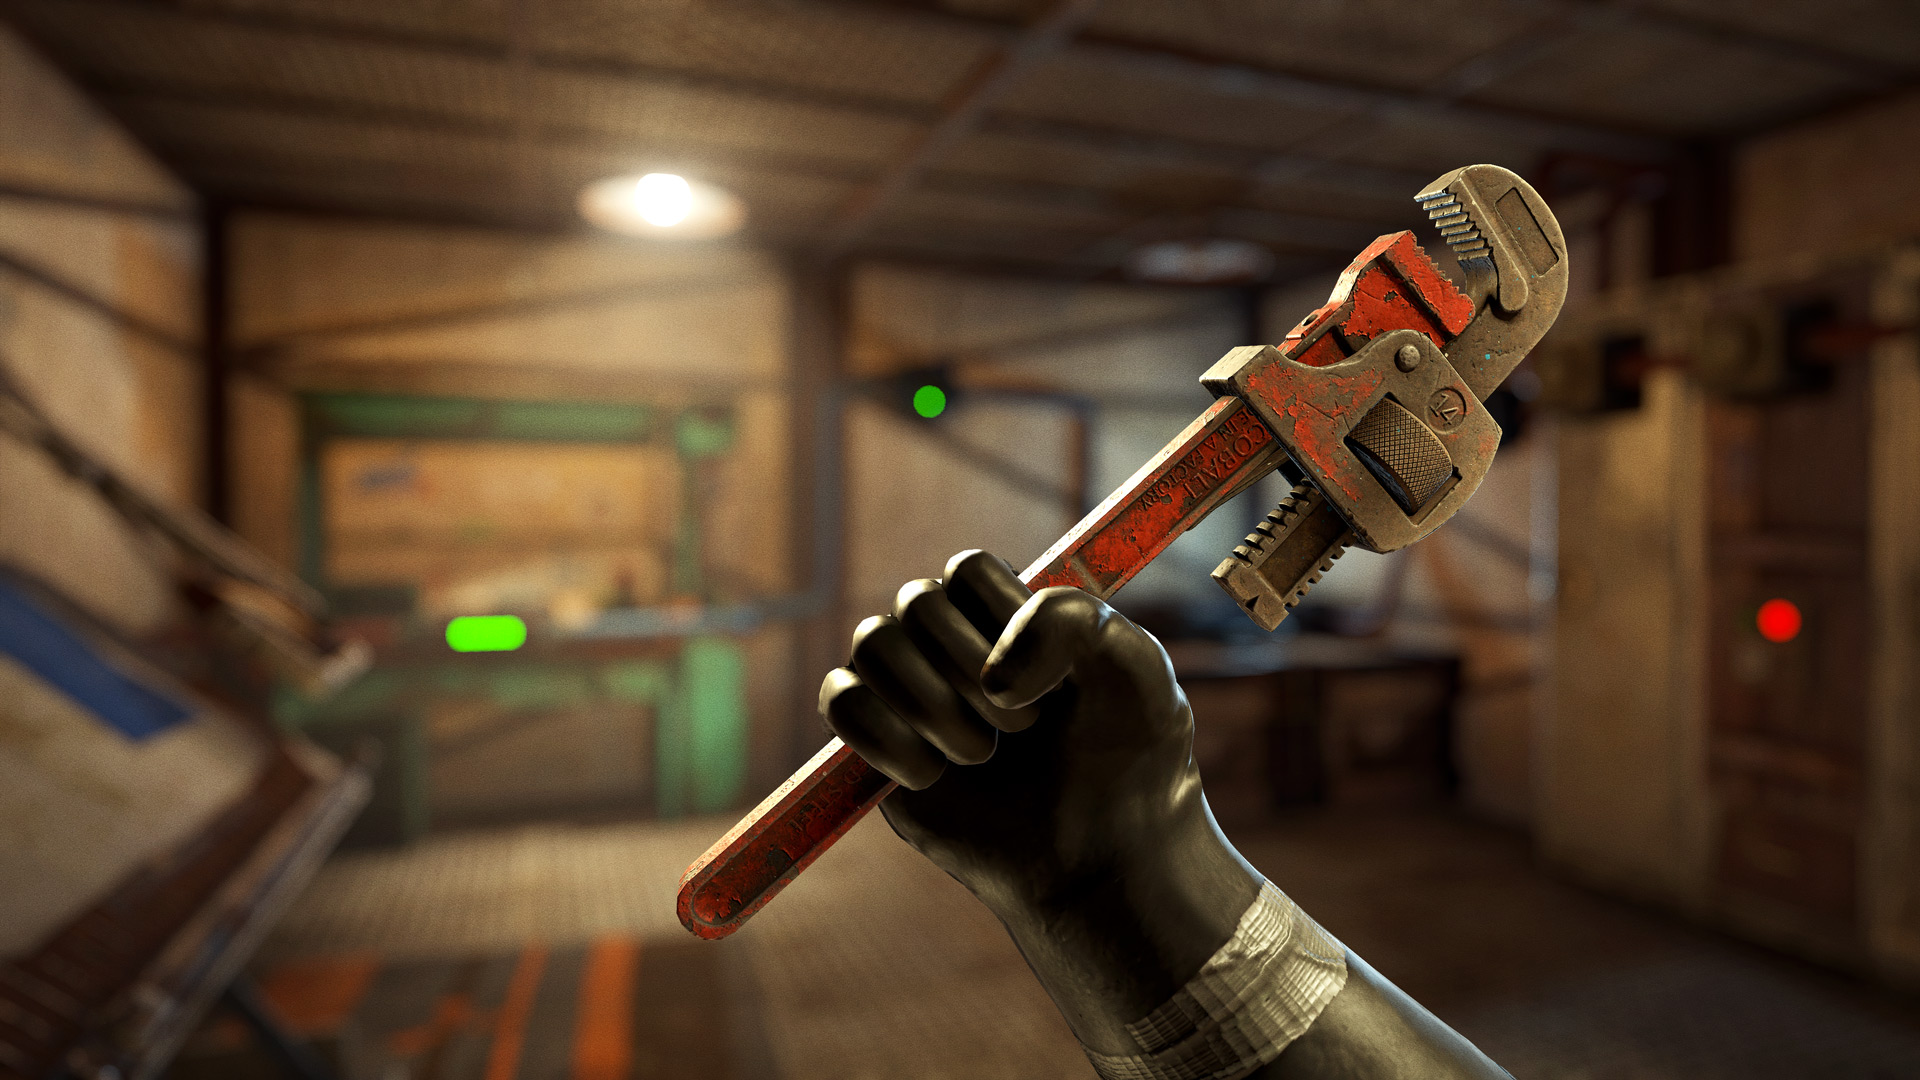 Build guide
Rust Pipe Tool Cannot Connect Through a Wall: Route Ports and Corners Correctly
Trace industrial ports and physical obstacles separately. Use deliberate corner points instead of rebuilding a working electrical circuit.
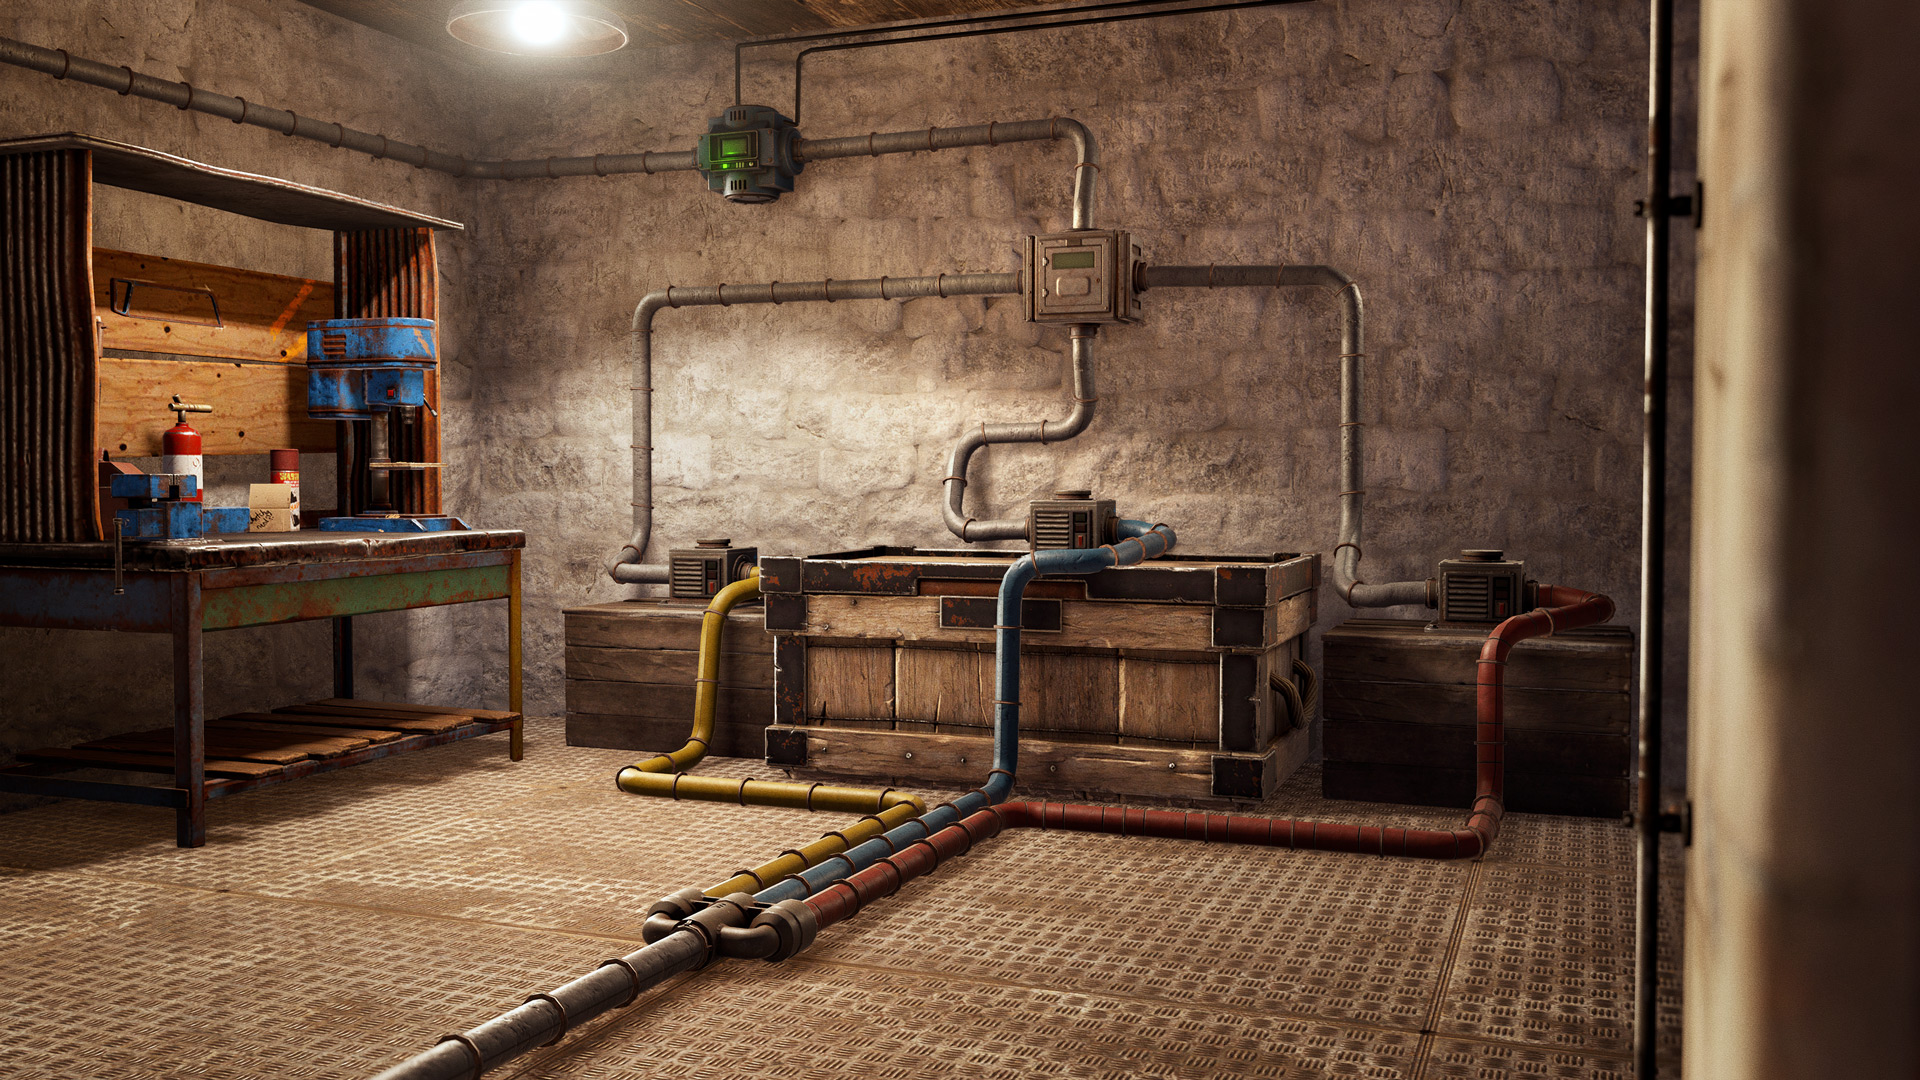 Build guide
Rust Conveyor Filter Pass and Filter Fail: Read the Signal Without Assuming Delivery
Separate a conveyor’s electrical filter-state output from item transport and from the inventory count you actually care about.
 Build guide
Rust Logic Gates and Battery Drain: Remove Obsolete One-Power Assumptions
Separate routing logic from active electrical loads, then inspect the connected circuit instead of applying old per-gate costs.
 Build guide
ARC Raiders PvE Toggle: Test Dates, Missing Options and Downed-Player Rules
Check the October 13–20 test window, excluded map conditions, reduced loot and the ARC rule that still threatens downed players.
 Build guide
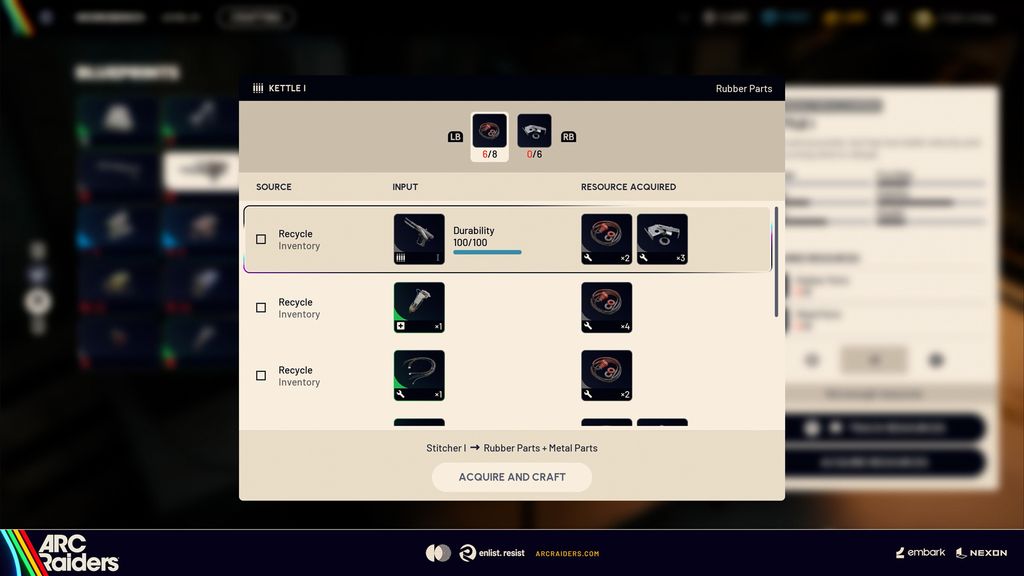
ARC Raiders Acquire Resources: Finish a Craft Without Recycling the Wrong Item
Use Acquire Resources to inspect currently available material sources, compare recycling with trading, and protect supplies reserved for another goal.
 Build guide
ARC Raiders Reward Pass: Where Cred Went and Why the Wrong Pass Is Progressing
Find old Raider Deck rewards in the Legacy Pass, select the active pass, and compare Feat points with weekly milestone progress.
 Build guide
ARC Raiders 2.0 Skill Tree: Why You Cannot Buy Every Branch Choice
Plan around the new one-of-two middle node and two-of-three end choices, then check the 2.1 fixes before resetting for a malfunctioning skill.
 Build guide
ARC Raiders Outpost and Research Bench: What Blocks Amplified Weapon Upgrades?
Separate the Outpost project, its Research Workstation upgrades and a weapon’s eligible amplification path before gathering another batch of materials.
 Build guide
ARC Raiders Anvil Splitter Will Not Equip: The Amplified Anvil Change
The Anvil Tech Mod slot was removed in 2.0. Find the Splitter-style upgrade in the Amplified route and evaluate old Splitter items separately.
 Build guide
ARC Raiders Hullcracker: Armor Plates vs Weak Points After the 2.0 Change
Read the explosive-damage change by target part, not as one universal buff. Plan an armor-breaking role and a separate exposed-target follow-up.
 Build guide
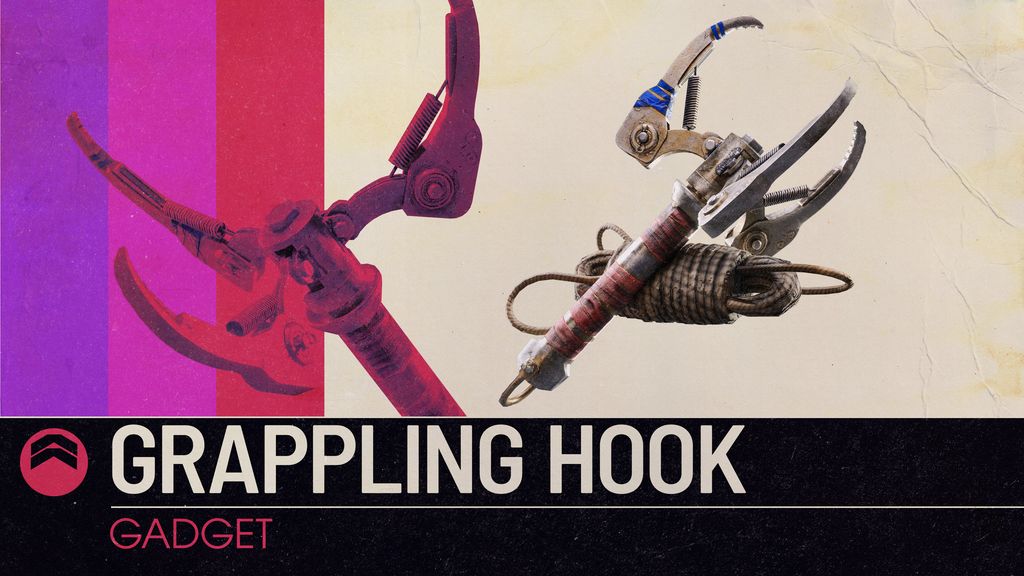
ARC Raiders Snap Hook vs Grappling Hook: Range, Power and Traversal Roles
Rebuild a mobility loadout around Snap Hook’s 18m range and changed costs, while using Grappling Hook for its distinct traversal role.
 Build guide
ARC Raiders Photo Quests Not Counting: Bring a Camera, Not Just a Screenshot
Several older quests now require a camera photo. Check the active objective, the camera capture and recorded progress before leaving the area.
 Build guide
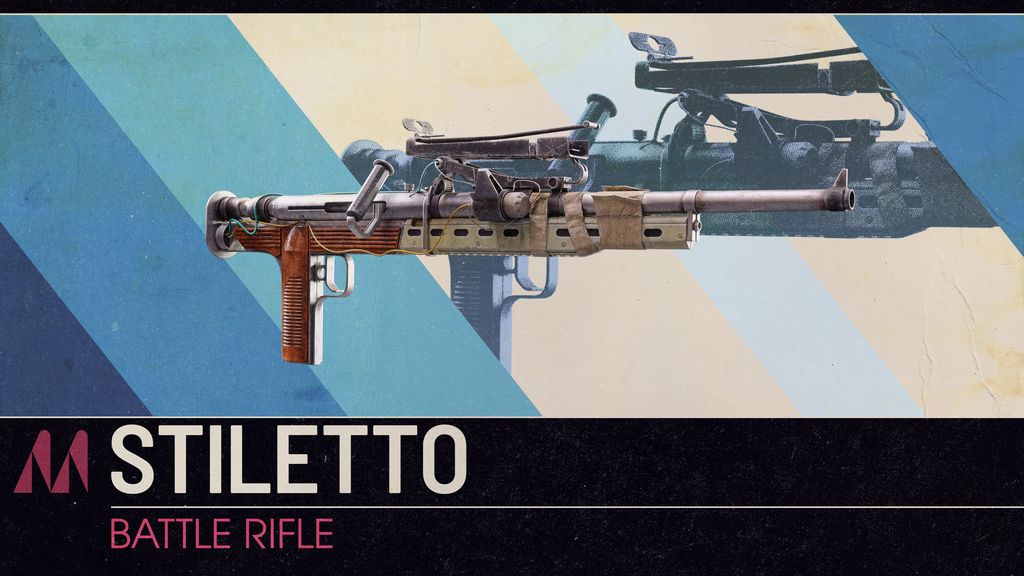
ARC Raiders Stiletto and Bantam: Build a Loadout Around Two Different Jobs
Compare Stiletto’s light-ammo battle-rifle role with Bantam’s heavy-ammo revolver role, then budget ammo, attachments and replacement cost.
 Build guide
Enshrouded 1.0 Fishing: Choose the Right Bait and Rod Tier
Stop changing ponds blindly: match bait tier and rod capability, understand improved bait, and separate a target tier from a guaranteed species.
 Build guide
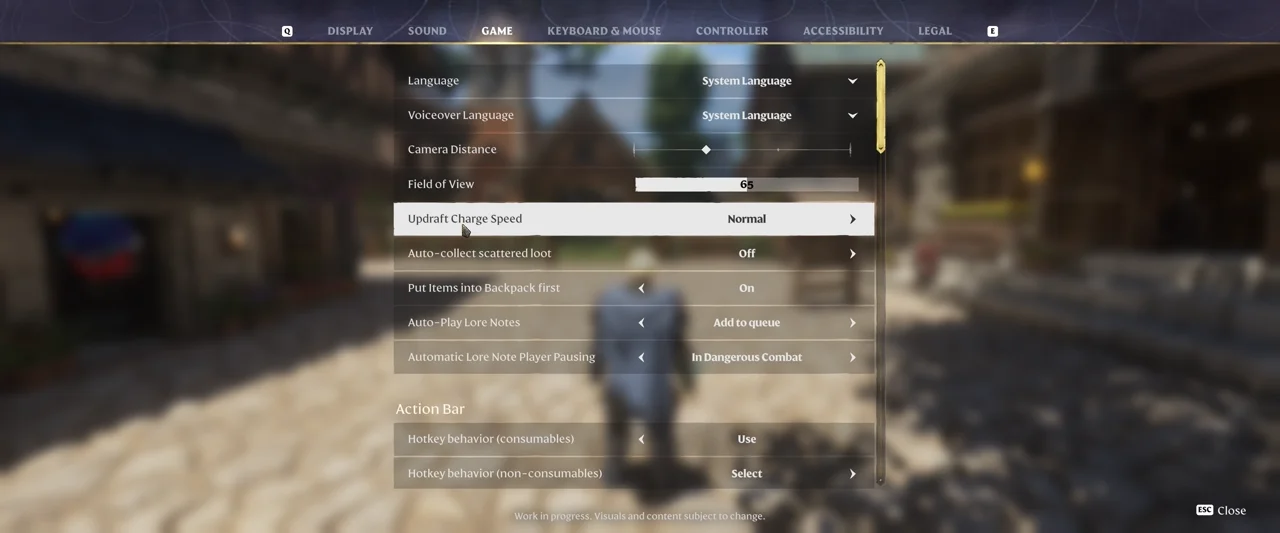
Enshrouded Lore Audio: Queue Notes, Pause Playback and Keep Exploring
Set lore notes to queue instead of interrupting the current recording, use Play/Pause Voice-Overs, and check language and combat-pause settings.
 Build guide
Gogma Artian Upgrades: Reinforce, Amend or Reset Skills—and the Cancel Cost
Choose the upgrade operation that changes the property you actually want, and understand why previewing then cancelling is not a free roll.
 Build guide
Monster Hunter Wilds Armor Transcend: HR 100, Upgrade Caps and Rarity 5/6 Slots
Find Transcend at the Smithy and compare the armor’s real post-upgrade slots without confusing it with Gogma weapon reinforcement.
 Build guide
Monster Hunter Wilds Focus Strike Not Triggering? Wounds, Scars and Weak Points
Distinguish wound stages and temporary weak points, then aim the correct weapon-specific Focus Strike at a valid target.
 Build guide
Wilds Long Sword Spirit Gauge: Fill, Raise Color and Convert a Counter
Separate gauge amount from color level, then connect a landed counter or Focus Strike to the payoff you actually need.
 Build guide
Wilds Switch Axe Keeps Reloading? Switch Gauge vs Amp Gauge
Understand the 30% morph requirement, build the right gauge in the right mode and prepare a finisher without confusing Amped State with Sword access.
 Build guide
Wilds Bow Tracers and Coatings: Manage Trick Arrow Gauge and Dodge Recovery
Separate selecting from applying a coating, budget the gauge used by Tracers and recognize the timed dodge that restores resources.
 Build guide
Monster Hunter Wilds Offline Event Quests: What Ver.1.042 Changed
Find the offline-enabled quest set without assuming every later event or every online feature becomes available offline.
 Build guide
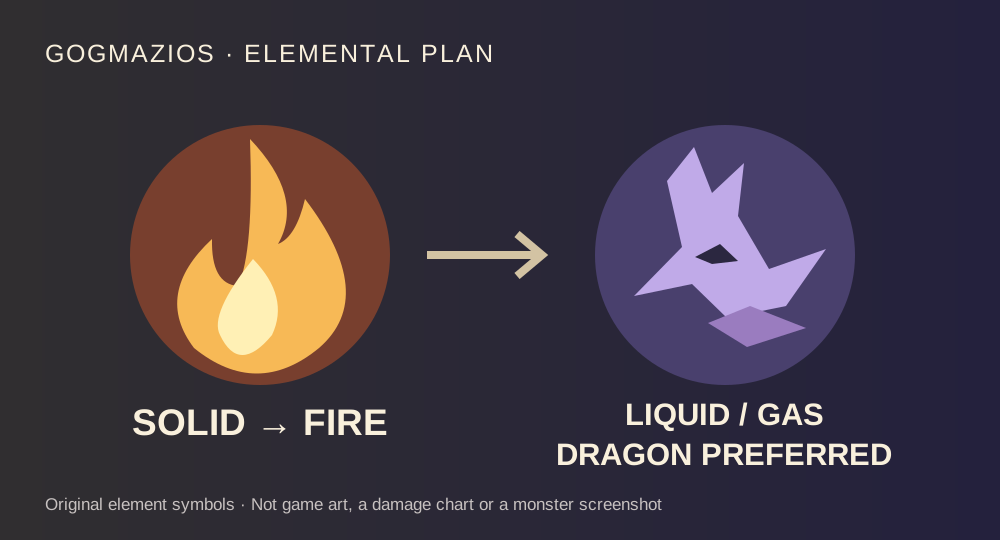
Gogmazios Fire or Dragon? Oil States, Two-Weapon Plan and Super Attack
Prepare Fire for solid oil, shift toward Dragon as Gogmazios changes state, and weaken the aerial attack before relying on a guard. Includes siege-tool and lava checks.
 Build guide
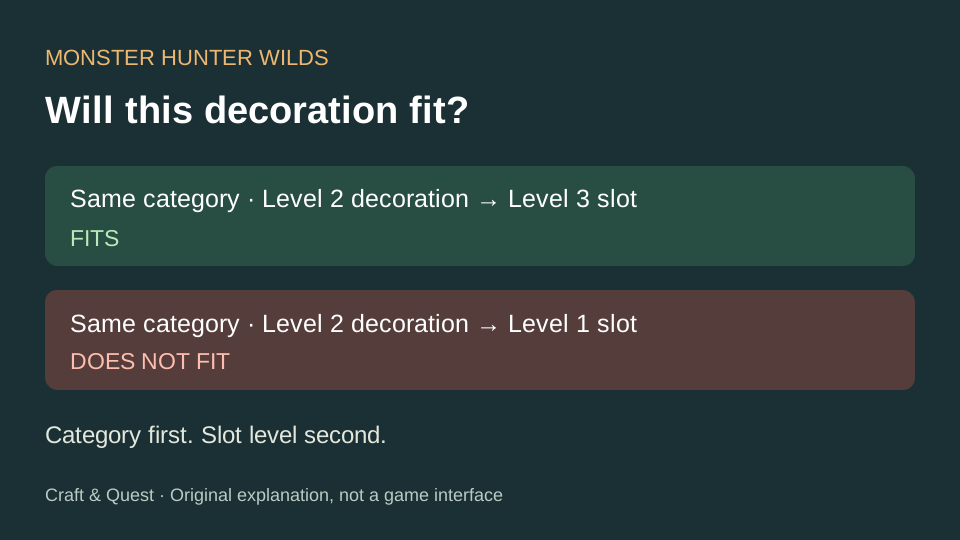
Monster Hunter Wilds Build Planning: Decoration Slots, Skills and Talismans
Fix decorations that will not fit, separate forged and appraised talismans, and preserve useful skill thresholds when changing armor.
 Build guide
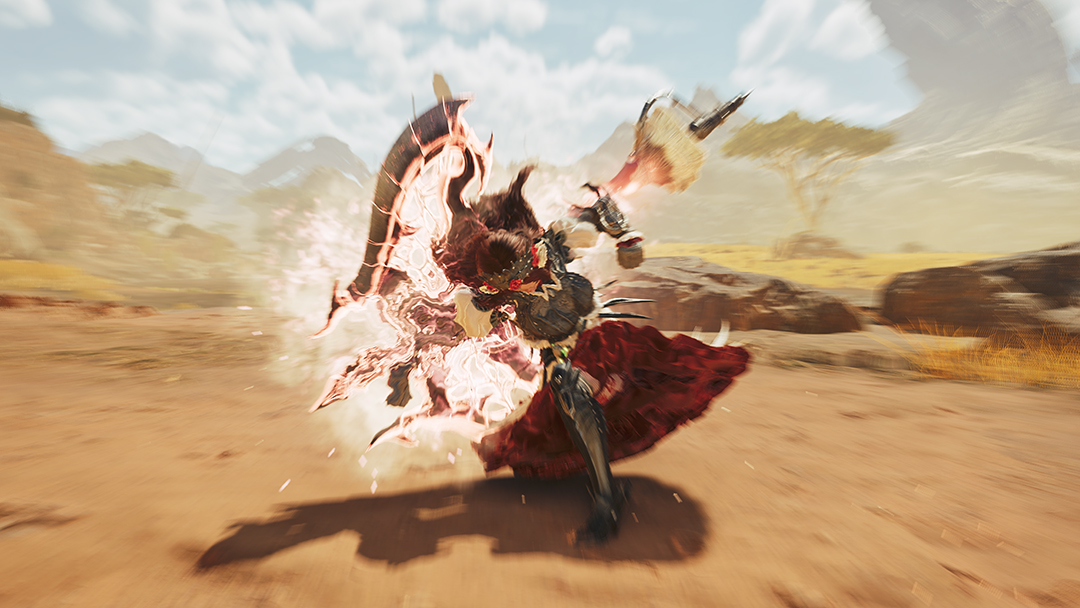
Monster Hunter Wilds Charge Blade: Phials, Shield Boost and Power Axe Loop
Connect sword energy, phial loading, shield boost and axe openings. Fix bouncing attacks, missing Super Amped Discharge and Power Axe that will not activate.
 Build guide
over the hill: No Pebbles for Repeating Trails? Check the October 16 Fix
Repeated challenge trails and recovery missions should no longer miss Pebble rewards after build 26.10.16_57fb763. Check the update before treating a route as a one-time reward.
 Build guide
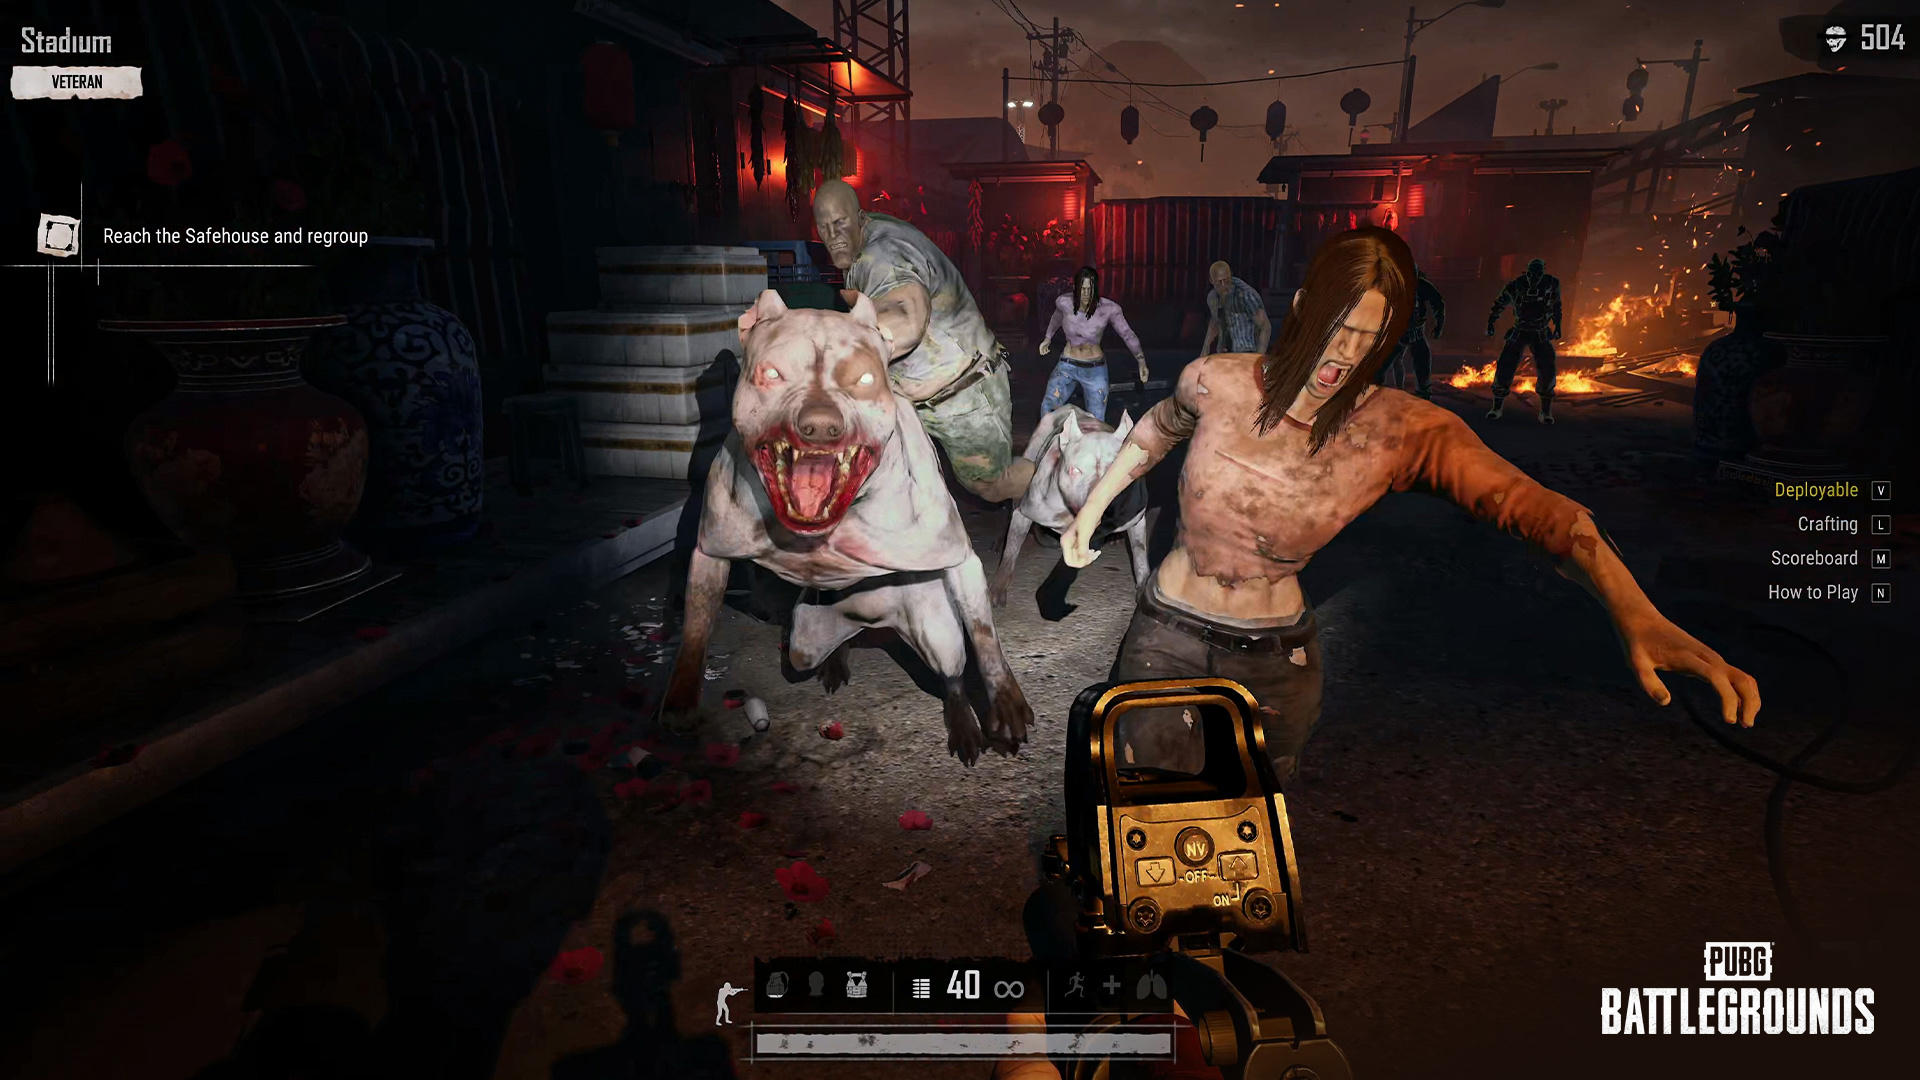
PUBG Motor Glider Has No Fuel? Fixed vs Random Spawns in 43.2
Understand why a found Motor Glider can be empty, then plan a fallback instead of treating every airframe as a ready escape.
 Build guide
PUBG SLB Kills Not Counting? Veteran Clears, Training and Bridge Rankings
Check whether the run qualifies before comparing your HUD kill count with Bridge rankings or normal PUBG stats.
 Build guide
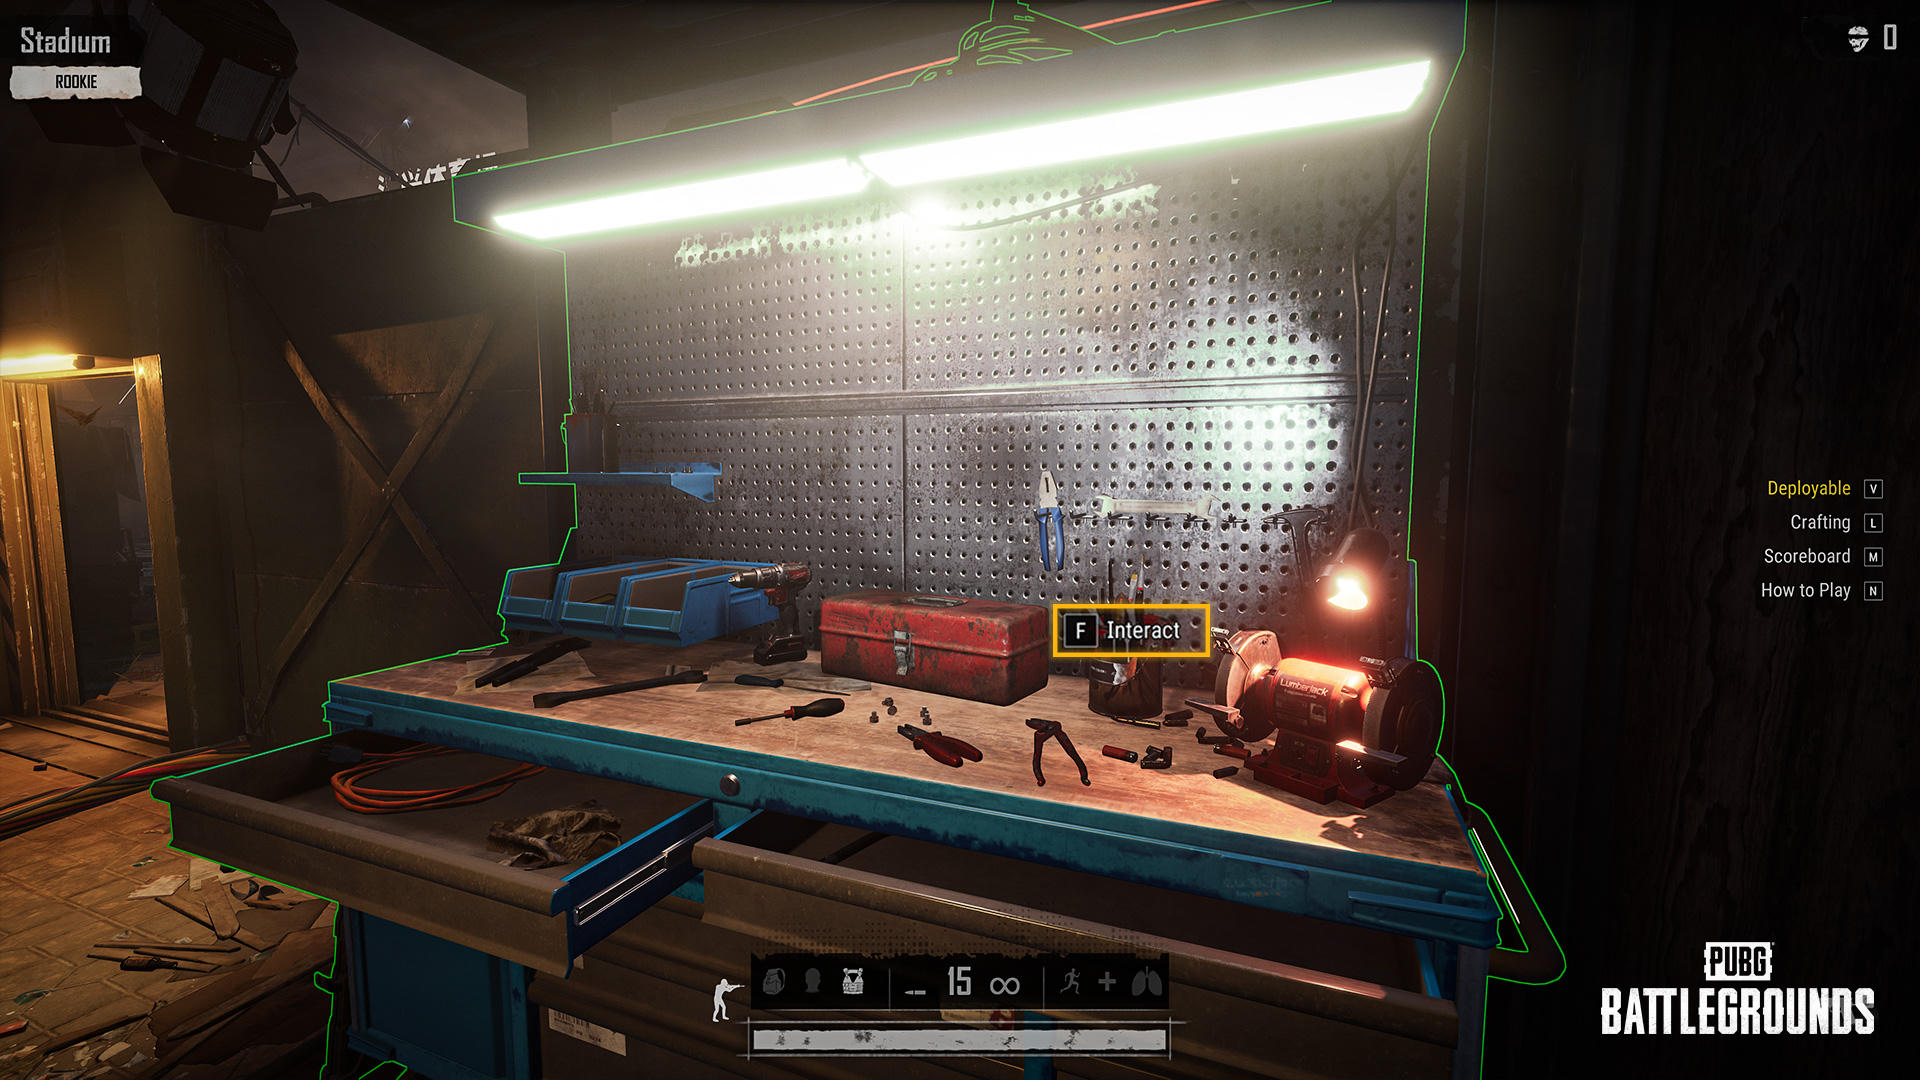
PUBG SLB Weapon Disappeared? Crate Weapons vs Carry-Over Rewards
Separate temporary crate weapons, crafted equipment and earned carry-over rewards before assuming the inventory failed to save.
 Build guide
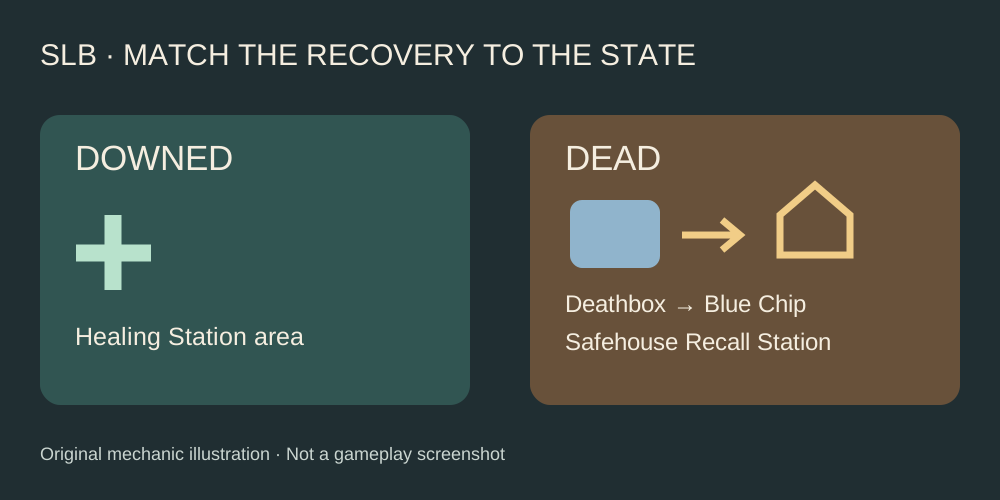
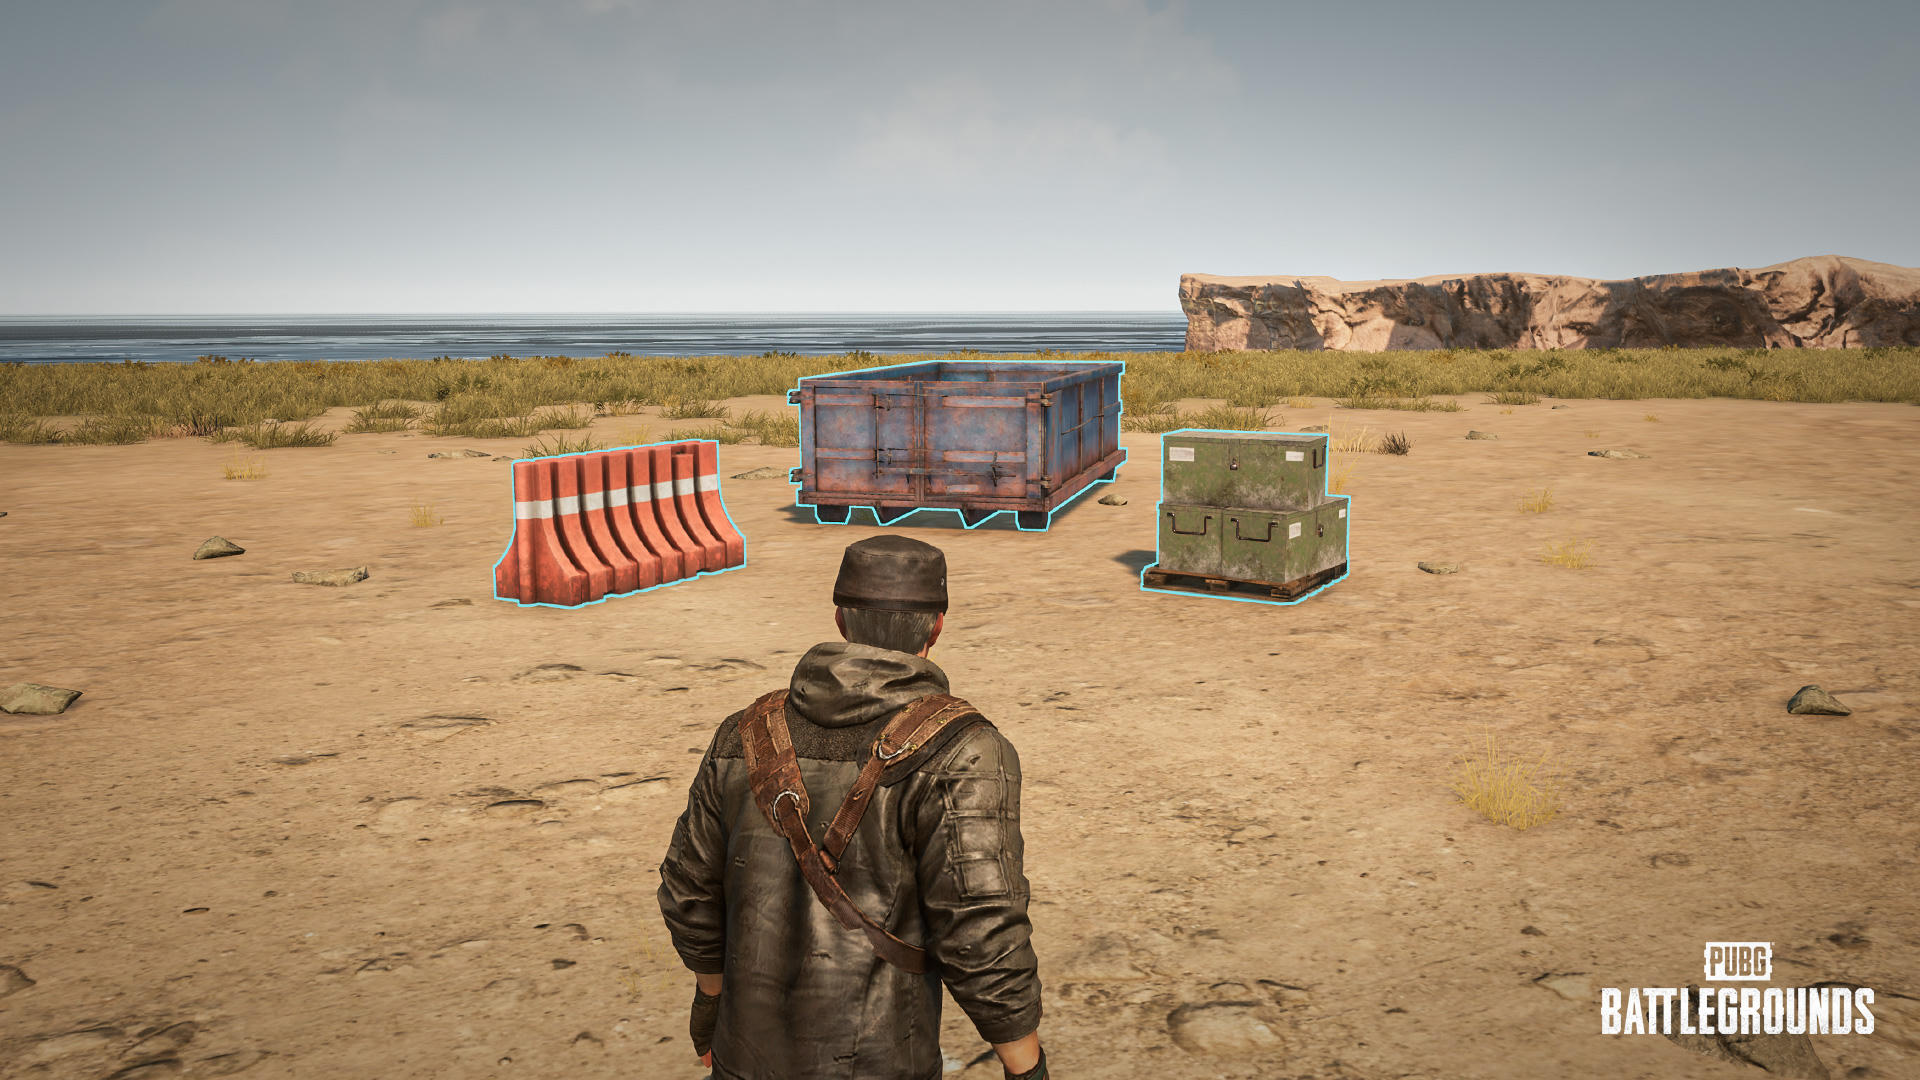
PUBG SLB Revive Guide: Healing Station or Blue Chip Recall?
Use the recovery method that matches a teammate’s state, then keep the objective covered while completing it.
 Build guide
PUBG Playgrounds Grouping and Undo: Why G or Ctrl+Z Does Not Do What You Expect
Use R and G for valid selections, distinguish your own undo history from shared edits, and avoid deleting an entire group by mistake.
 Build guide
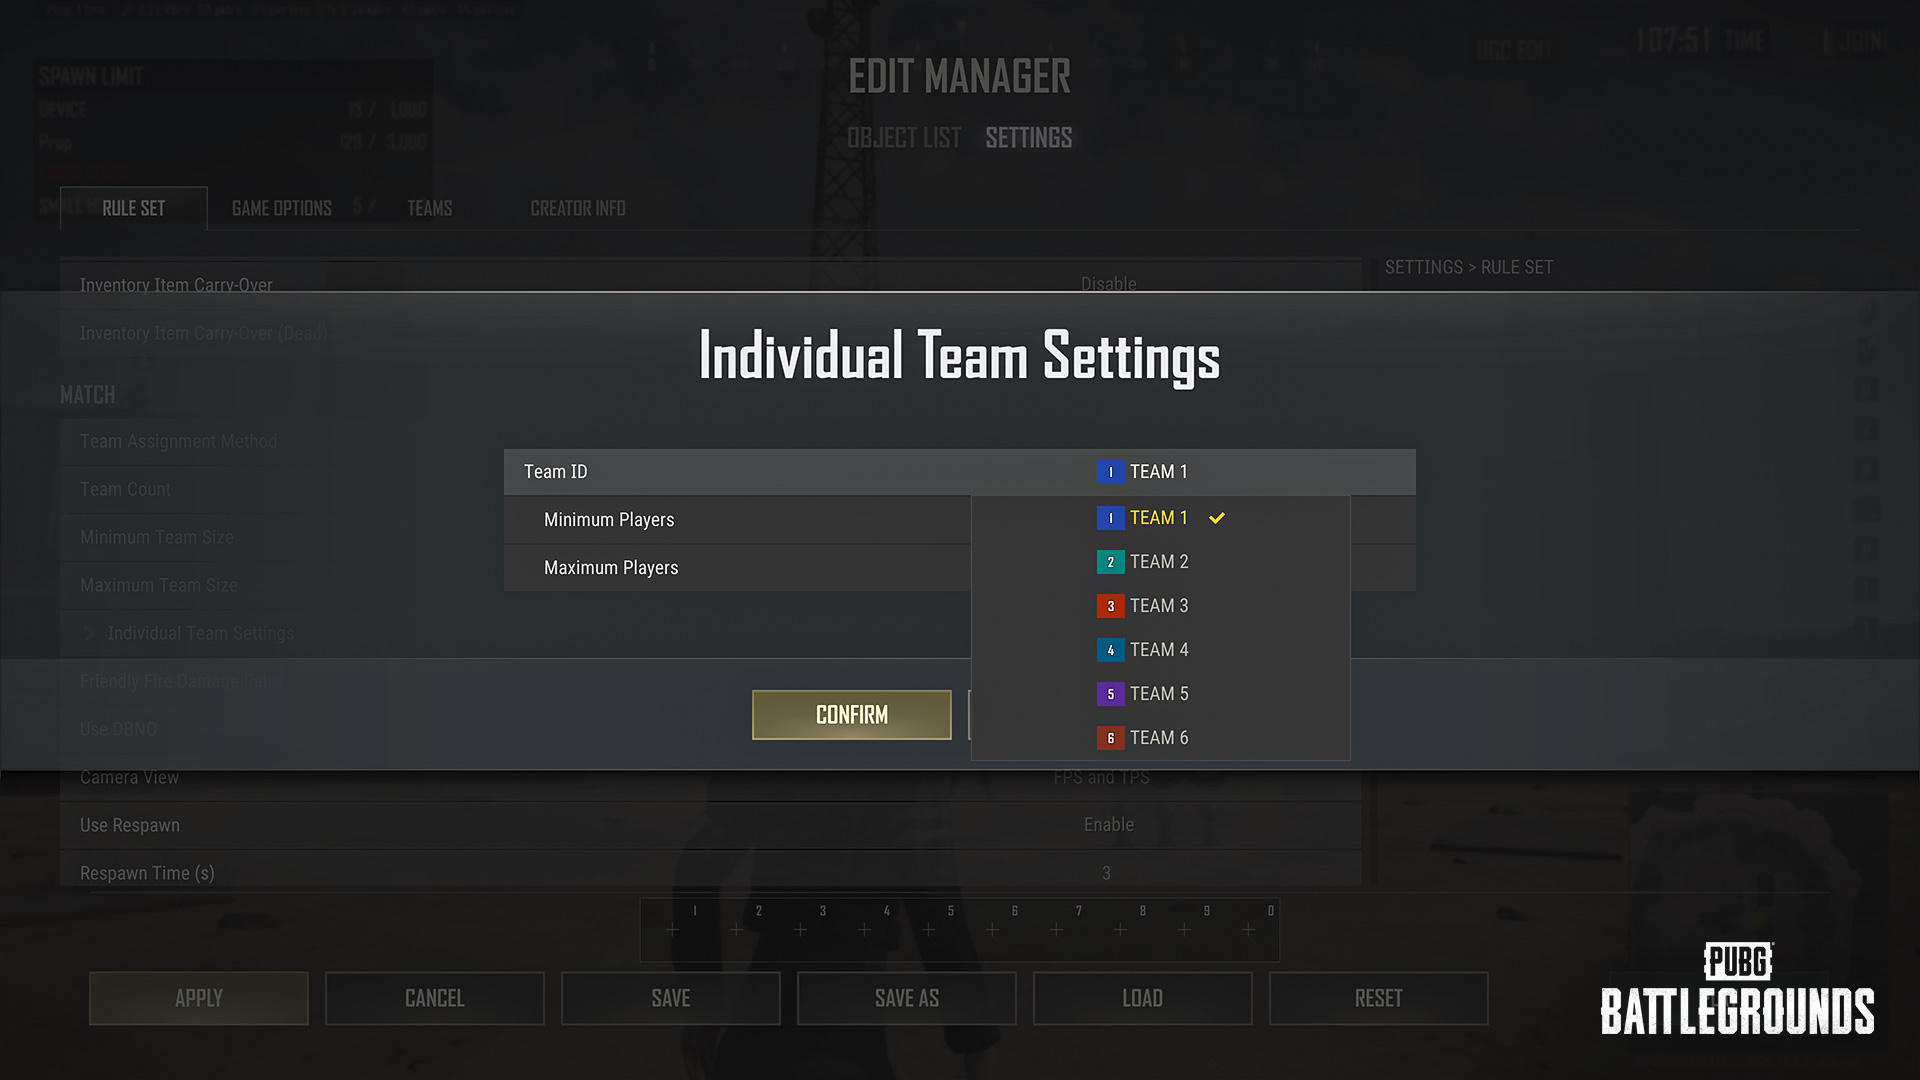
PUBG Playgrounds Team Selection Disabled? Check Individual Minimums and Overrides
Audit each team’s minimum and maximum, empty-team rules and individual overrides before changing the global team size.
 Build guide
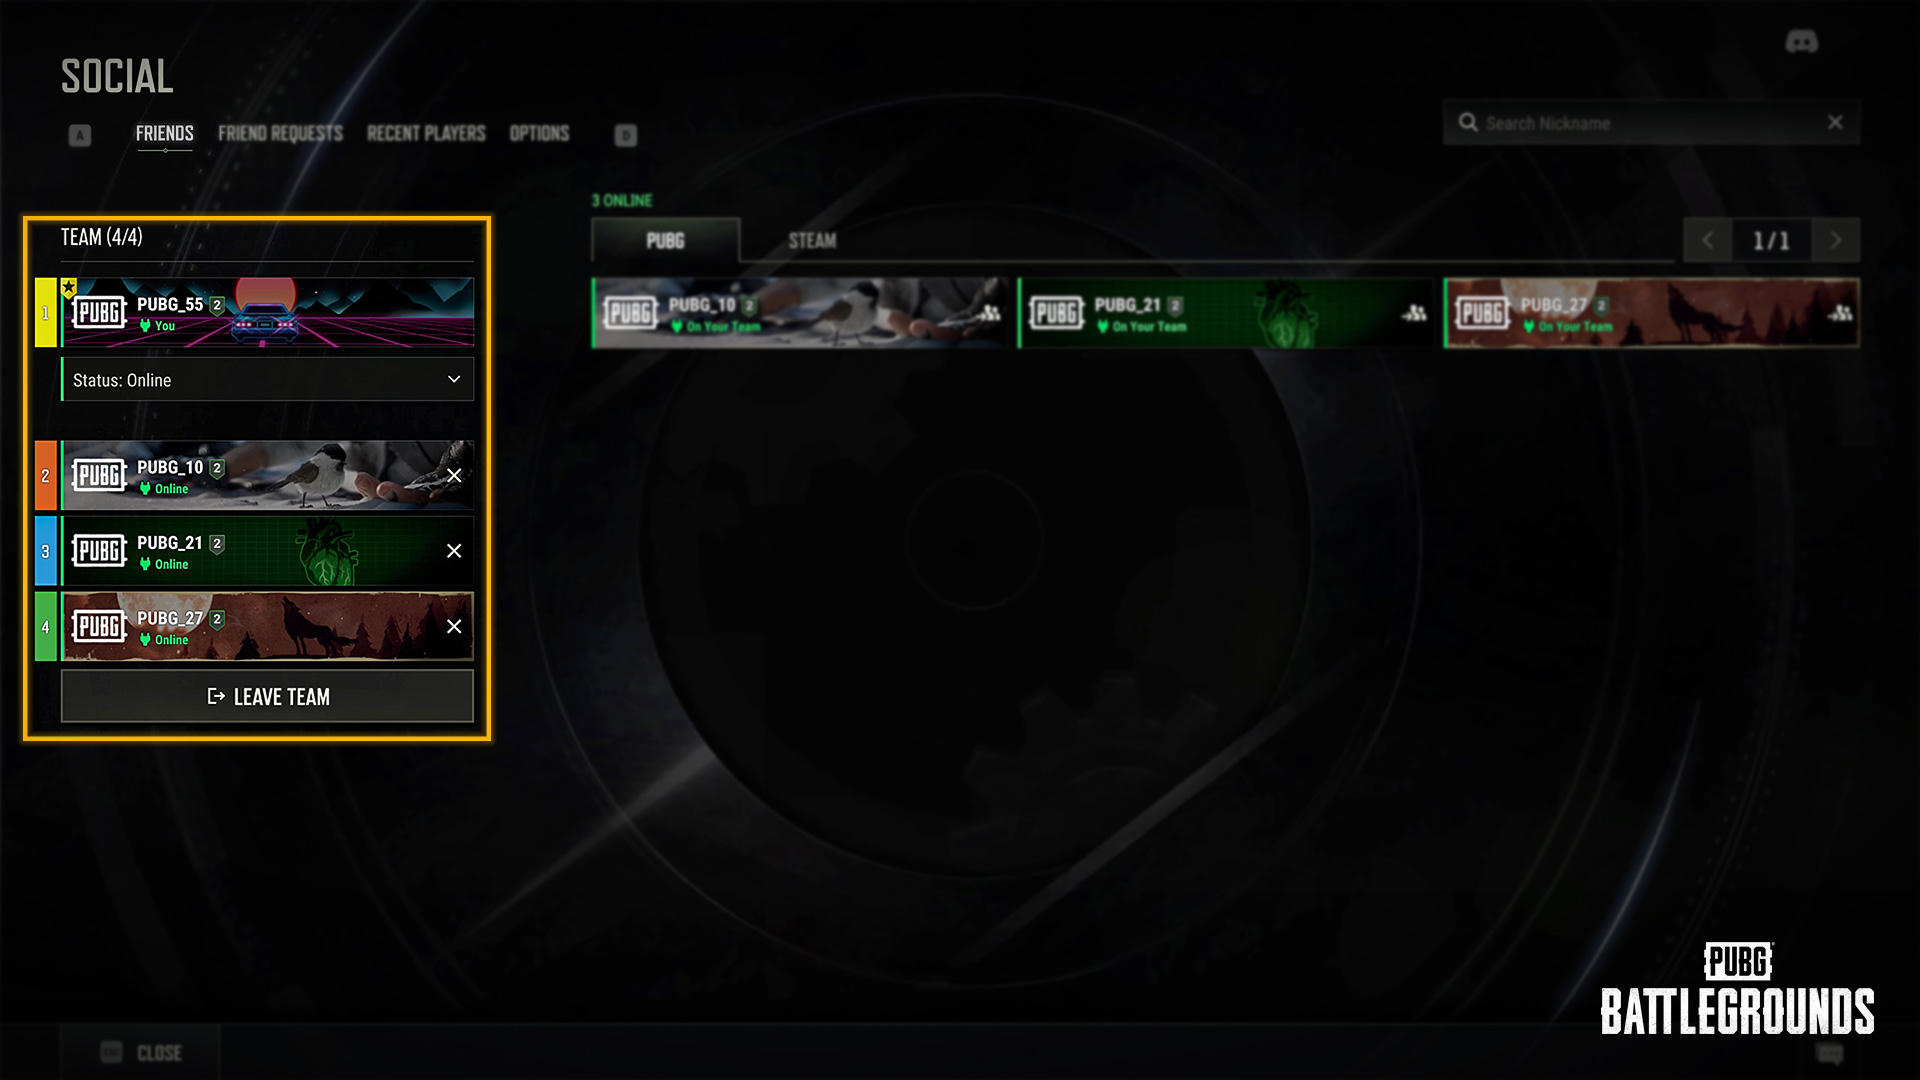
PUBG Lobby Starts Before Everyone Is Ready? Host Transfer and Player Numbers in 43.2
Understand the new Normal/Ranked queue trigger, transfer leadership without disbanding and separate squad numbering from random matchmaking.
 Build guide
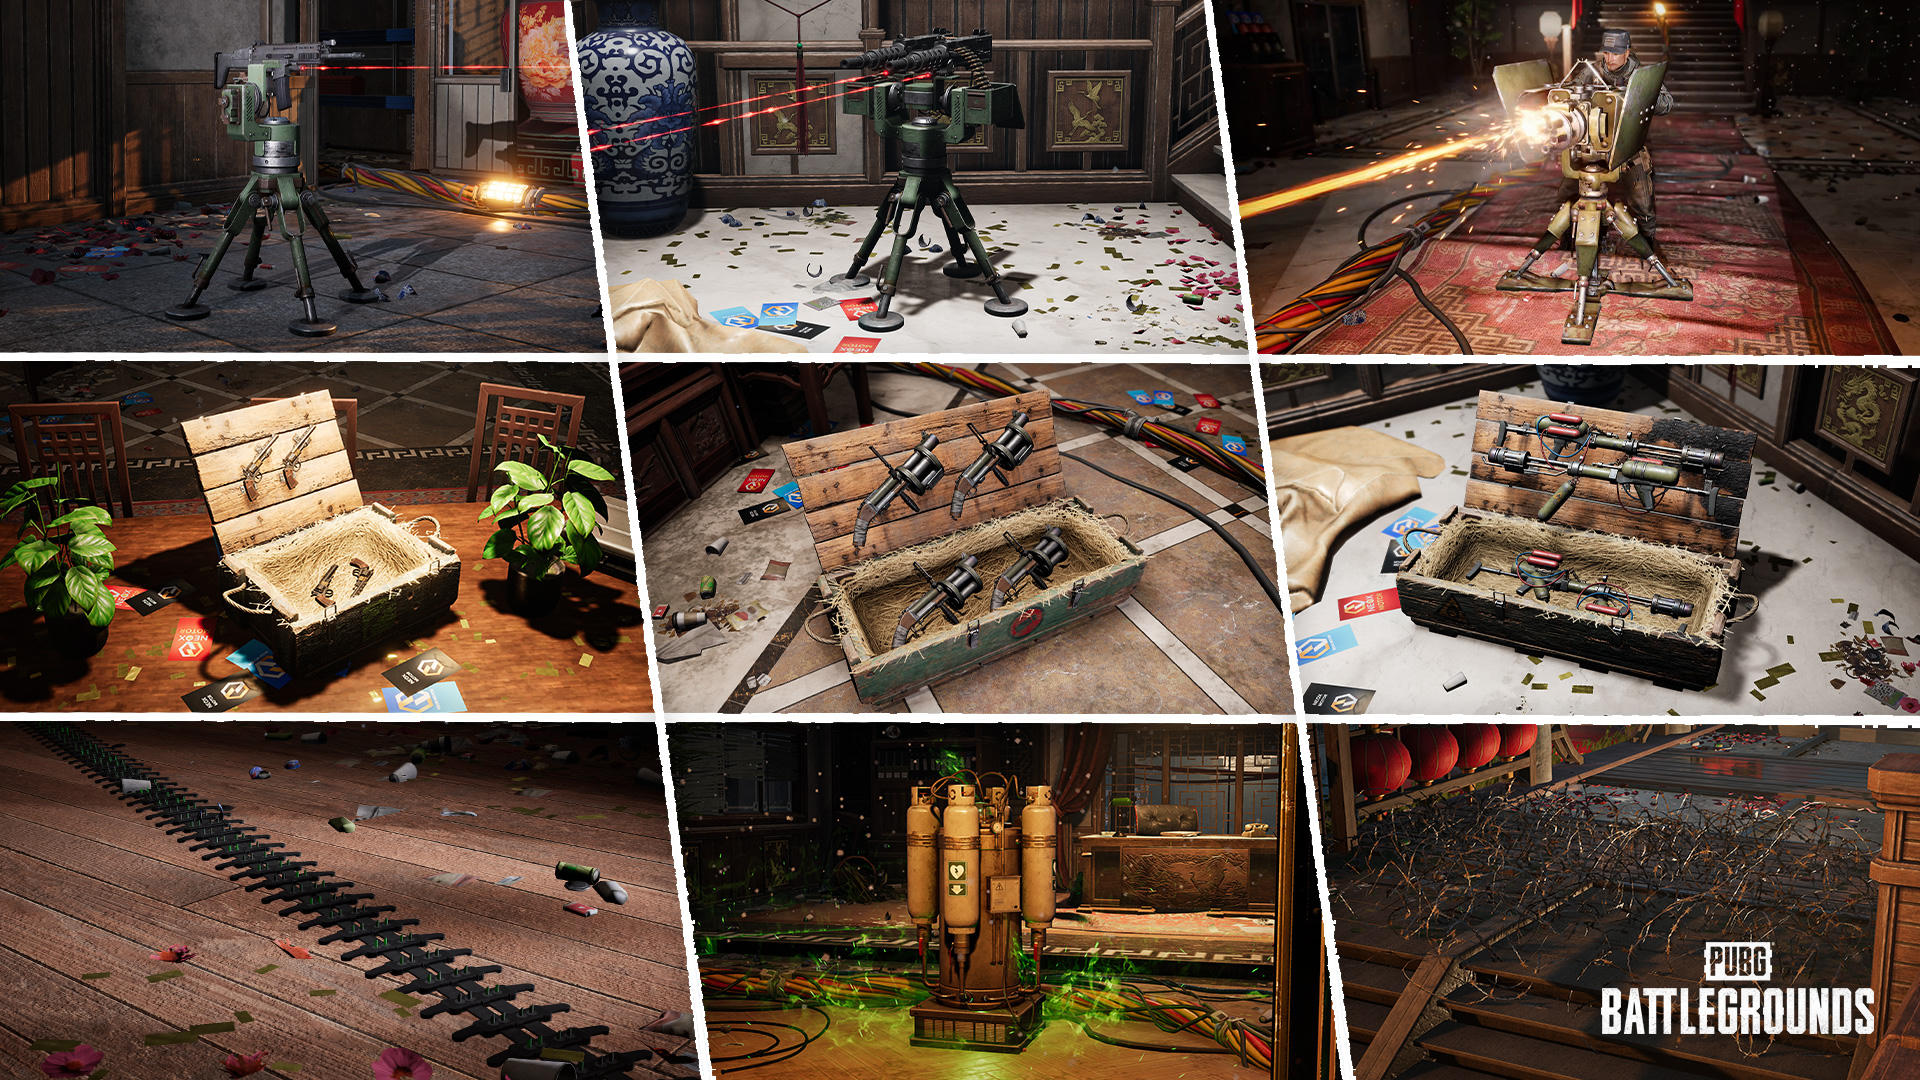
PUBG SLB Dawnbreakers Defense Build: Soups, Turrets and Healing Station
Keep the Capacitor alive with a resource plan, three complementary soup buffs and deployables that match the incoming Hungers. Includes recovery and fire-immunity checks.
 Build guide
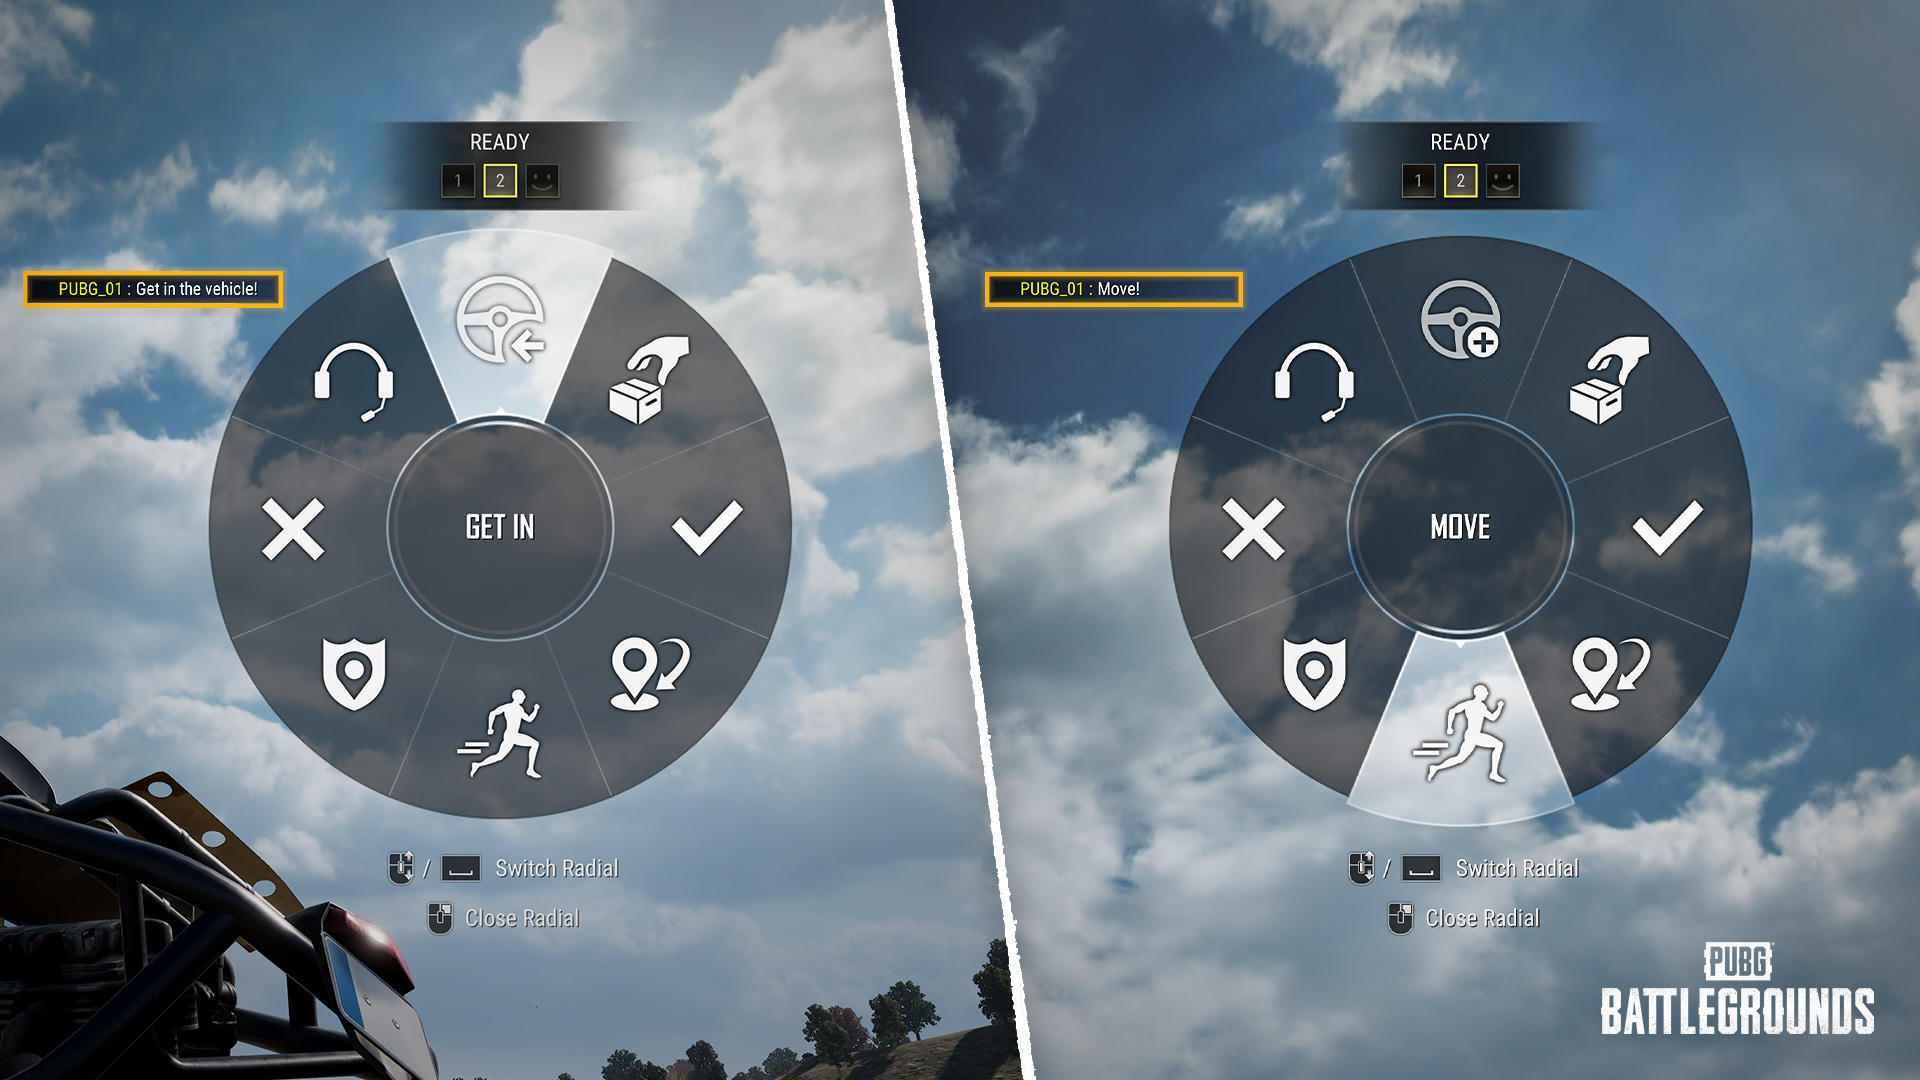
PUBG Item Markers Disappearing? The 300m Rule and New Radial Shortcuts
In PC Update 43.2, world item markers appear only within 300m. Learn which objects use world markers and how to assign the unbound Message Radial pages.
 Build guide
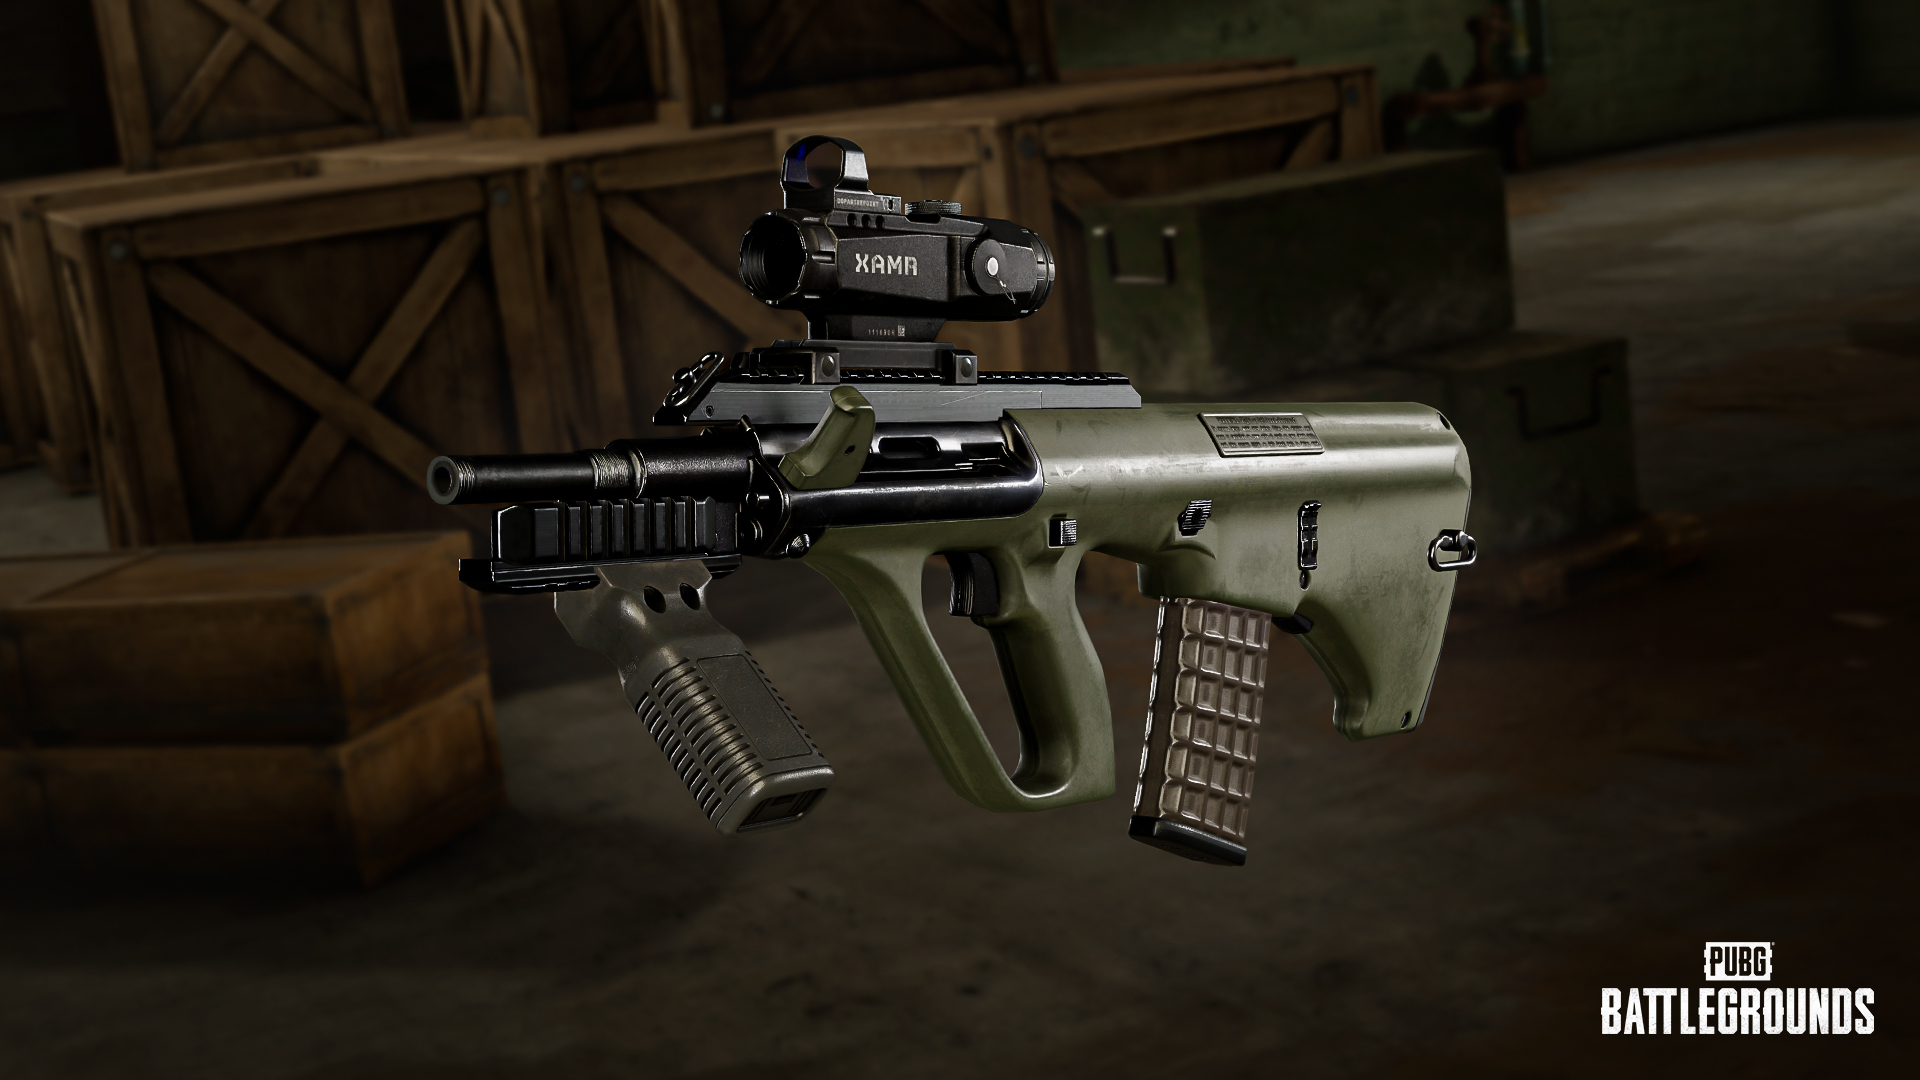
PUBG Hybrid Scope: Switch 1x/4x and Choose a Grip for Your Loadout
Use Sight Change to toggle the Hybrid Scope, separate camera shake from recoil, and understand the Tilted Grip versus Half Grip decision using the 41.1 attachment changes.
 Build guide
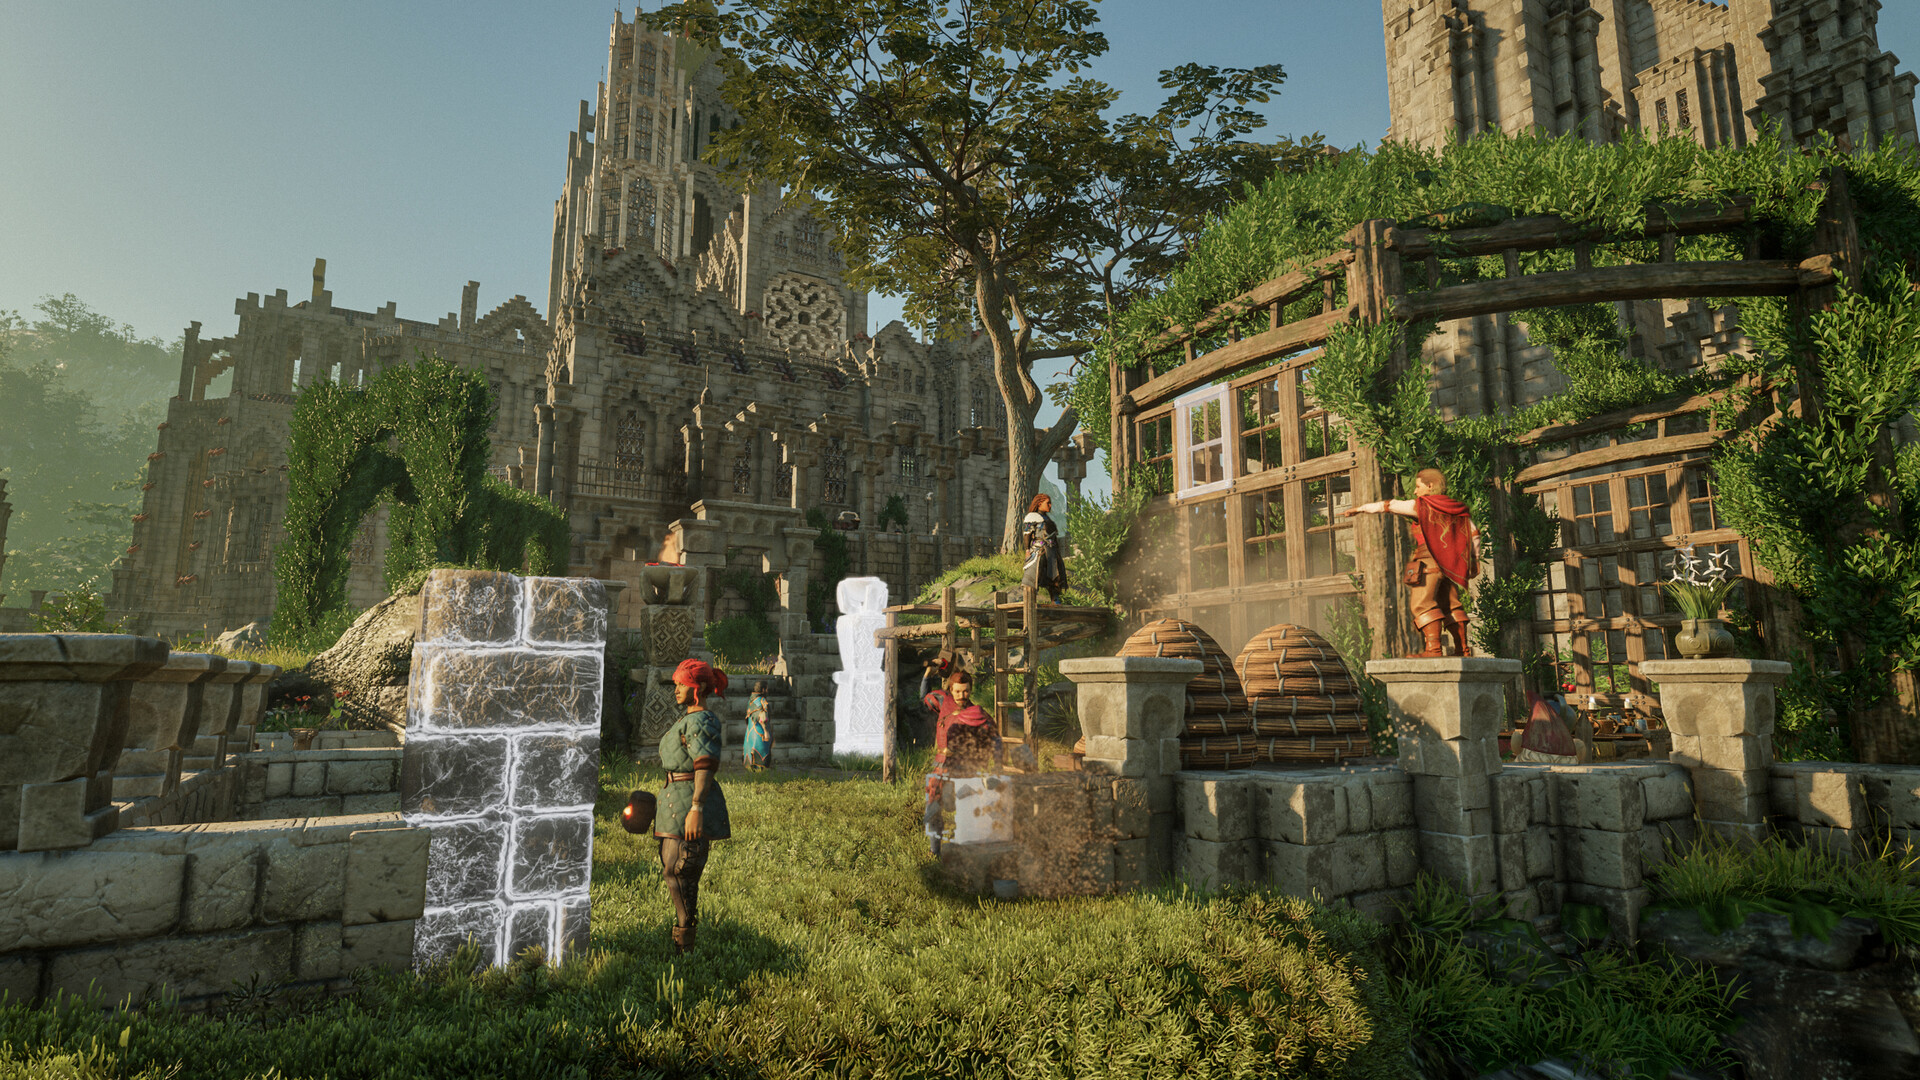
5 Easy-to-Miss Enshrouded 1.0 Changes: Armor, Repairs and Private Markers
Find missing armor recipes, understand renamed map markers, repair equipped shields at camp anvils, and stop trying to consume Antiseptic.
 Build guide
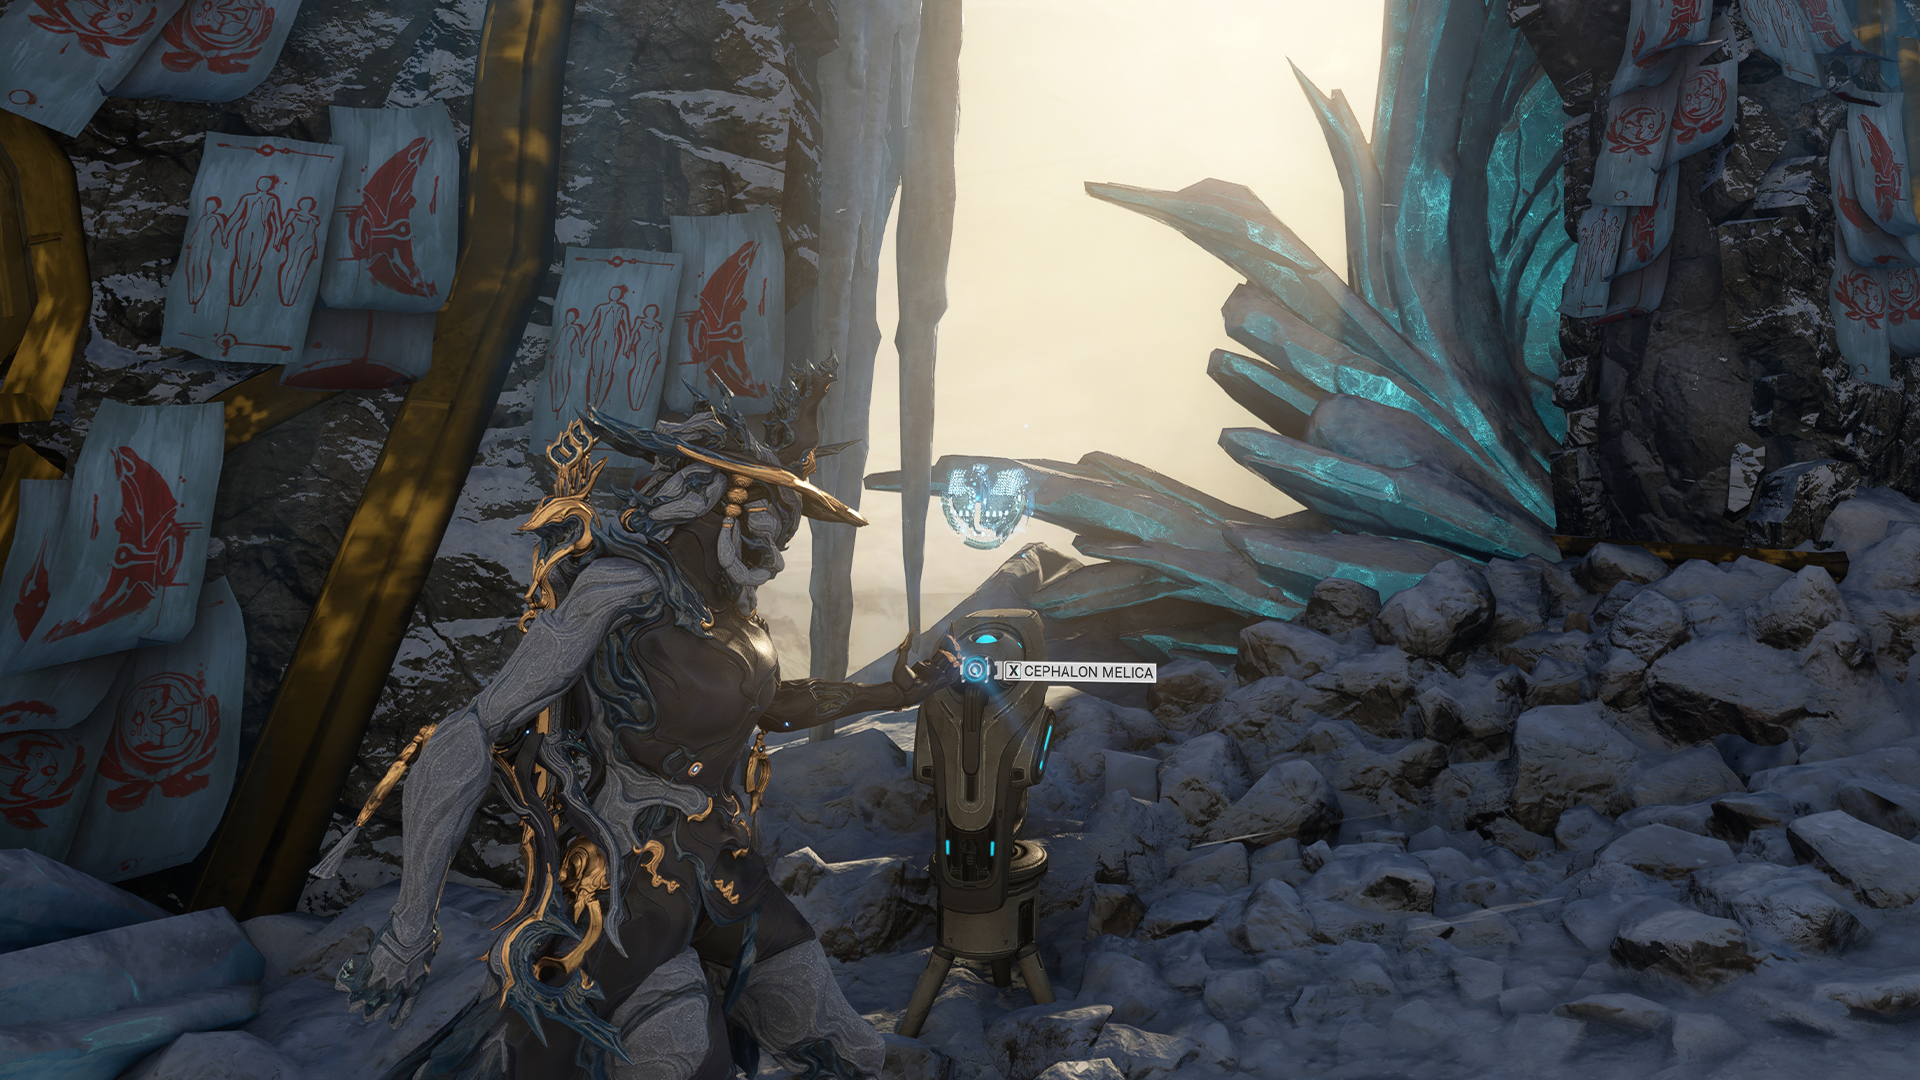
Warframe Icebind Not Starting? Unlocks, Melica and Six-Player Squad Checks
Check quest and Elite requirements, form the party at Melica and resolve duplicate Warframes before starting The Icebind.
 Build guide
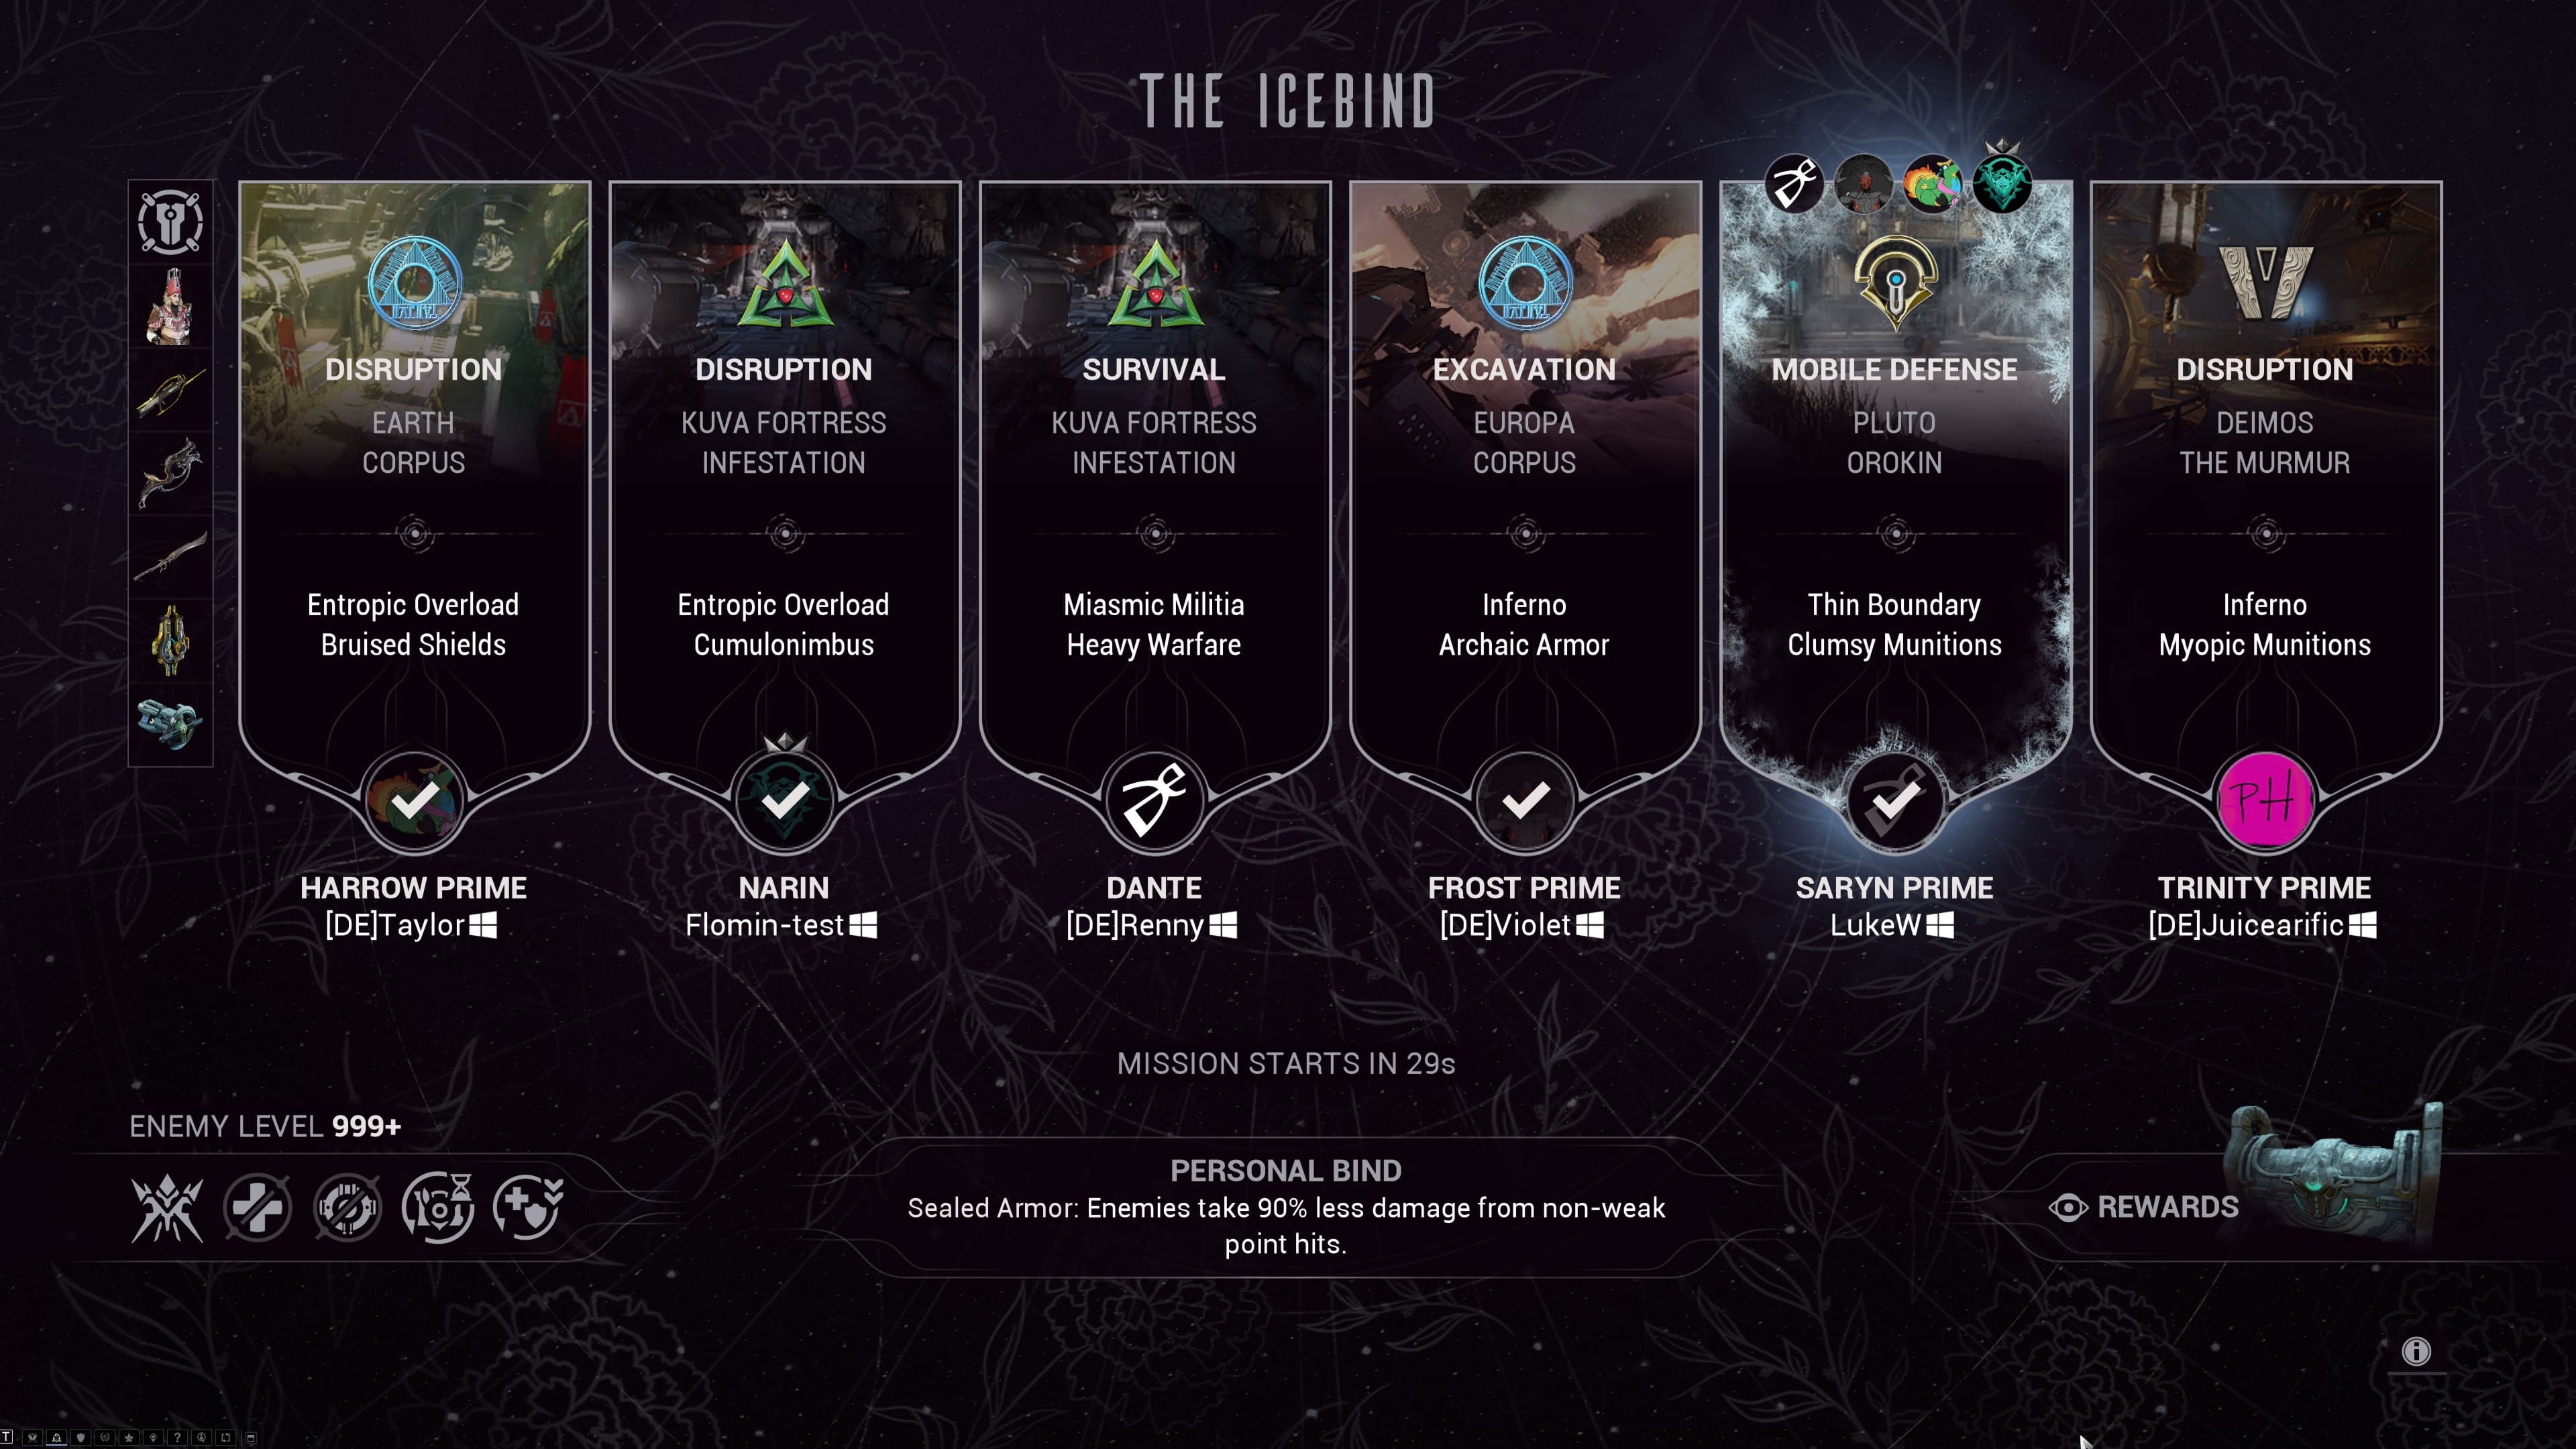
Warframe Cryobell Voting: Why Your Personal Bind Stays After Another Key Wins
Choose your own Personal Bind separately from the squad mission, and use the corrected vote timing to discuss loadouts first.
 Build guide
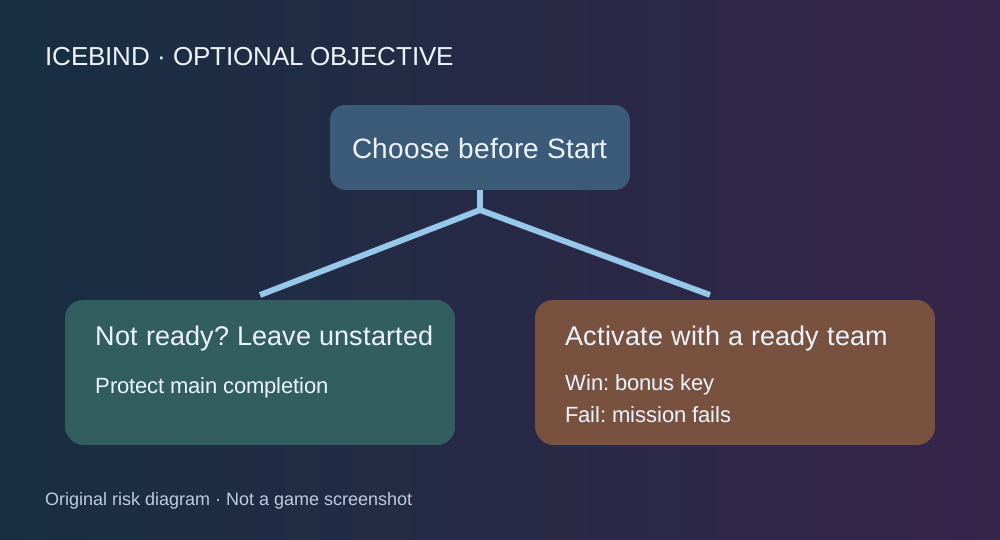
Warframe Icebind Side Objectives: When Optional Rewards Can Fail the Run
Decide whether to start a side objective, coordinate the required players and account for the Cryo Core and extraction fixes.
 Build guide
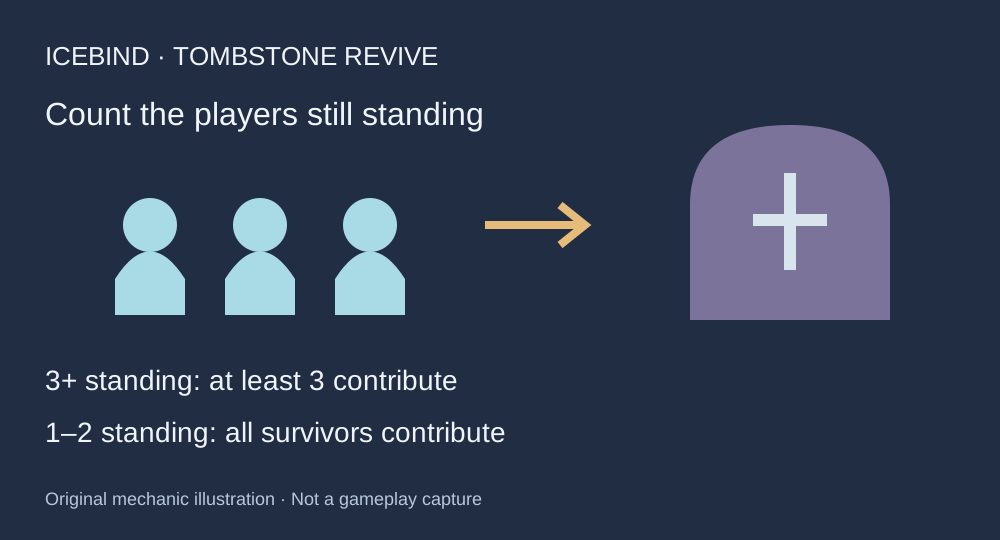
Warframe Icebind Revives: Tombstones, Surviving Players and Lost Key Eligibility
Understand why normal self-revives do not work, how survivors revive a fallen teammate and why staying dead affects bonus keys.
 Build guide
Warframe Icebind Rewards: Crested Keys, Frozen Keys and When Cryobells Are Spent
Separate the mission-entry key from the two chest keys, protect successful extraction and locate the Riven Splicer reward.
 Build guide
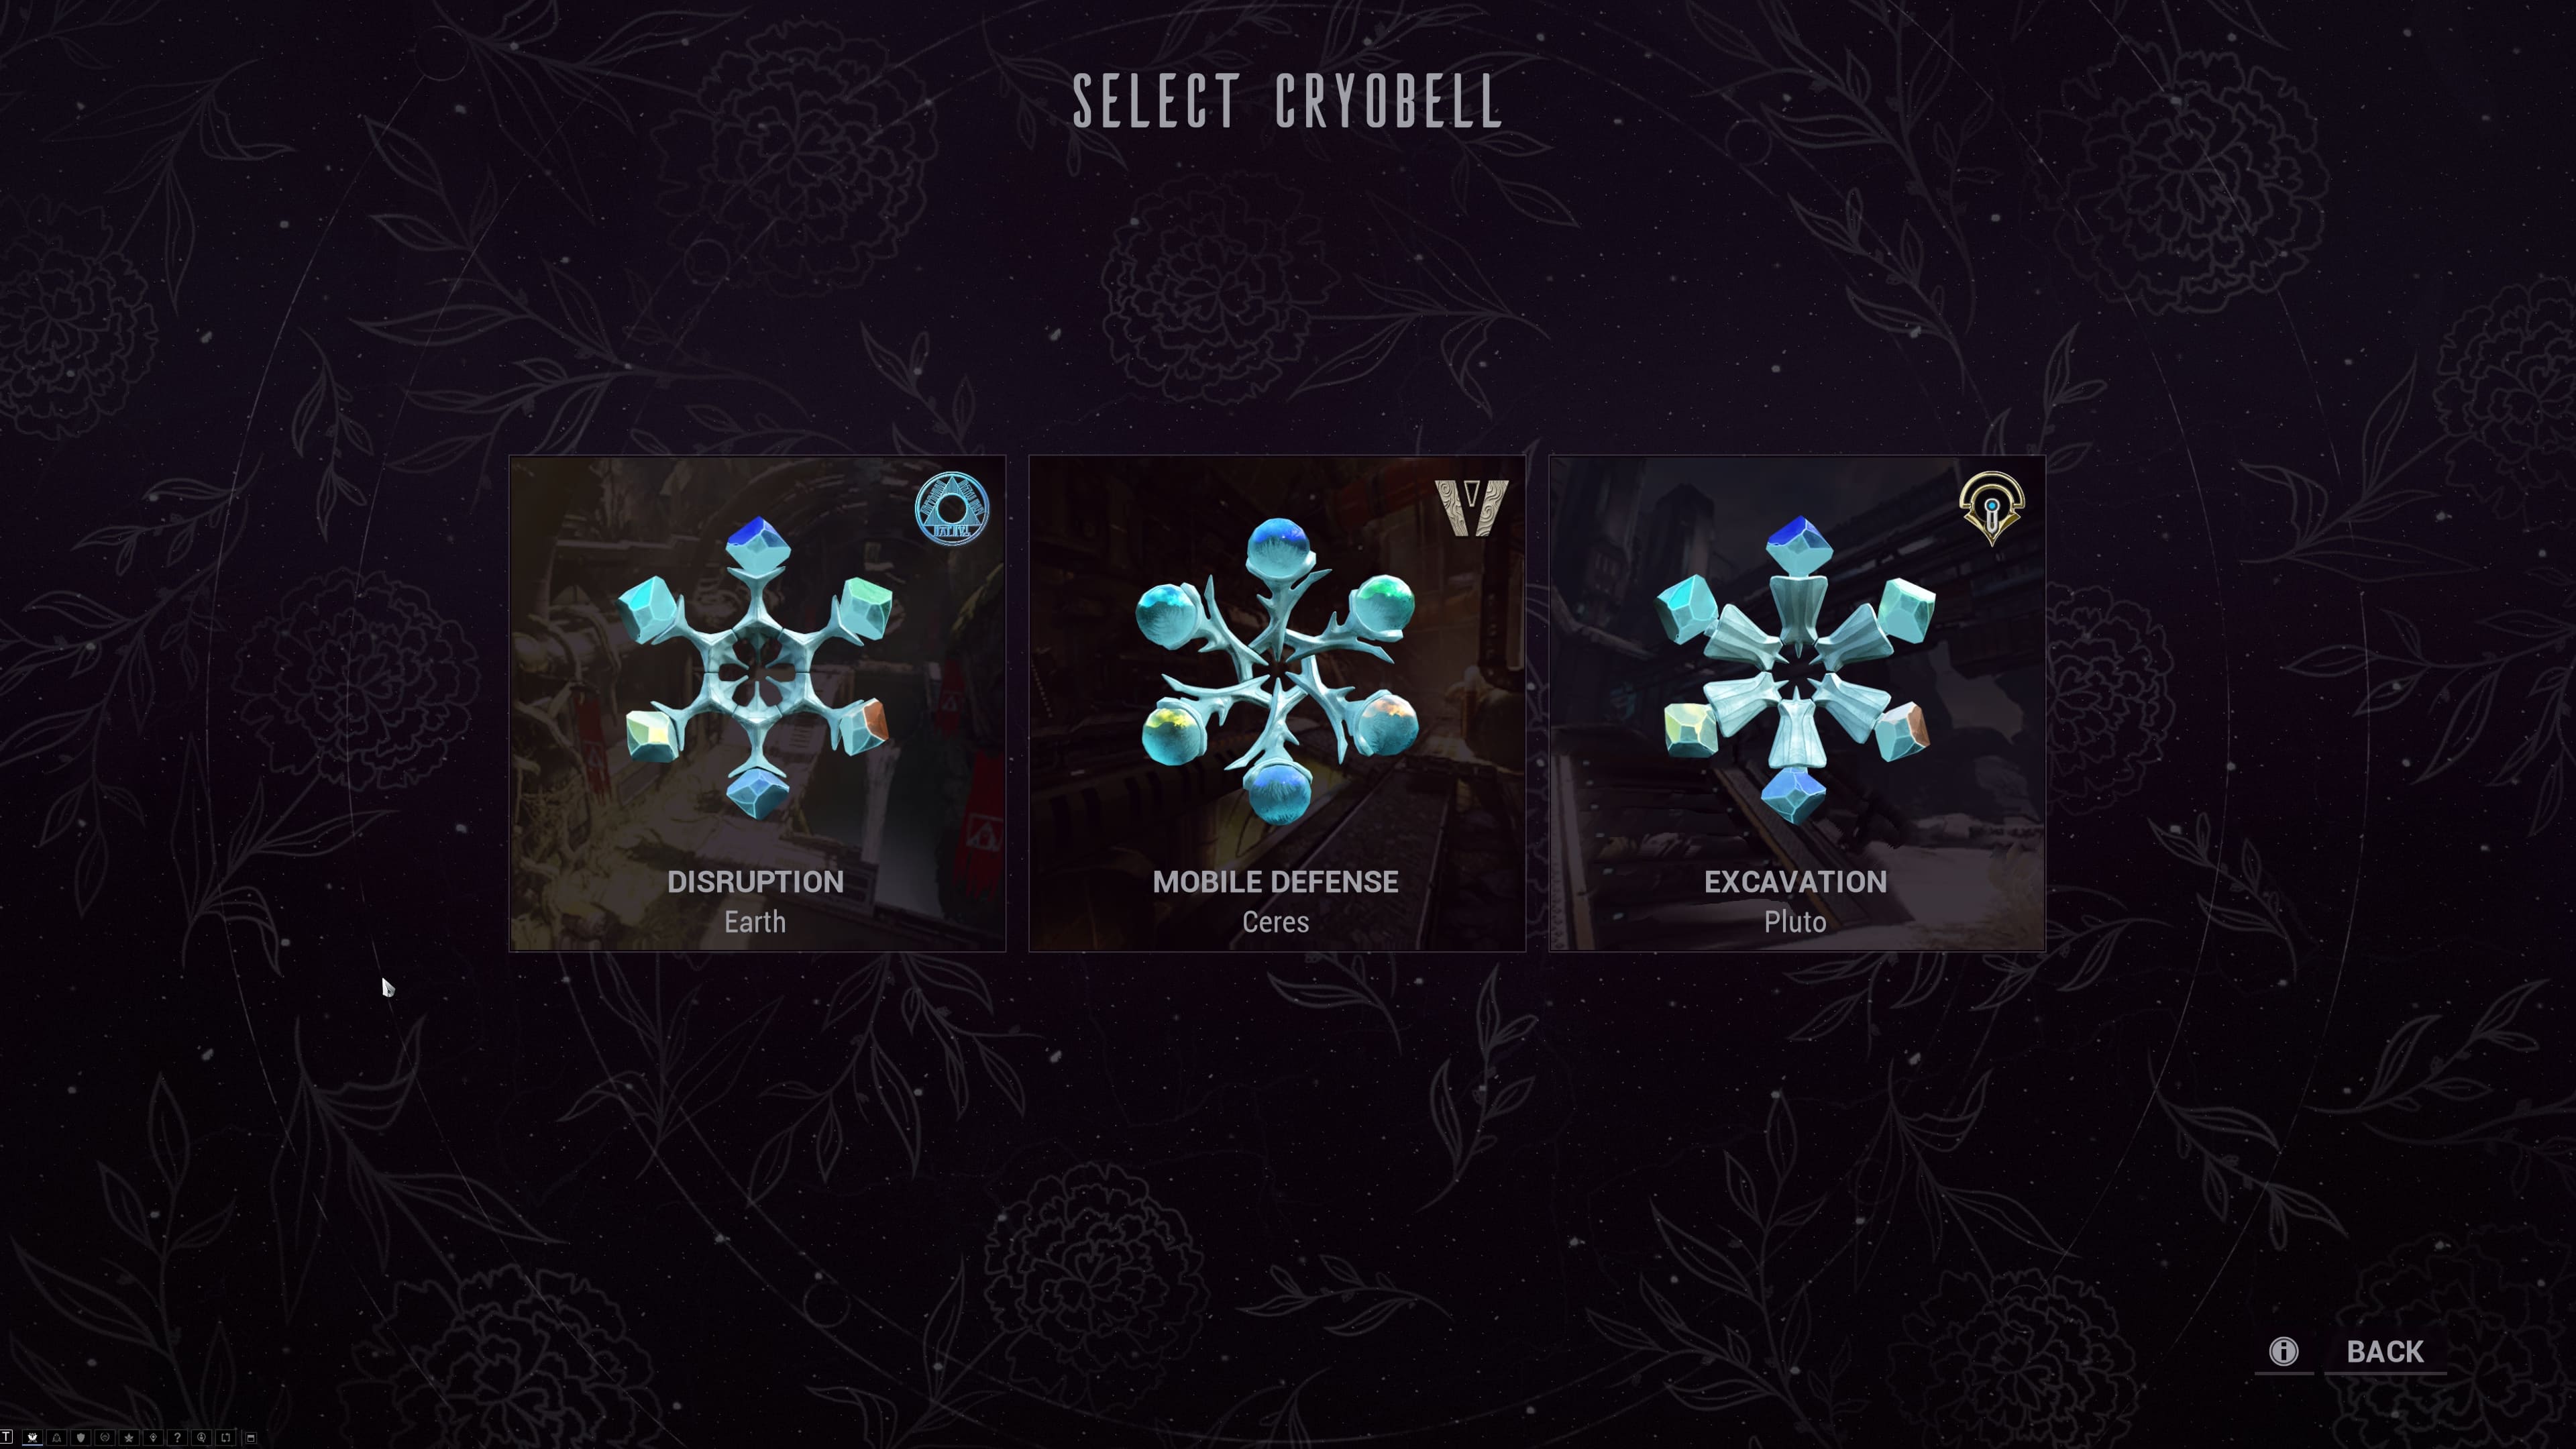
Warframe Icebind Loadout Checks: Conflicting Movement, Energy and Weapon Binds
Build for the selected restrictions rather than copying one universal frame loadout. Compare movement, resource and damage constraints before voting.
 Build guide
Warframe Tau Prologue Missing? Codex Prerequisites and the Lua Crash Hotfix
Separate missing story access from the Dark Refractory performance fault, and distinguish permanent prologues from the Taubound event.
 Build guide
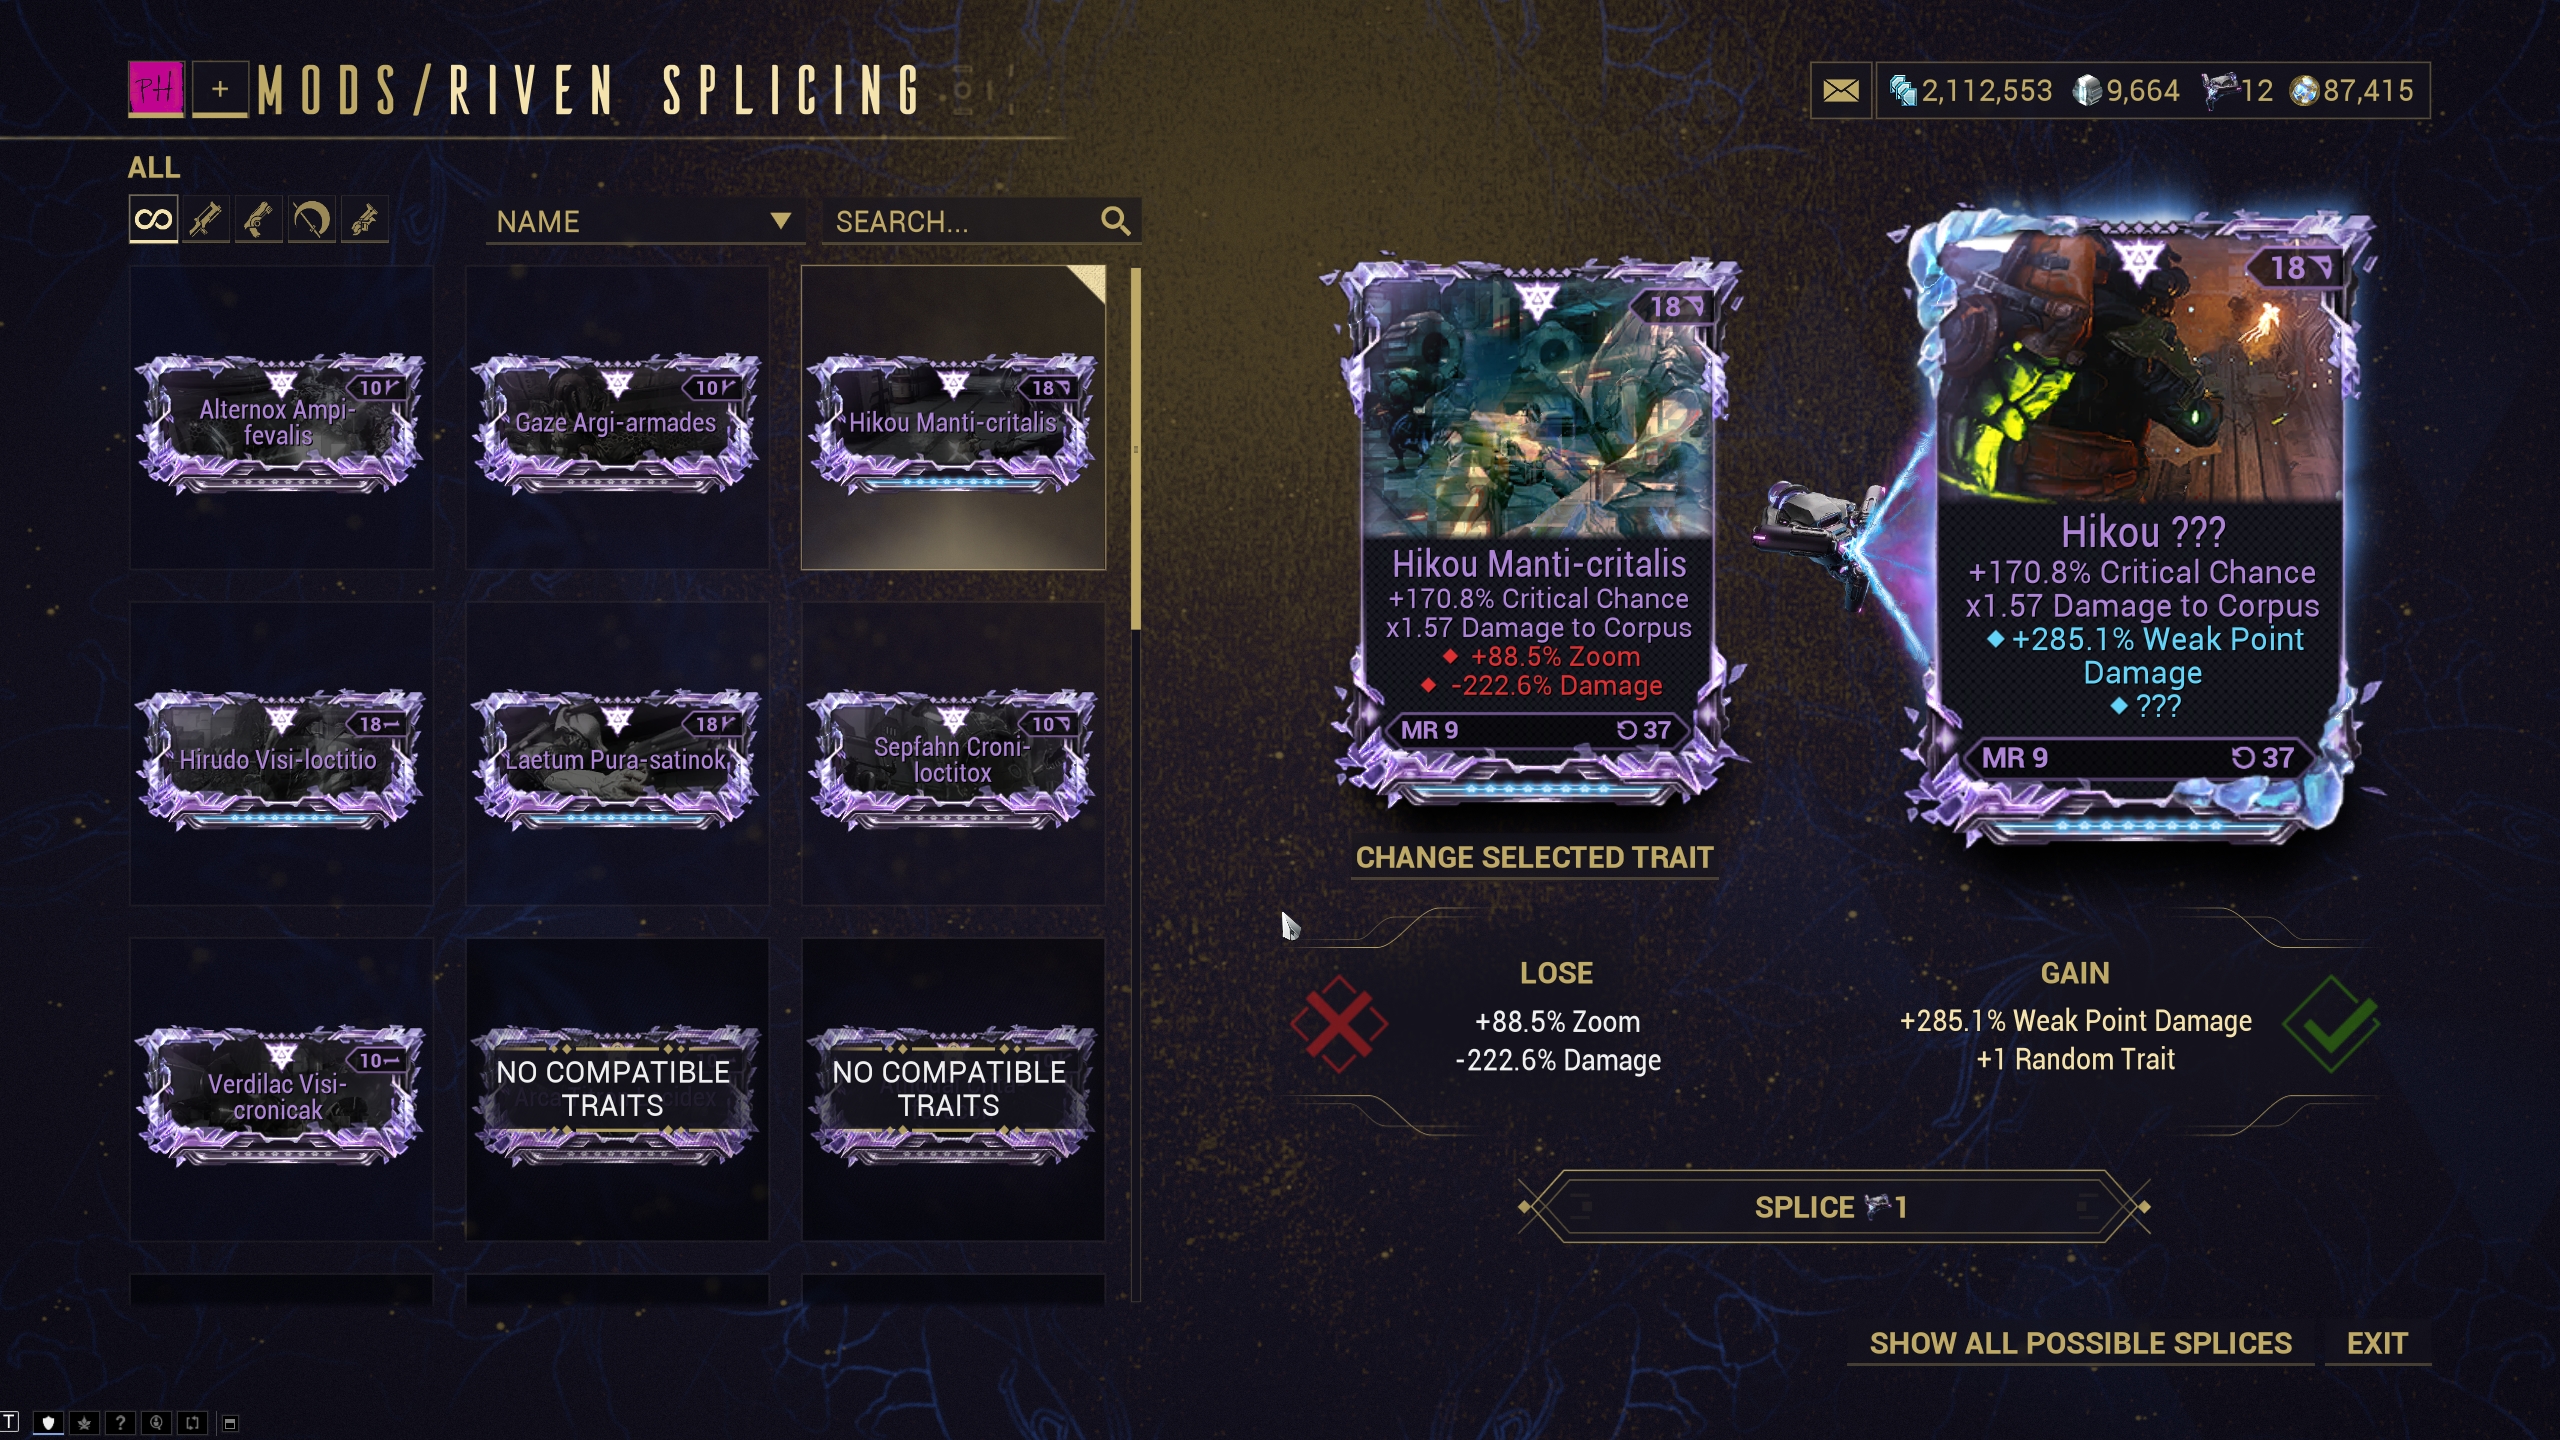
Warframe Riven Splicing: Why Rerolls Will Not Add More Traits
Check a Riven’s positive and negative trait layout before splicing. Understand the two-for-two replacement, locked configuration and the difference from paid trait locking.
 Build guide
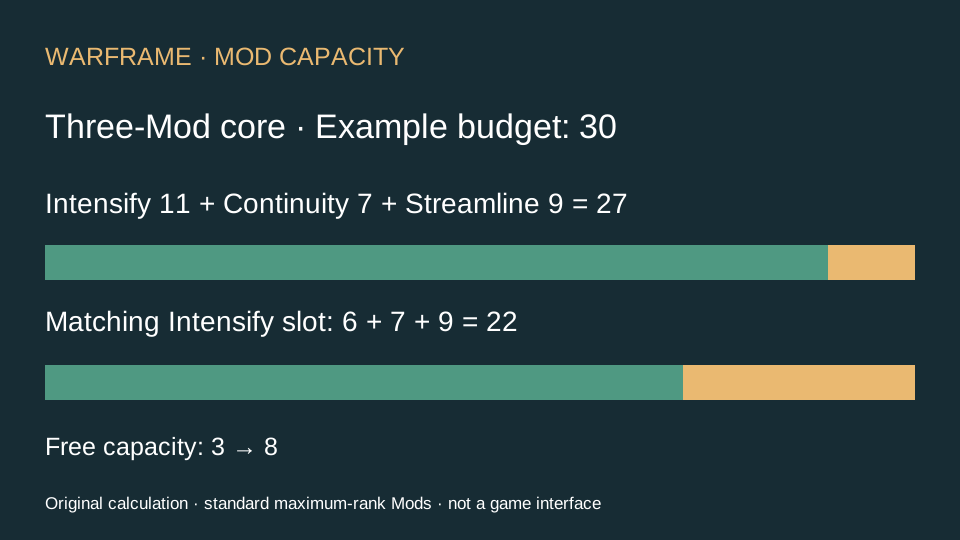
Warframe Mod Capacity: Fix a Build That Will Not Fit
Audit Mod drain, polarity and upgrade costs with a worked Rhino example before spending Forma or installing the wrong capacity upgrade.
 Build guide
Warframe Rhino Starter Build: Iron Skin, Roar and a Mod Capacity Plan
Start a Rhino loadout with Intensify, Continuity and Streamline, then choose energy or range upgrades without breaking your Mod capacity budget.
 Build guide
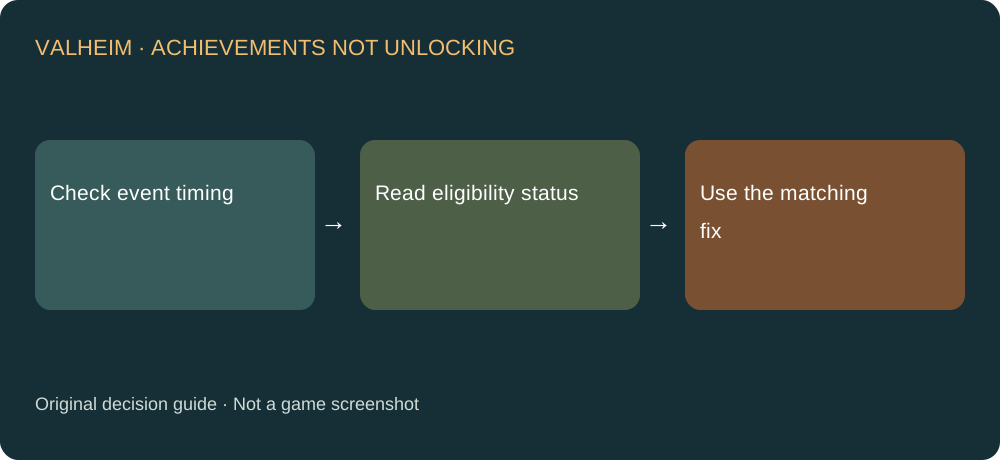
Valheim Achievements Not Unlocking: Old Saves and the Official Opt-In
Separate an old unrecorded action, blocked eligibility and a patched achievement bug. Includes the developer’s post-launch opt-in.
 Build guide
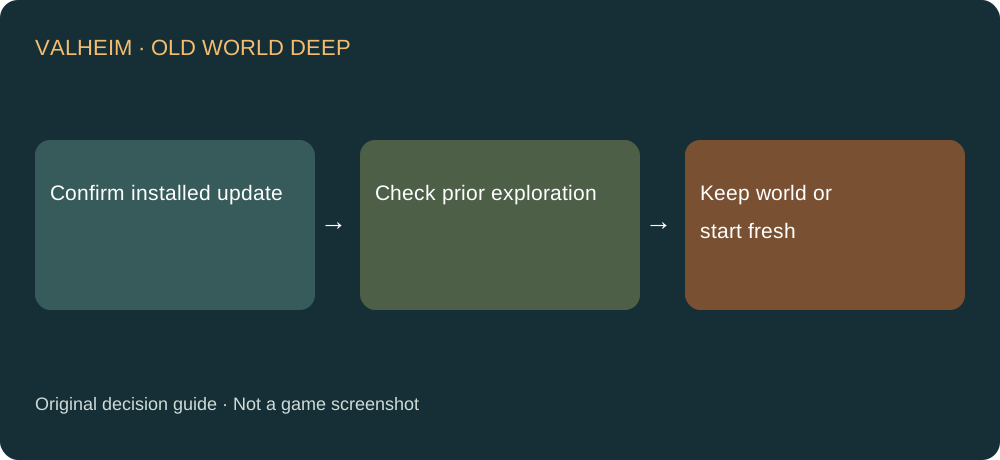
Valheim Deep North Missing in an Old World? Explored Terrain vs a Fresh Start
Understand the explored-terrain limit, then choose between keeping your existing world and starting with fresh biome generation.
 Build guide
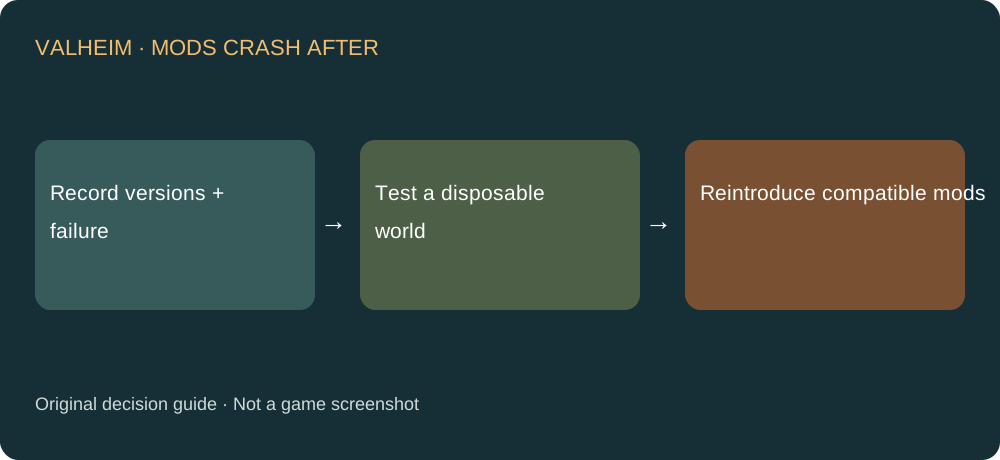
Valheim Mods Crash After an Update: Isolate the Loader, Plugins and Save
Separate startup, joining and save-specific problems without using your only world as a compatibility experiment.
 Build guide
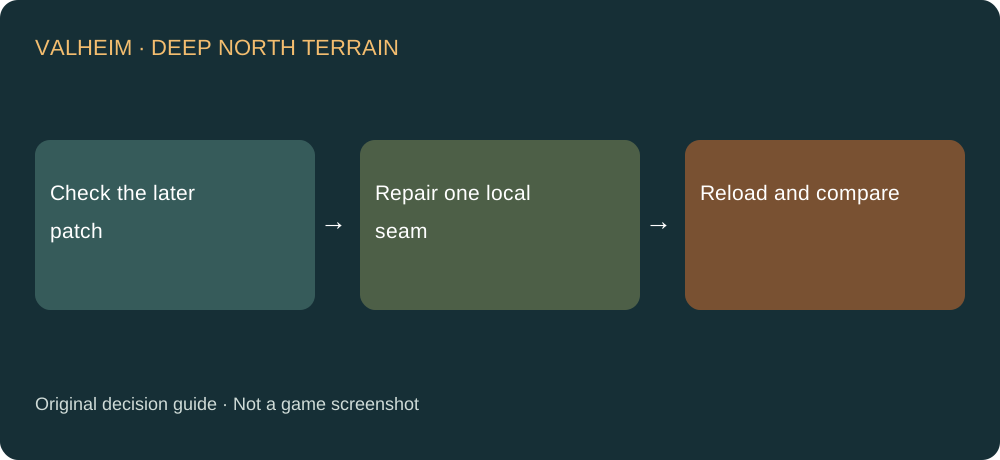
Valheim Deep North Terrain Seams Reappear? Patch and Local Repair Checks
Distinguish a visible seam from reverted terrain edits, then check the later persistence fix before reshaping the area.
 Build guide
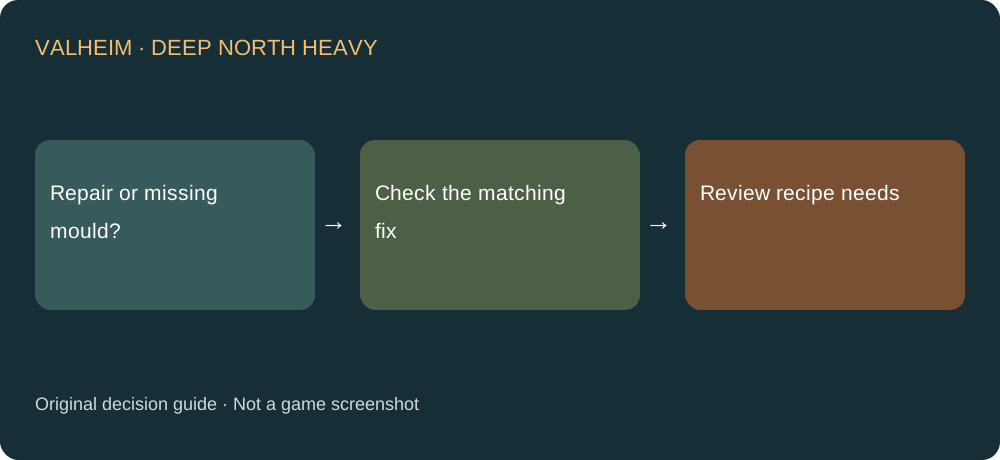
Valheim Deep North Armor Stuck? Repair Fix and Mould Sources
Check the heavy-armor repair fix and the medium/heavy mould source change before replacing equipment or repeating an outdated farming route.
 Build guide
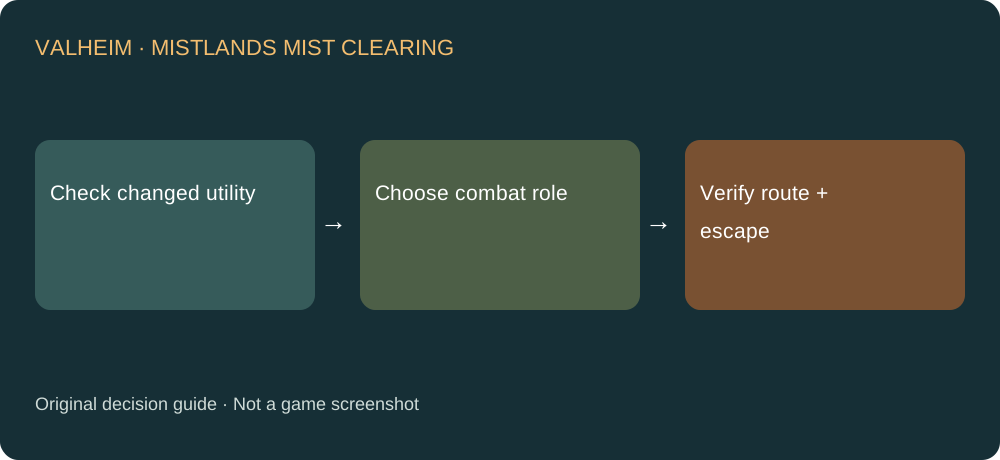
Valheim Mistlands Visibility in 1.0: Weapons, Wisp Tools and Route Planning
Revisit an old visibility loadout after the 1.0 changes without inventing clearing radii or treating one sword as mandatory.
 Build guide
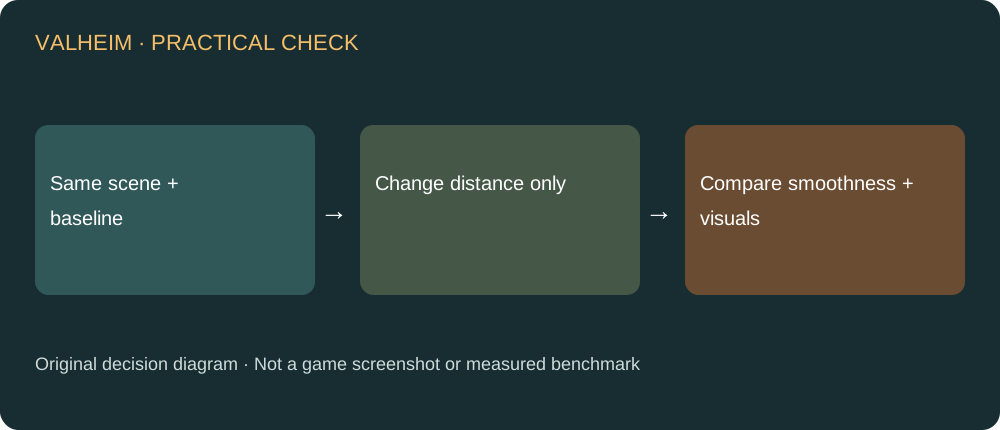
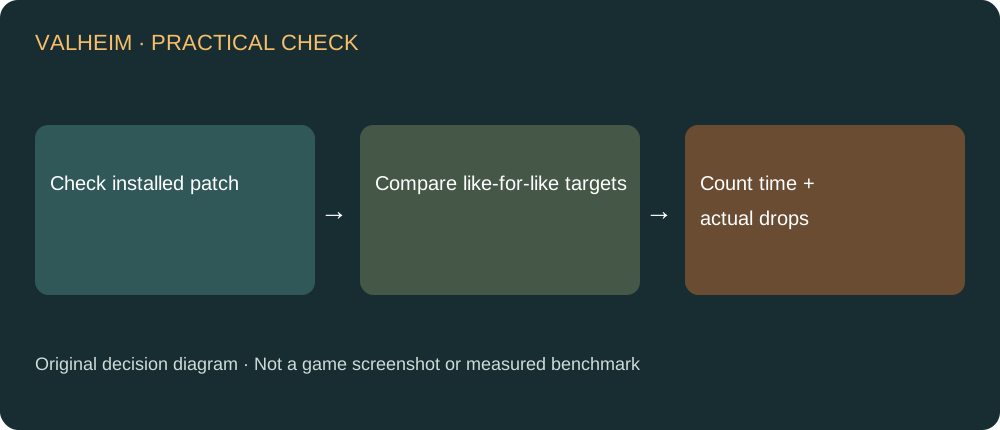
Valheim Draw Distance: Test the 1.0 Setting Without Guessing an FPS Preset
Lower Draw Distance to reduce simulation distance, then compare the same route. Separate frame-rate problems from dedicated-server CPU usage.
 Build guide
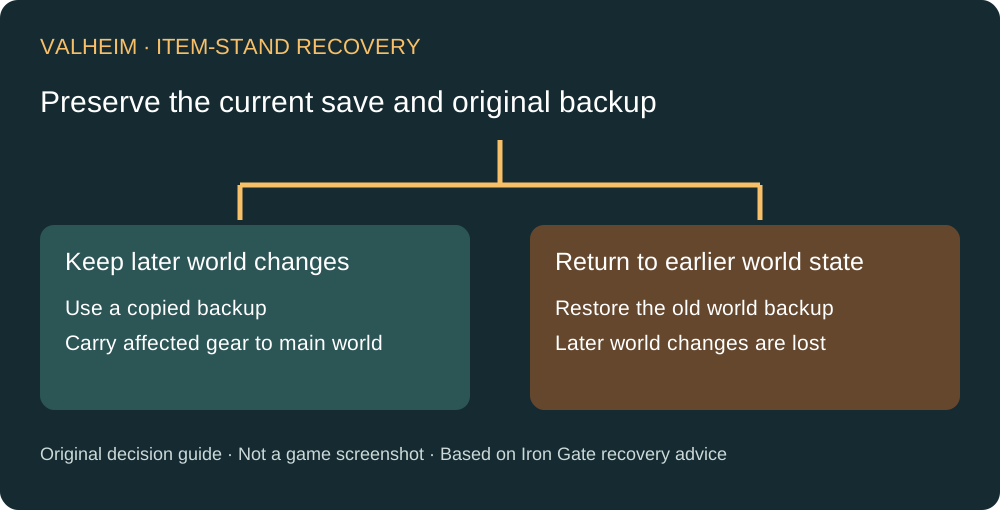
Valheim Trophy Drops After 1.0.20: Star Levels and Why Relogging Is Not a Farming Plan
Check the trophy-drop patch before farming more kills. Understand star-level changes and persistent rare-drop logic without inventing guaranteed drop rates.
 Build guide
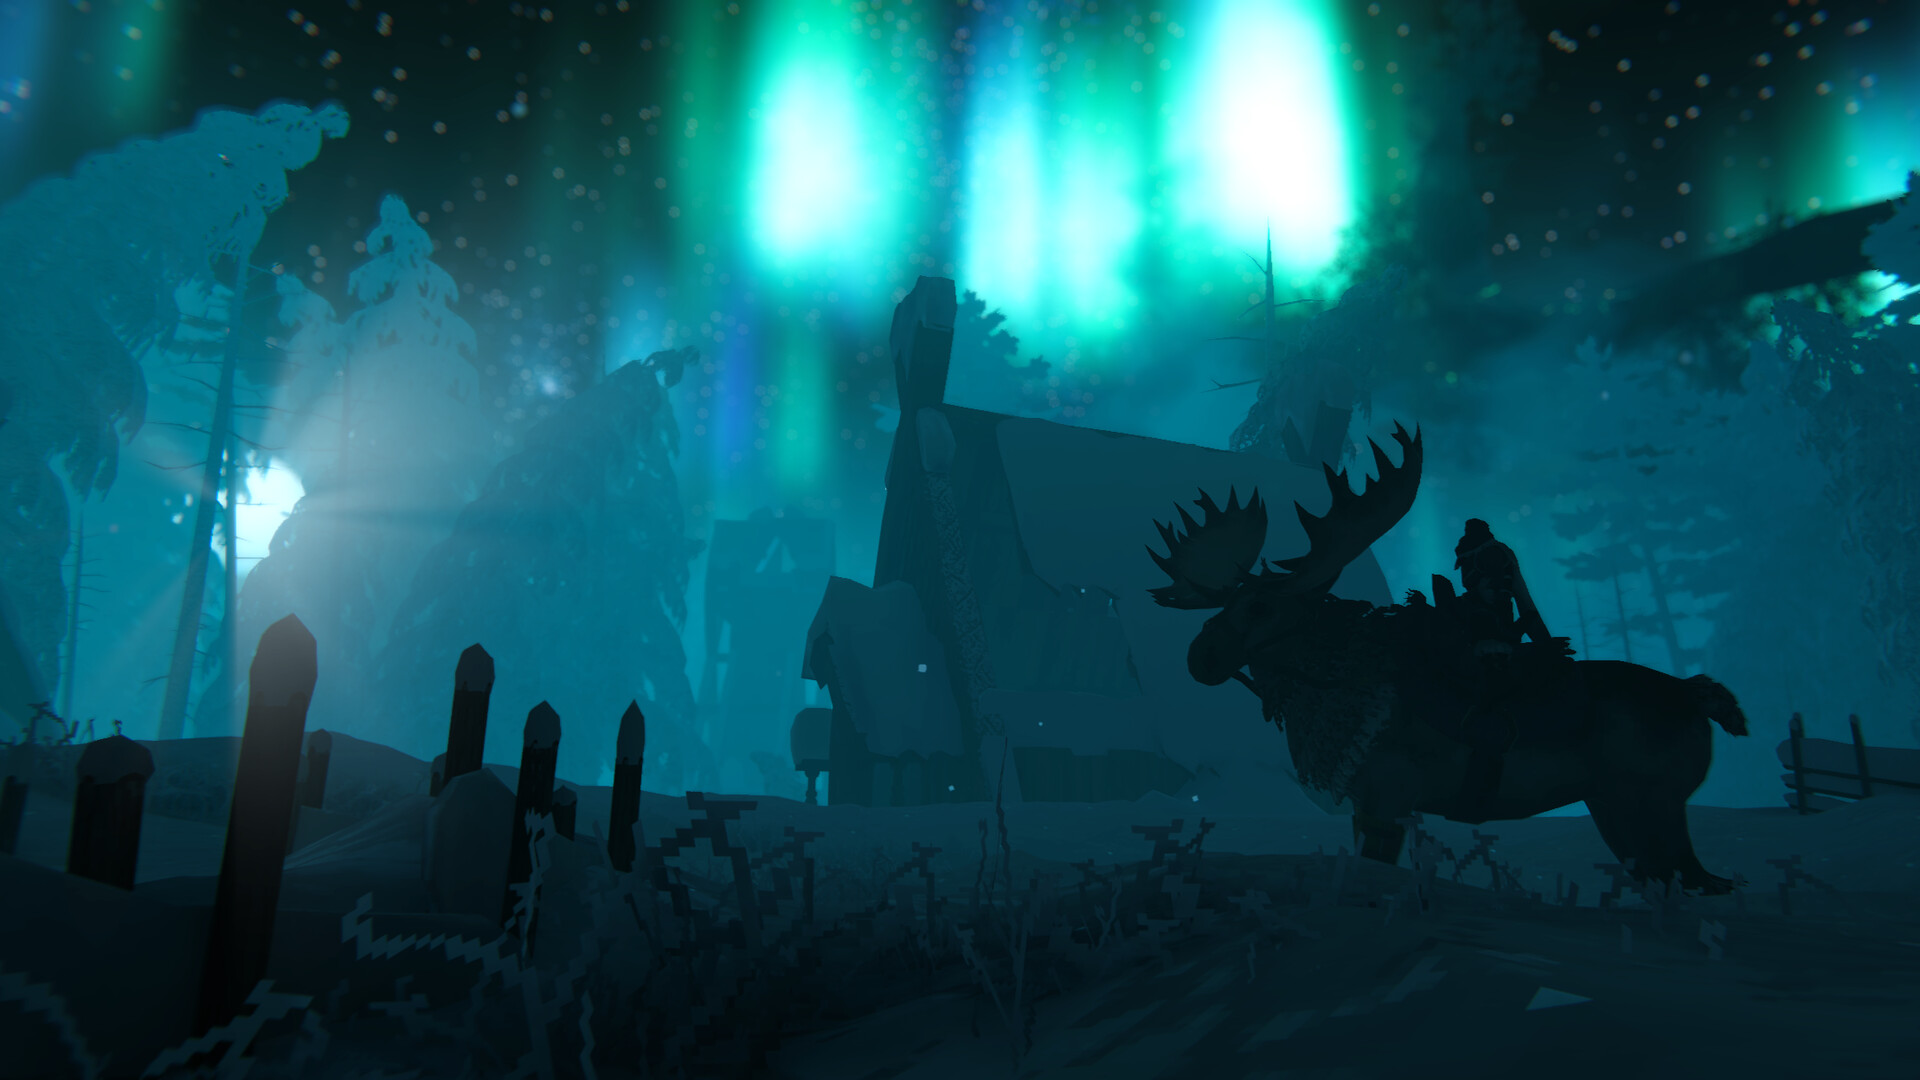
Valheim Item Stand Lost Upgrades: Recover Gear Without Rolling Back Everything
Compare the two official recovery routes for item-stand upgrades lost during the 1.0 save conversion. Preserve backups and understand what a full rollback removes.
 Build guide
Valheim Bonemass Preparation: Iron Mace, Poison Resistance and Recovery
Prepare a Swamp-stage Bonemass loadout with an Iron Mace, poison resistance, food and a recovery route, without making later-biome equipment mandatory.
 Troubleshooting
Ratatan Early Access Achievements Not Unlocking: Eight Goals to Repeat
Separate the pending achievement unlock fix from eight goals whose Early Access progress was not recorded, with an exact checklist and a safe recheck process.
 Troubleshooting
Ratatan Episode 3 Locked Despite Collected Melodies: Known Bug and Next Steps
The developer confirms a misleading Bonboya Gate melody display can block Episode 3. Check the patch status, record your version and avoid unsupported reset advice.
 Build guide
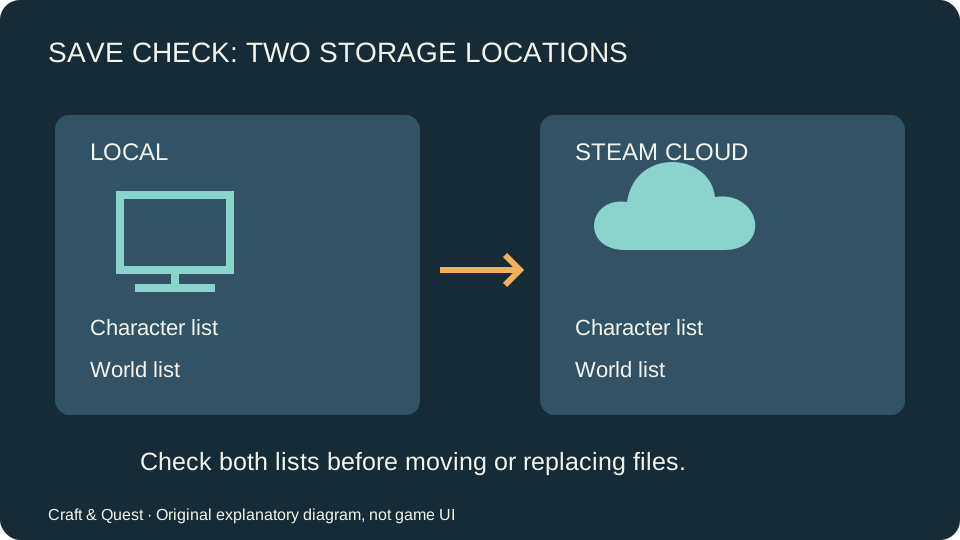
Enshrouded Saves Missing After 1.0: Local, Cloud and Migration Checks
Check the Local and Steam Cloud tabs in both character and world selection before assuming a save was deleted. A missing character can also match the migration issue described in Hotfix 1.0.0.2.
 Build guide
Enshrouded Skills Reset After 1.0: Rebuild Your Loadout Before Fighting
The 1.0 update resets the skill tree when an existing save first enters the new version. Spend the available skill points again before deciding that your equipment or combat build stopped working.
 Build guide
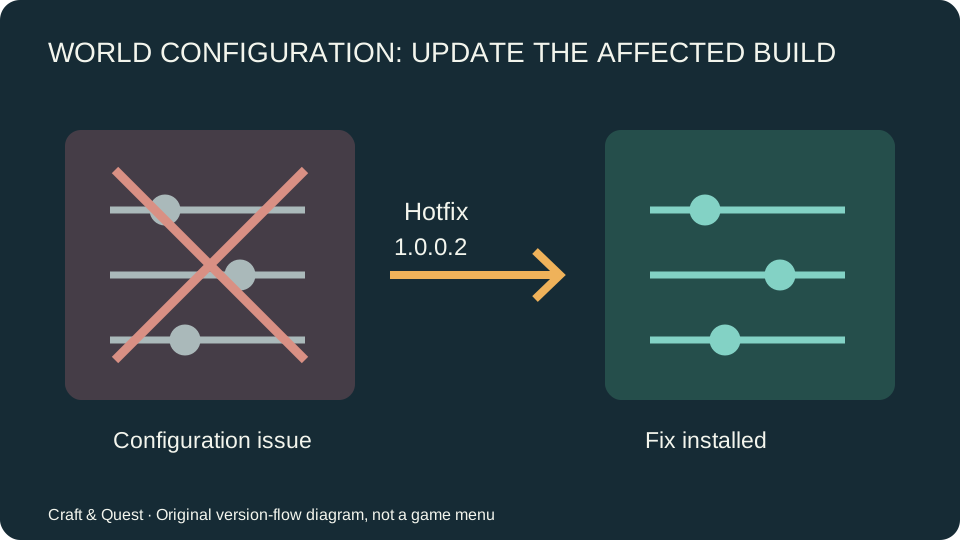
Enshrouded World Settings Cannot Be Edited: Check Hotfix 1.0.0.2
Hotfix 1.0.0.2 fixes the world-settings configuration problem introduced in the previous hotfix. Update the affected installation before following the older Adventure Sharing subscription workaround.
 Build guide
Enshrouded: How to Push Back the Shroud with Flame Altars in 1.0
Under the default 1.0 progression rule, pushing back the Shroud with Flame Altars requires Flame level 11. World settings can lower that required level; placing an early altar alone does not establish that the feature is unlocked.
 Build guide
Enshrouded Auto Loot in 1.0: What It Collects and What It Excludes
The 1.0 collection feature targets scattered nearby loot: hold the interaction input, or enable the automatic collection setting. It excludes container loot, defeated-enemy loot and special quest items.
 Build guide
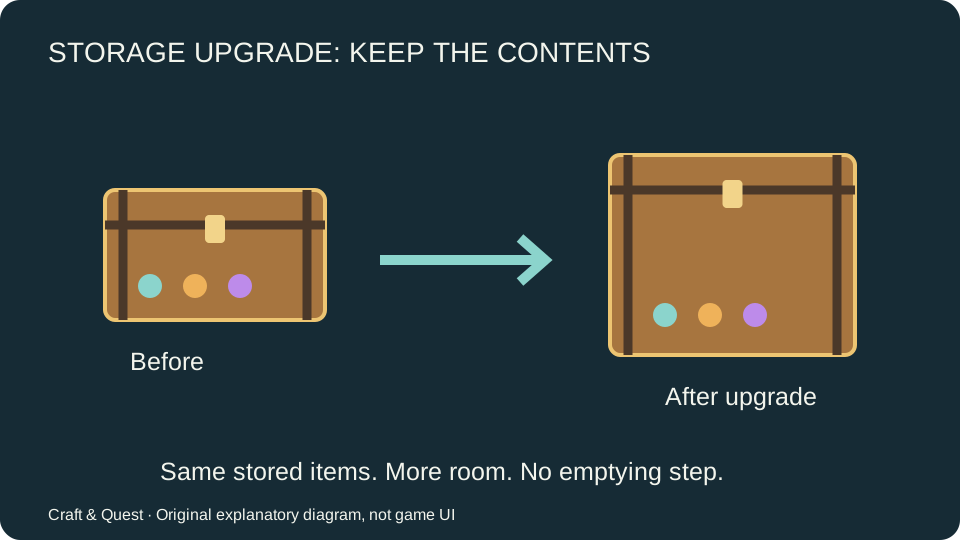
Enshrouded Storage Chest Upgrades: Expand Storage Without Emptying It
In 1.0, storage chests can be upgraded in place without first emptying and picking them up. Inspect the existing chest’s available upgrade interaction before rebuilding an entire storage room.
 Build guide
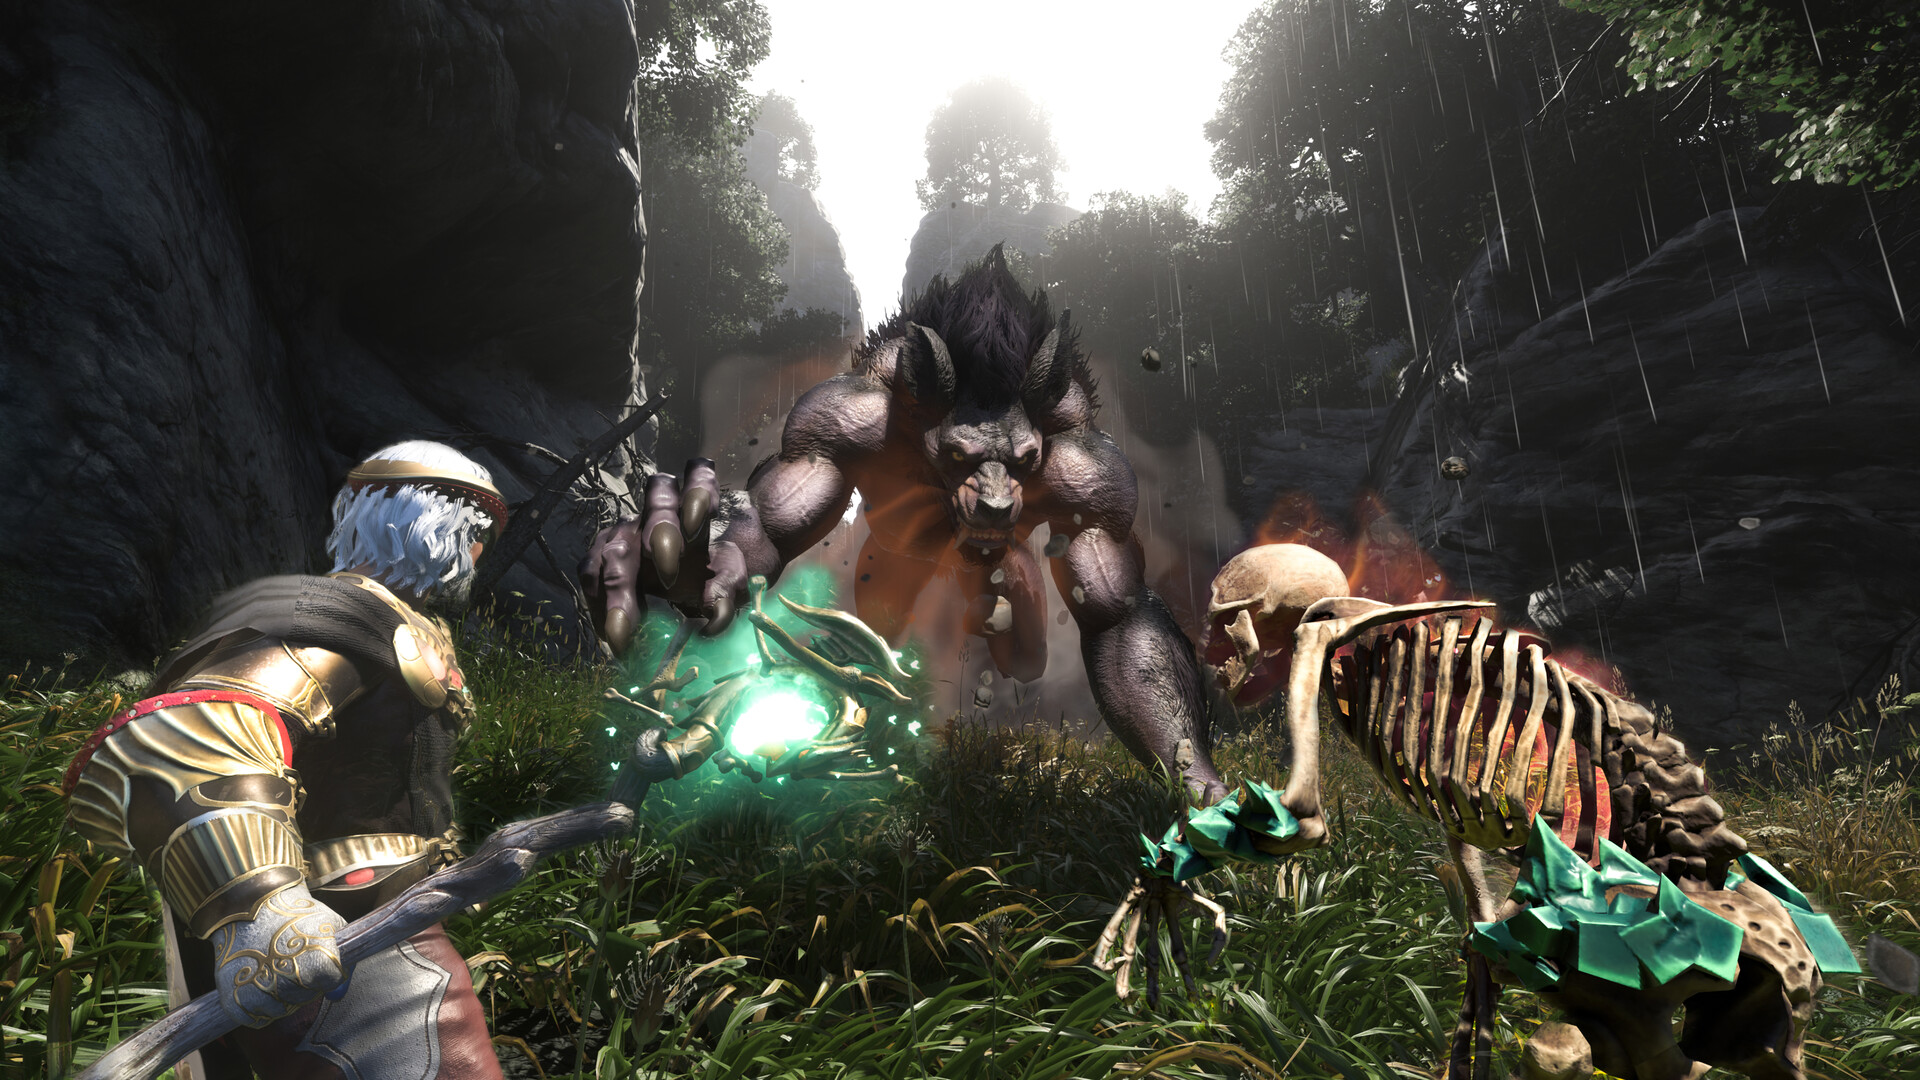
Enshrouded Eternal Spell Upgrades: Survivor Services and Loadout Checks
The 1.0 update makes Eternal spells and Eternal arrows upgradeable through the appropriate combat-class crafting survivors. Inspect the Eternal item and the relevant survivor’s upgrade service, rather than assuming a consumable charge stack uses the same process.
 Build guide
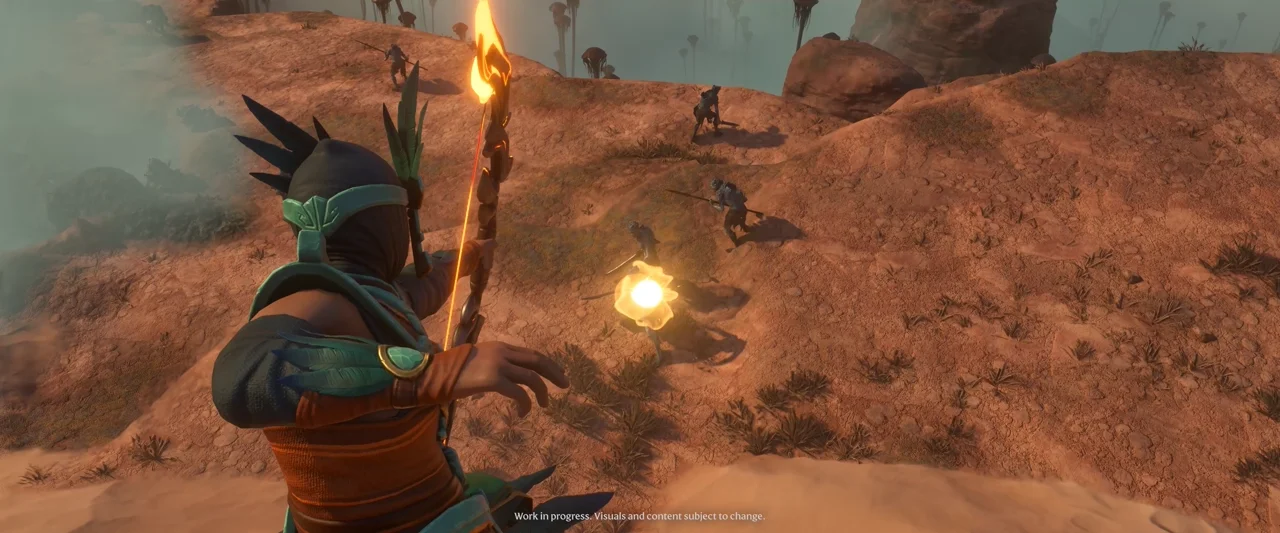
Enshrouded Wand Attacks in 1.0: Heavy Attacks vs Aerial and Evasion Skills
Wand heavy attacks are immediately available in the 1.0 design, while aerial and evasion attacks are unlocked skills. Check the skill tree and current control hints before expecting all three actions from an unchanged old loadout.
 Build guide
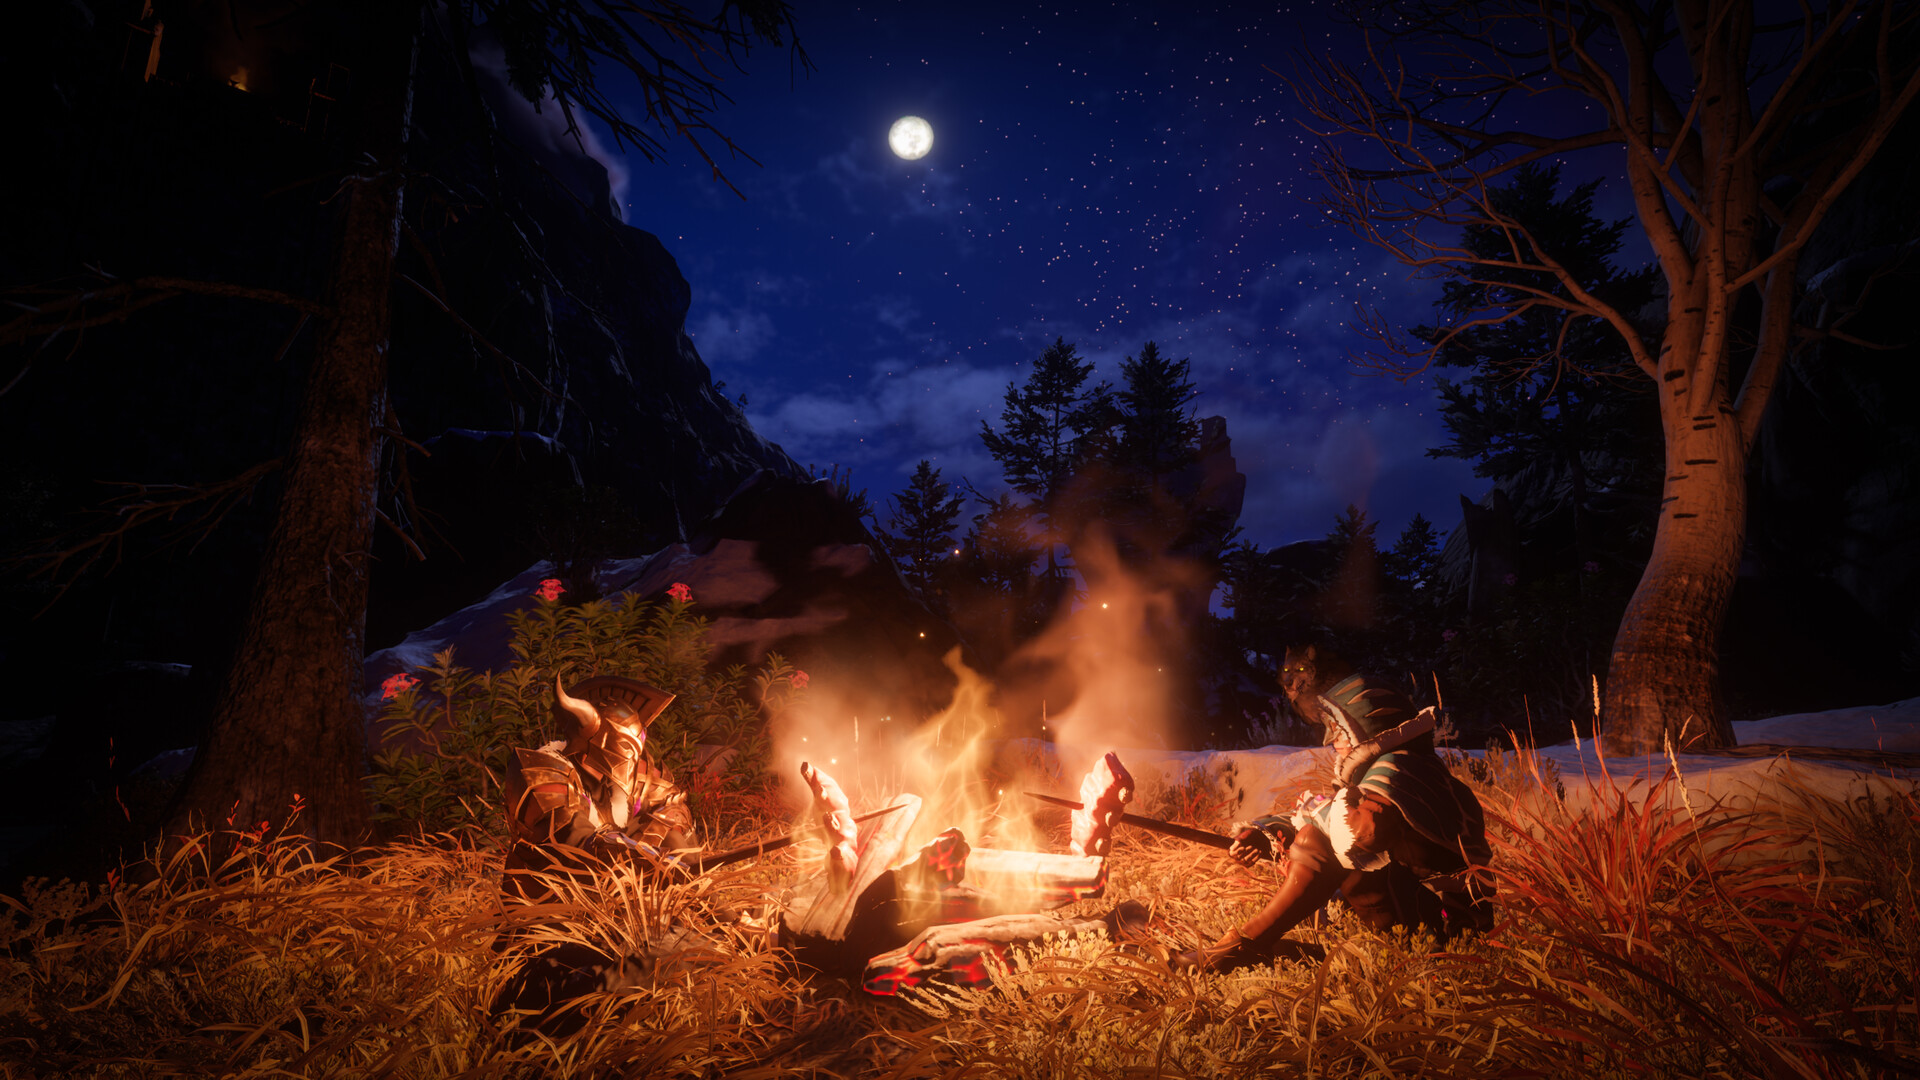
Enshrouded: Replace Active Food Buffs with the Puke Potion
The 1.0 Puke Potion removes ongoing food buffs. Use it when you deliberately want to clear the current food setup; it is not a targeted replacement of just one benefit.
 Build guide
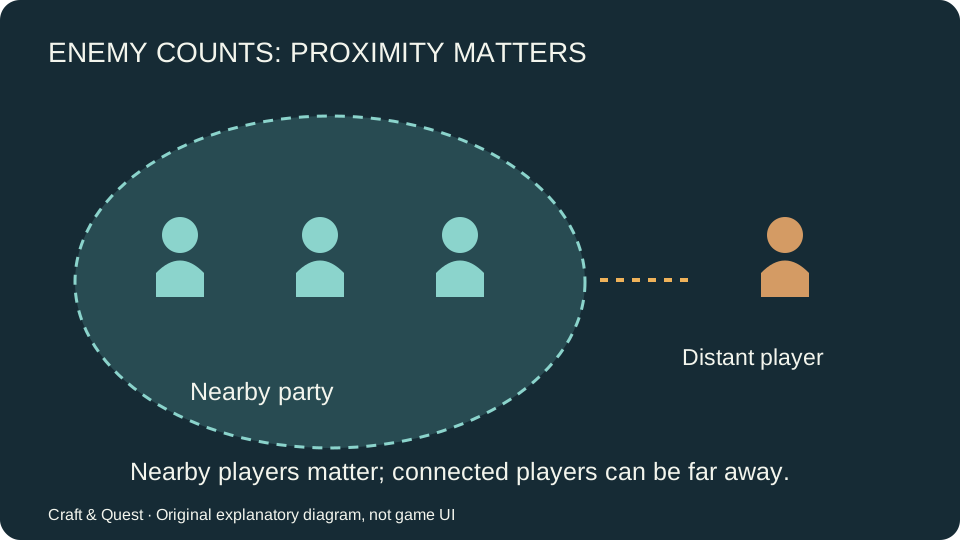
Enshrouded Automatic Enemy Counts: Nearby Party vs Distant Players
The 1.0 Automatic encounter setting scales enemy numbers with the party actively playing nearby. Players elsewhere in Embervale are not counted as part of that local party.
 Source-based guide
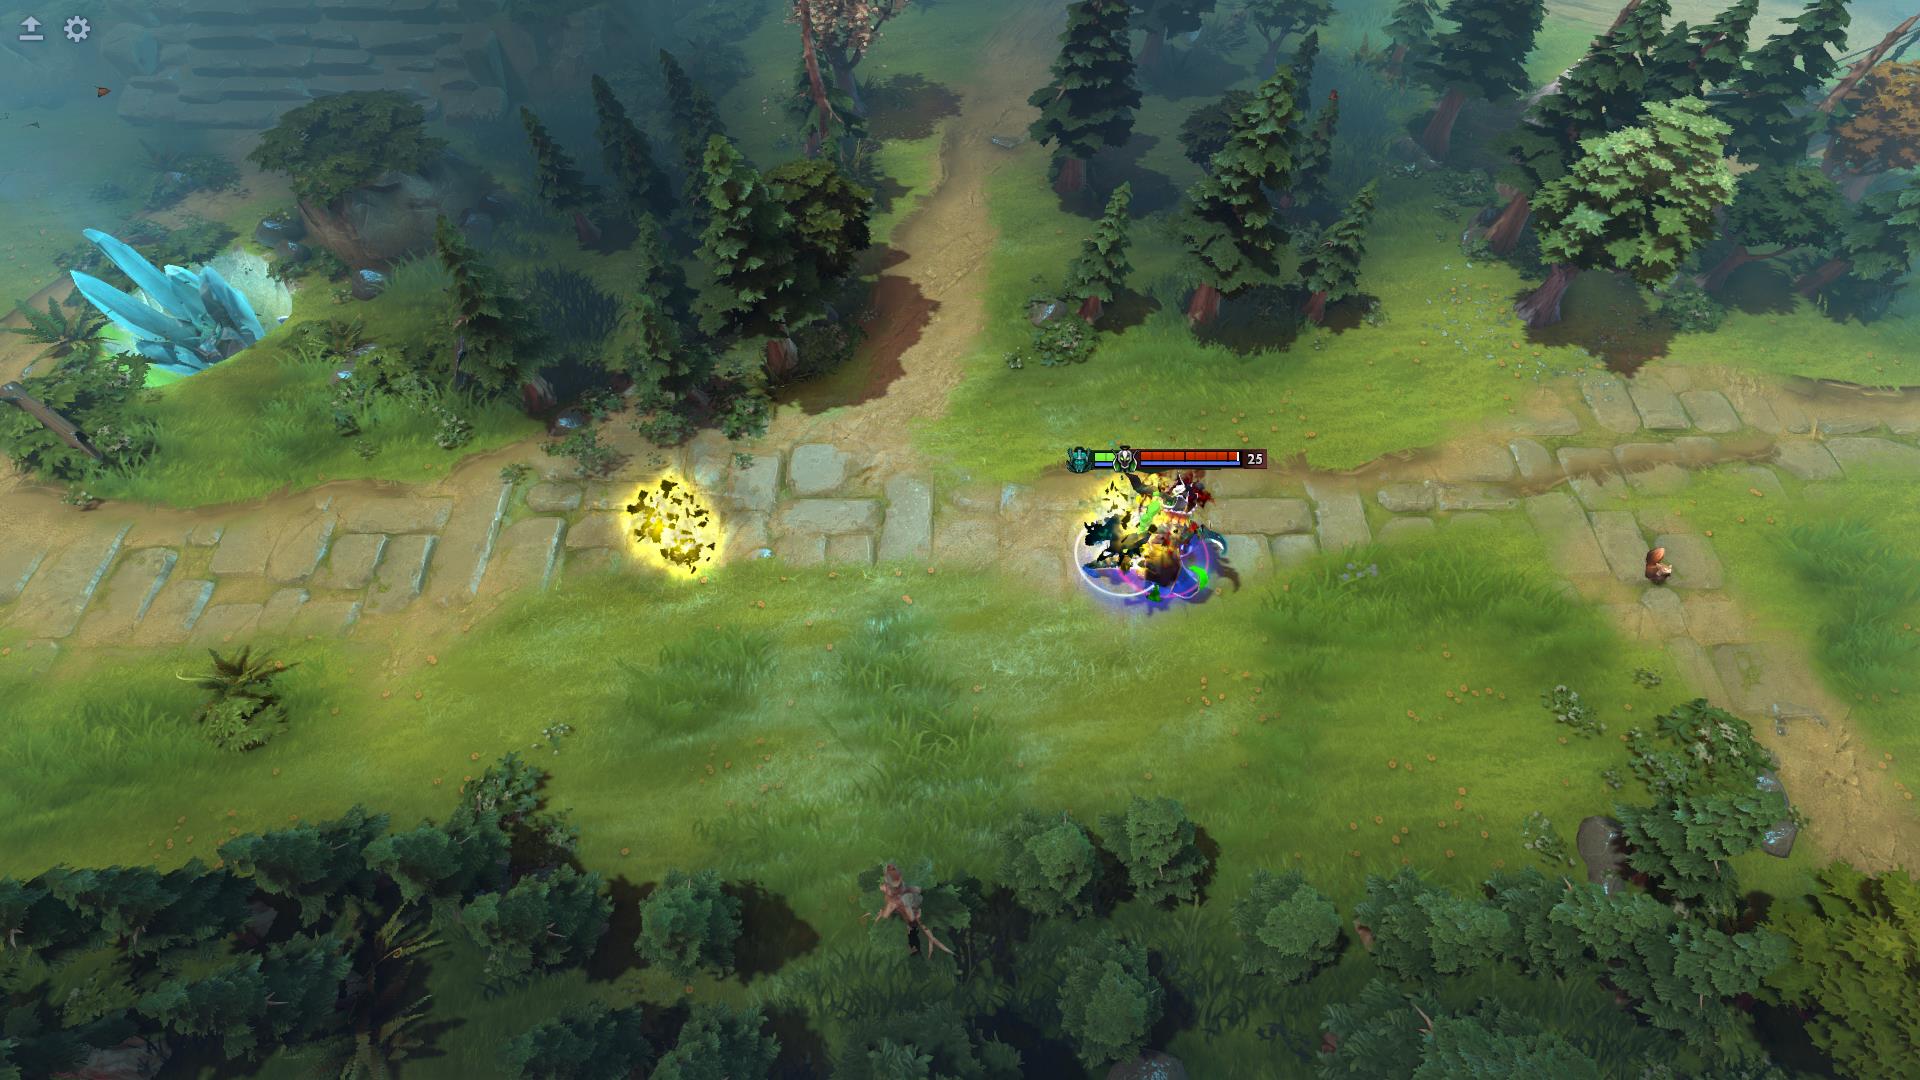
Phantom Assassin Build: Battle Fury vs Desolator, BKB and the Jump Window
Choose Battle Fury or earlier fighting items, plan BKB around Phantom Strike, and compare talents with a complete cast-cost example.
 Source-based guide
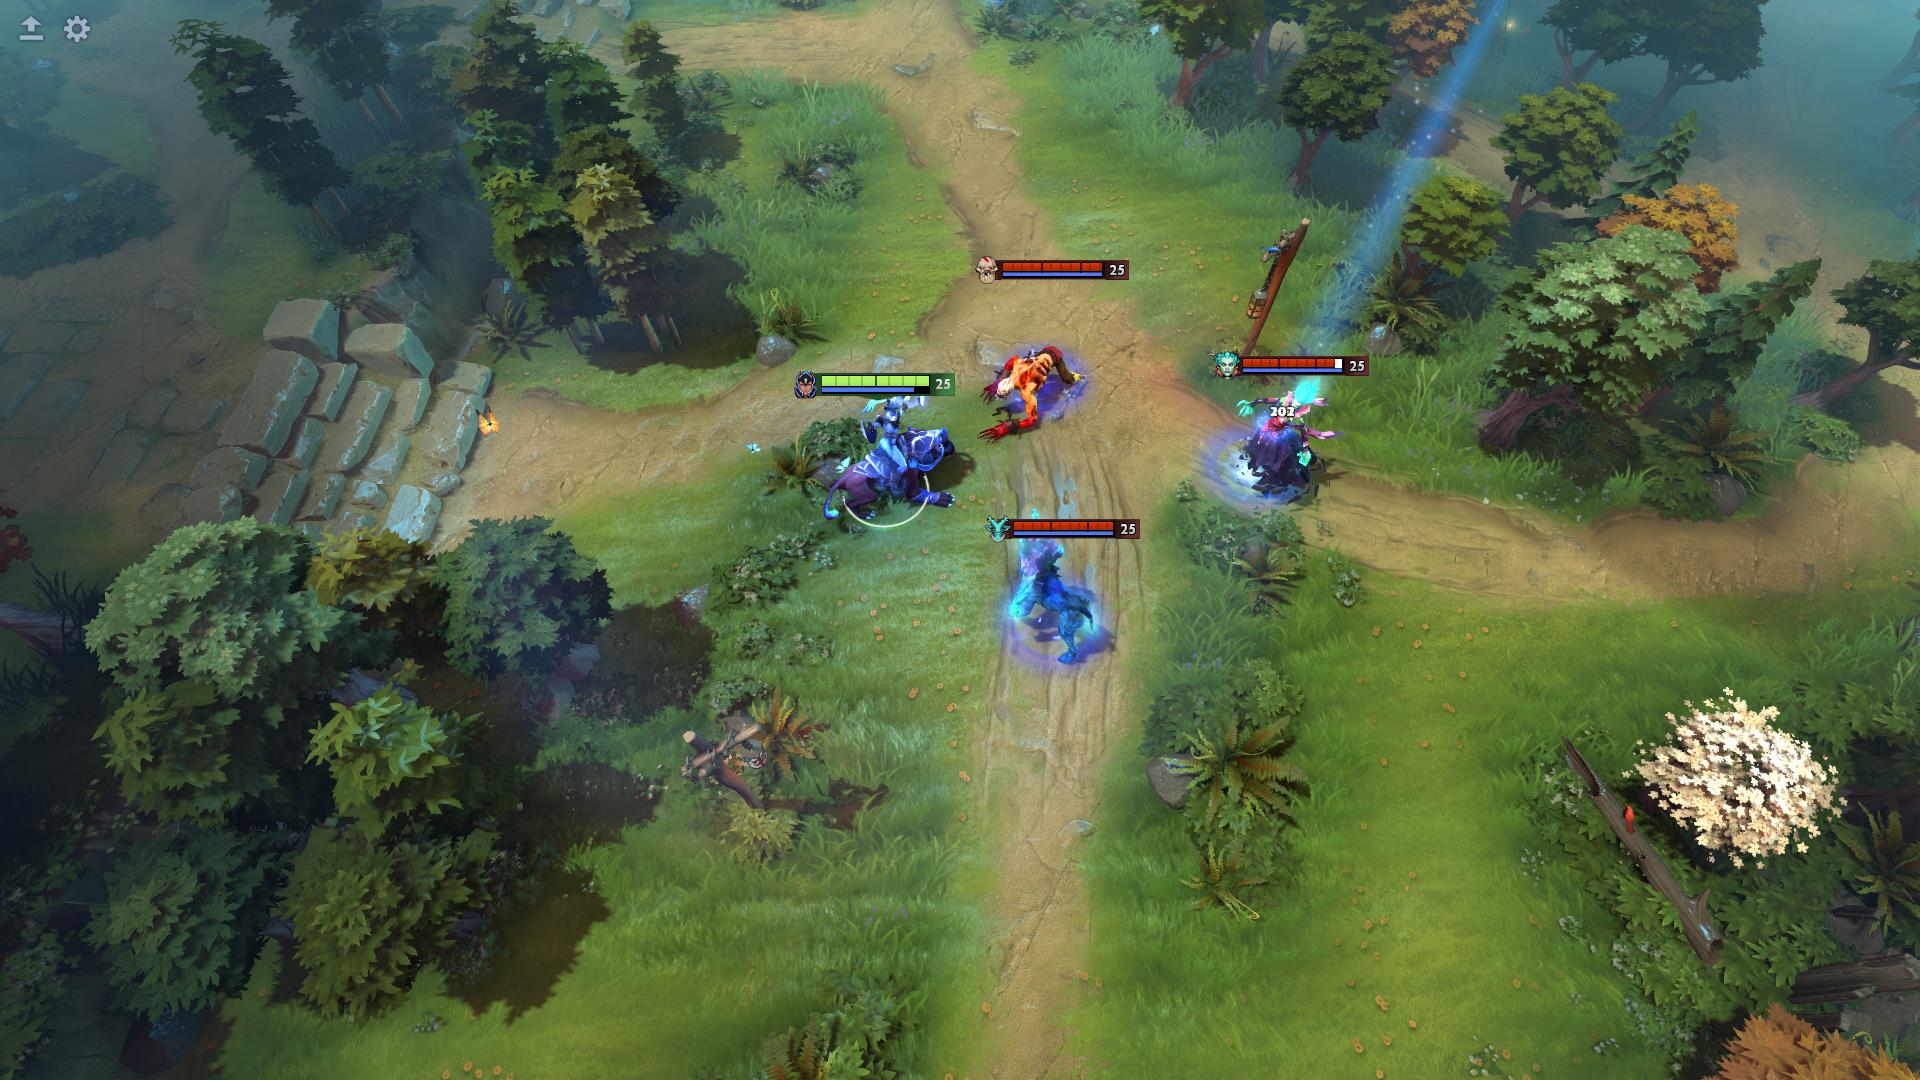
Luna Build: Mask of Madness, Manta, BKB and Eclipse Cast Order
Build around Moon Glaives, cast Eclipse before Mask of Madness, and choose Manta or BKB for the disruption stopping your attacks.
 Source-based guide
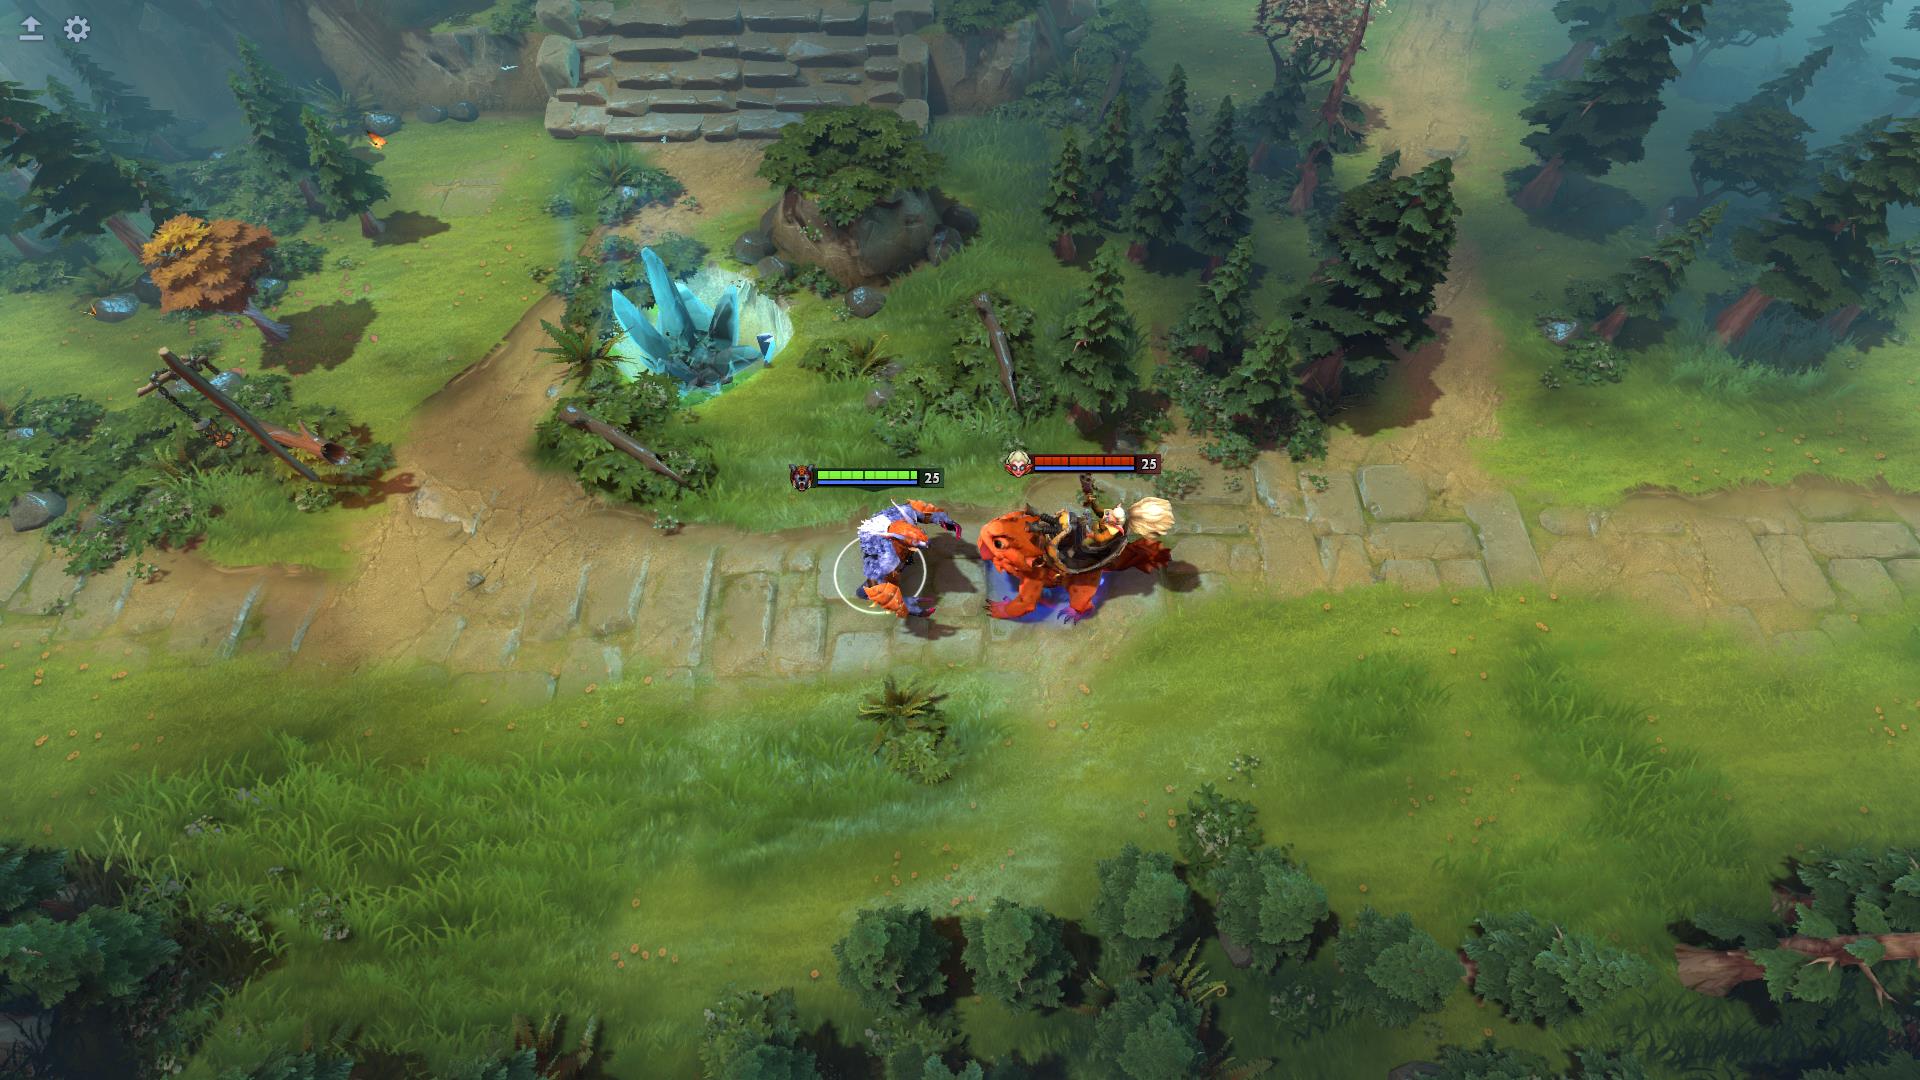
Ursa Build: Battle Fury or Early Blink, Fury Swipes and Enrage Timing
Compare farming and early-catch routes, keep Fury Swipes on one target, and budget Overpower, Enrage, BKB and Abyssal Blade together.
 Source-based guide
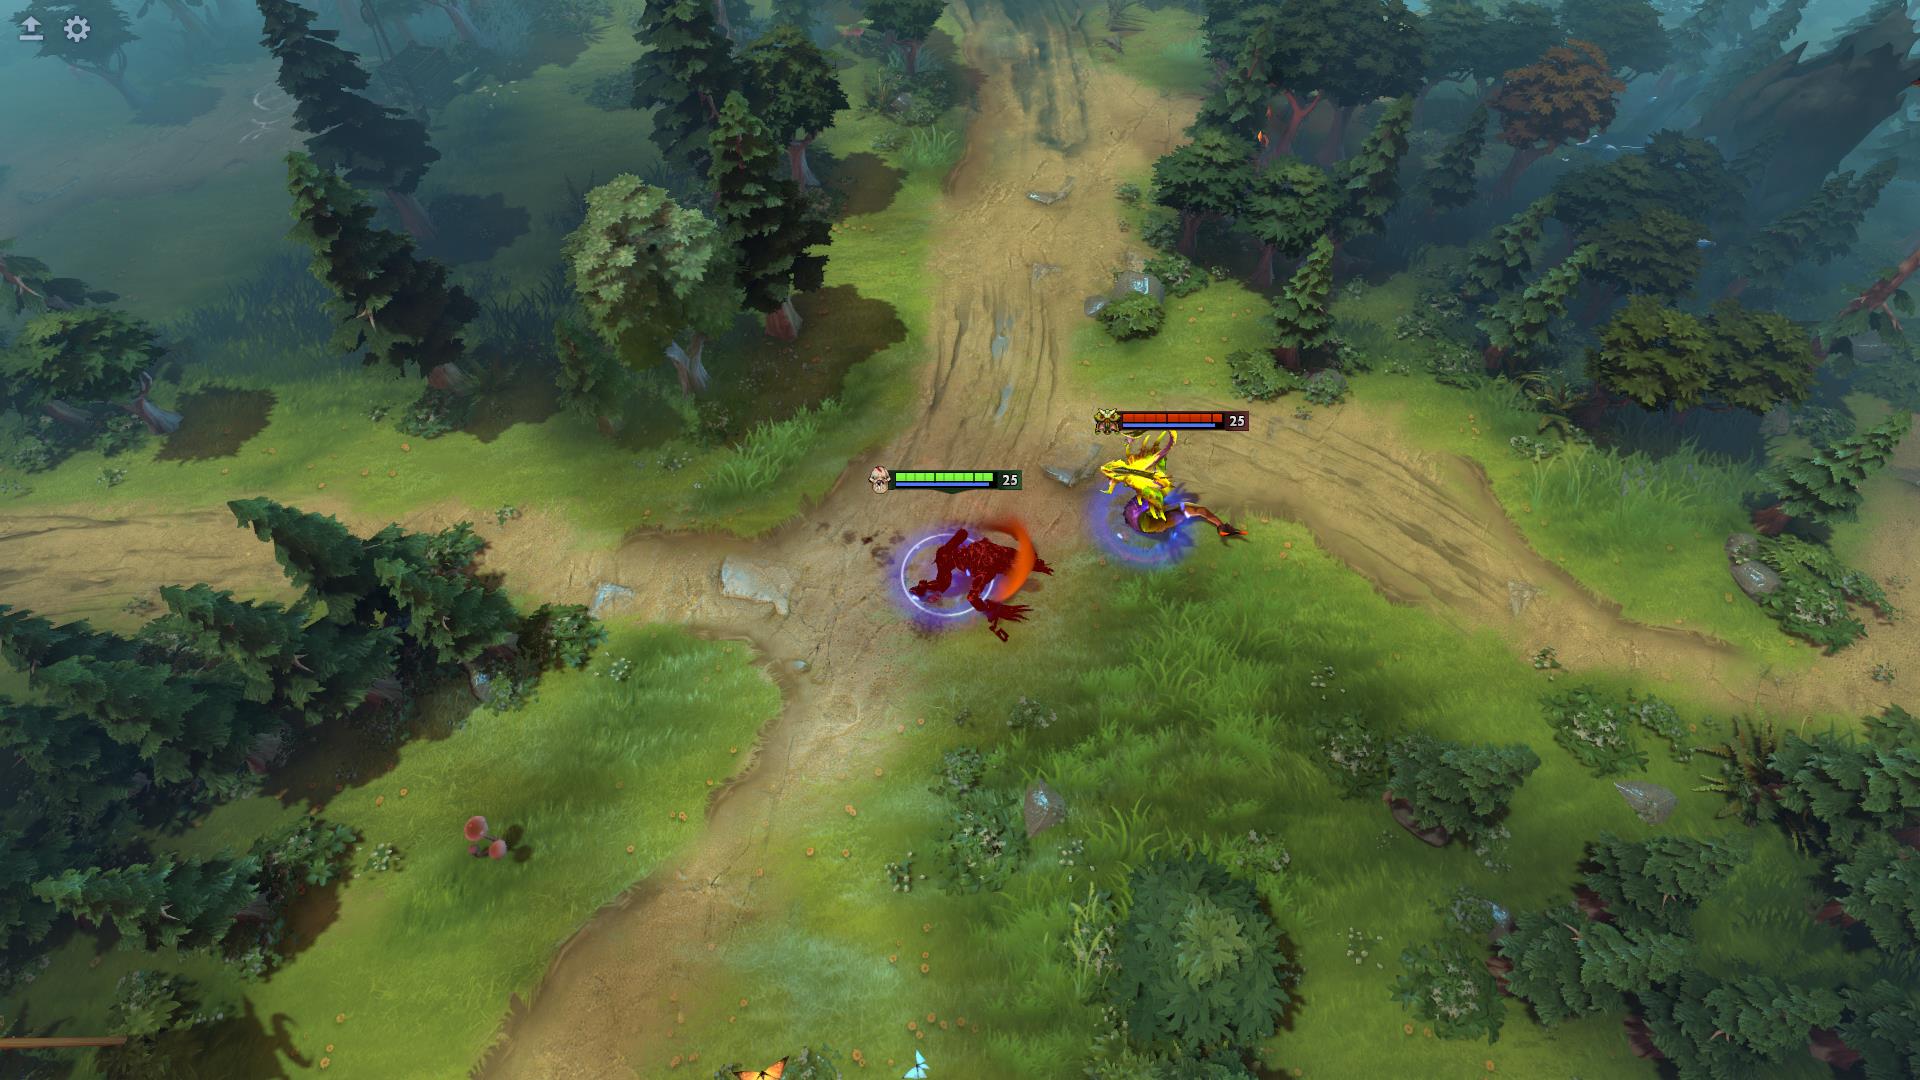
Lifestealer Build: Armlet, Radiance vs Desolator and the Rage Window
Choose Armlet into Radiance or Desolator, use the Rage window deliberately, and reserve Infest resources before committing to the fight.
 Source-based guide
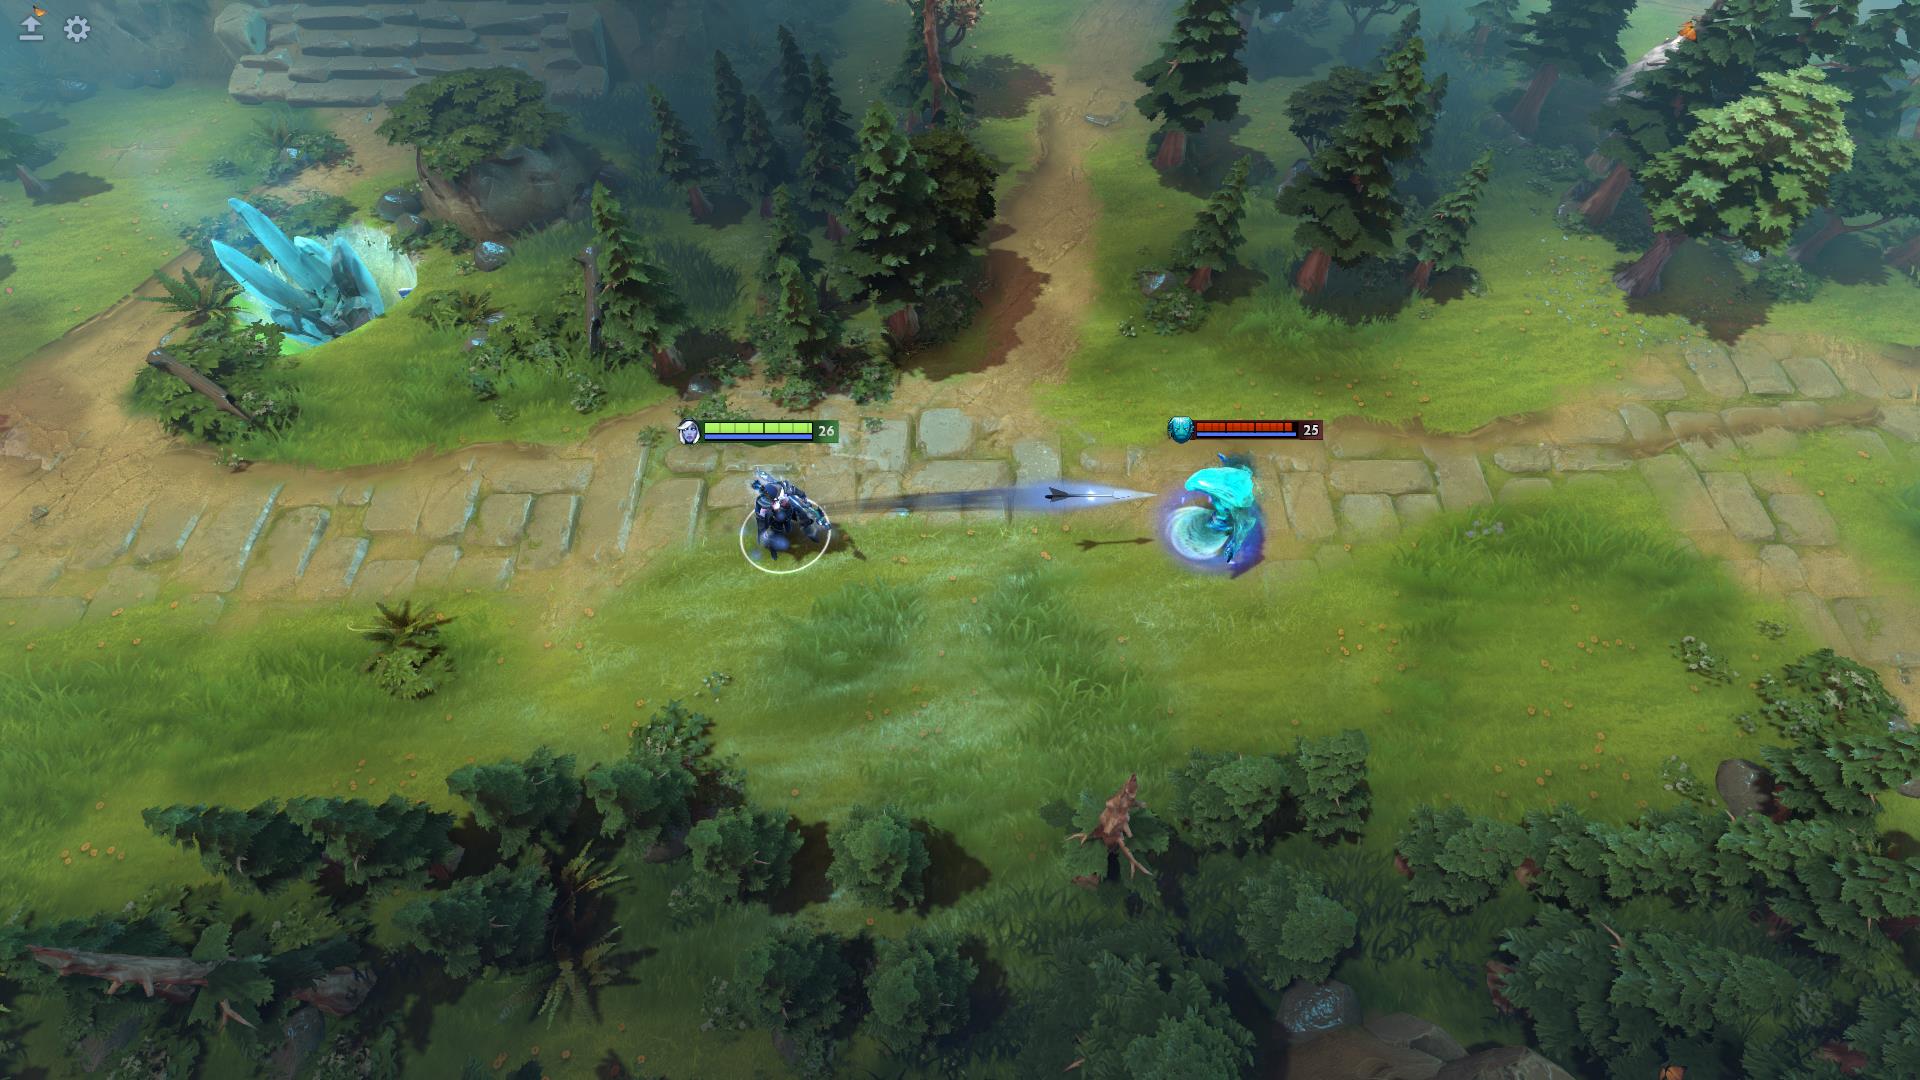
Drow Ranger Build: Hurricane Pike, Manta, BKB and Marksmanship Range
Use Pike, Gust and the right protection to preserve Marksmanship. Includes talent branches and a Frost Arrows mana-budget example.
 Source-based guide
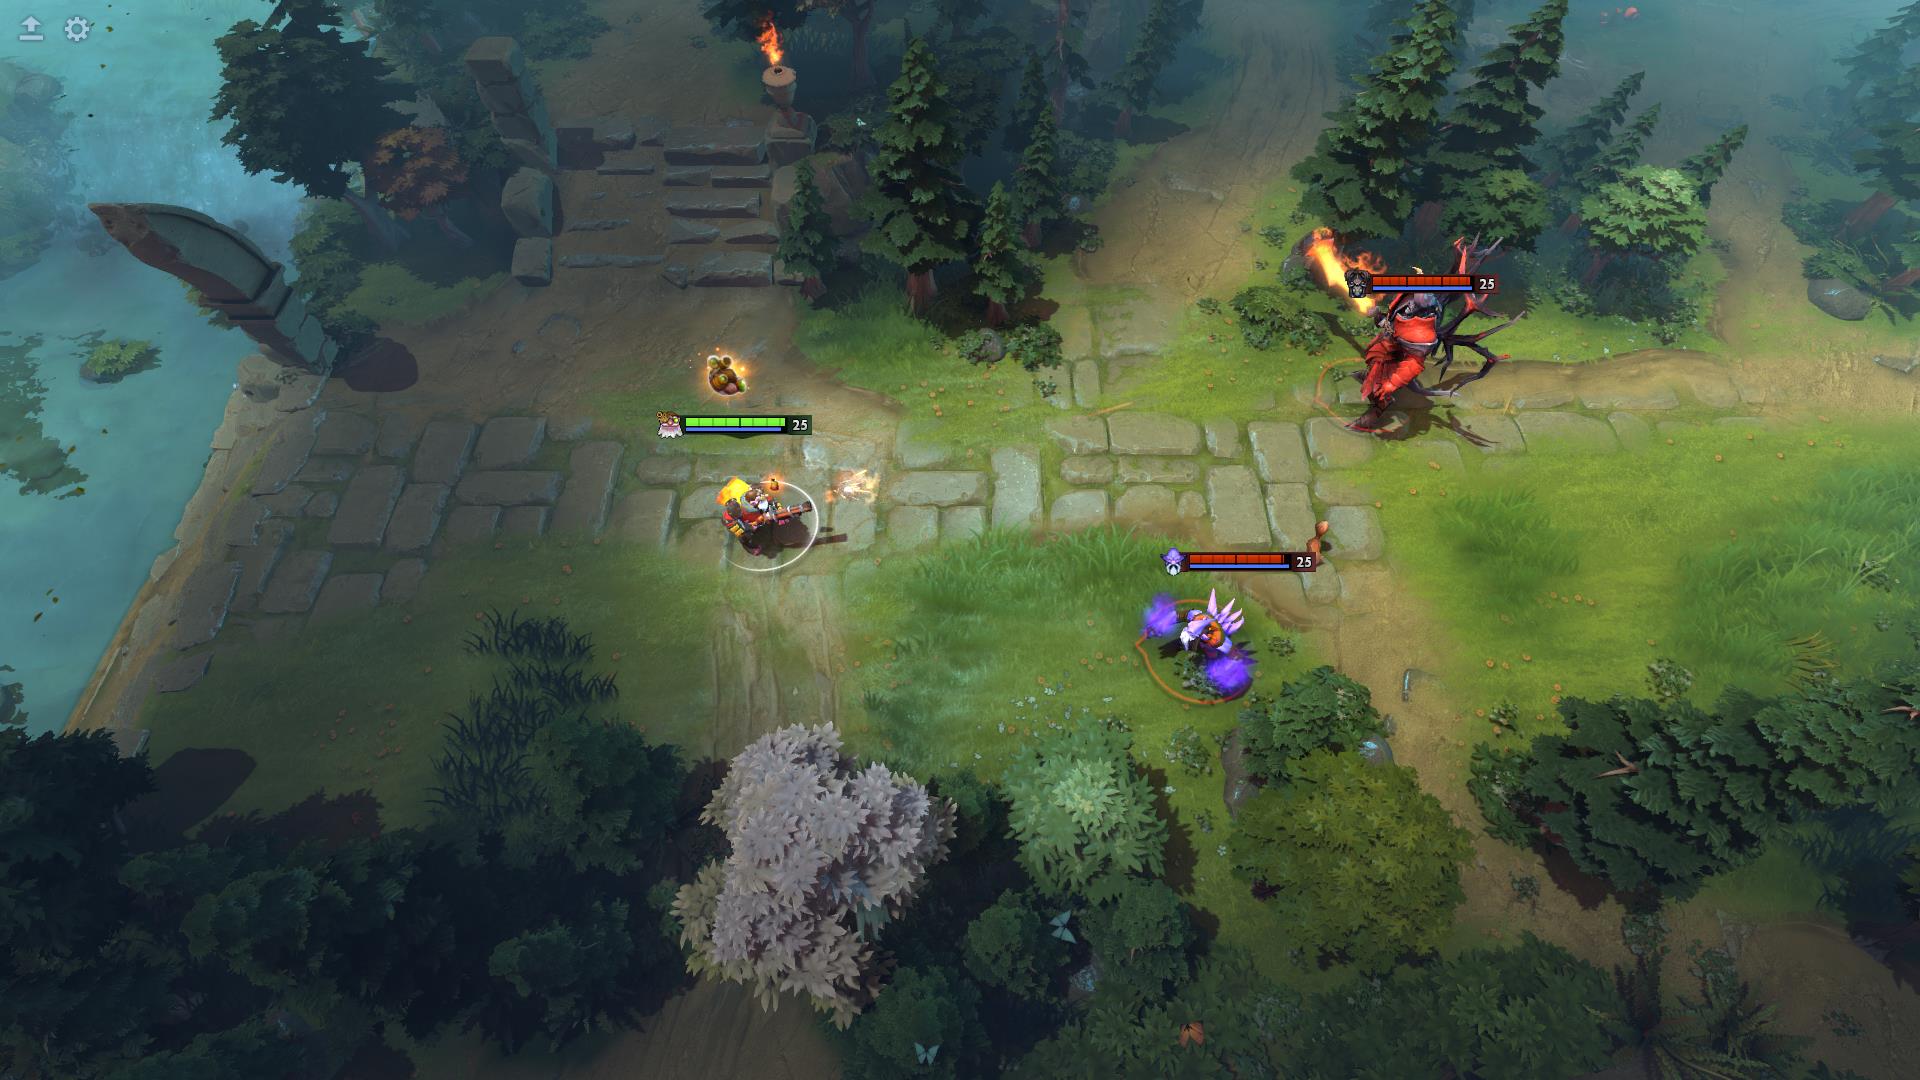
Sniper Build: Hurricane Pike, BKB and When Take Aim Is a Trap
Plan attack-focused Sniper with Pike and BKB, understand the Take Aim self-slow, and reserve mana for the complete defensive sequence.
 Source-based guide
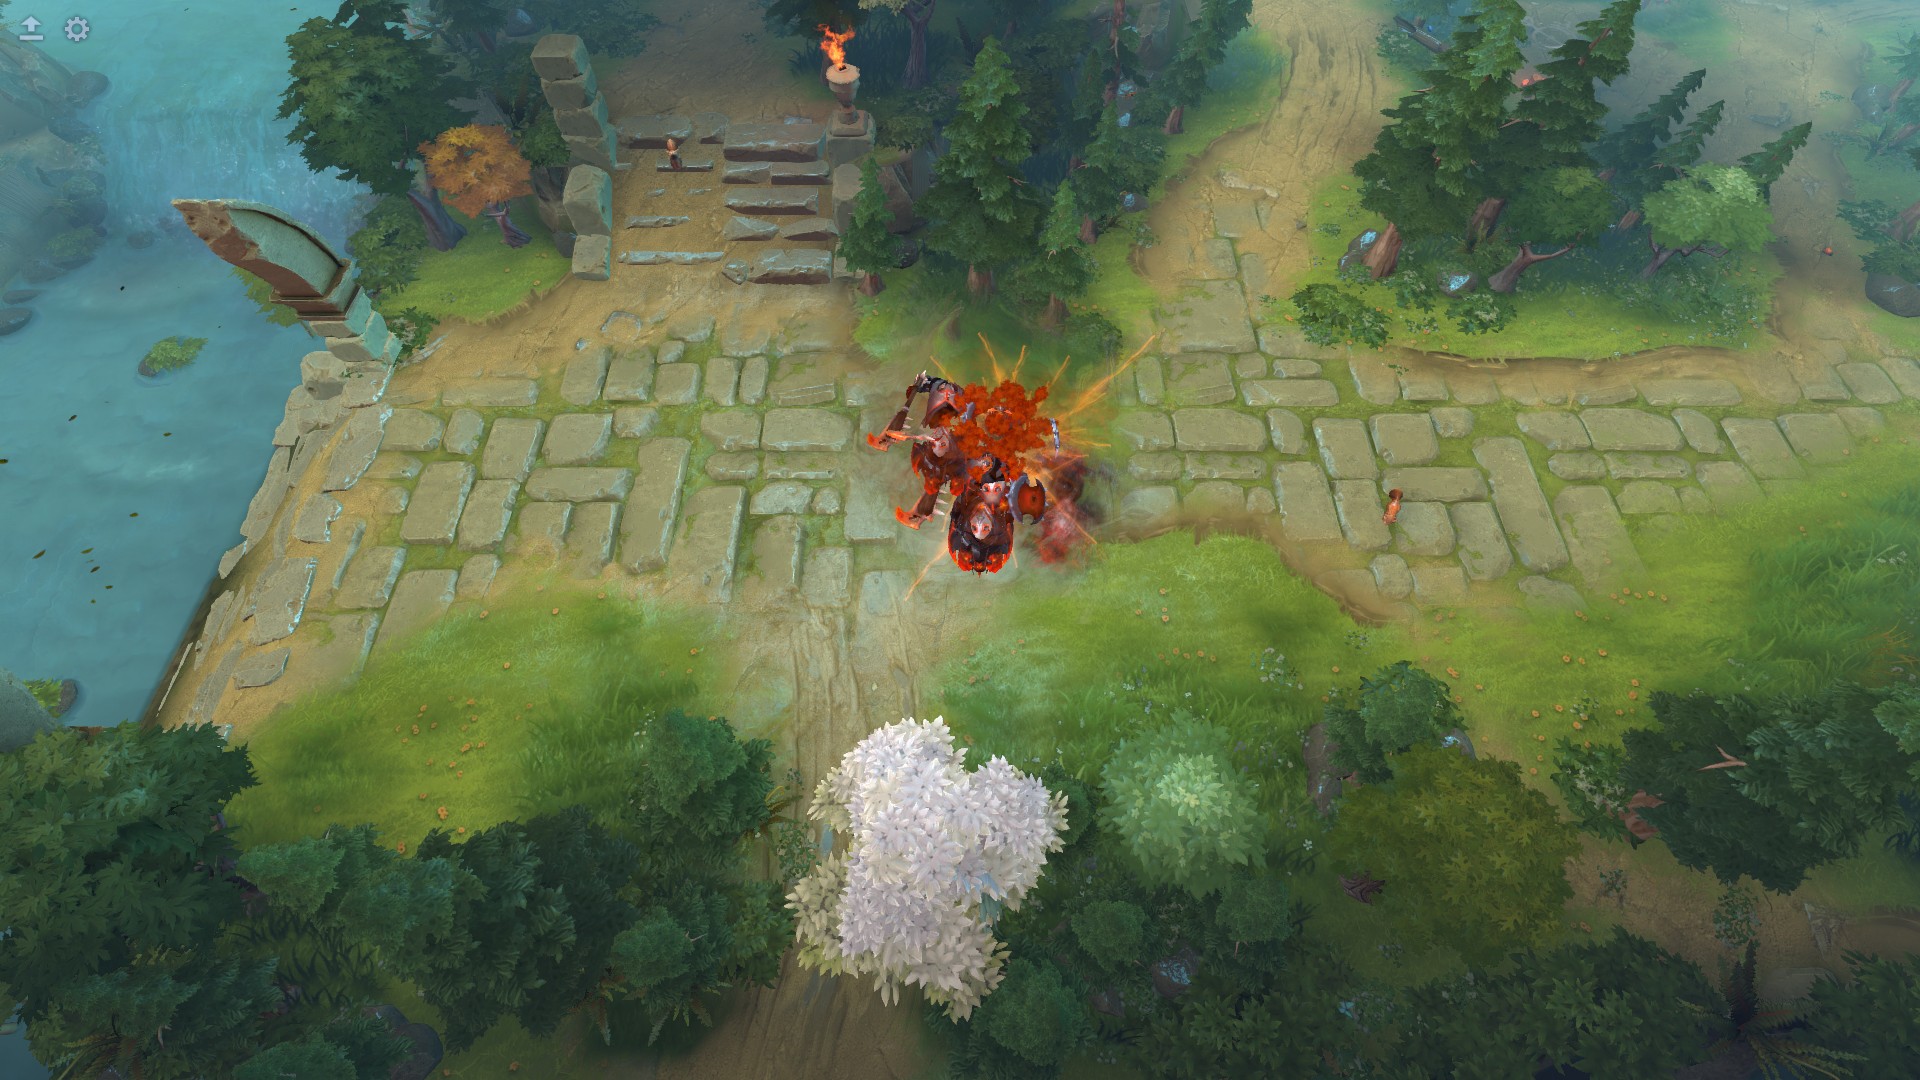
Chaos Knight Build: Armlet, Echo Sabre, Phantasm and Reality Rift
Build a focused Armlet and Echo Sabre route, coordinate Phantasm with Reality Rift, and account for the variable Chaos Bolt result.
 Source-based guide
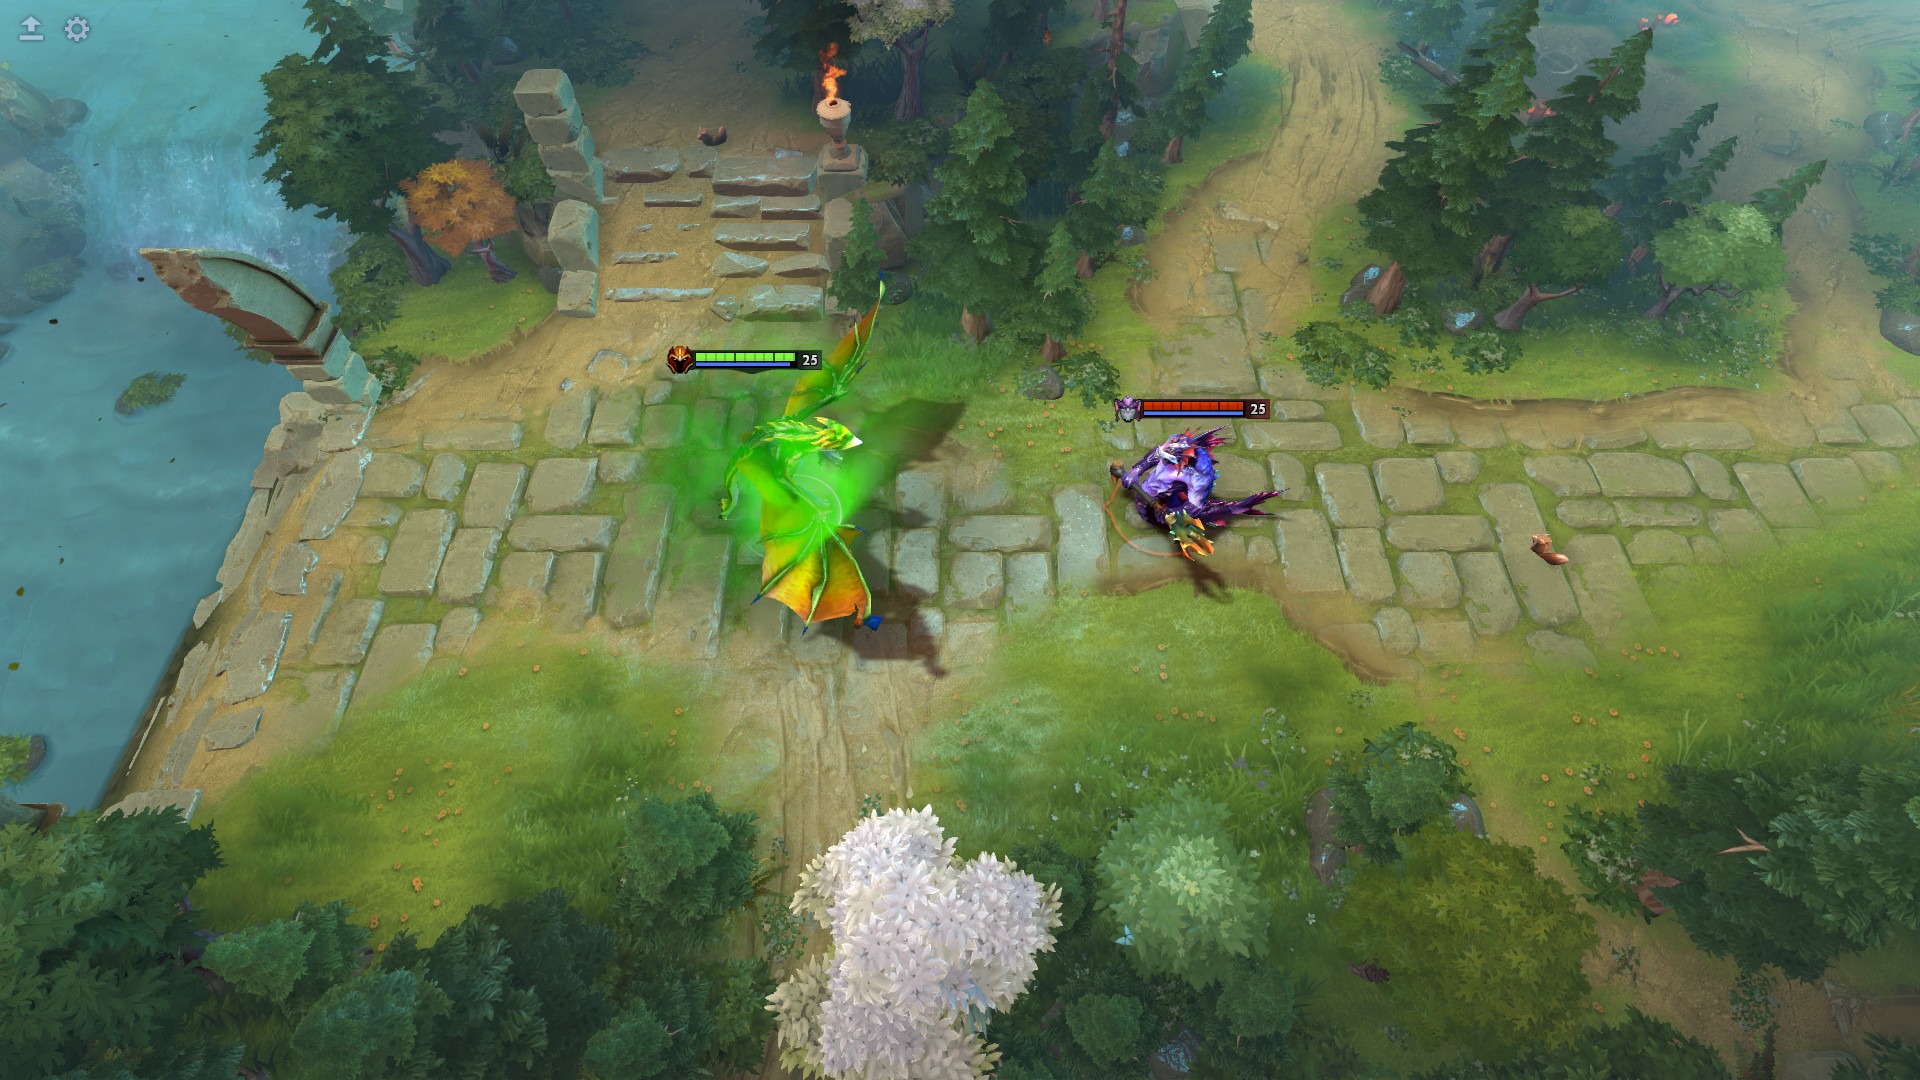
Dragon Knight Build: Blink, BKB, Dragon Tail and the Dragon-Form Window
Build Blink and BKB around Dragon Tail access, compare talents, and calculate the form-dependent cast range and full mana reserve.
 Source-based guide
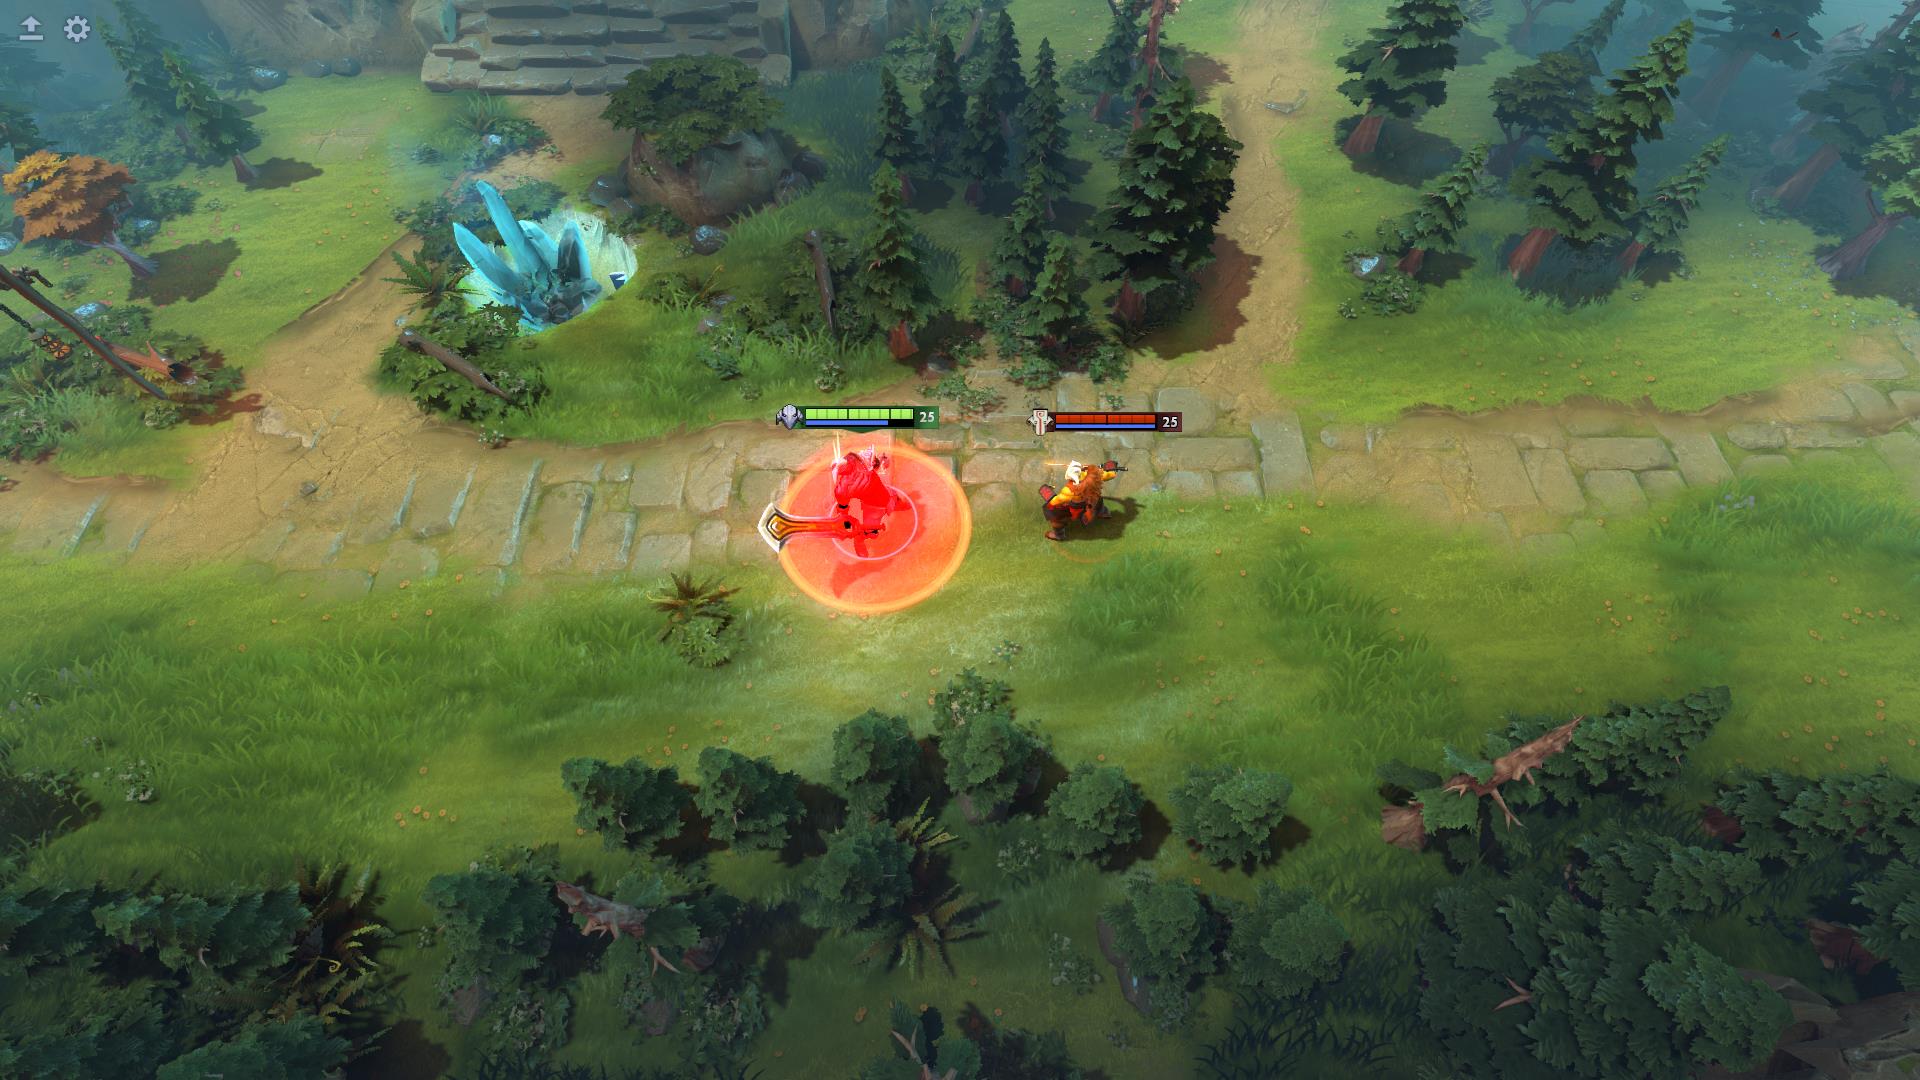
Dota 2 Sven Carry Build: Mask of Madness, Blink, BKB and Cast Order
Build a Sven carry plan around cleave farming and a protected attack window. Learn when to buy Blink or BKB, cast before Mask of Madness, and budget armor and mana.
 Source-based guide
Dota 2 Axe Blink–Blade Mail Build: Skills, Talents and Item Decisions
Build an Axe initiation plan around Blink, Berserker’s Call and Blade Mail, with skill priorities, talent trade-offs, mana calculations and defensive branches.
 Source-based guide
Zeus Nimbus guide: Aghanim’s Scepter, targeting and when to buy it
Nimbus uses Zeus’s current Lightning Bolt level and strikes the closest enemy unit. Learn why creeps take bolts and how to evaluate the Scepter upgrade.
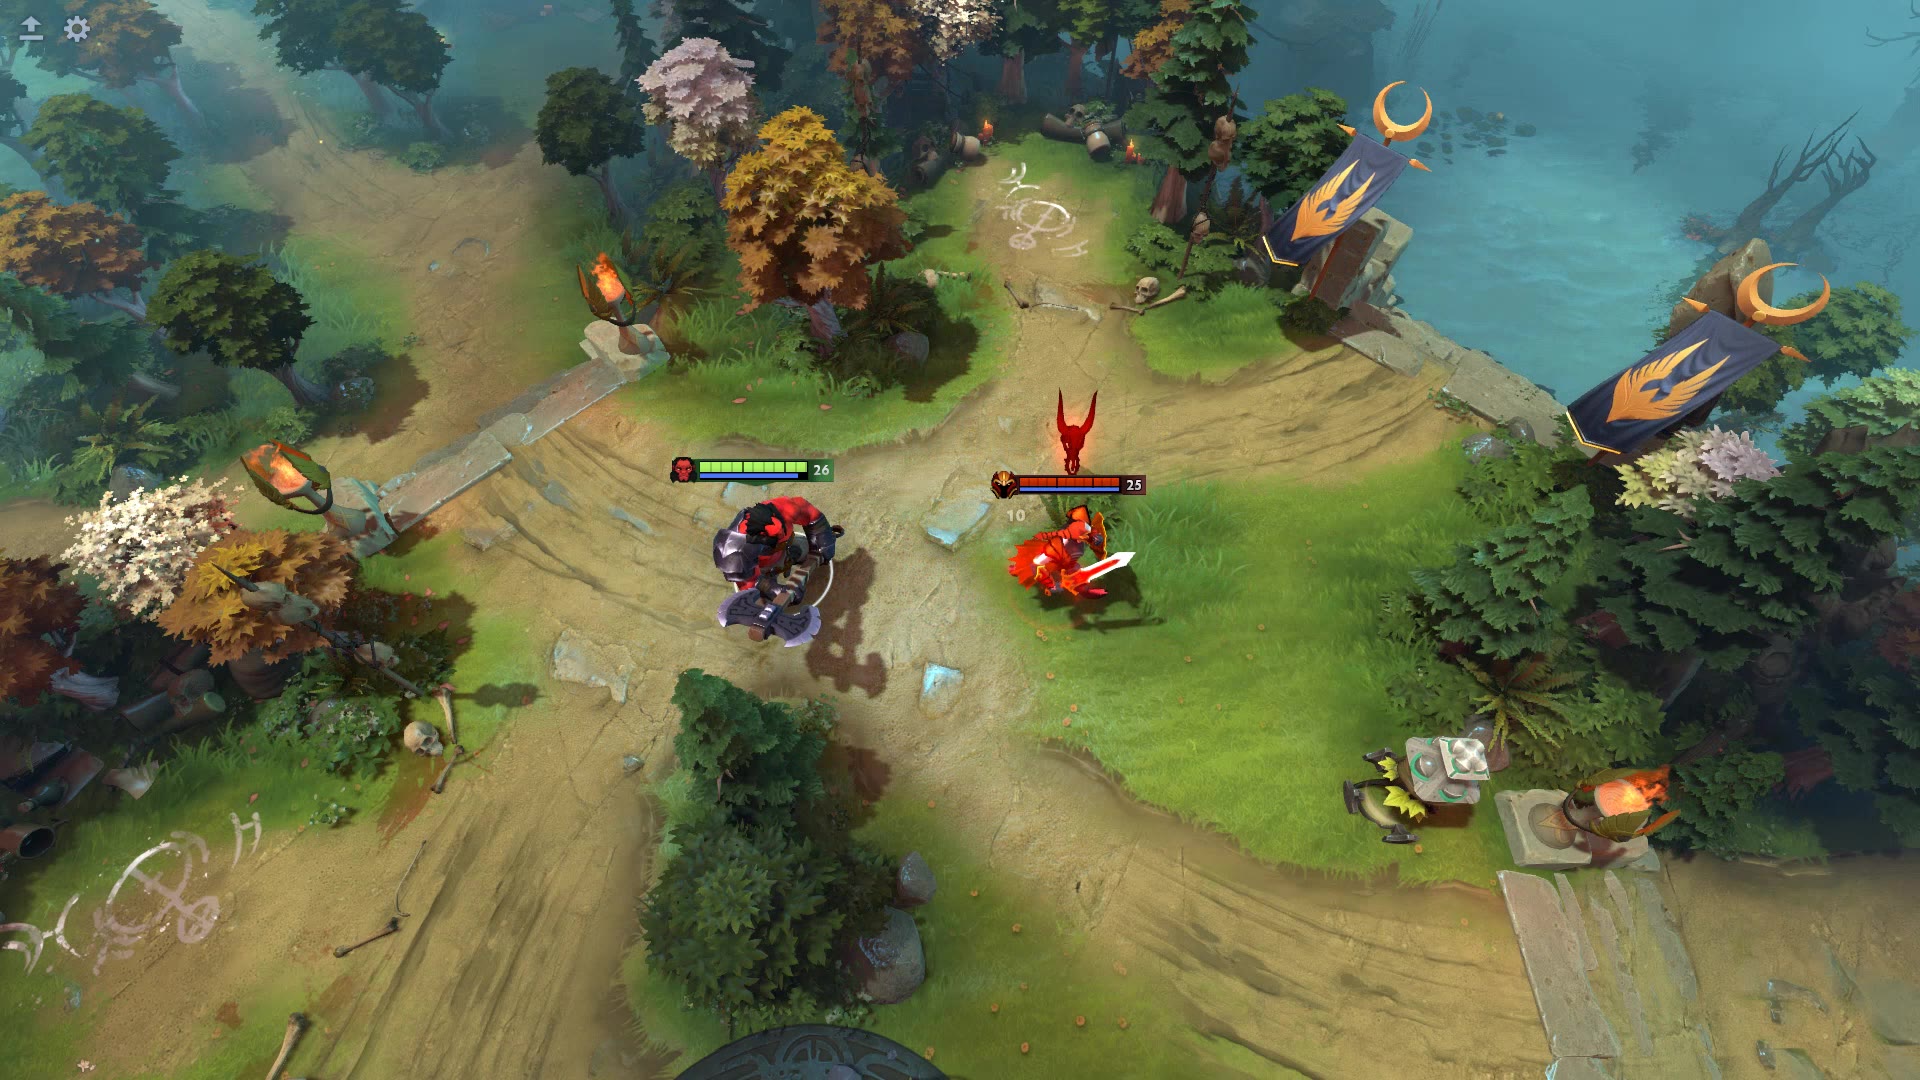 Source-based guide
How to remove Axe Battle Hunger without waiting it out
Secure a kill on another unit to end Battle Hunger early.
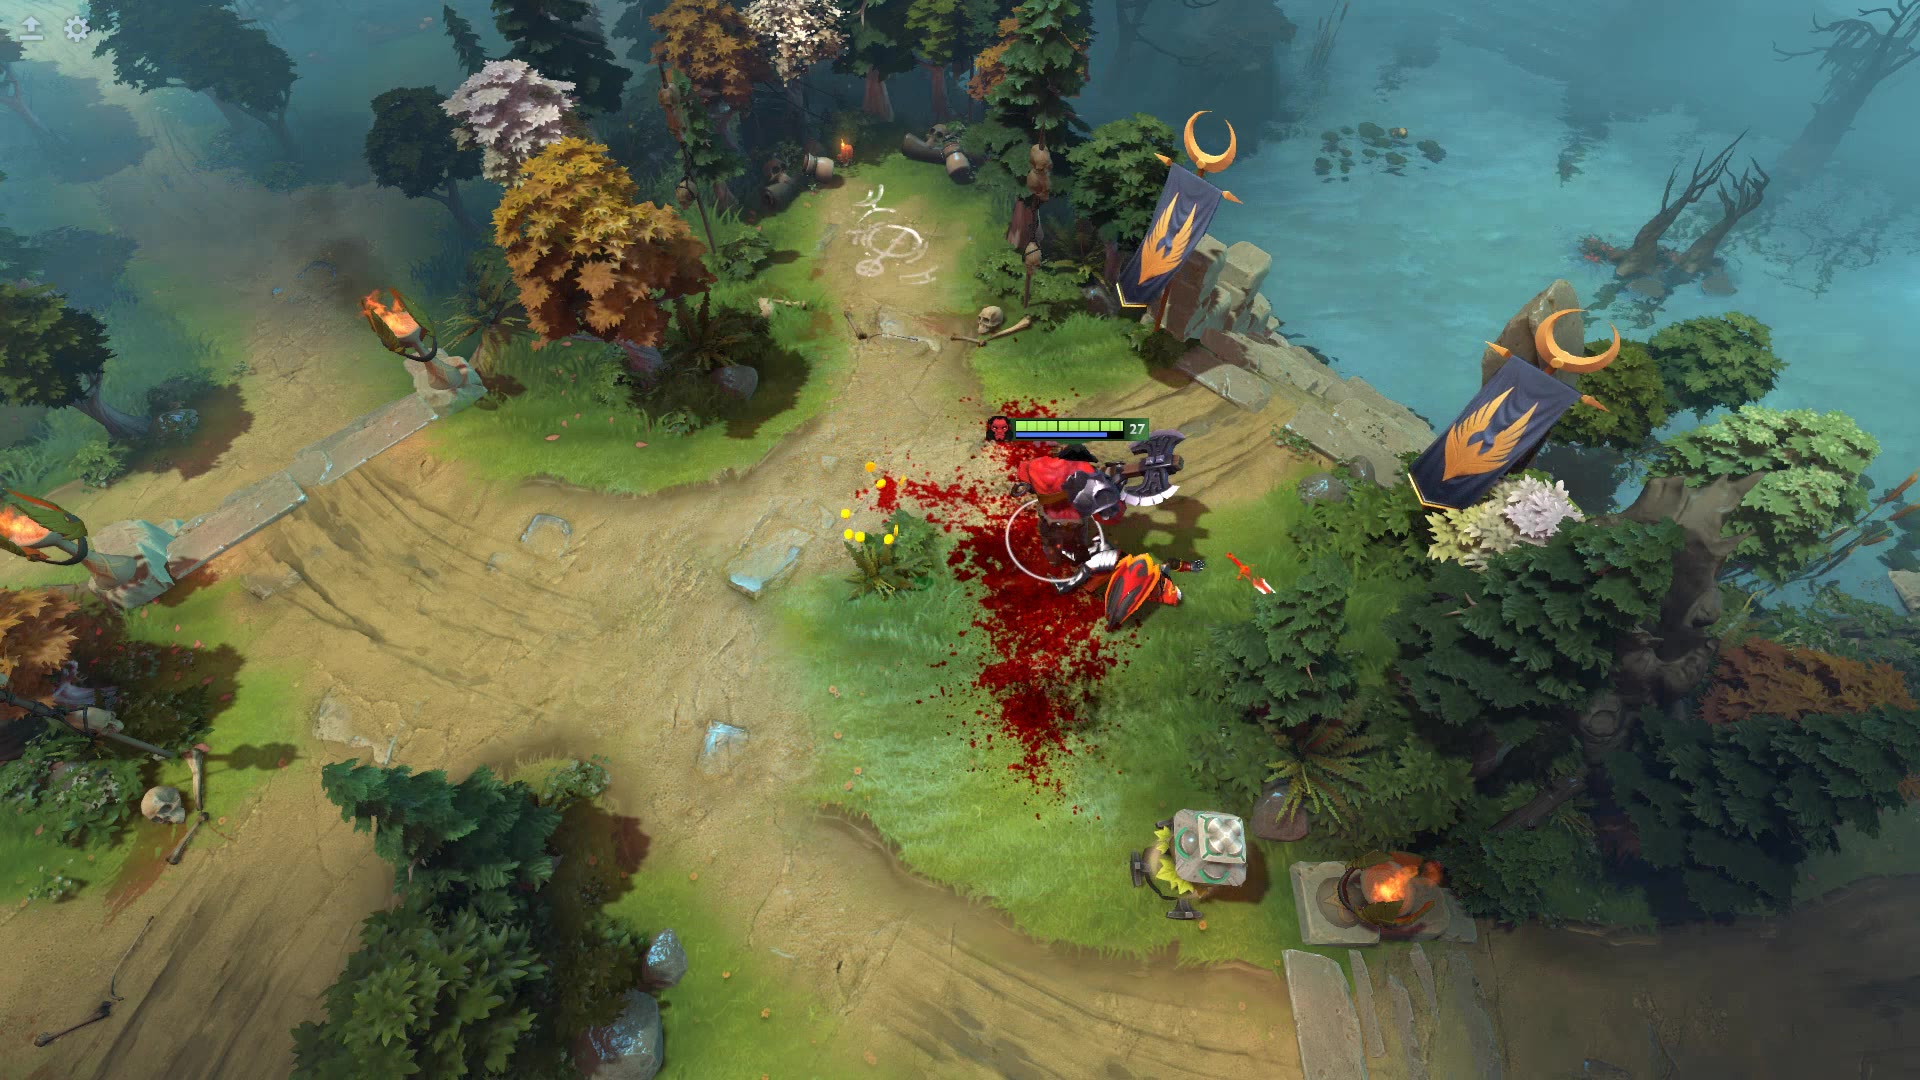 Source-based guide
Why did Axe Culling Blade not reset its cooldown?
The reset is tied to killing an enemy hero with Culling Blade.
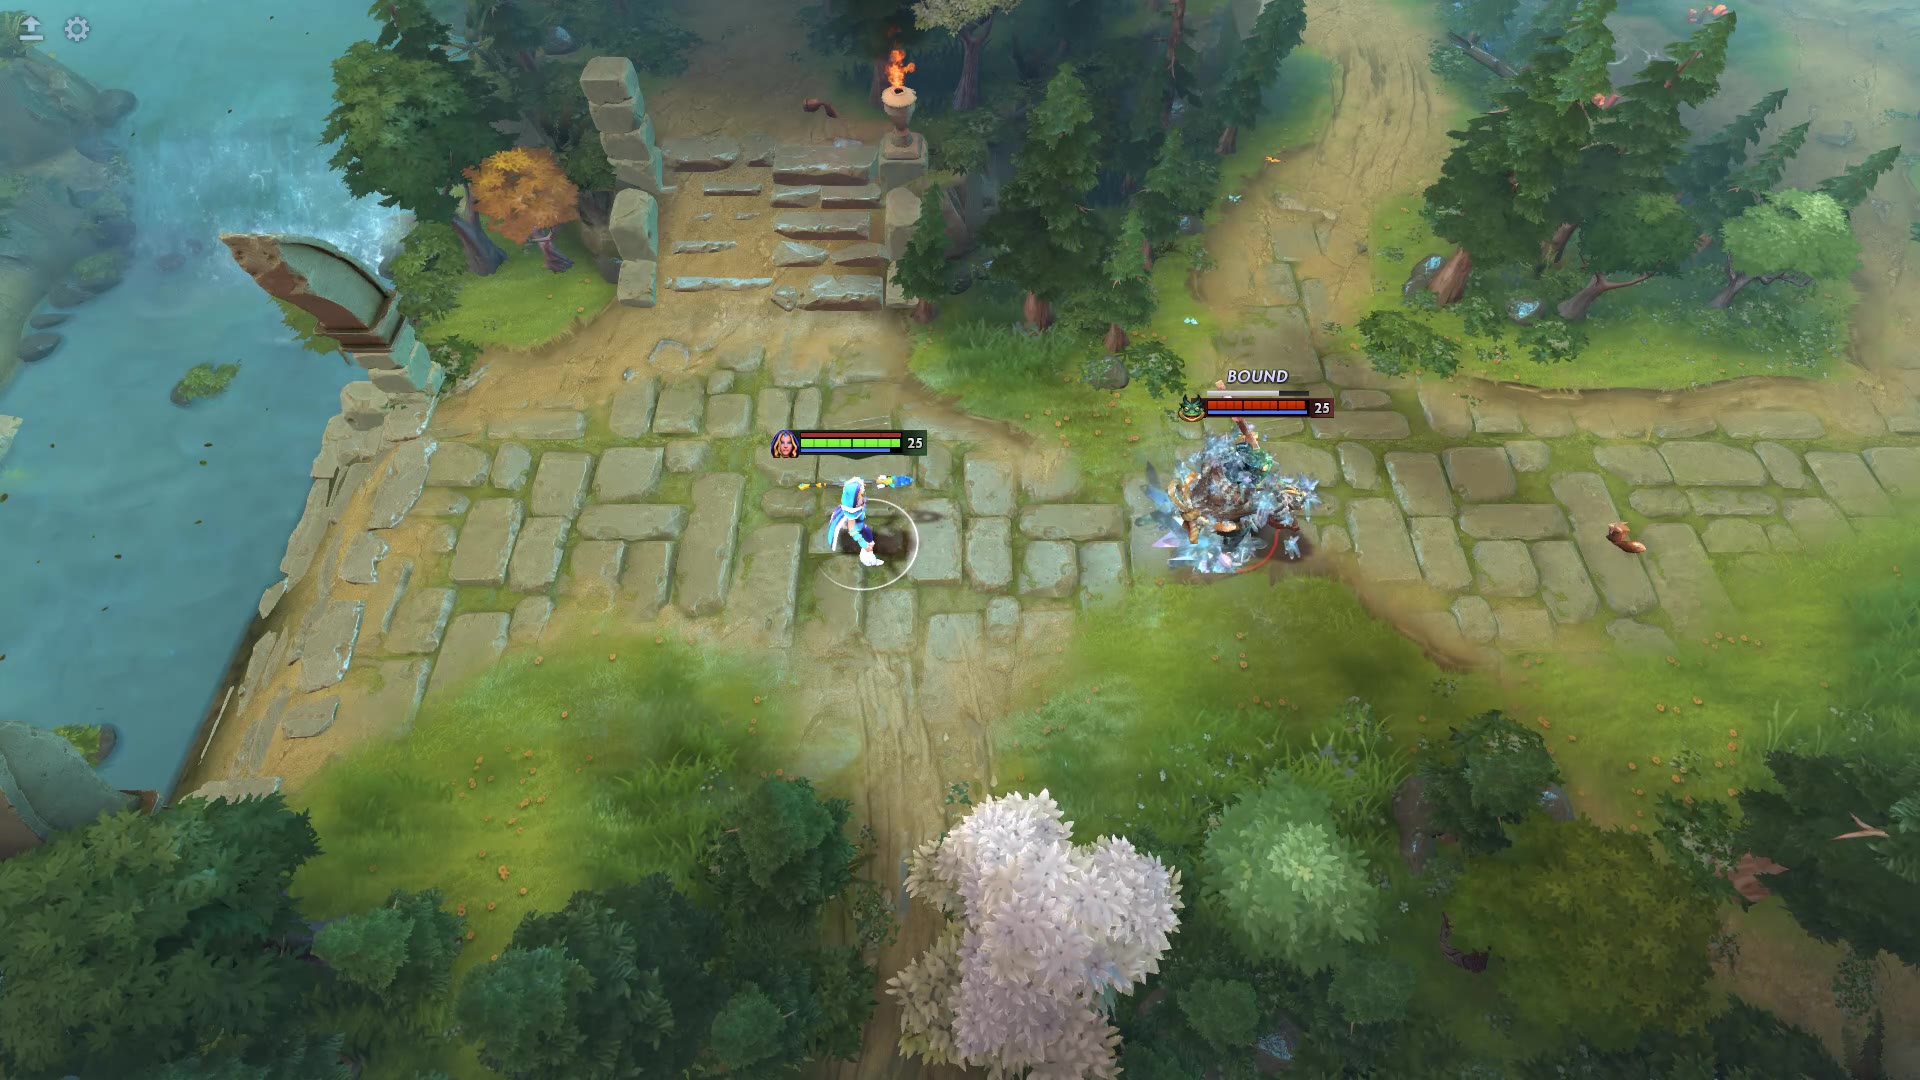 Source-based guide
Why can enemies still cast spells during Crystal Maiden Frostbite?
Frostbite is a root, not a silence.
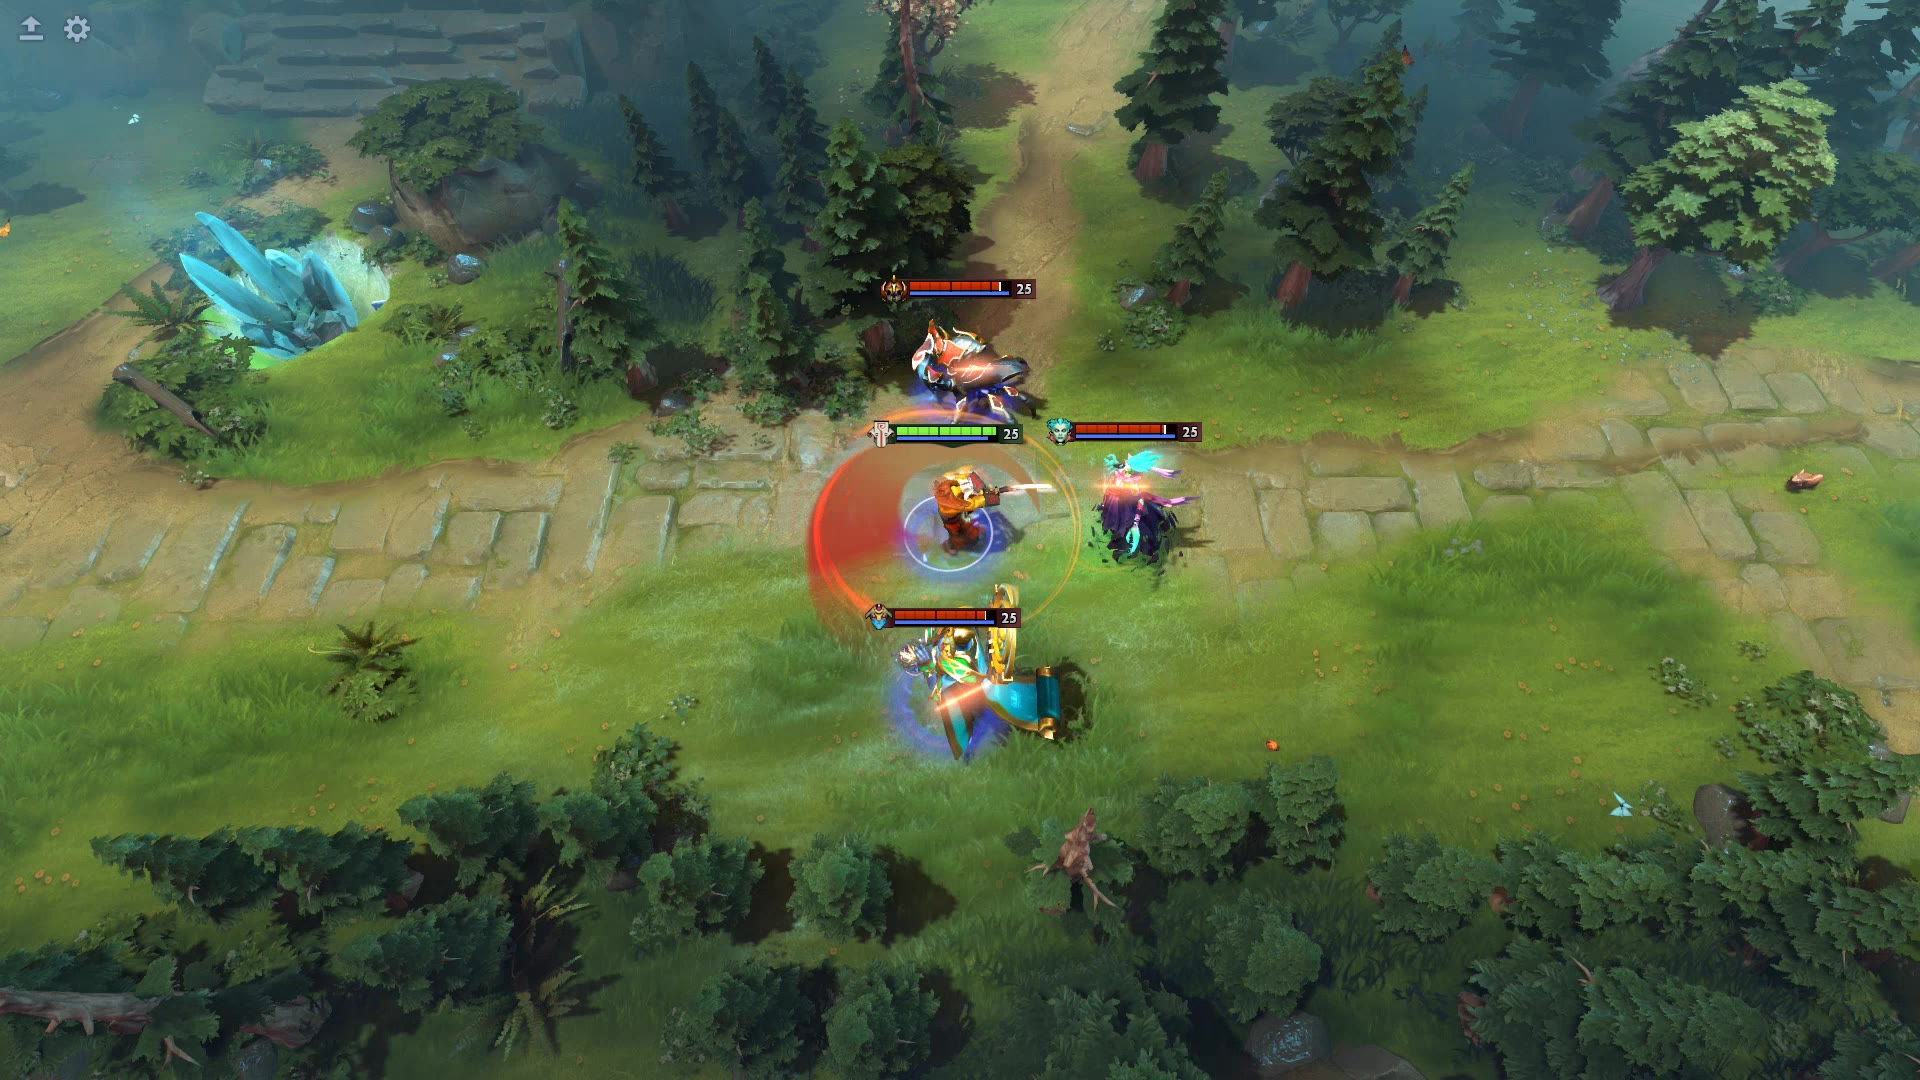 Source-based guide
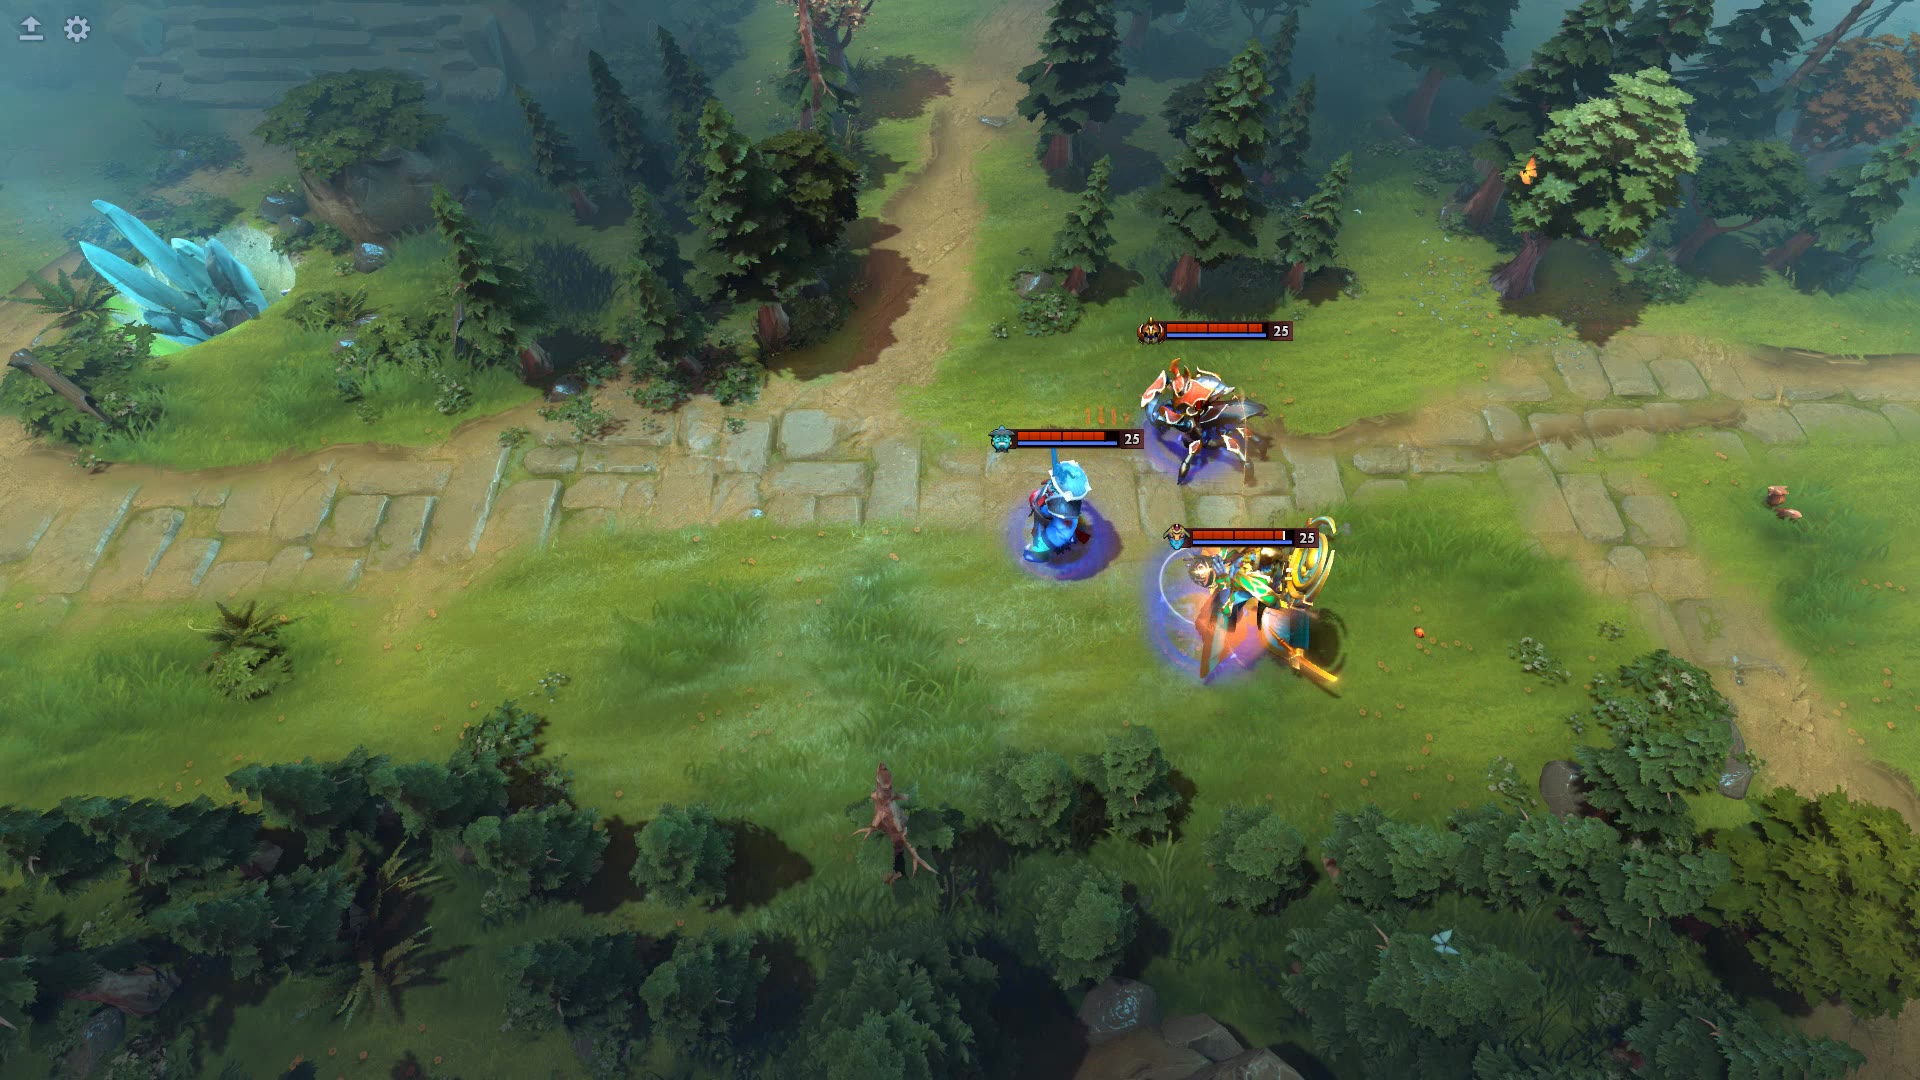
Why does Juggernaut still take damage during Blade Fury?
Blade Fury grants debuff immunity and magic resistance; it does not make Juggernaut invulnerable.
 Source-based guide
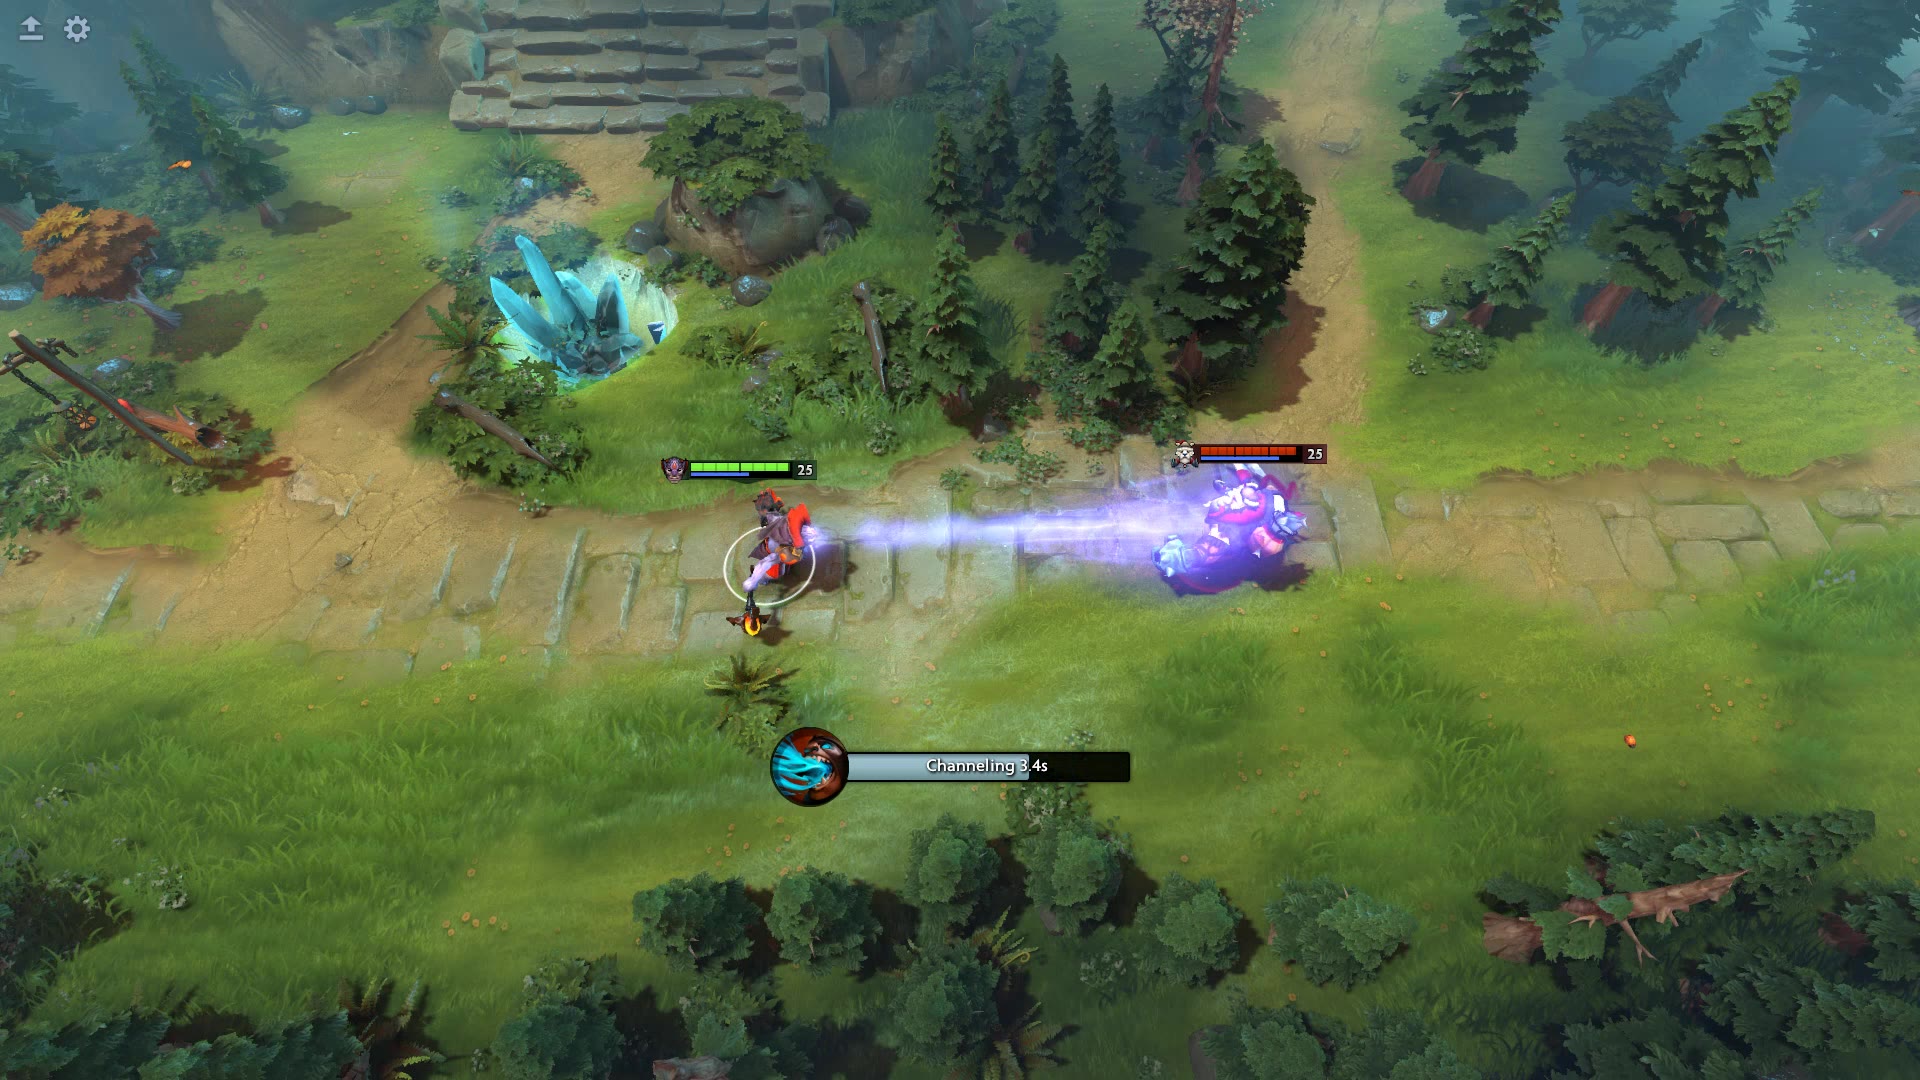
Why does Juggernaut Omnislash hit creeps instead of one hero?
Omnislash can slash nearby enemy units as well as the initial target.
 Source-based guide
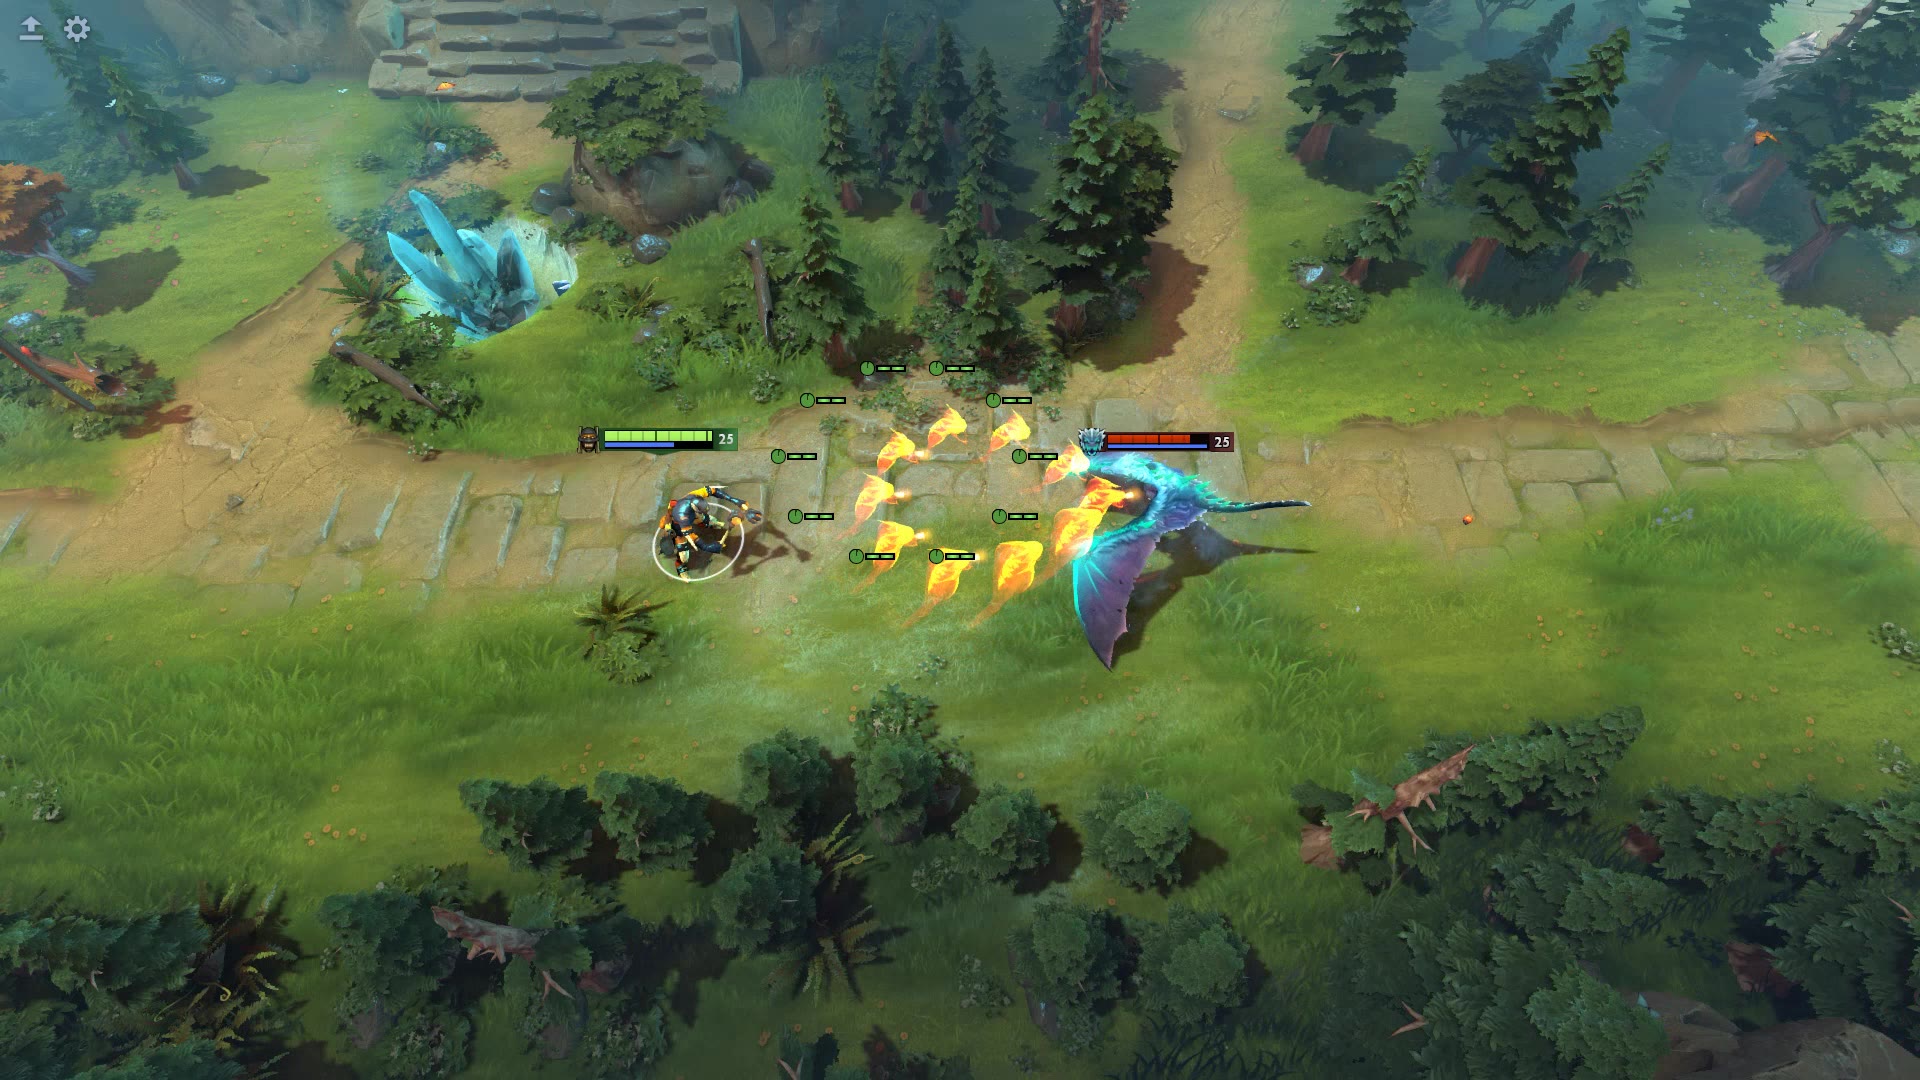
Lion Mana Drain stops early: channel and distance checks
Mana Drain is a channel with a base break distance of 1,100.
 Source-based guide
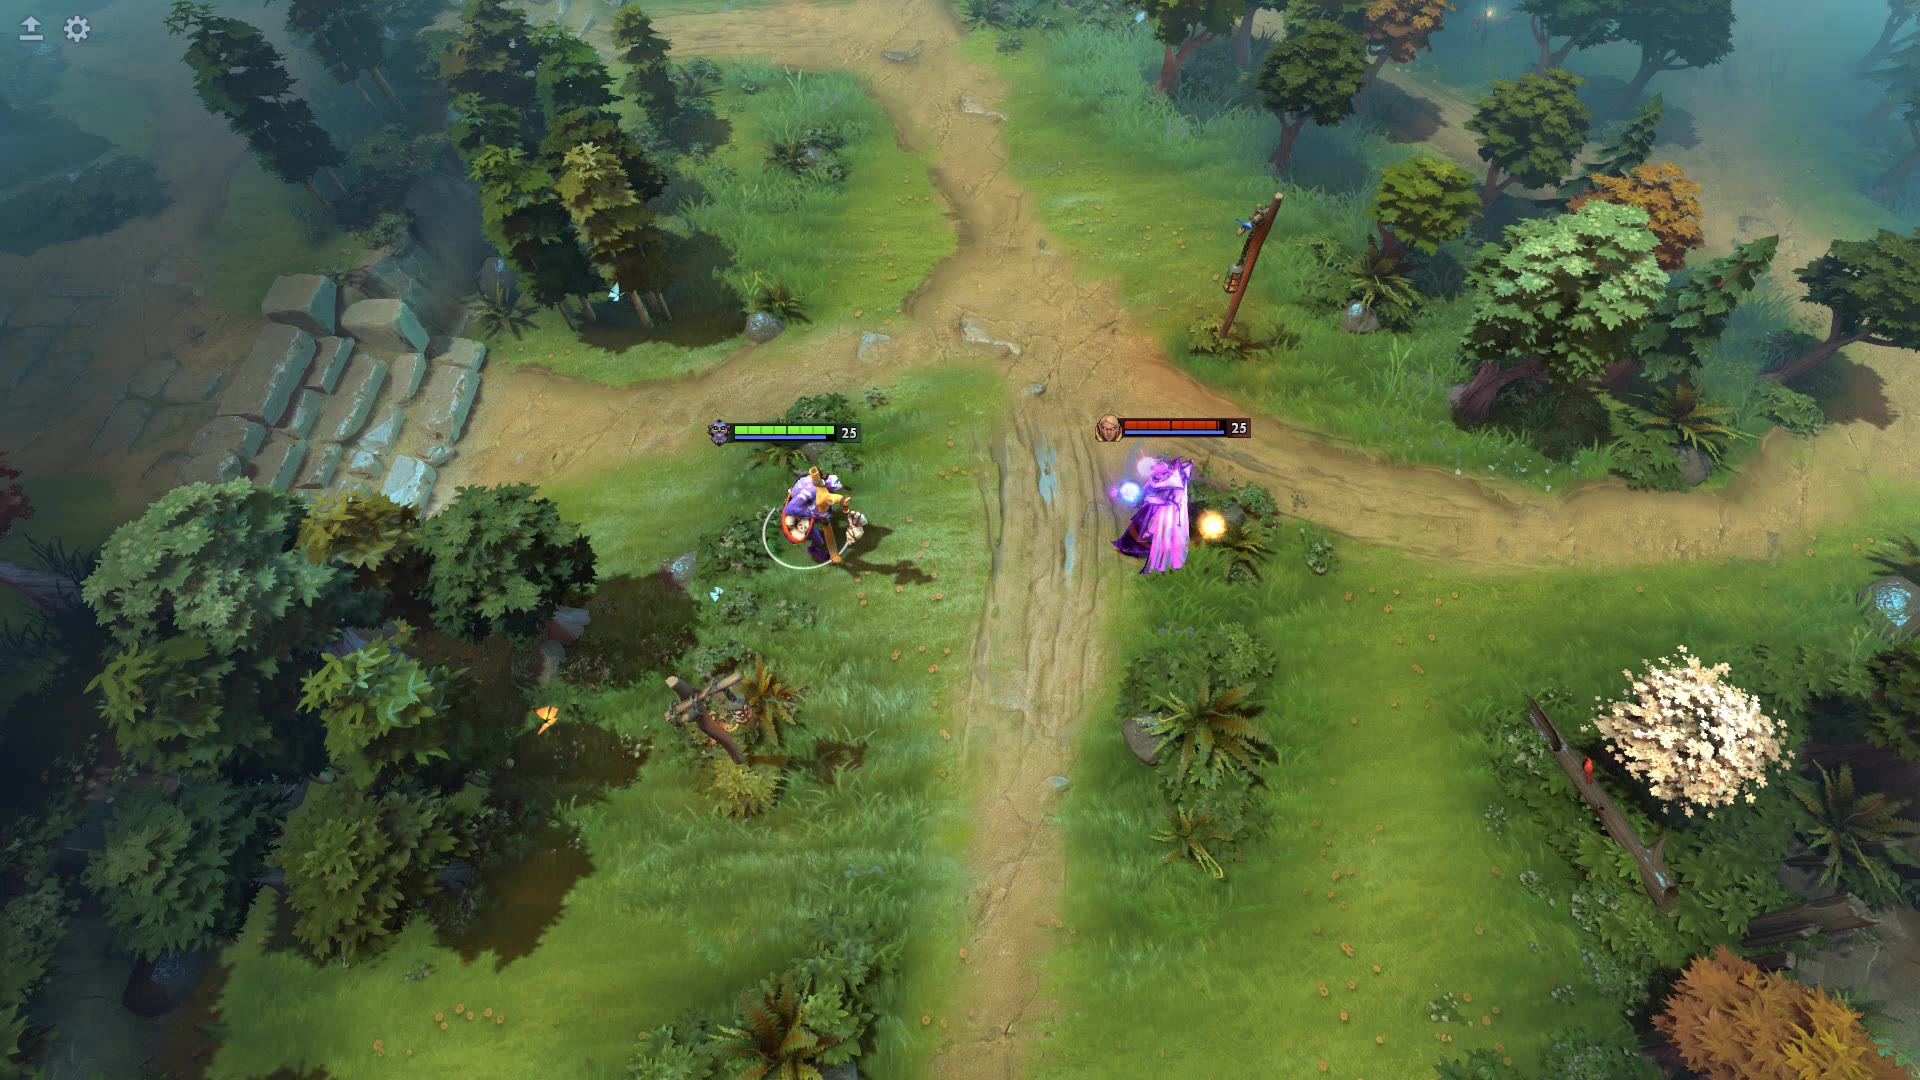
Why do Shadow Shaman Serpent Wards die despite magic immunity?
Serpent Wards are magic immune, not indestructible.
 Source-based guide
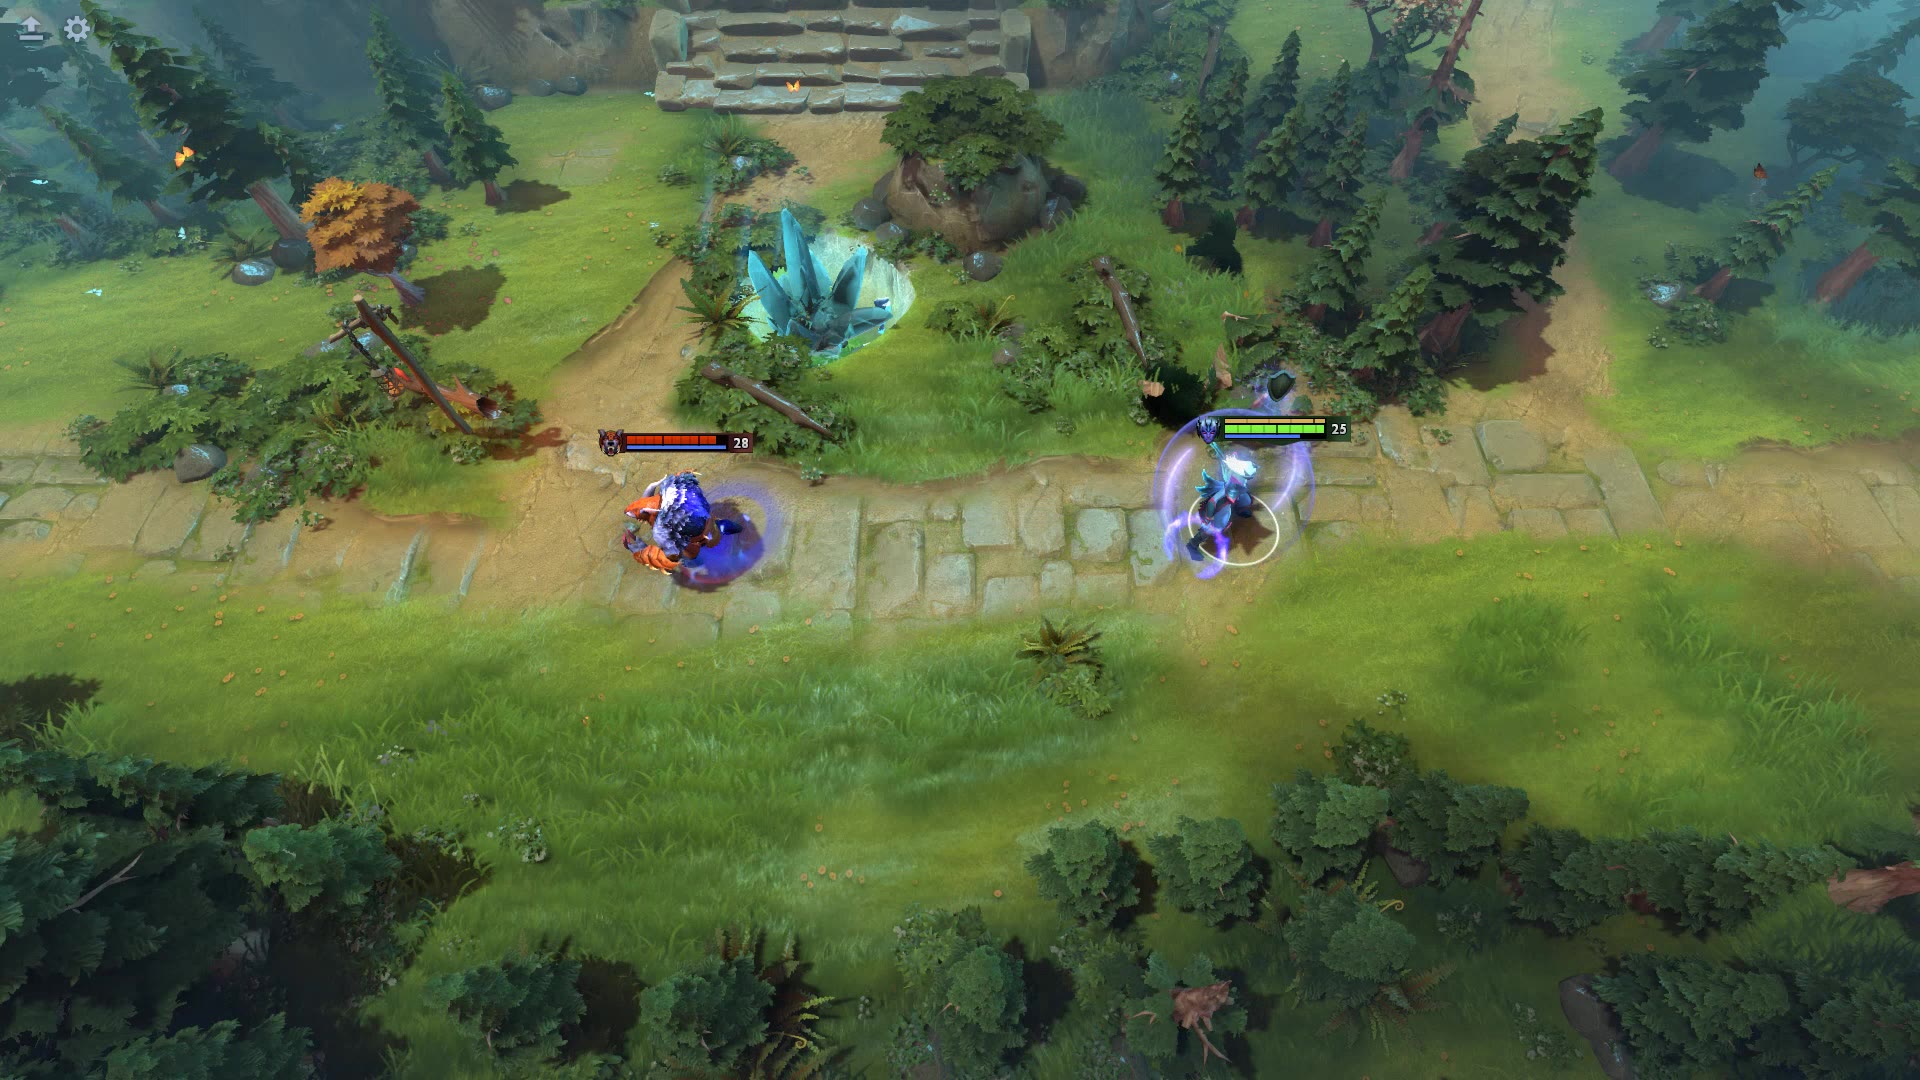
How healing changes Witch Doctor Maledict burst damage
Maledict’s periodic bursts depend on health lost since the curse began.
 Source-based guide
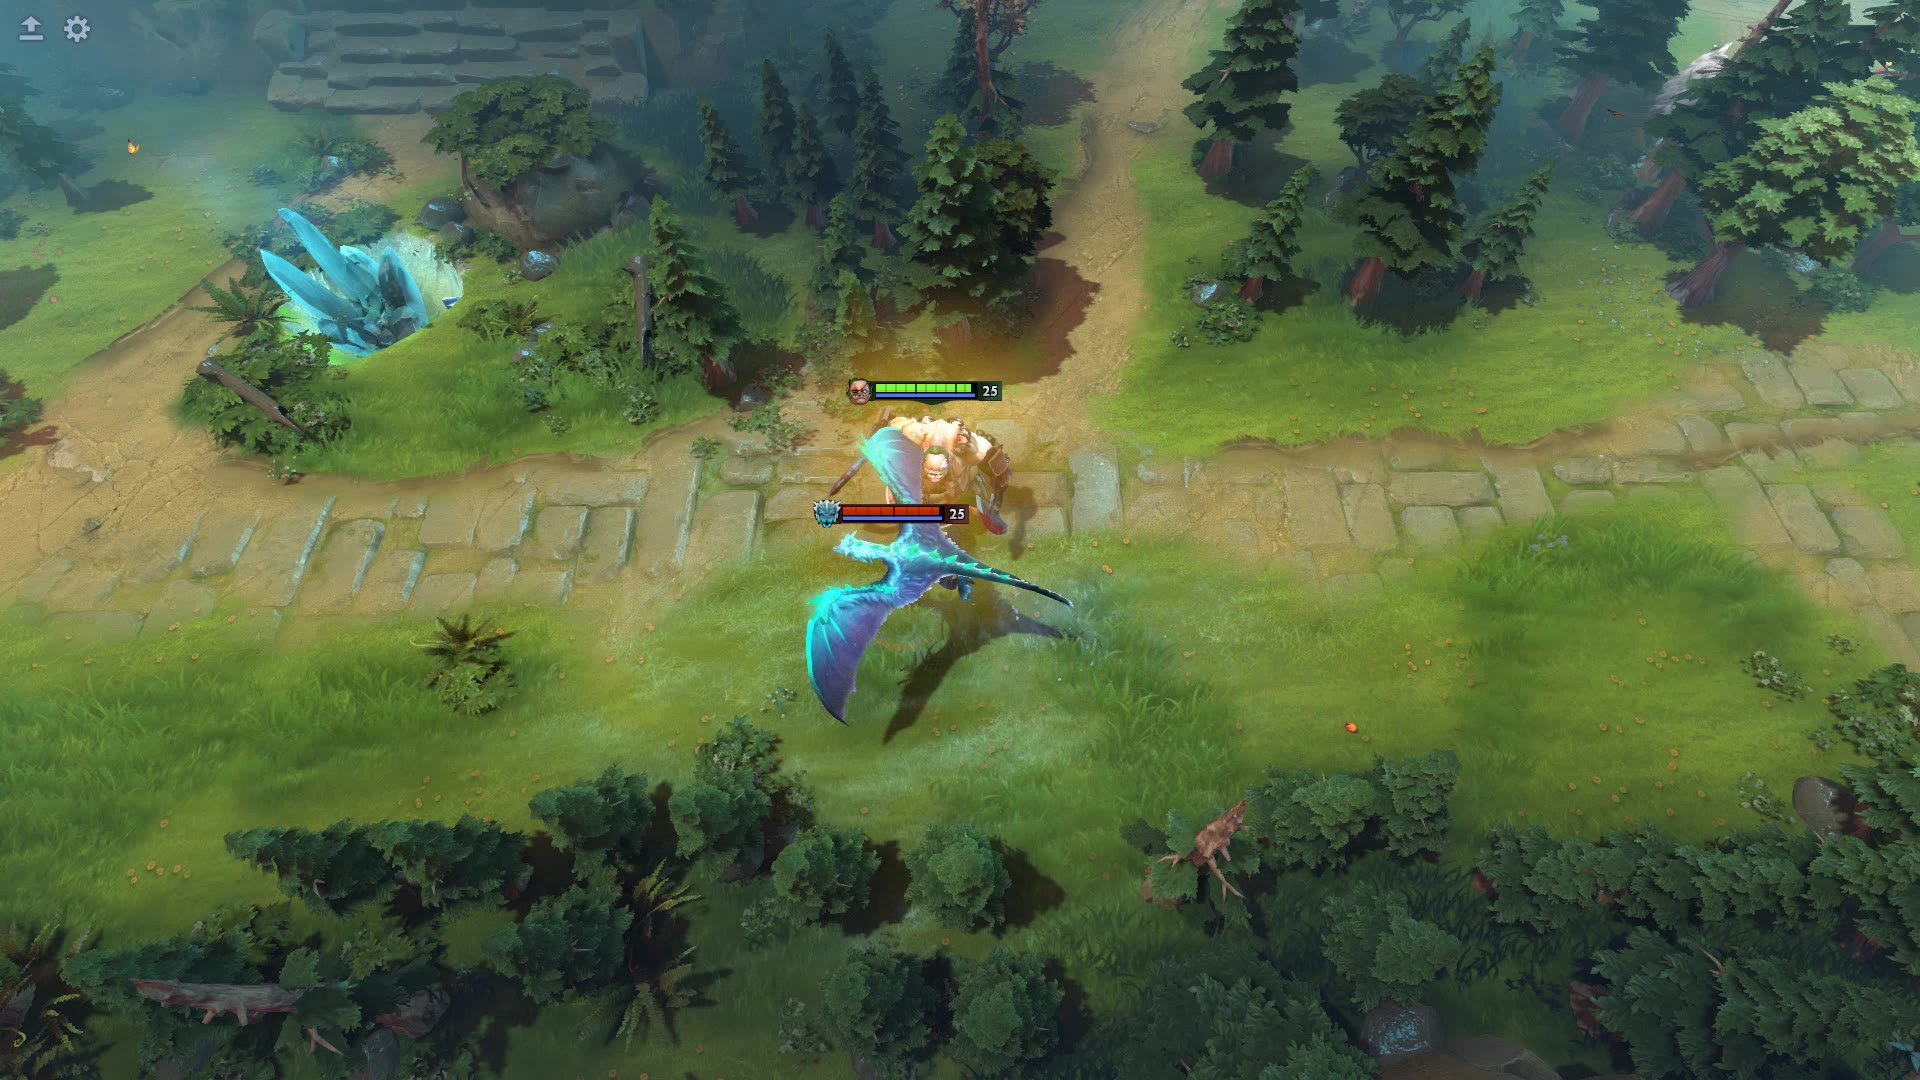
Why did Vengeful Spirit Swap cancel an ally’s channel?
Nether Swap interrupts channeling on its target, including an allied target.
 Source-based guide
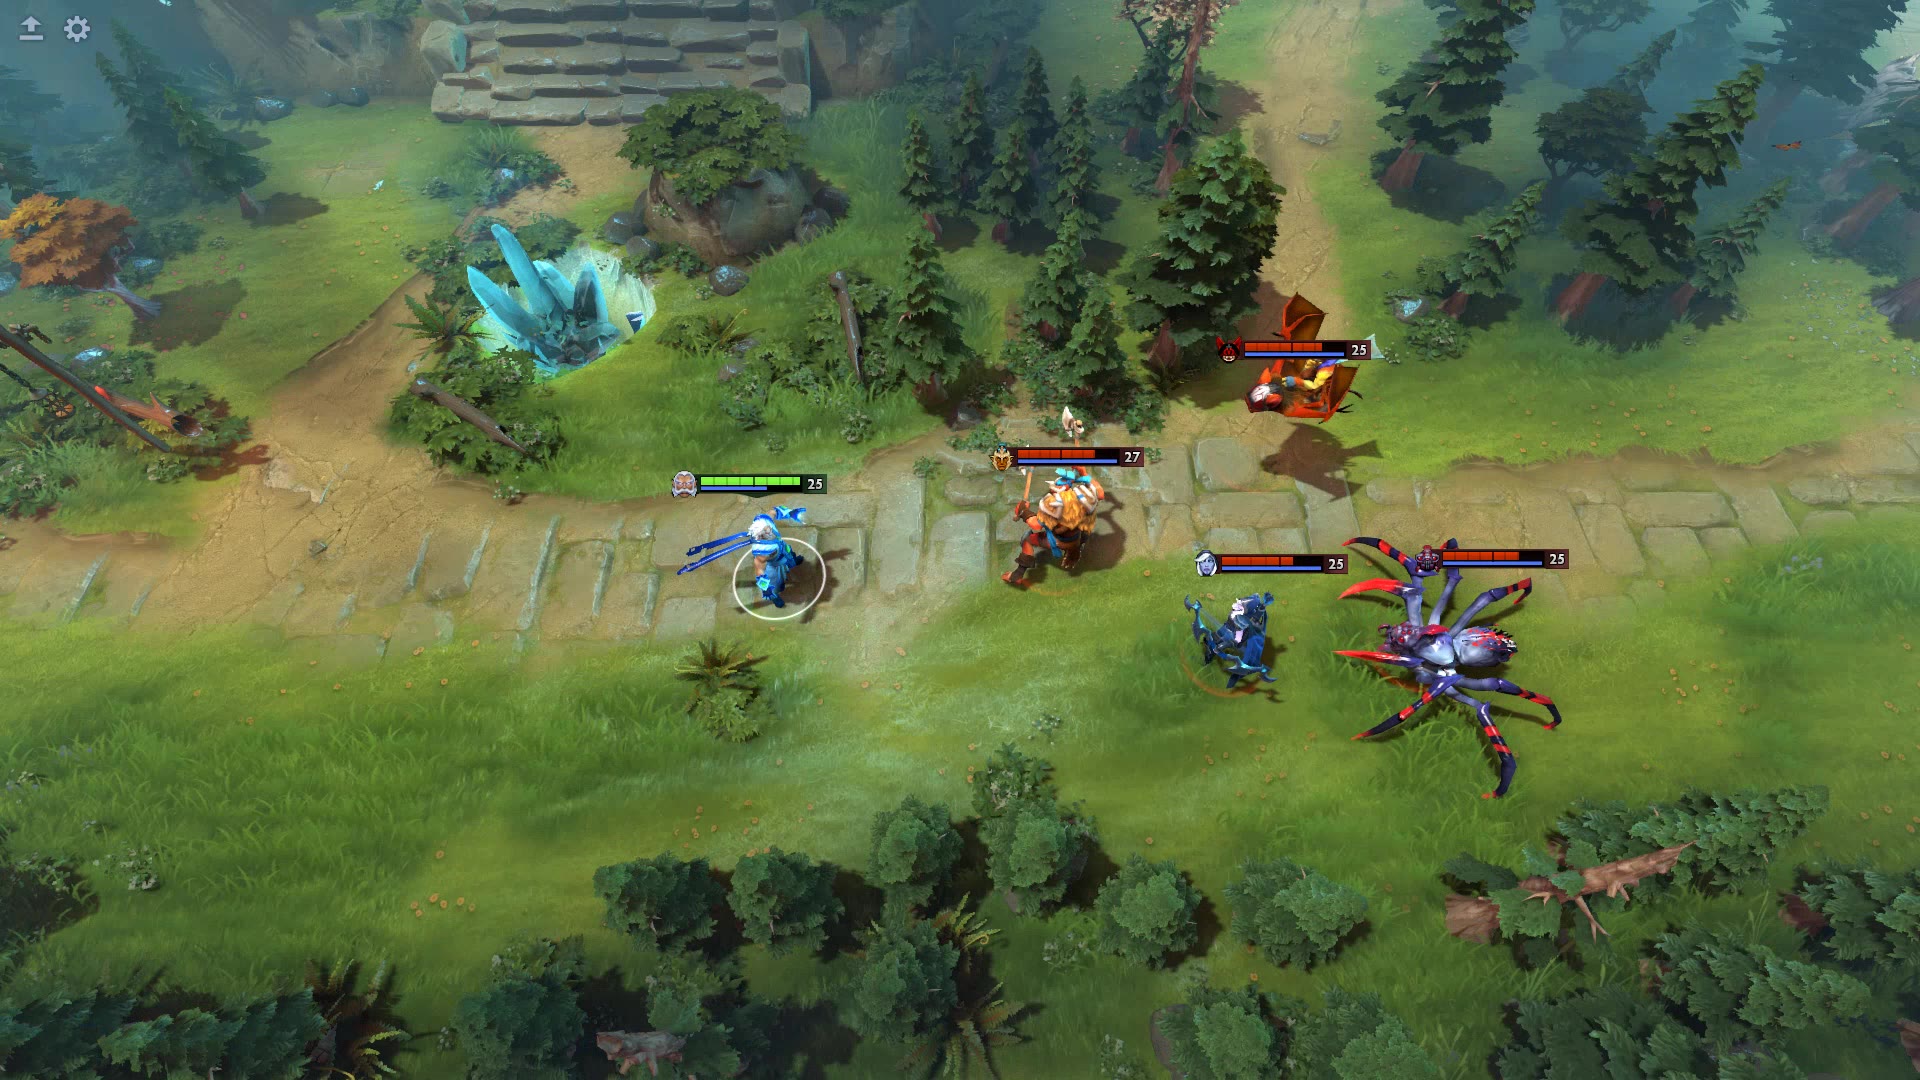
Pudge cannot turn off Rot: silence and self-damage explained
If Pudge is silenced while Rot is active, he cannot deactivate it.
 Source-based guide
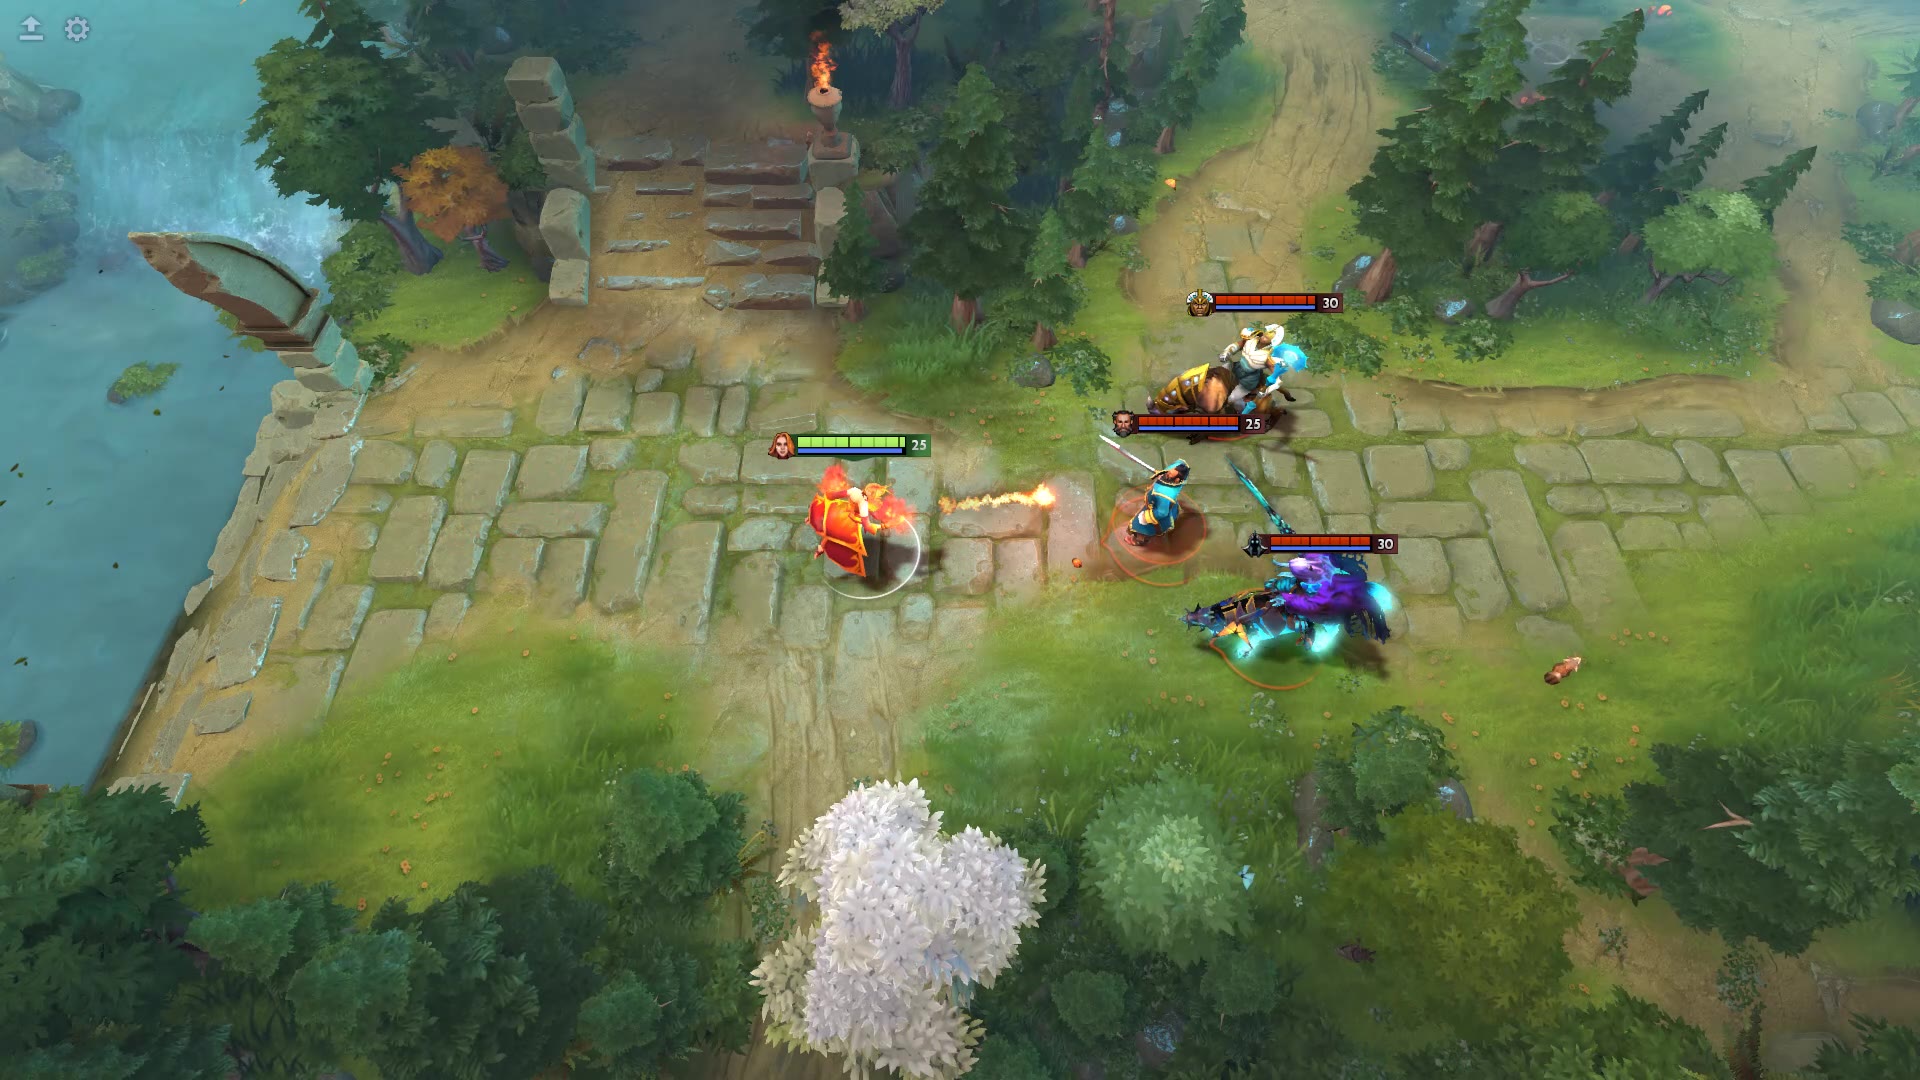
Does Zeus ultimate reveal invisible heroes? Reading the True Sight window
Thundergod’s Wrath provides True Sight around each enemy hero before striking.
 Source-based guide
Lina Fiery Soul not gaining stacks: hits, items and expiry
Fiery Soul requires hitting an enemy with a spell.
 Source-based guide
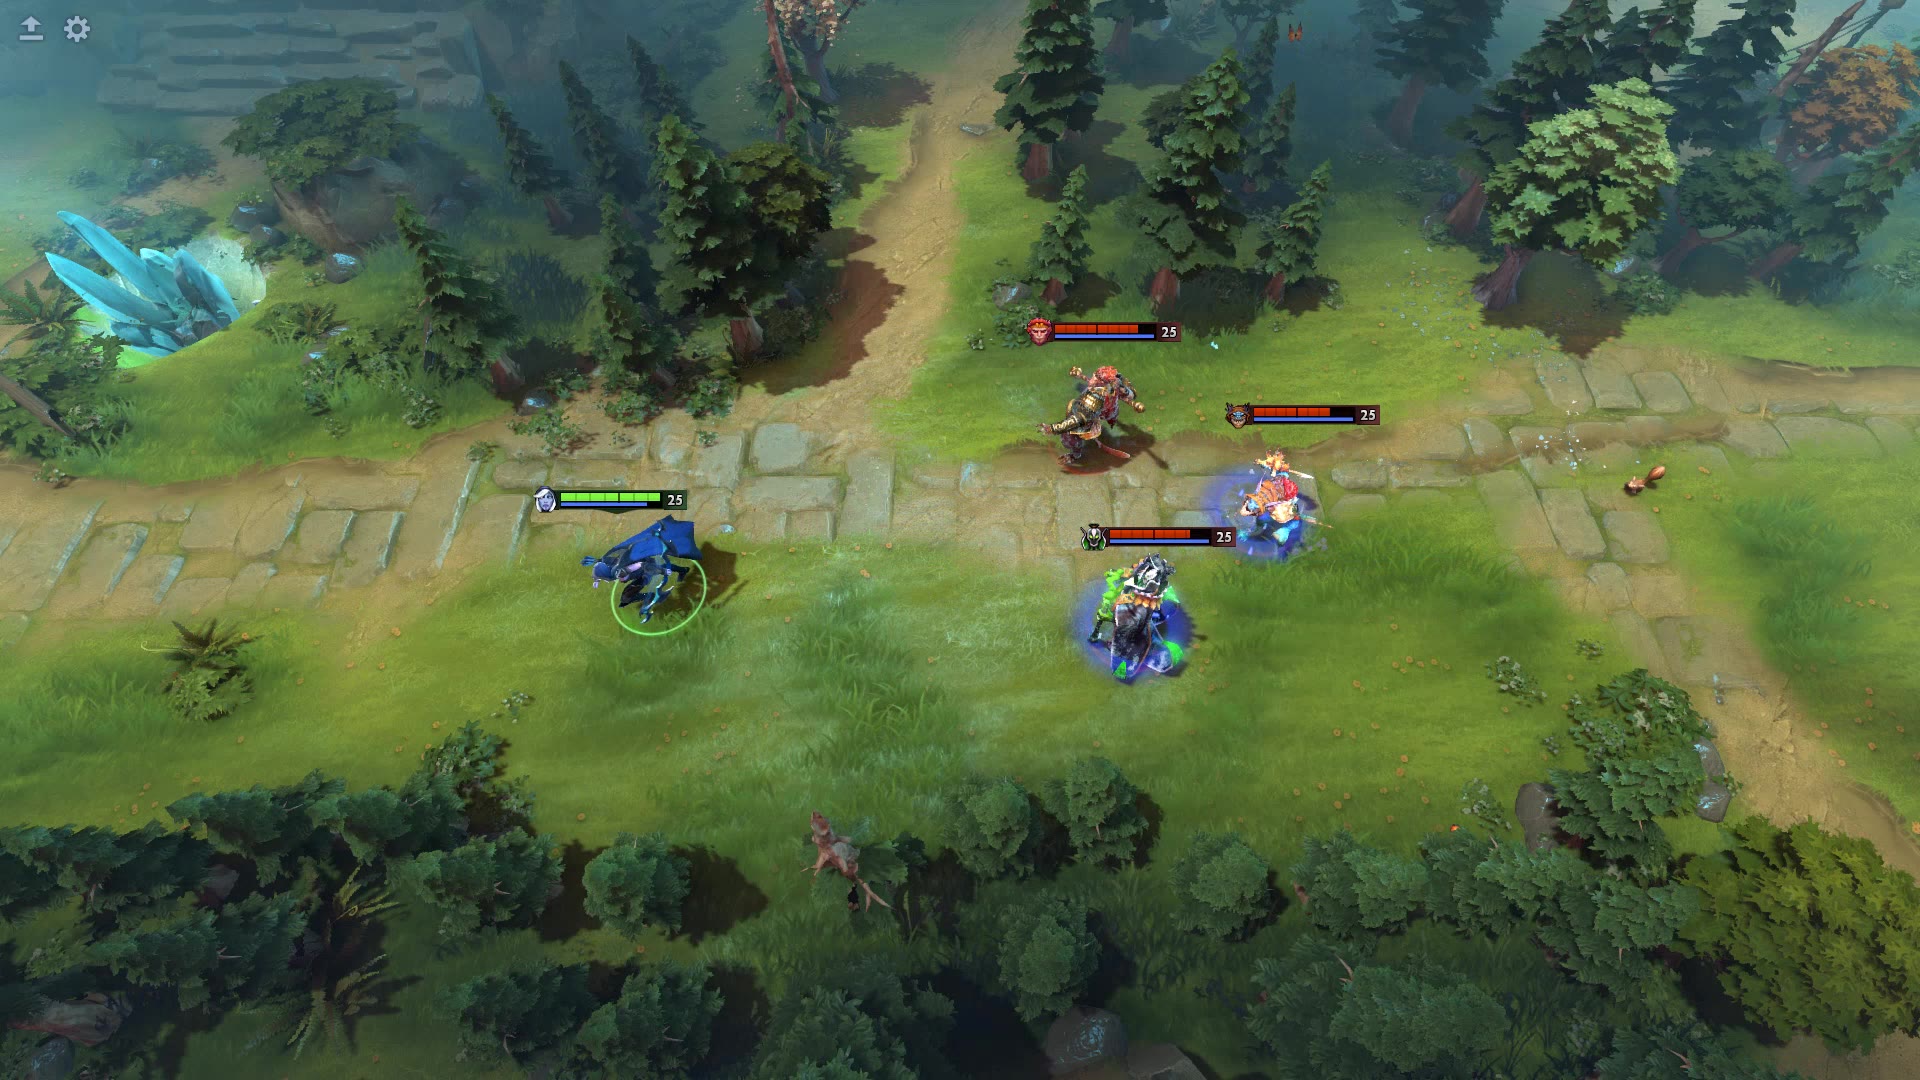
Drow Multishot deals damage but no slow: why both can be true
The current Multishot notes separate arrow base damage from Frost Arrows’ extra damage and slow.
 Source-based guide
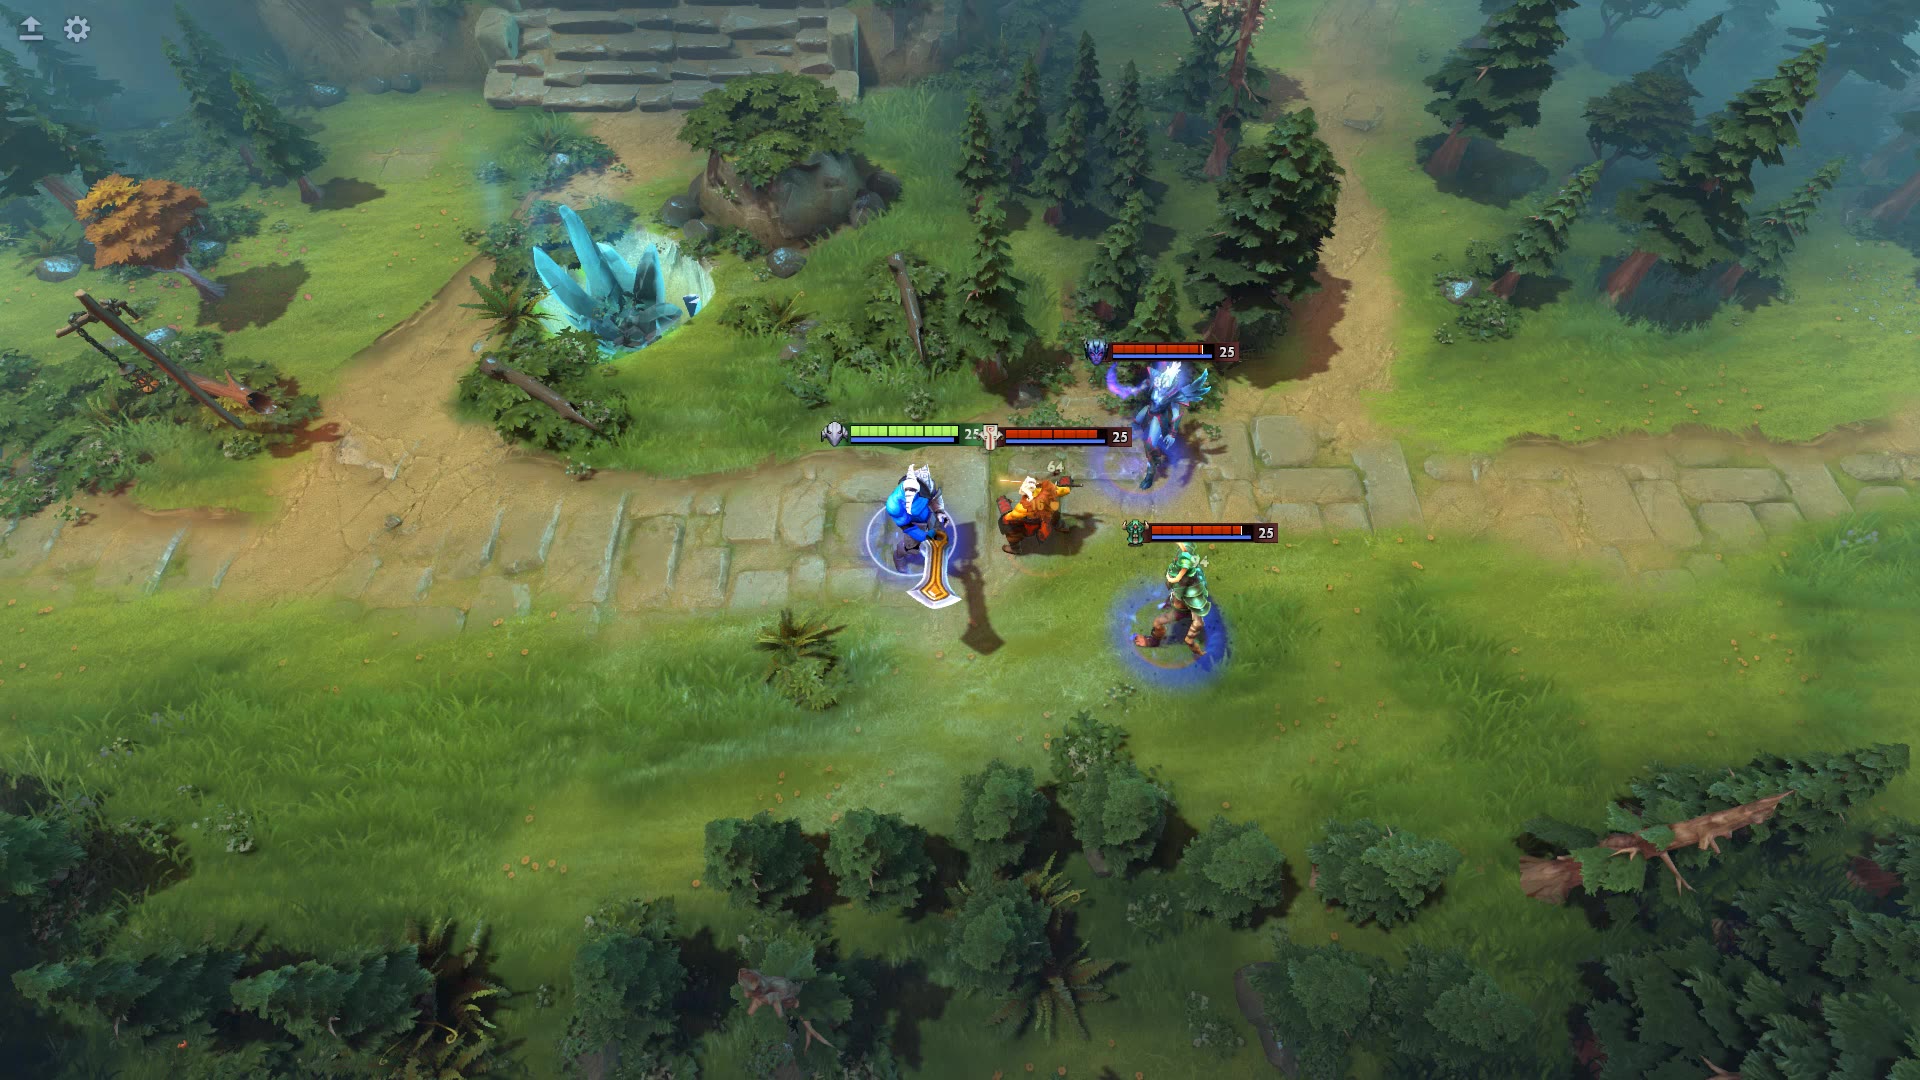
Sven Cleave is missing nearby enemies: check distance and attack direction
Great Cleave is not a guaranteed hit on every unit standing near Sven.
 Source-based guide
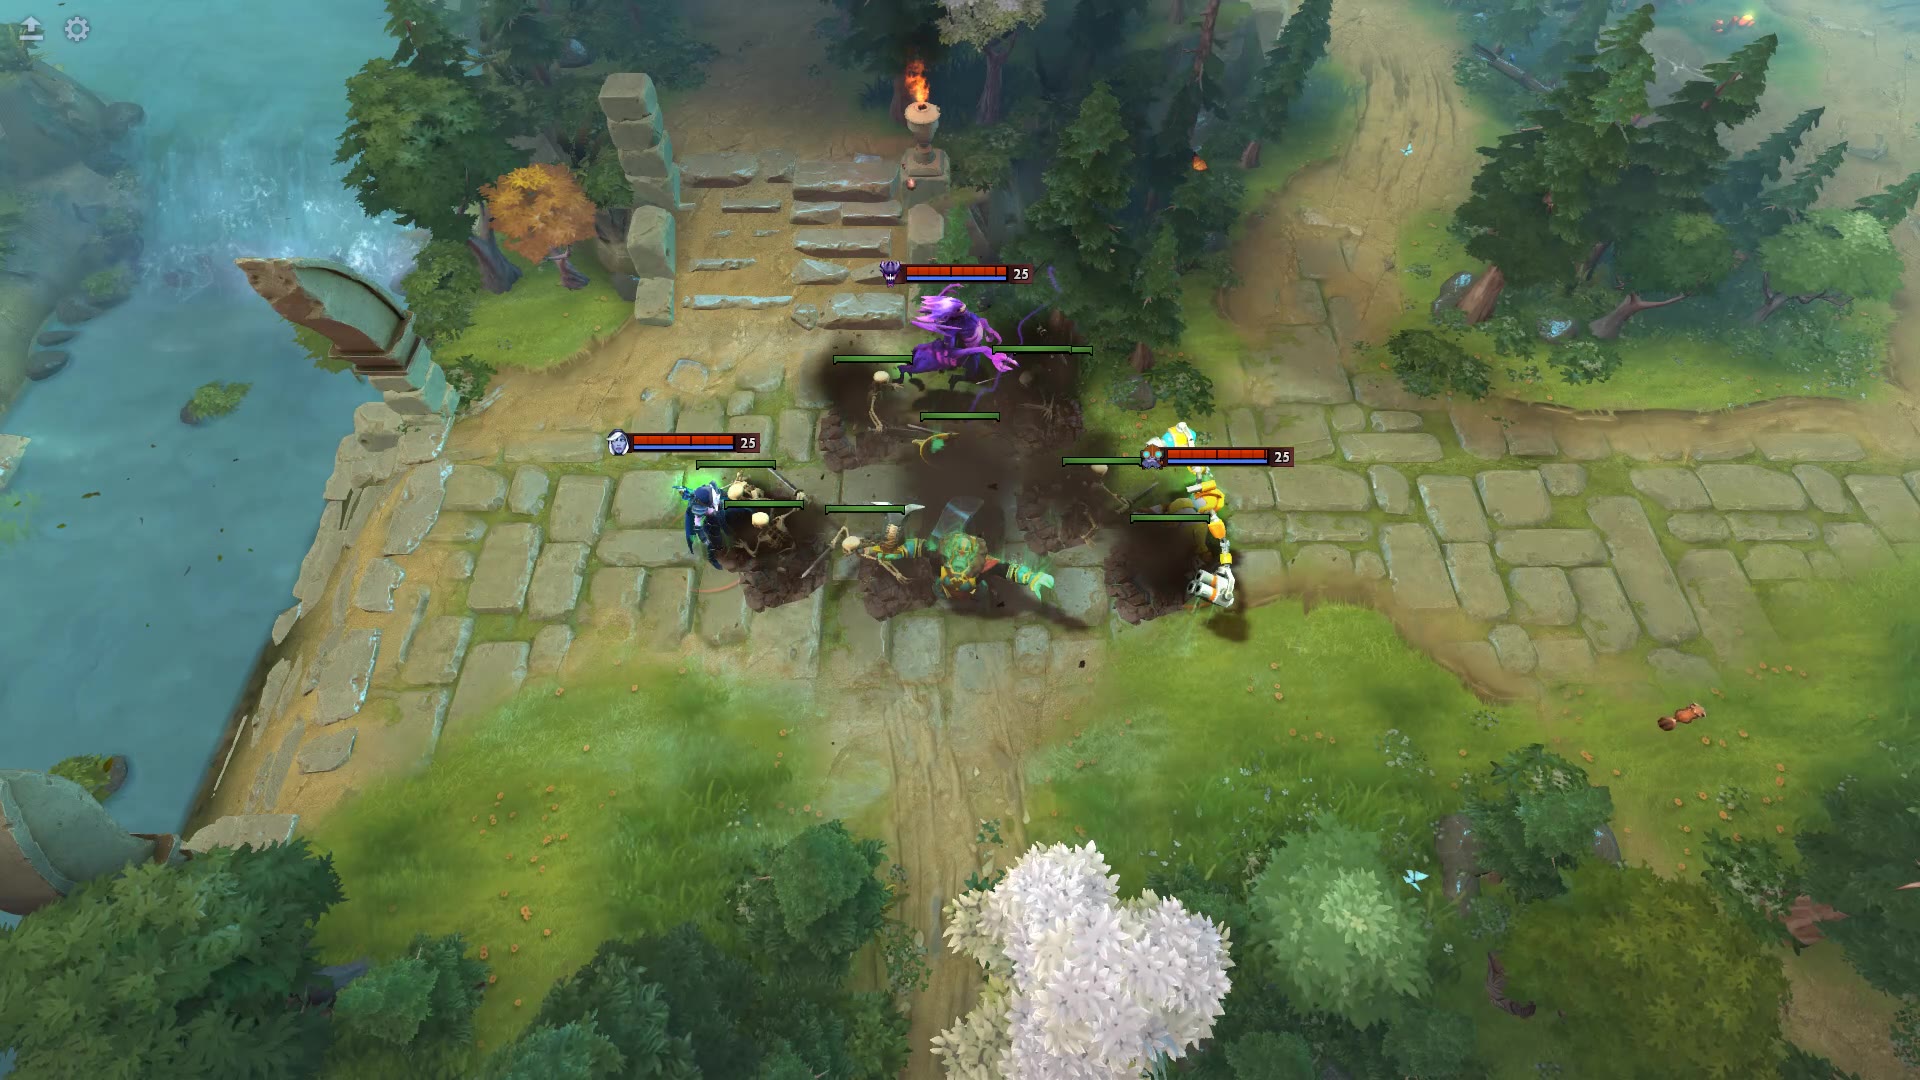
Wraith King did not revive: mana, cooldown and Aegis order
Check both Reincarnation’s cooldown and its current-level mana cost.
 Source-based guide
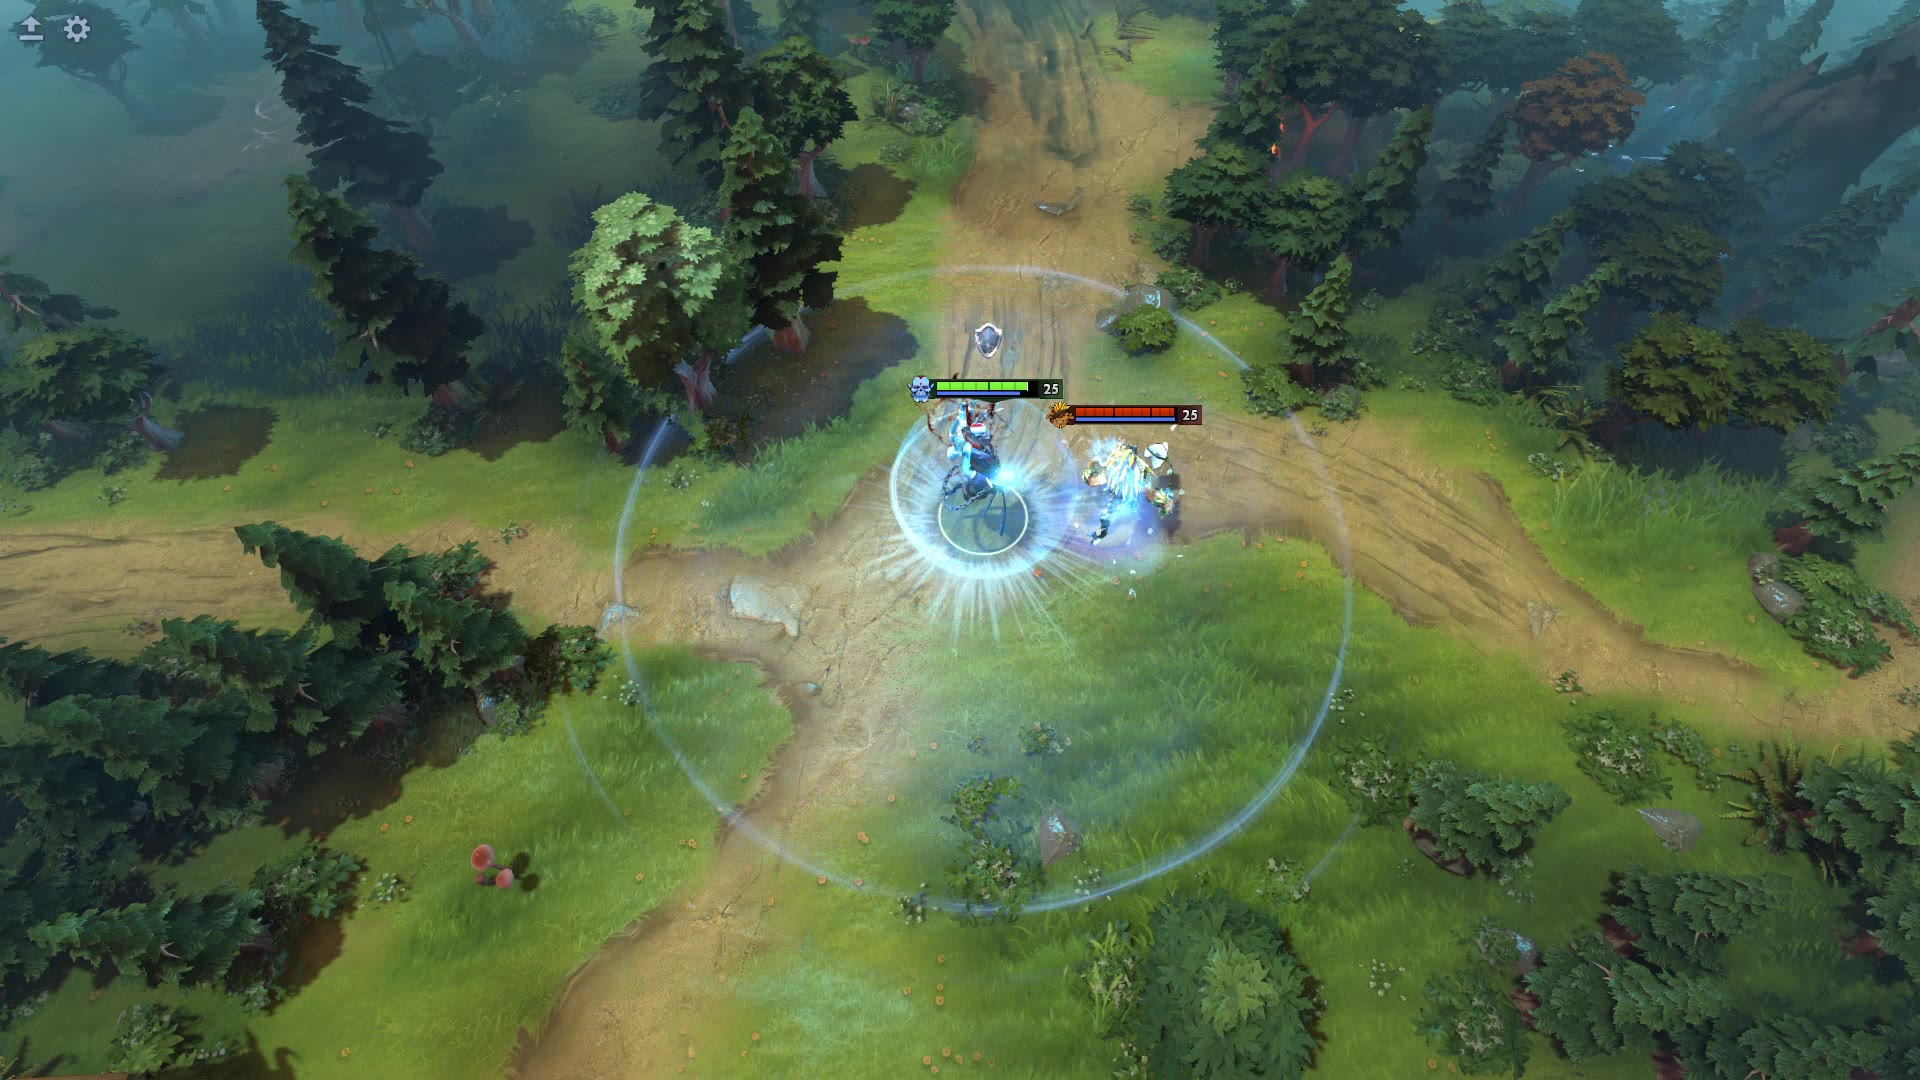
Lich Frost Shield did not stop spell damage: what it actually reduces
Frost Shield reduces damage from attacks.
 Source-based guide
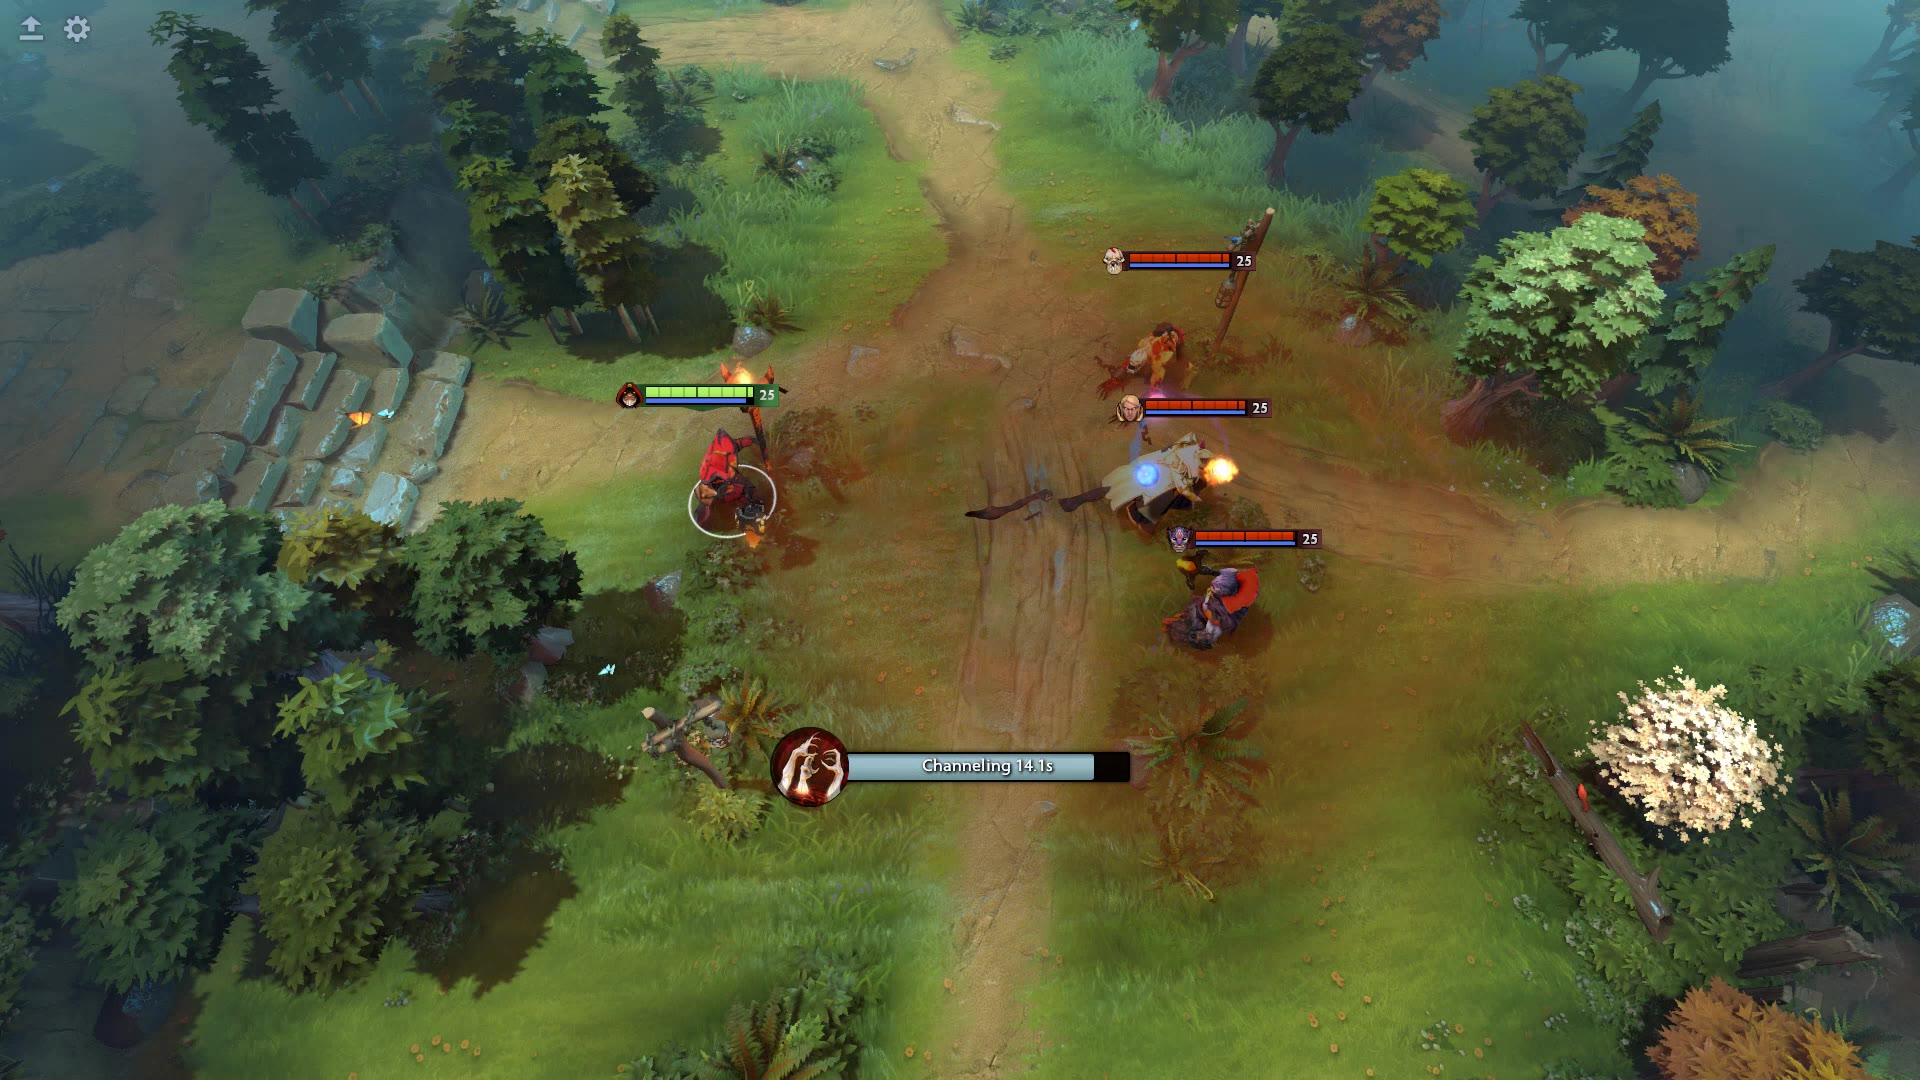
Warlock Upheaval feels weak at first: how the slow ramps up
Upheaval becomes stronger as Warlock channels.
 Source-based guide
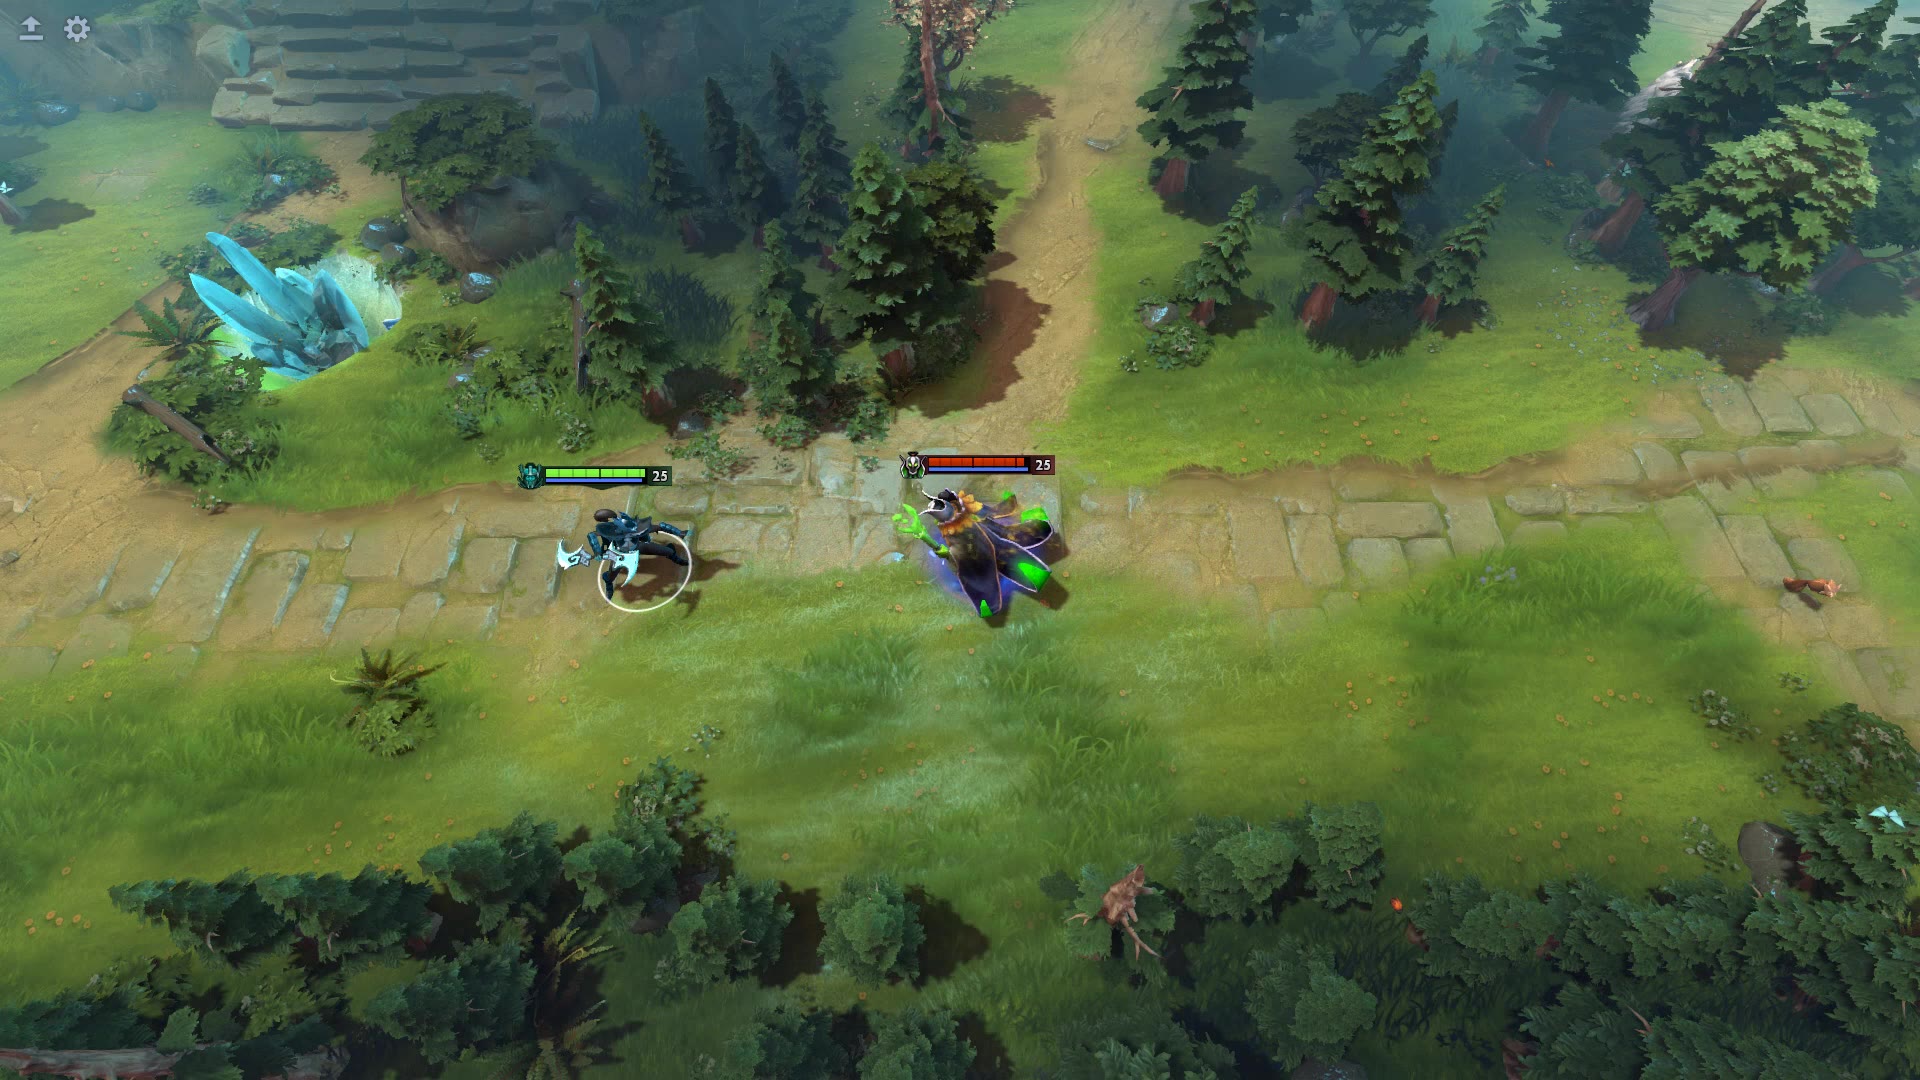
Phantom Assassin Dagger damage: base damage, attack scaling and procs
Stifling Dagger combines a base amount with a percentage of Phantom Assassin’s attack damage, deals physical damage and applies attack effects.
 Source-based guide
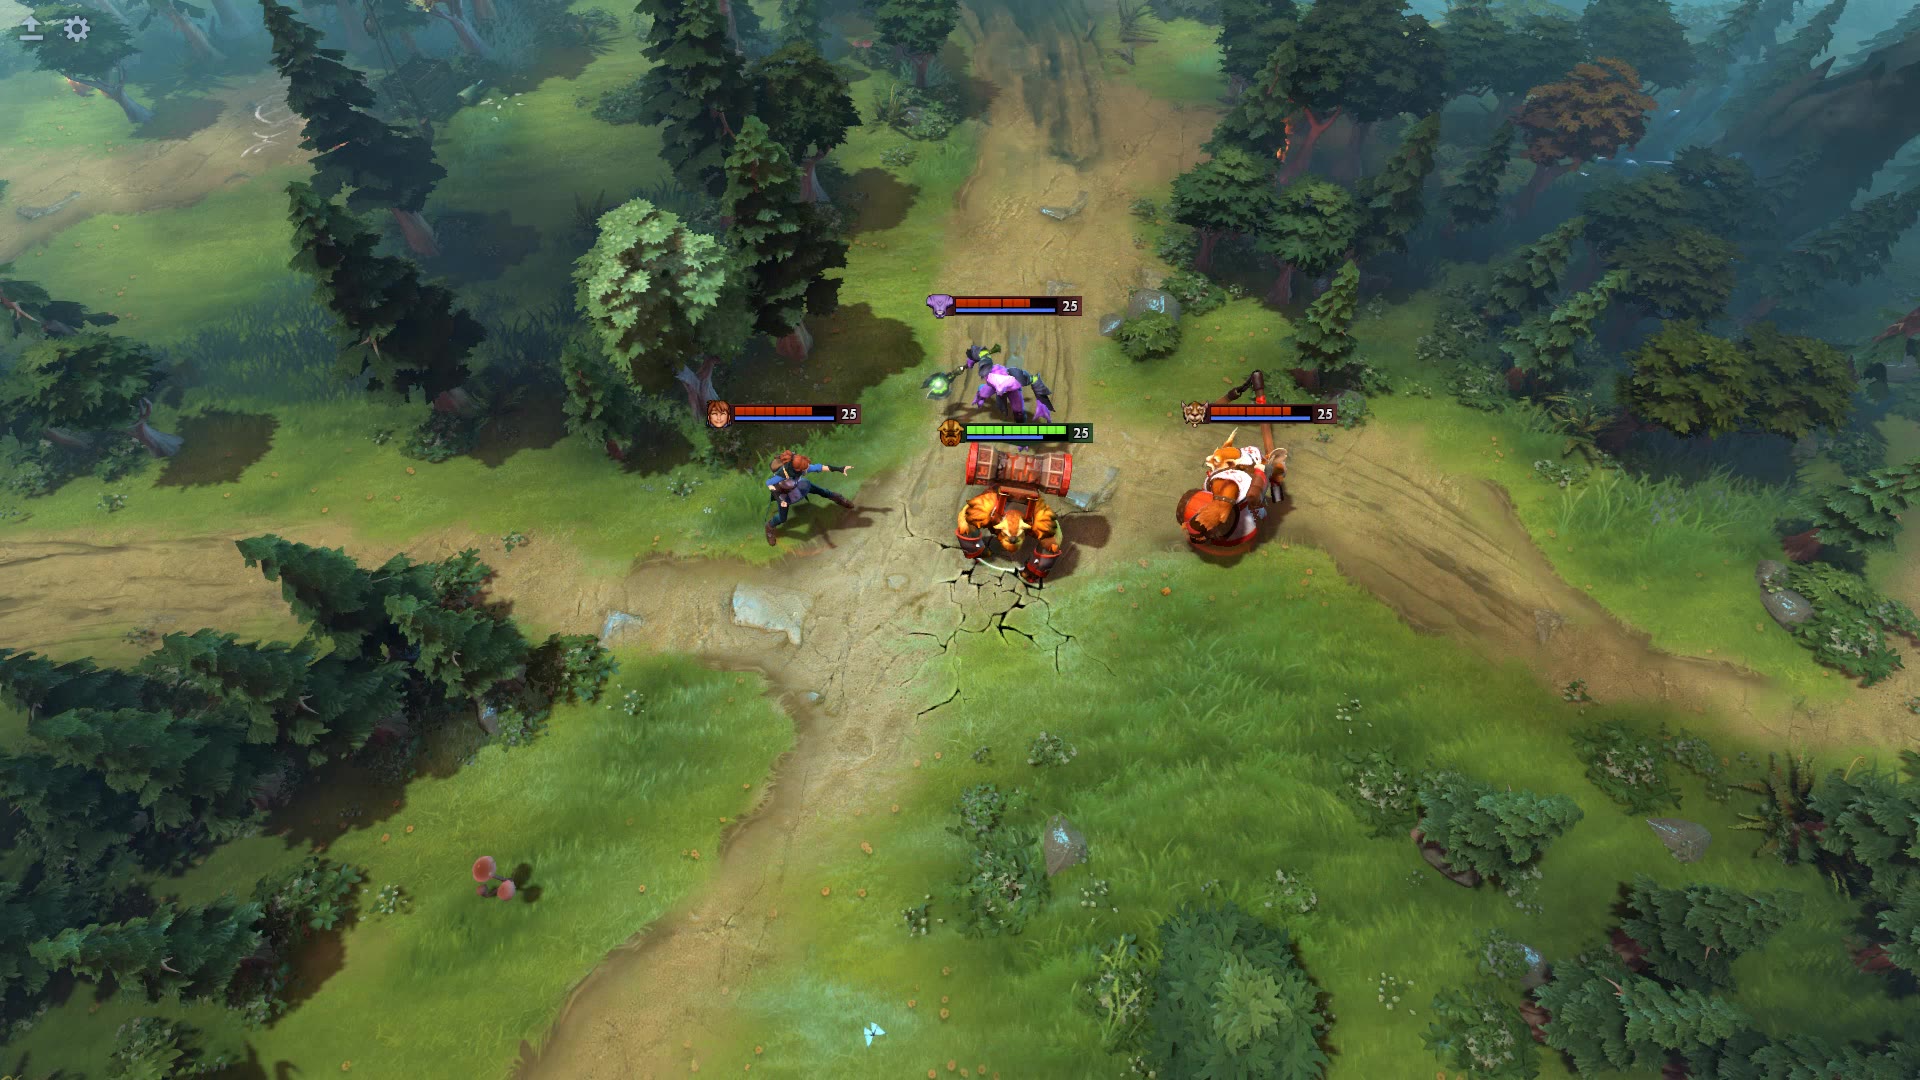
Earthshaker Echo Slam dealt little damage: count the echo sources
Echo Slam has initial damage plus echoes created by enemies hit.
 Source-based guide
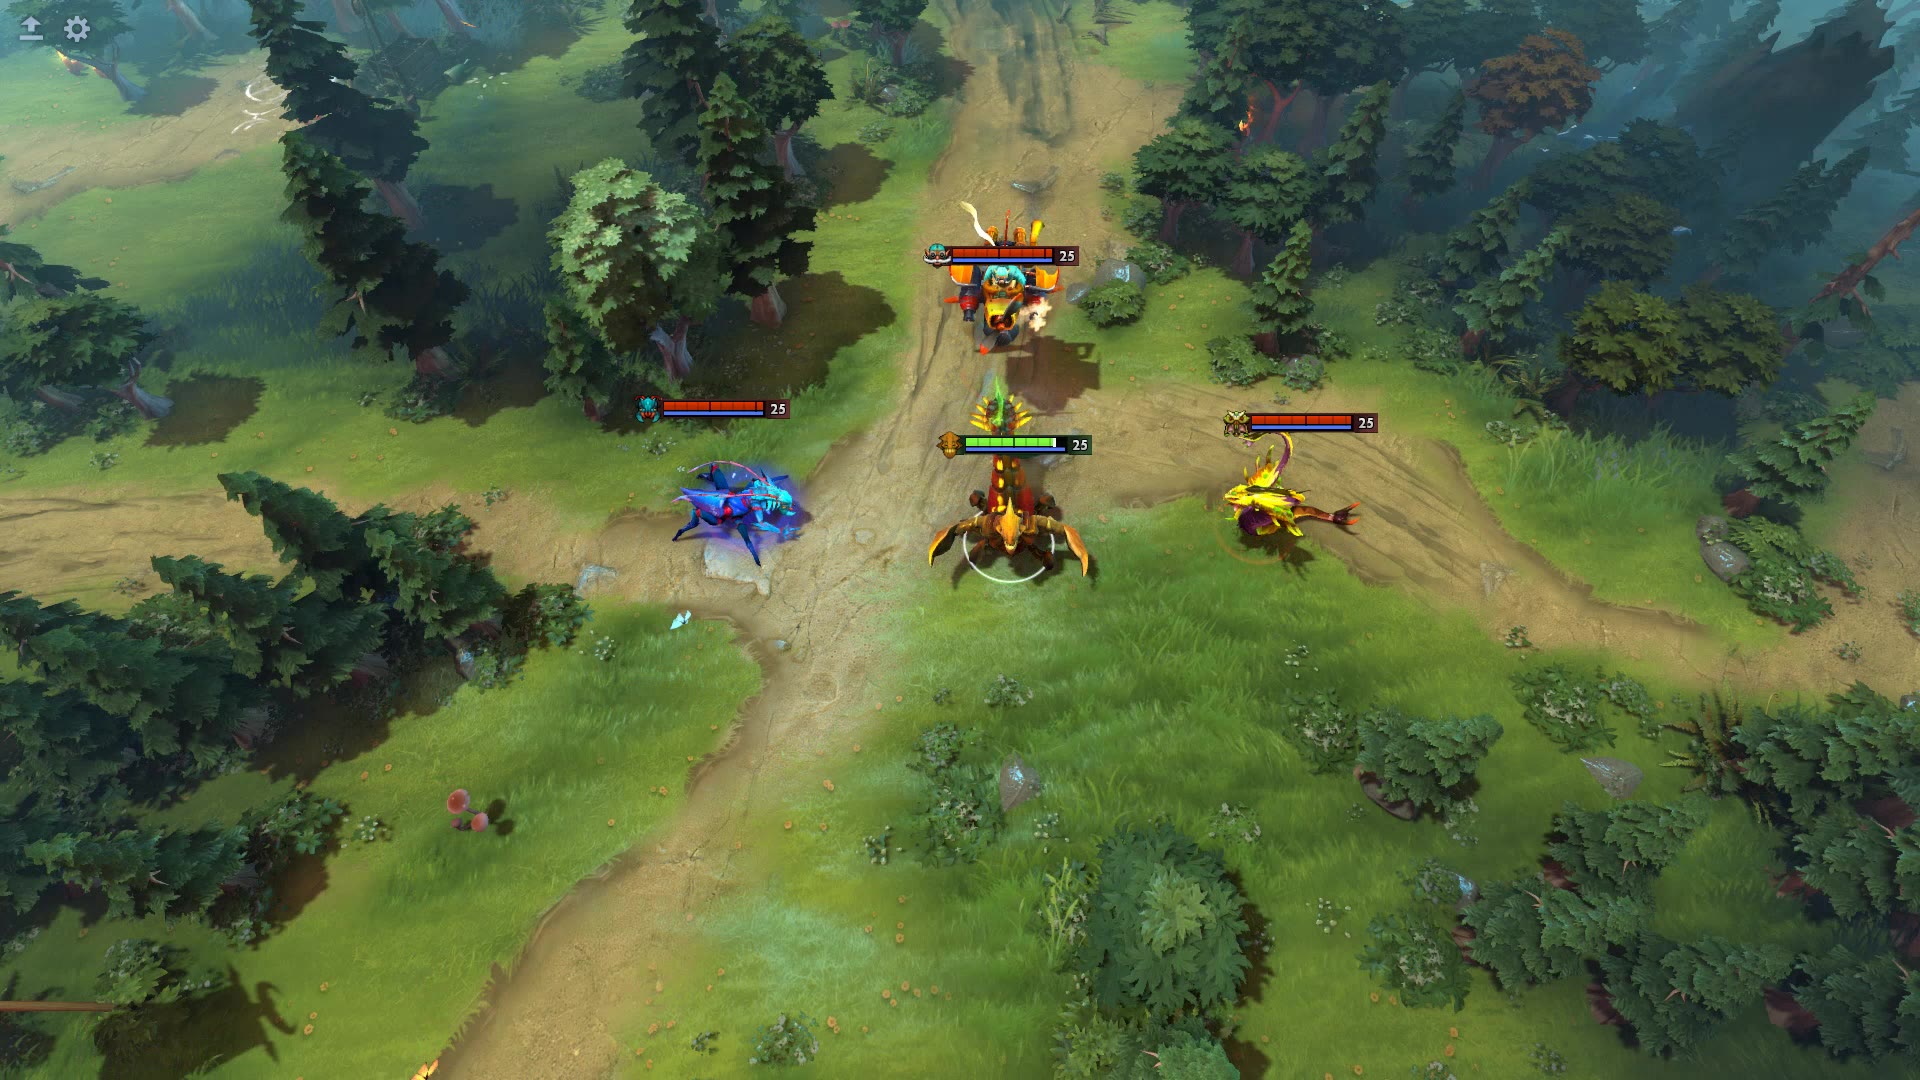
Sand King Epicenter: cast point, moving pulses and damage limits
The current Epicenter description uses a cast point, not an ongoing channel.
 Source-based guide
Juggernaut Healing Ward not healing? Control, range and fixes
Fix Healing Ward problems: select and move it separately, keep allies within its 400 radius, and understand its healing and fragility.
 Source-based guide
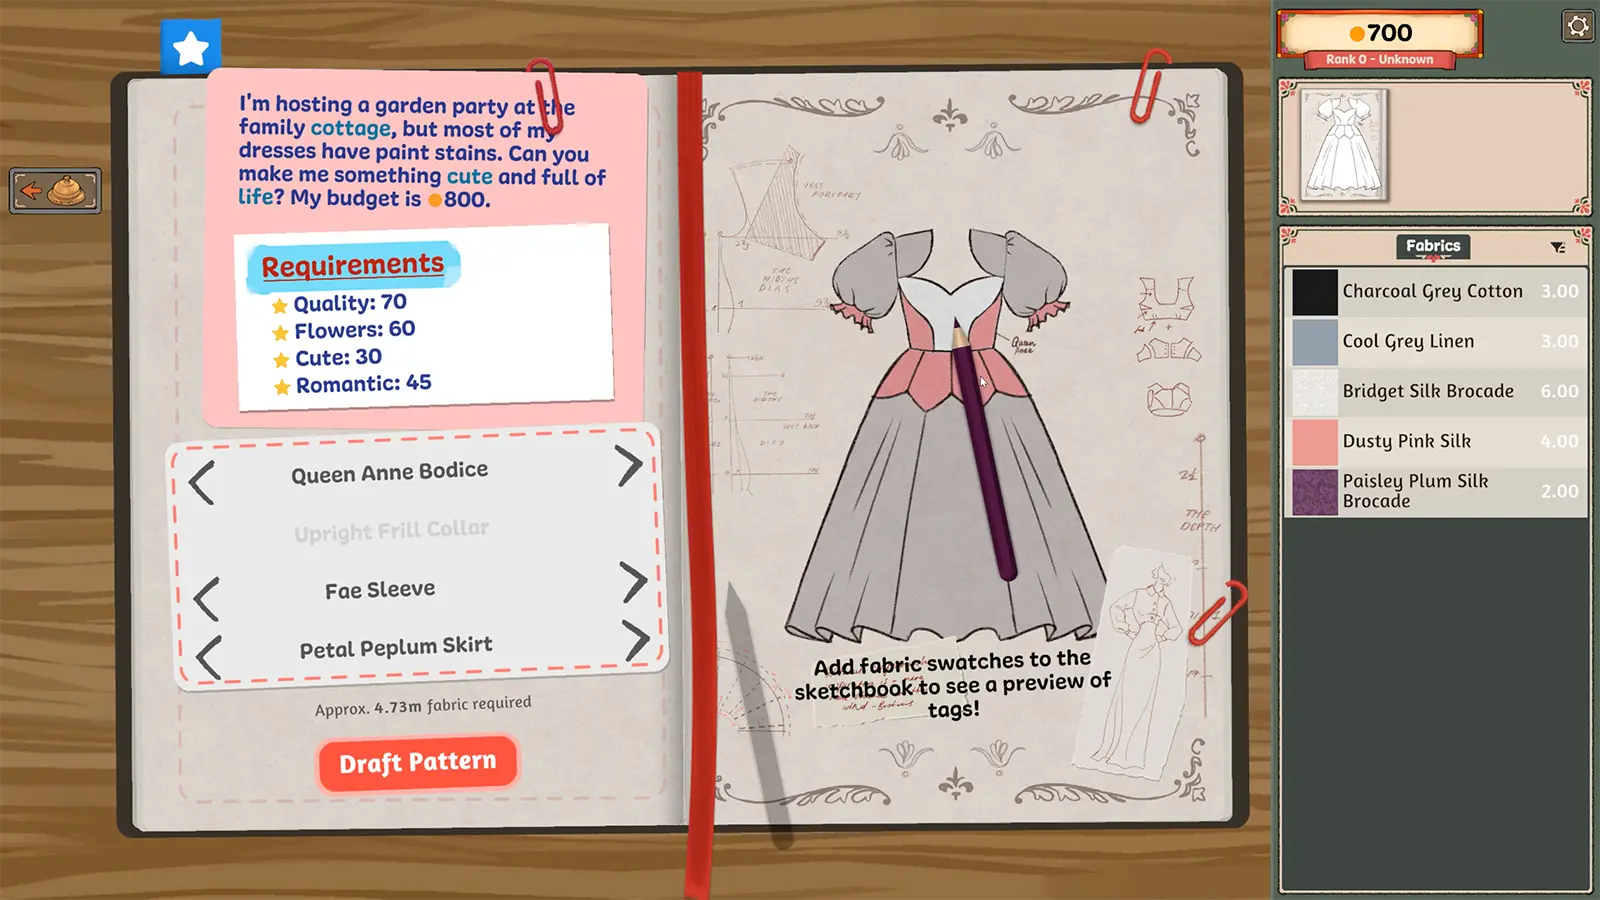
Dressmaker Early Commissions: Workwear and Three Funeral Dress Checks
Find starting patterns and fabrics for Librarian Workwear and three funeral commissions, compare colour rules, and fix missing style or quality requirements.
 Source-based guide
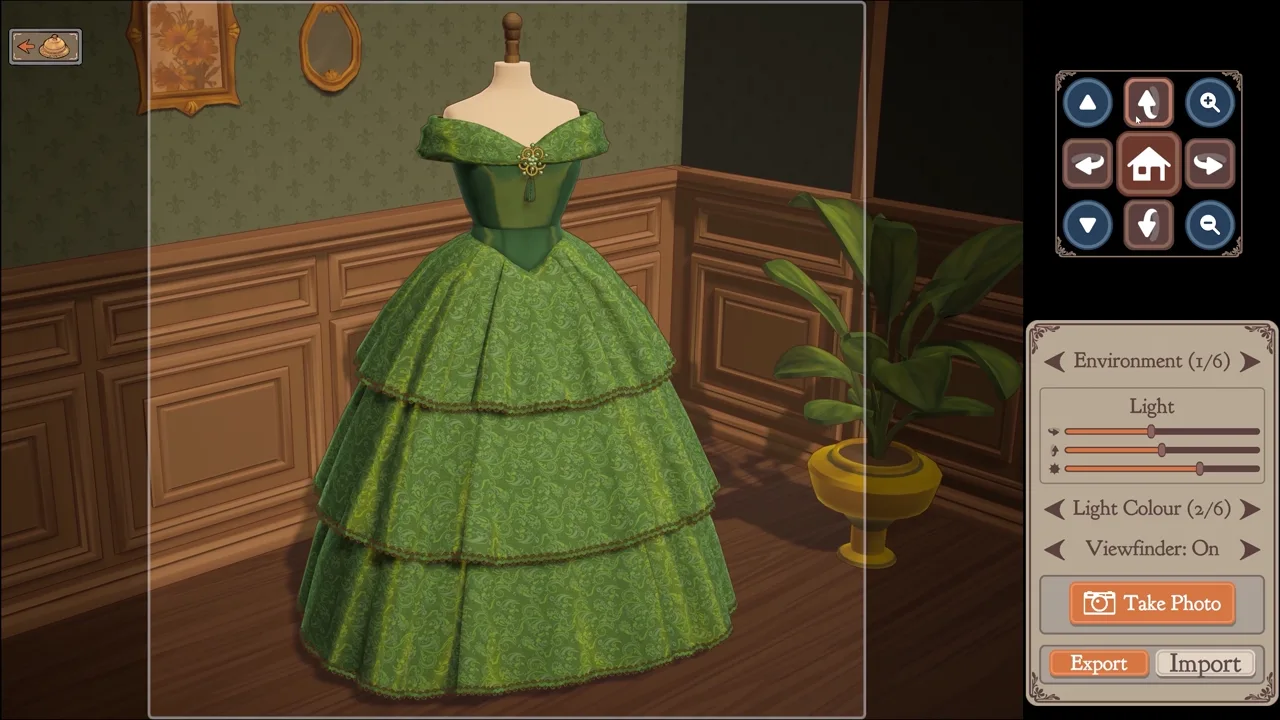
Dressmaker Money Guide: Sell Off-Rack Dresses and Check Profit
Use the off-rack sale route, keep commissions separate, and compare actual costs with sale proceeds before scaling an accessory-heavy dress.
 Source-based guide
Dressmaker Achievements: All 32 Requirements and a Completion Plan
Check all 32 official Dressmaker achievement requirements, protect the Vivian dialogue choice, and separate campaign progress from strict single-dress thresholds.
 Source-based guide
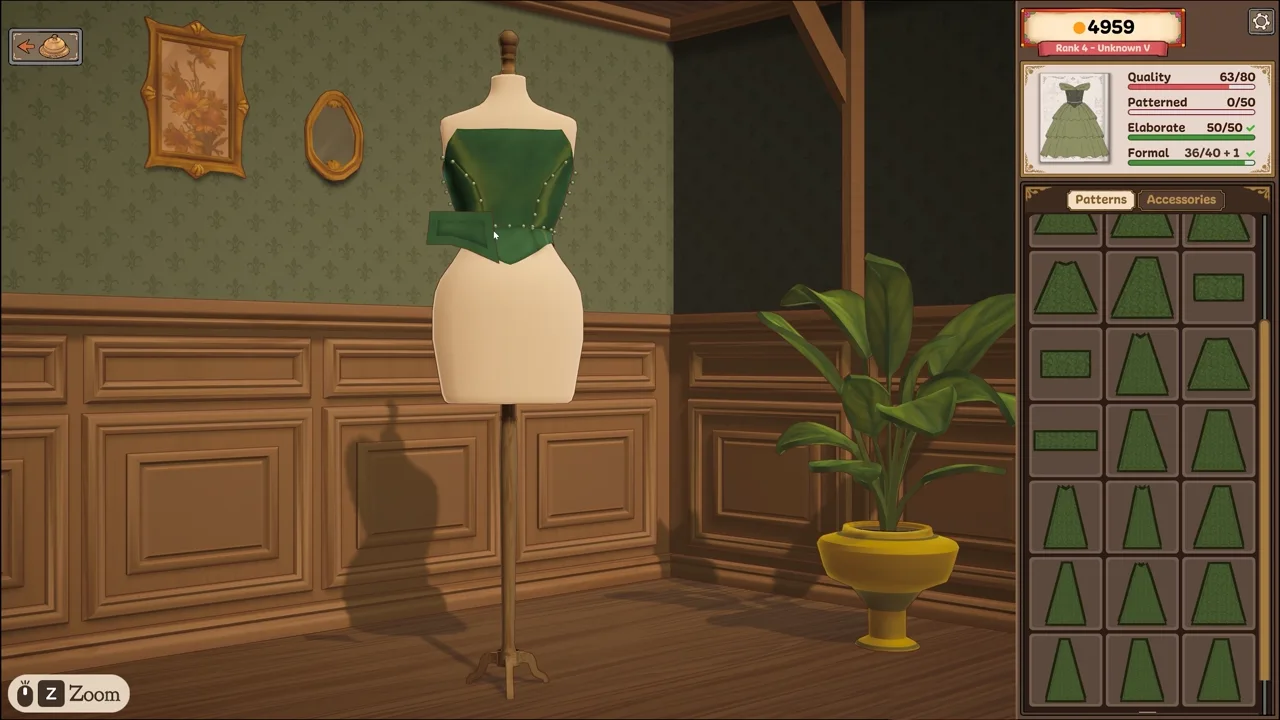
Dressmaker beginner guide: design, cut, sew and deliver a dress
Follow the workshop sequence from reading a request to selecting materials, cutting panels, sewing and checking the finished dress, with publisher screenshots.
 Source-based guide
Dressmaker fabric shopping: check quantity before buying
Choose the material, inspect the quantity and displayed purchase total, then buy only after comparing them with your current design plan.
 Source-based guide
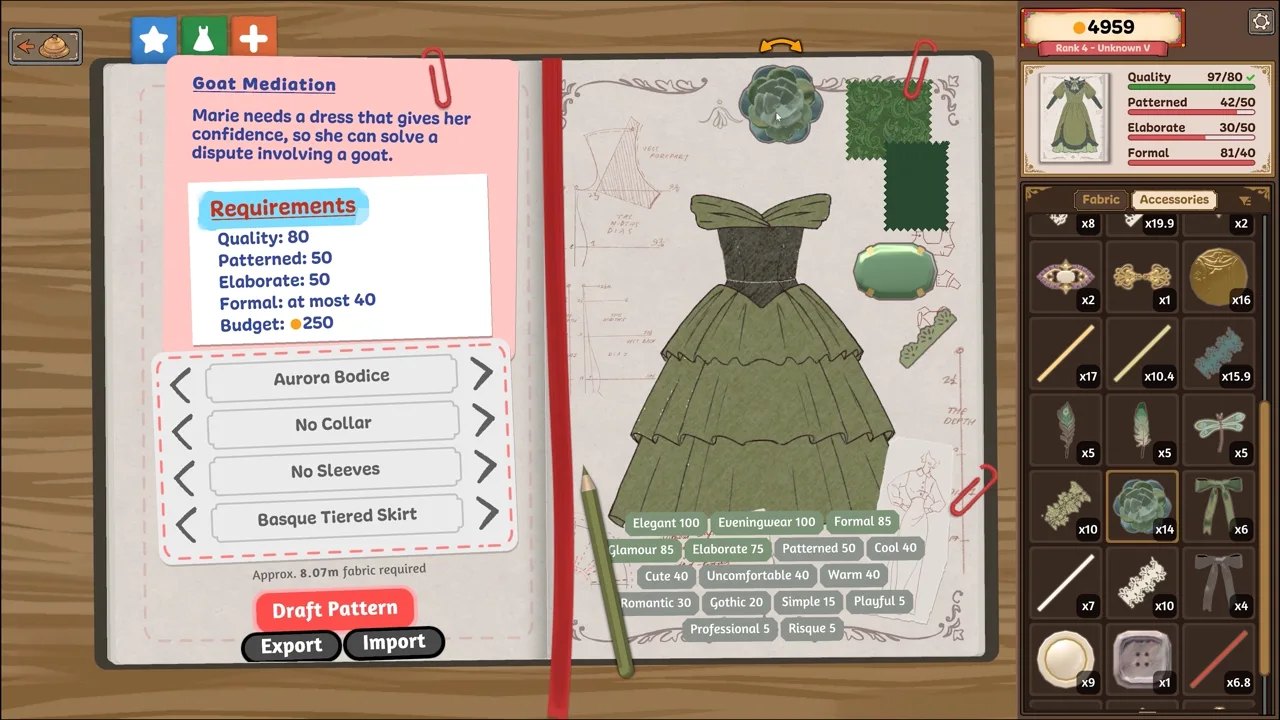
Dressmaker sketchbook: plan fabric samples before cutting
Use the sketchbook preview to compare fabric choices with the request before committing the design to the cutting stage.
 Source-based guide
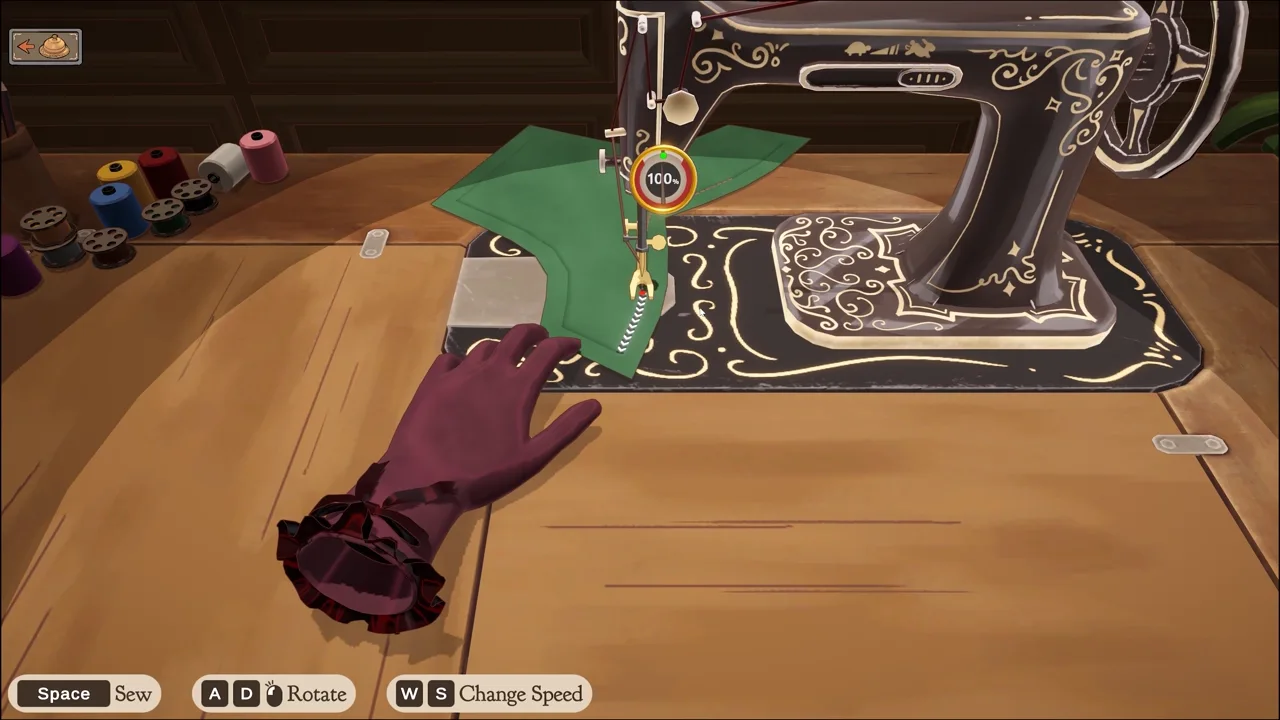
Dressmaker sewing quality: inspect the seam instead of rushing
Watch the fabric’s path at the needle and the displayed quality indicator while sewing; inspect the result before moving on to another piece.
 Source-based guide
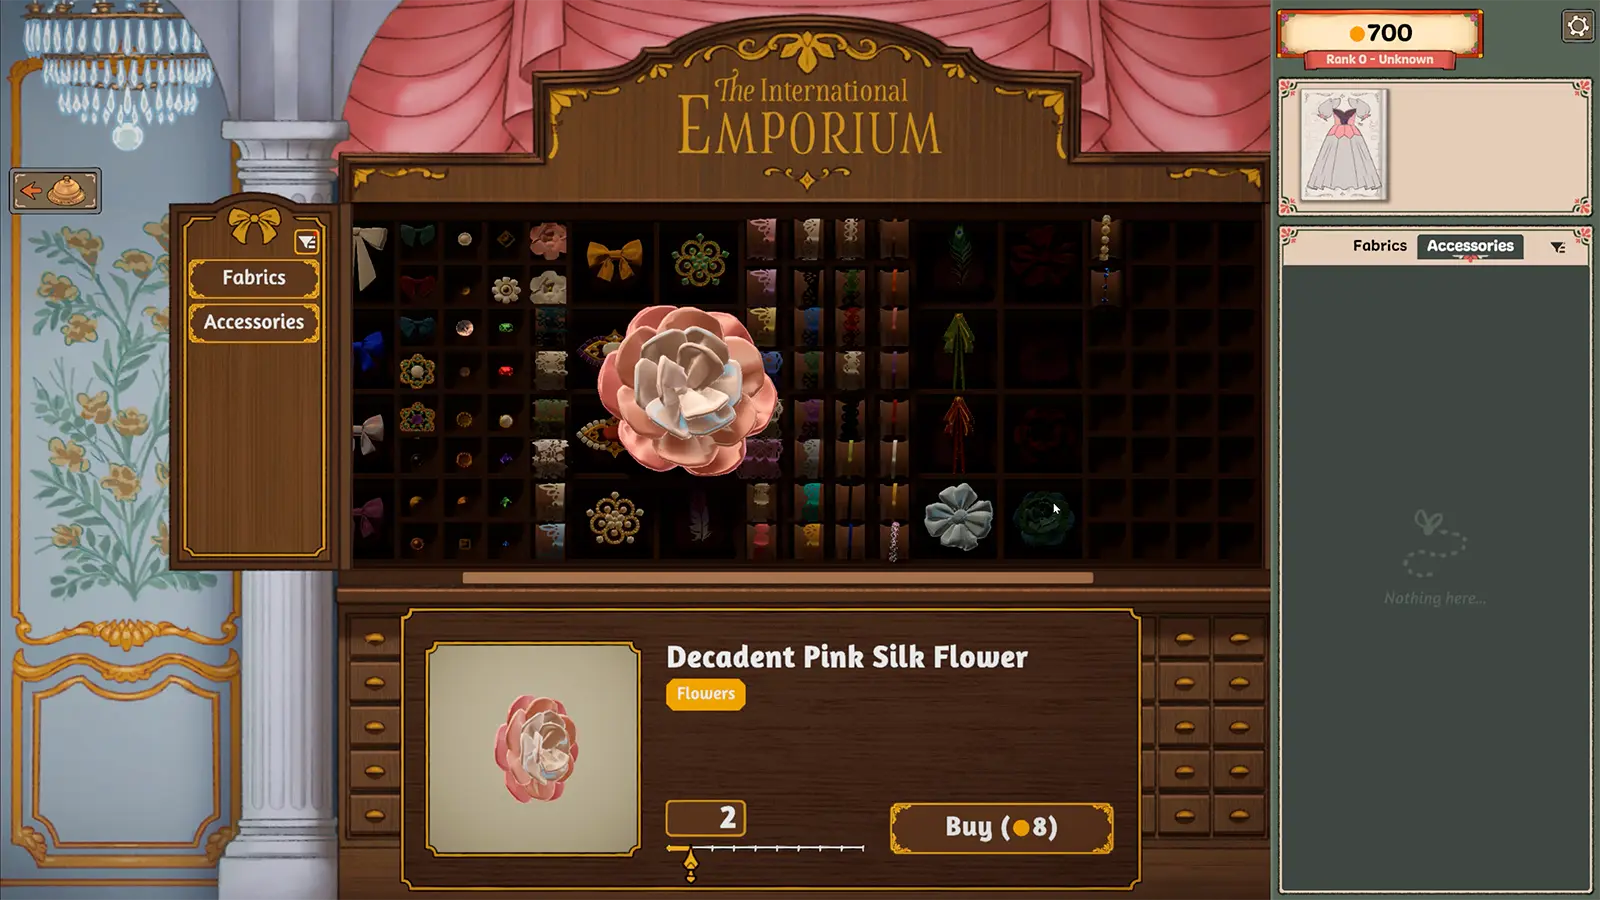
Dressmaker accessories: choose decorations with a purpose
Inspect an accessory’s identity, visible tags and quantity before buying it, then separate required decoration from optional styling.
 Source-based guide
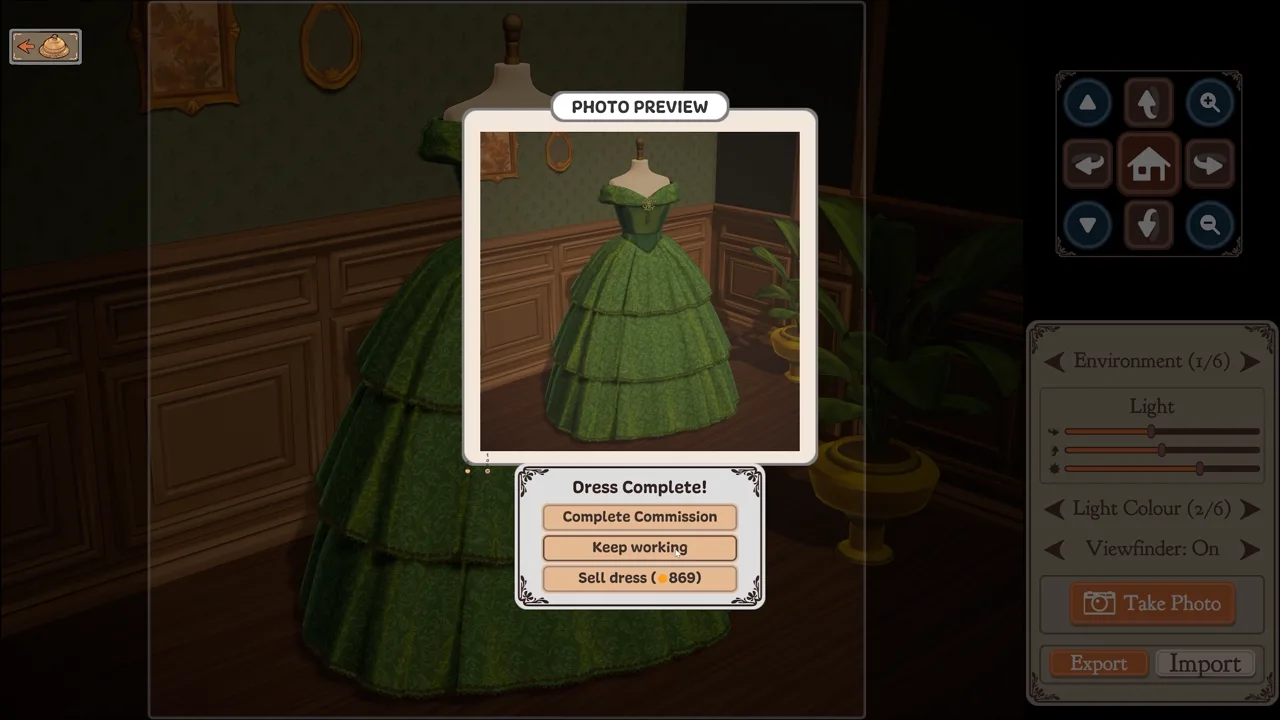
Dressmaker off-rack designs versus customer commissions
Keep your own off-rack design separate from the customer request you intend to complete. The updated photo-scene sale label explicitly identifies an off-rack sale.
 Source-based guide
Dressmaker: remove an unwanted off-rack design carefully
Build 443 adds a sketchbook action for deleting off-rack dresses. Identify the intended off-rack page before using a deletion action.
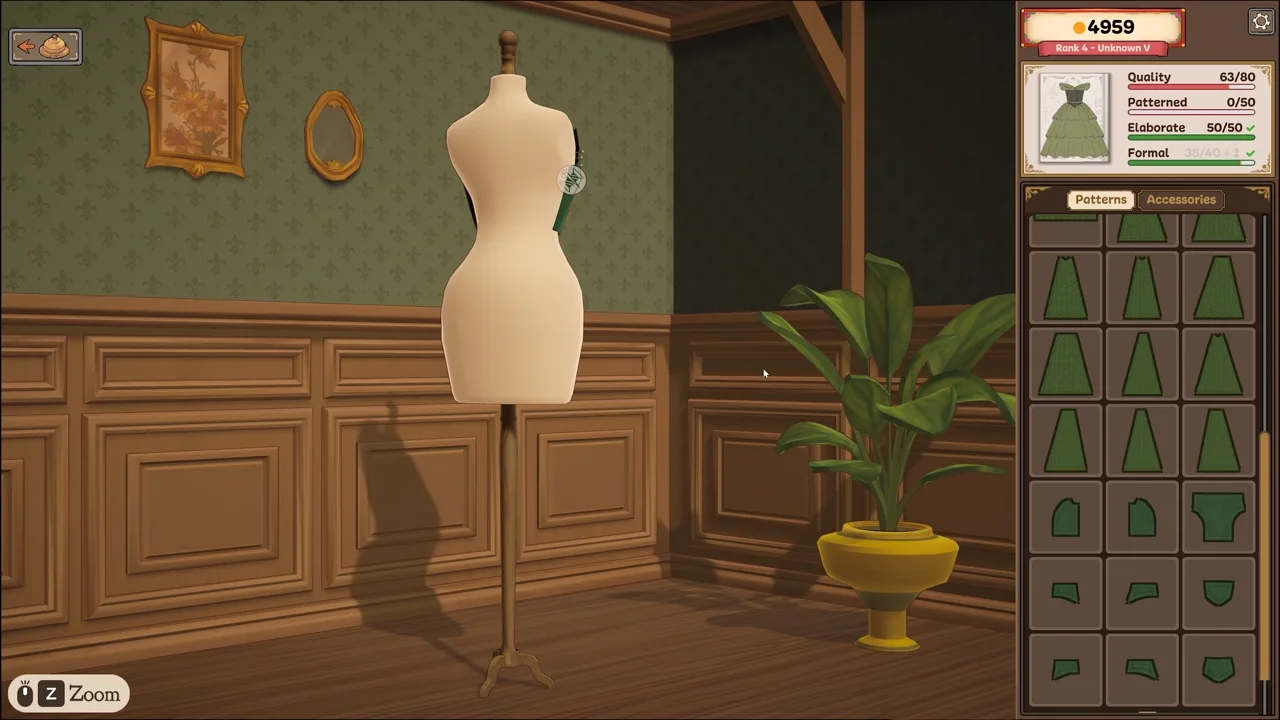
Source-based guideDressmaker randomise button: explore components, then check the brief
The sketchbook’s randomisation option changes dress components. Use it to explore a silhouette, then check the result against the original request.
 Source-based guide
Dressmaker mannequin sizing: use the gears deliberately
In the sizing room, the developer documents adjusting mannequin gears with the mouse wheel or arrow keys. Check the active control before changing a measurement.
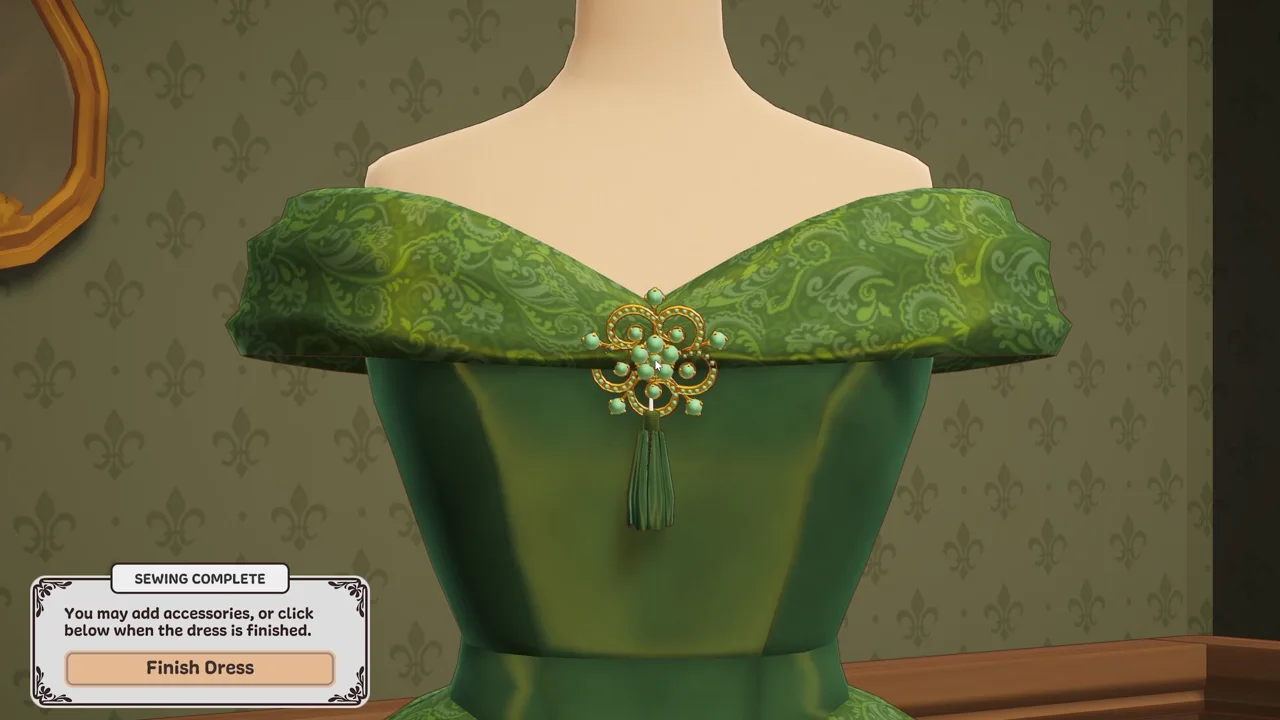 Source-based guide
Dressmaker accessory placement: make small moves without fighting the camera
Use the accessory movement controls for fine placement, and distinguish moving the object from moving your view before making repeated adjustments.
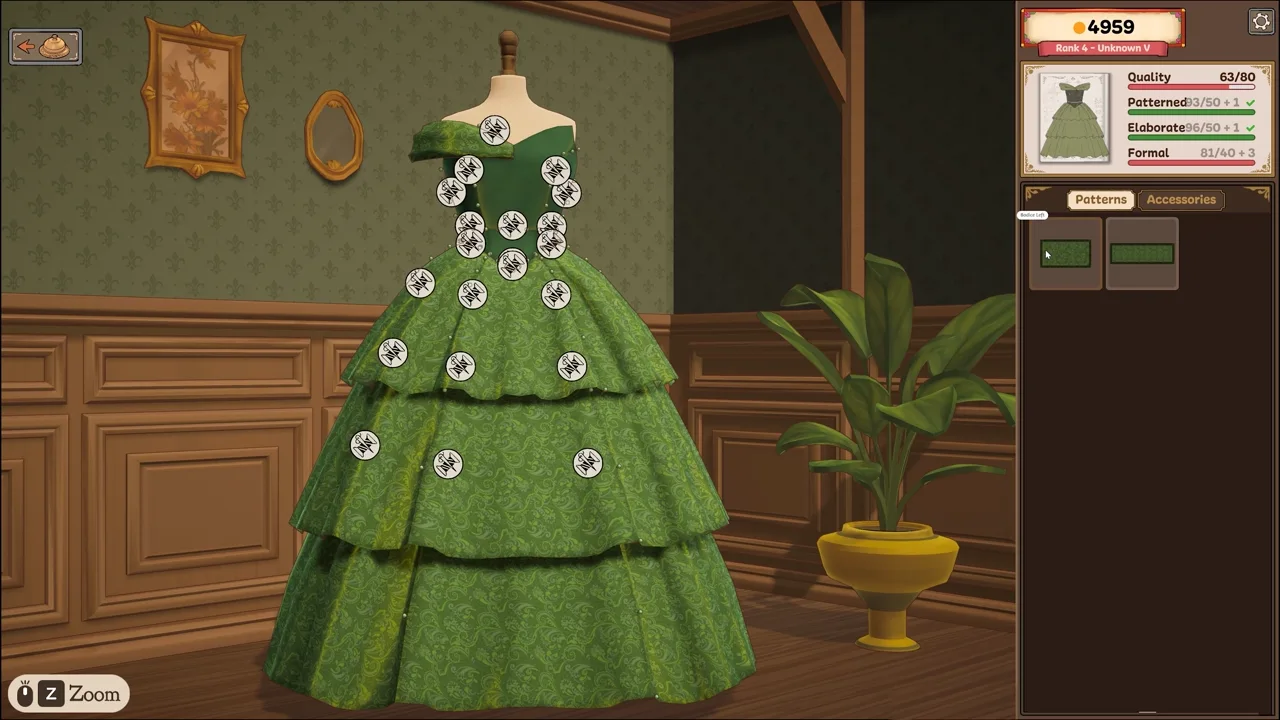 Source-based guide
Dressmaker visual settings: reduce animation and outlines
Build 443 includes options for reducing animation and disabling the red outline. Adjust the setting that matches your visual problem, then compare the same scene.
 Source-based guide
Dressmaker commission accepted but no payment? Check the build and event
Build 403 fixed missing payment for failed commissions that a character accepts. Acceptance is the important condition; this does not mean every failed or abandoned design earns money.
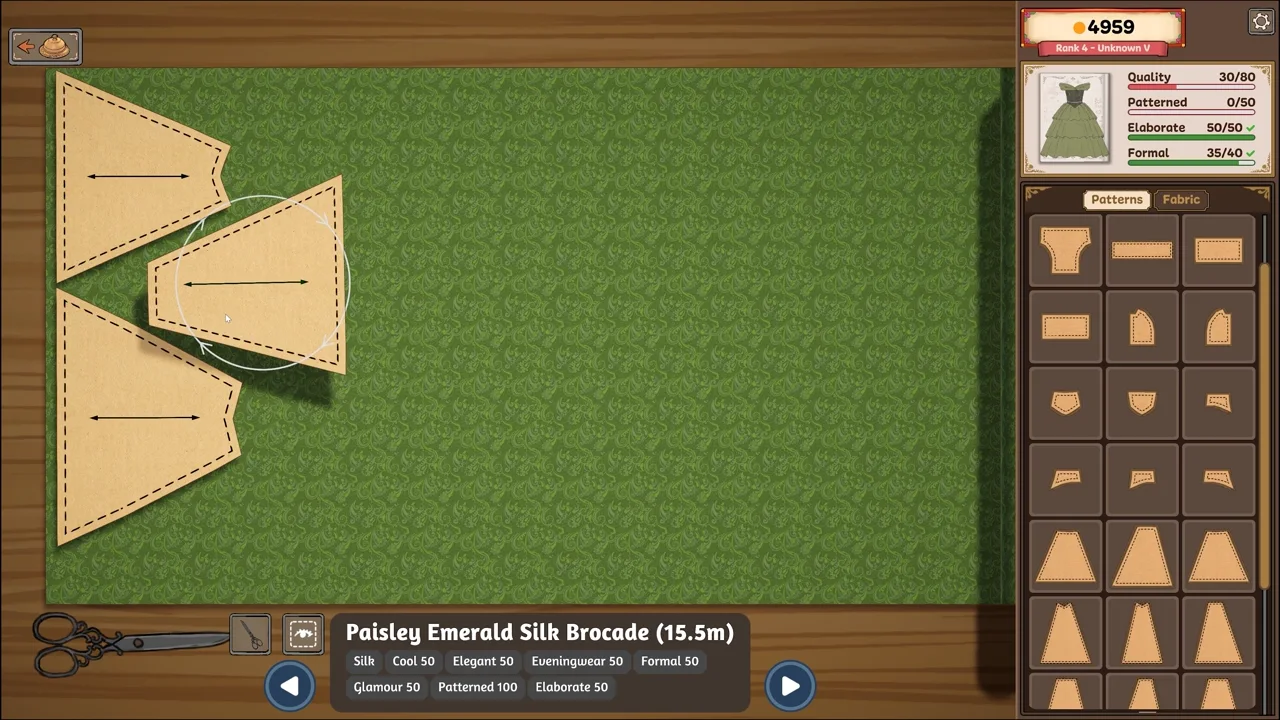 Source-based guide
Dressmaker cutting-room cursor missing: a version-aware check
A disappearing cursor in the cutting-room tutorial was addressed in Build 403. Check your version before following launch-day recovery advice.
Source-based guideDressmaker shop buttons not responding on an ultrawide display
Build 403 addressed unresponsive shop buttons at very wide aspect ratios. Include display dimensions when investigating a similar current issue.
 Source-based guide
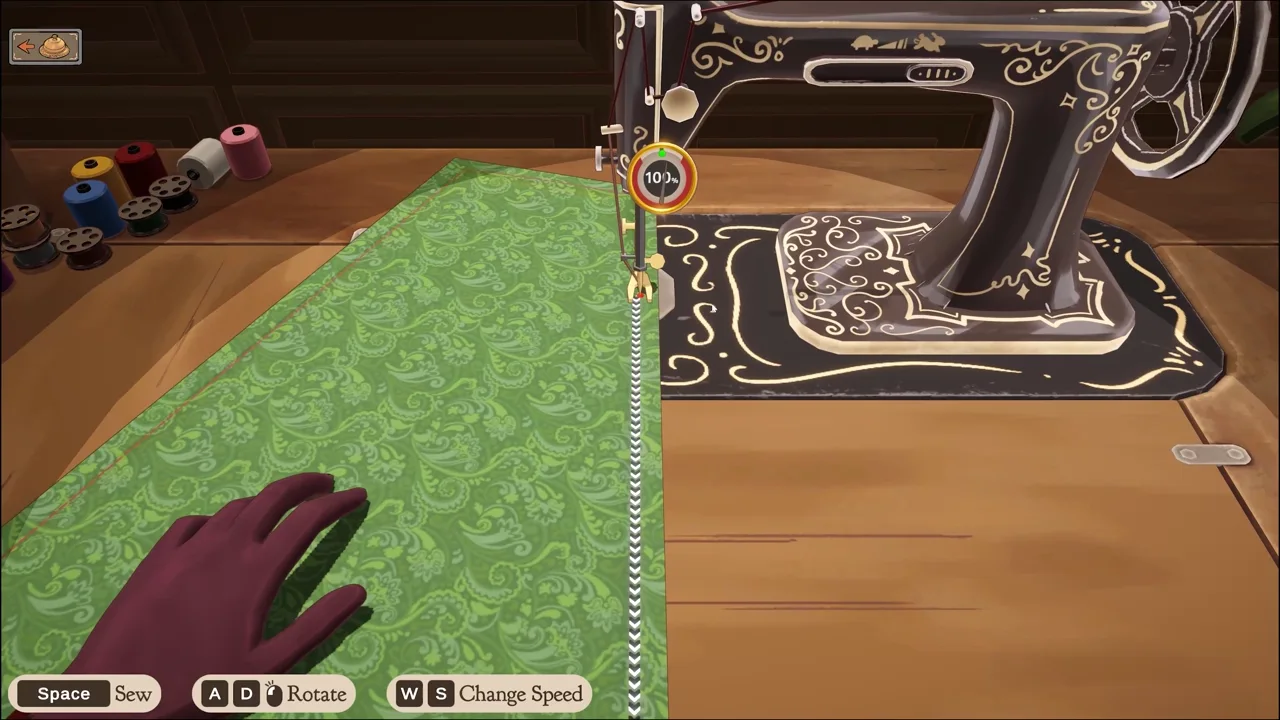
Dressmaker crashes or stutters: gather the useful details first
Record the scene, installed build and repeatable action before changing your setup. Build 443 includes performance work but acknowledges that some issues remained.
 Source-based guide
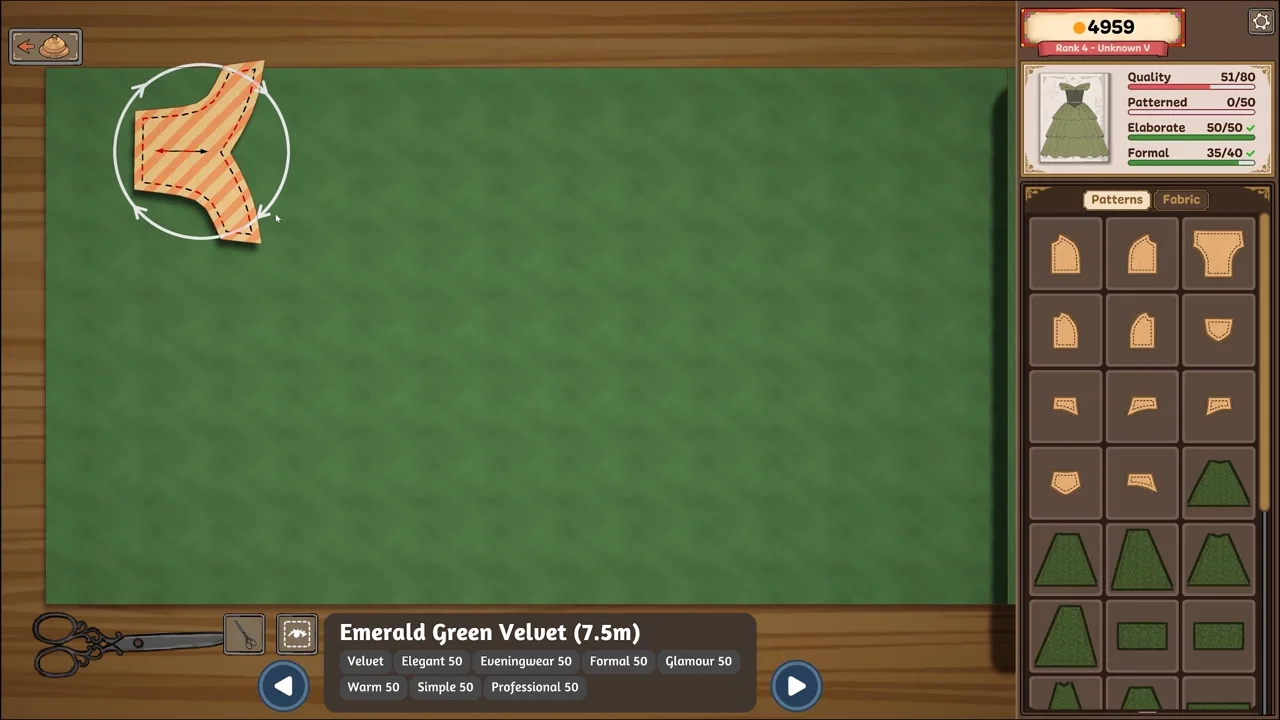
Dressmaker update materials: why new items may already be unlocked
Build 443 says new content follows campaign progression and is made available retroactively if you have already passed its unlock point.
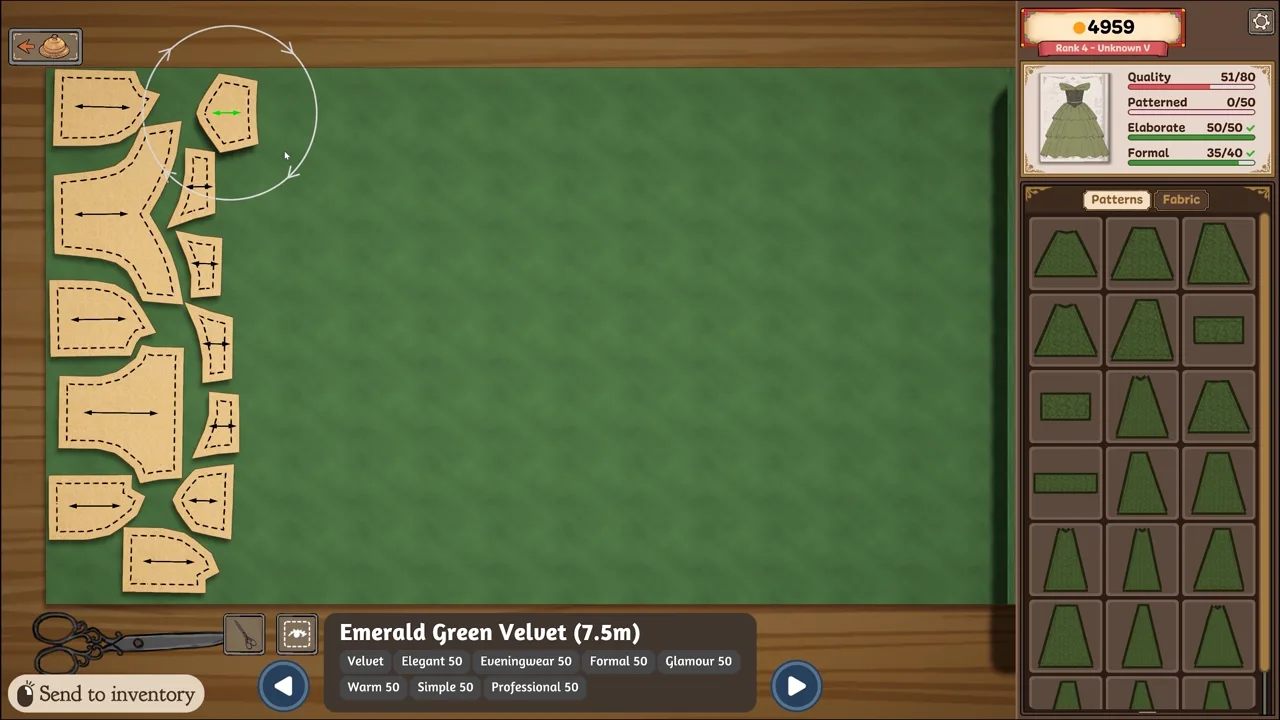 Source-based guide
Dressmaker fabric direction: check motifs separately from panel identity
A panel can be the correct piece while its printed fabric faces an unintended direction. Check the component and the visual motif as separate decisions before cutting.
 Source-based guide
Dressmaker silhouette planning: compare the shape before the trim
Decide the overall outline of the dress before adding small decorations. Compare bodice, waist and skirt shapes in the preview, then return to the request.
 Source-based guide
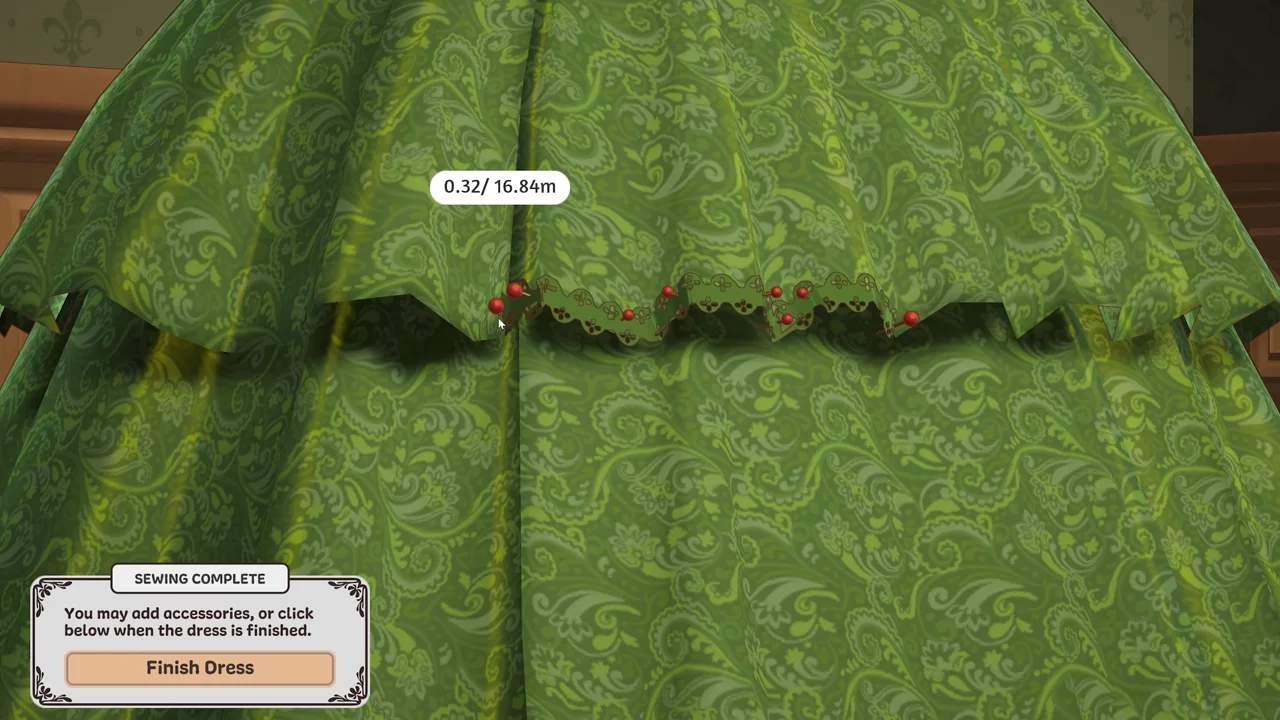
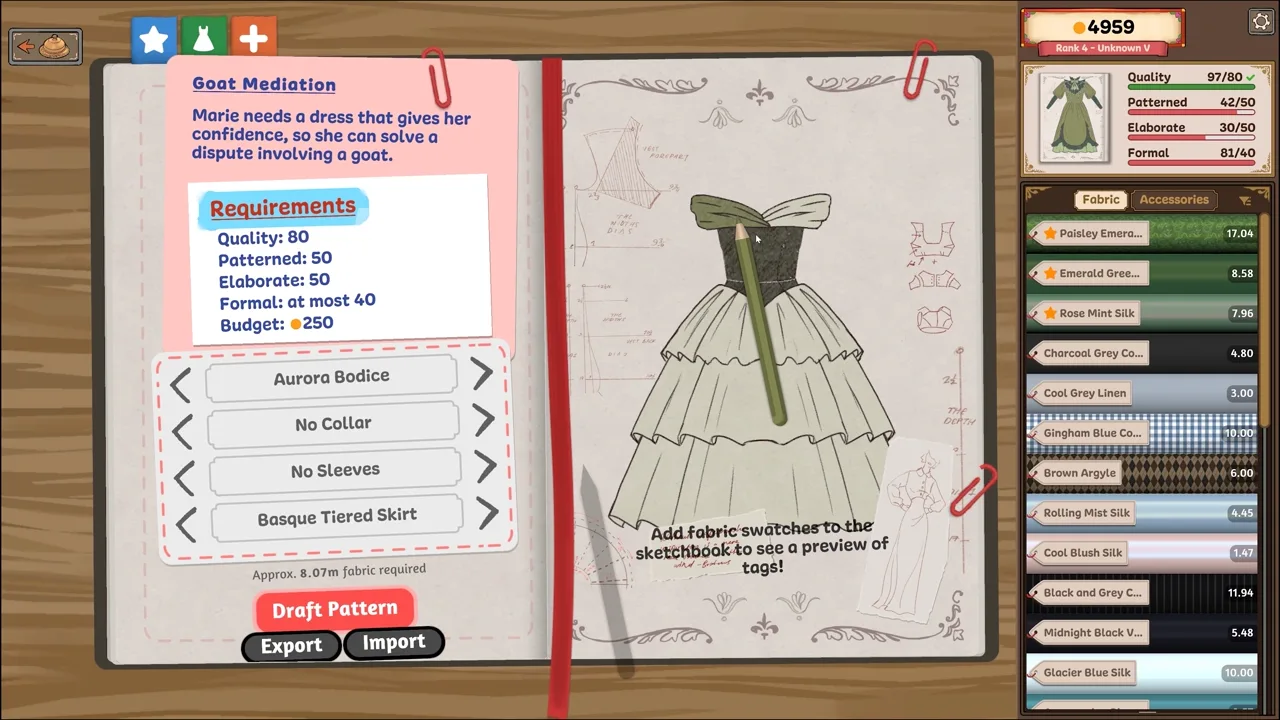
Dressmaker finished sewing: inspect the final action before clicking
A finished sewing stage and a completed customer commission are not the same decision. Read the available action and the current request before committing.
 Source-based guide
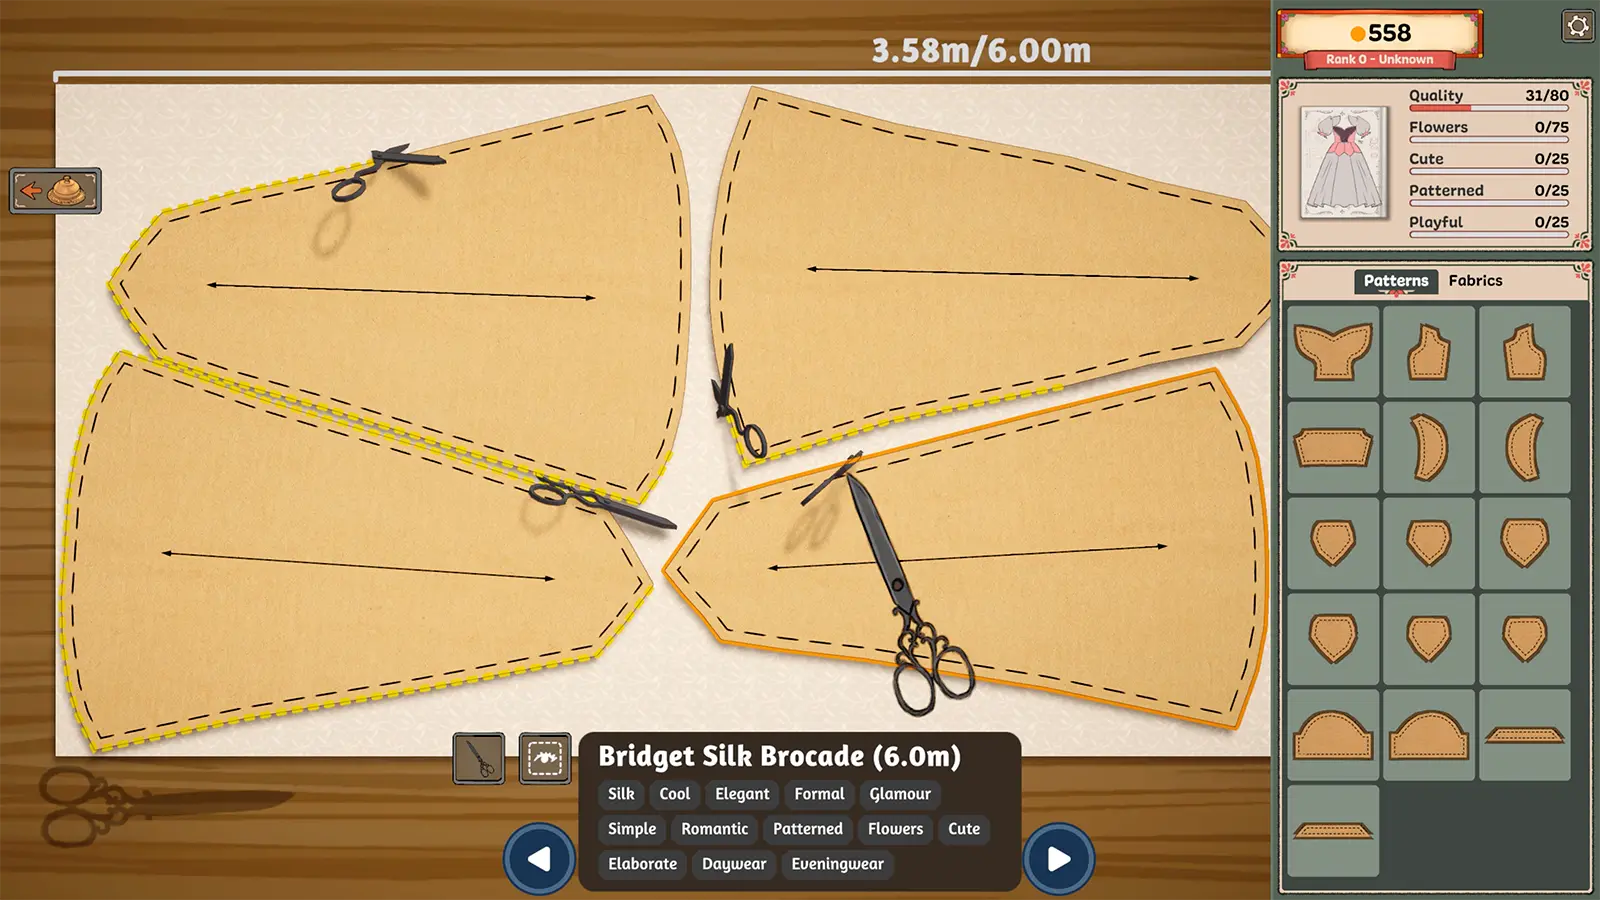
Dressmaker no customers or commissions? Check the sketchbook first
Find an open commission hidden among sketchbook pages before treating an unresponsive bell as lost progress. Includes a safe diagnostic sequence.
 Source-based guide
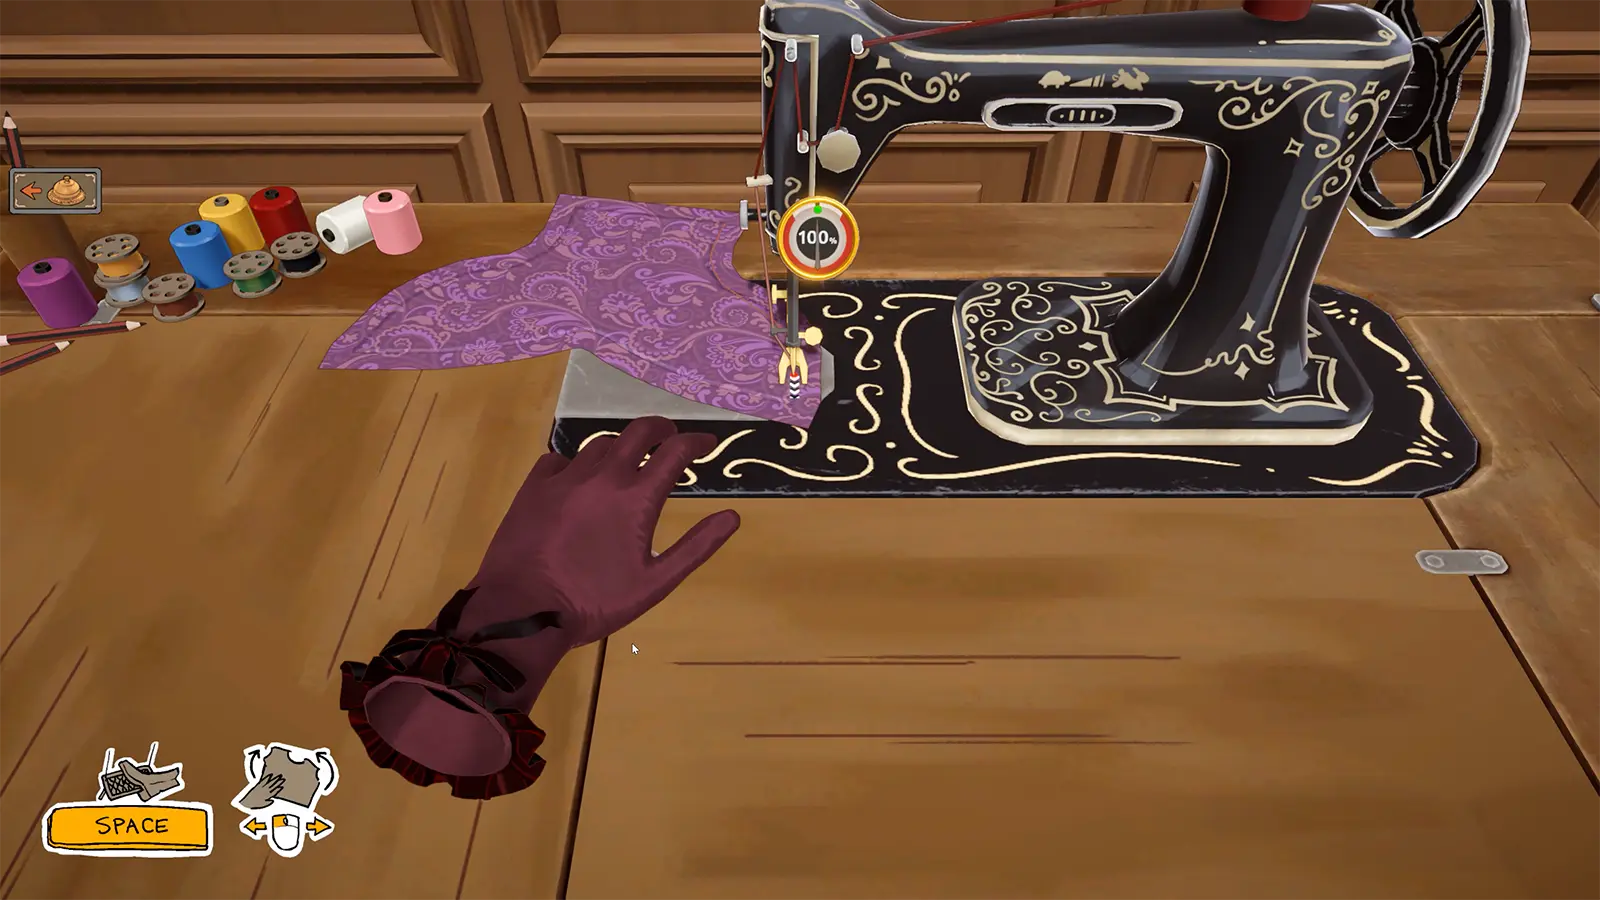
Dressmaker pattern placement: identify panels and plan fabric direction
Use panel hints, separate placement from fabric direction, and check a layout before cutting.
 Source-based guide
How to Change Thread Color in Dressmaker (Sewing Spools)
Change thread color by clicking the spools beside the sewing machine. Find the right scene and troubleshoot a selection that seems unchanged.
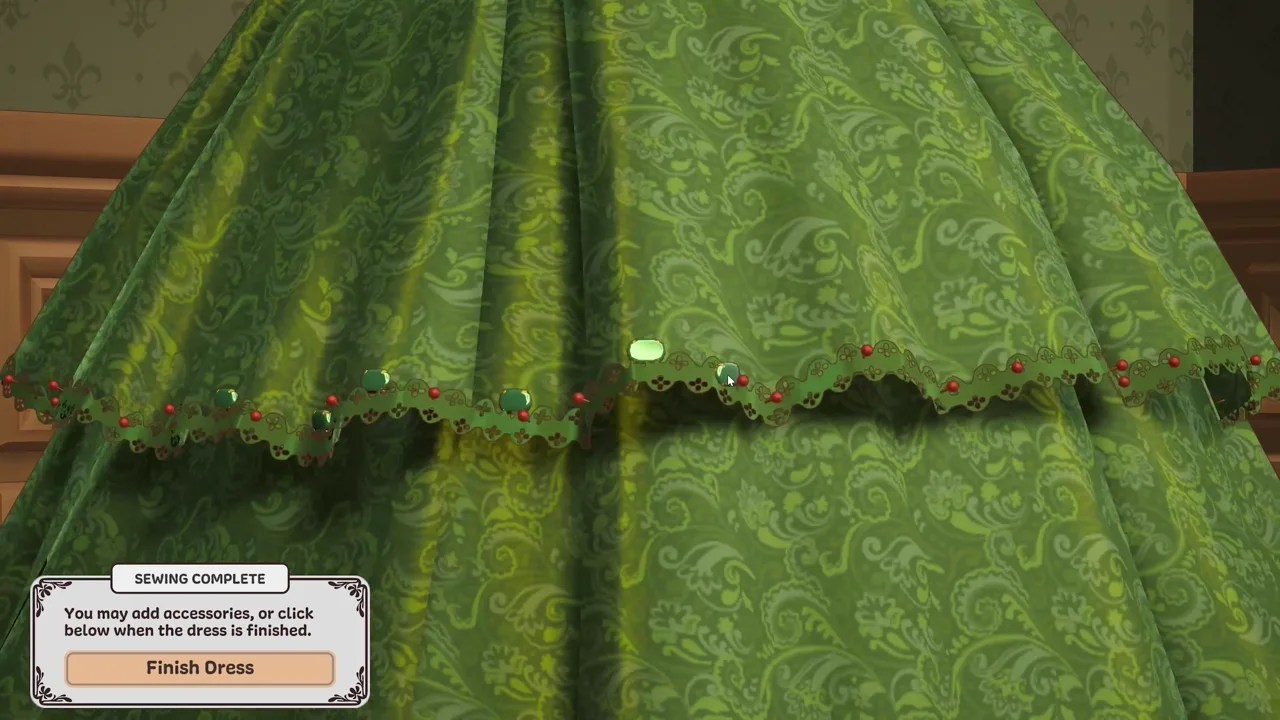
Source-based guideDressmaker colour and fabric requirements: why scores changed in Build 443
Understand the documented weighting change and investigate a requirement without inventing a scoring formula.
 Source-based guide
Dressmaker Fast Trim Placement: Fewer Clicks, Duplicate & Camera Controls
Fast Trim Placement reduces repeated clicking. Learn the Build 443 trim selection, duplicate, zoom and pan controls, plus checks for difficult placement.
 Source-based guide
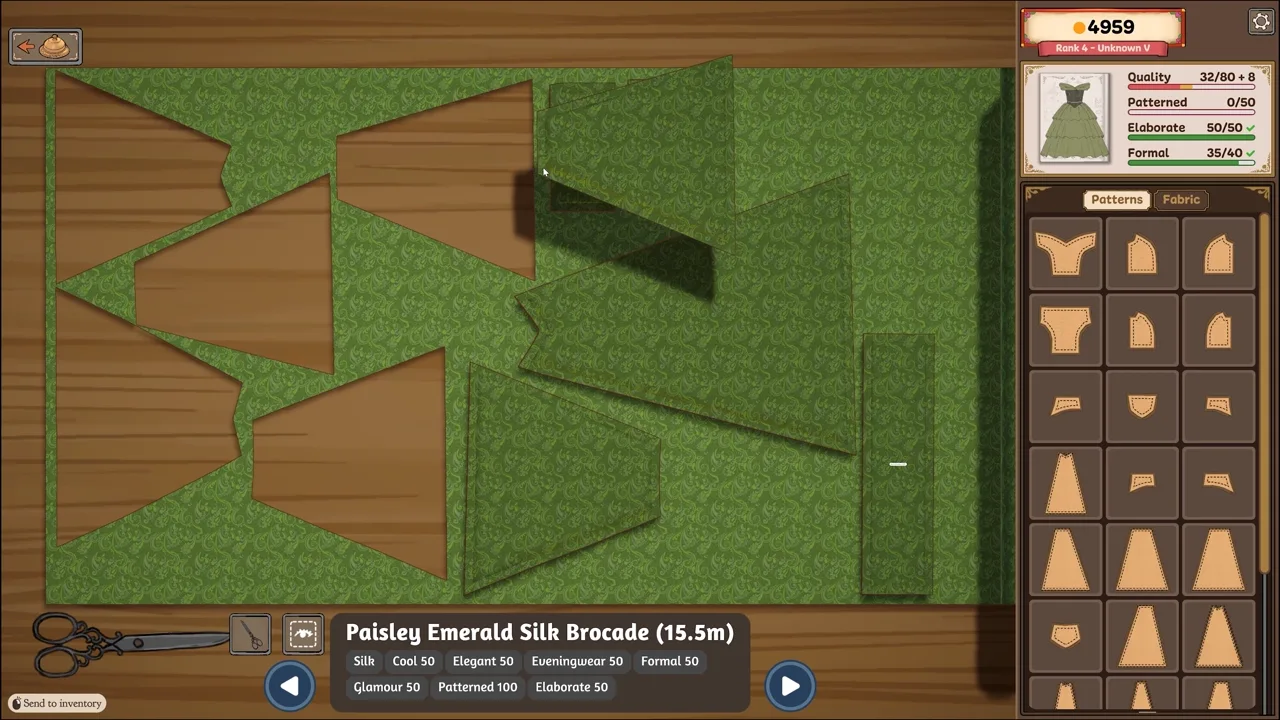
How to Discard Fabric in Dressmaker: Cutting-Room Controls
Use the discard-fabric button before cutting away unwanted fabric. Compare discard, collect-all and pan controls so you remove the right material.
 Tested recipe
Infinite Craft recipes in order
A checked route from the starting elements.
 Tested recipe
How to make Human
Follow the checked route to Human.
 Tested recipe
How to create Life
Combine the ingredients in order.
 Tested recipe
How to make Fog
A focused recipe guide.
 Tested recipe
How to get Planet
Start with the base elements.
 Tested recipe
How to make Lake
Our observed combination and screenshots.
 Tested recipe
How to make Steam
Compare Steam with Smoke.
 Tested recipe
How to make Plant
A checked starting combination.
 Tested recipe
How to make Dust
A checked starting combination.
 Demo tested
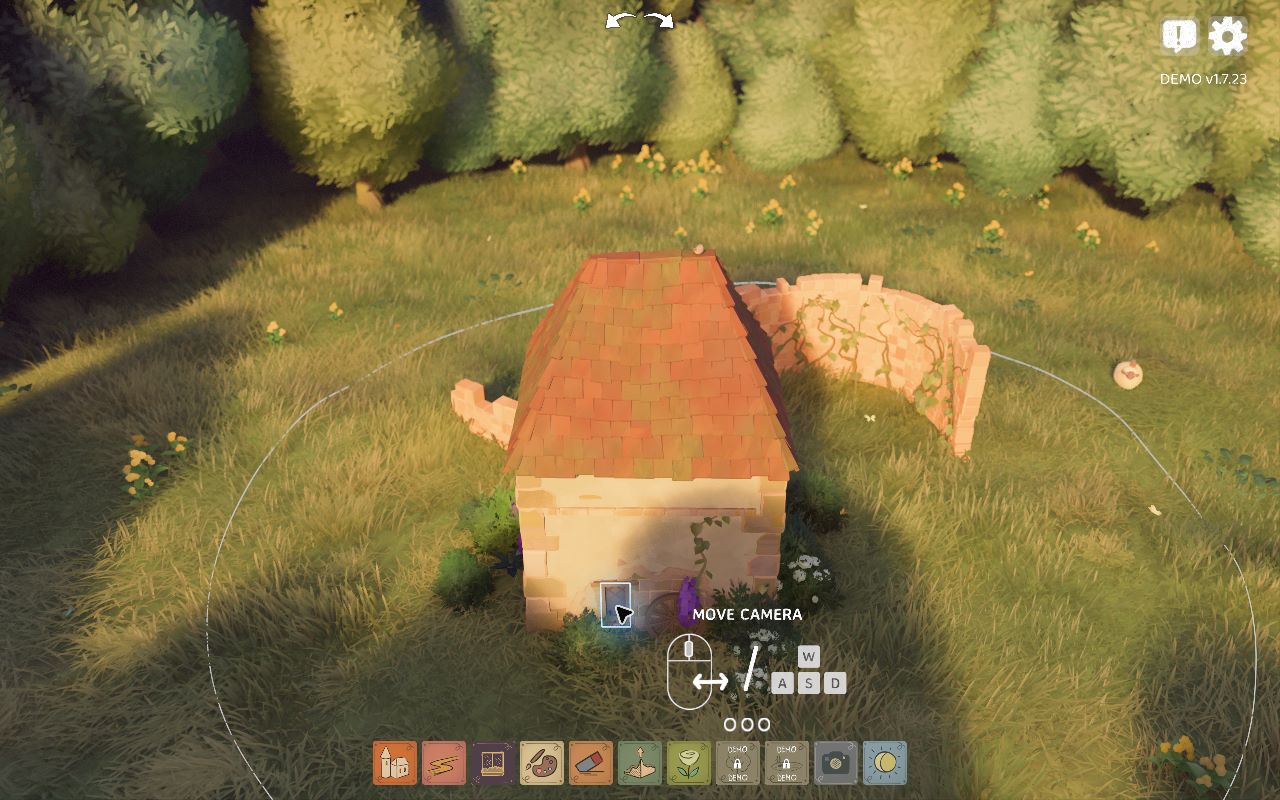
How to make doors in Tiny Glade
Our tested Windows demo window method.
No matching page yet. Try fewer words or clear the filters. We only list published content.